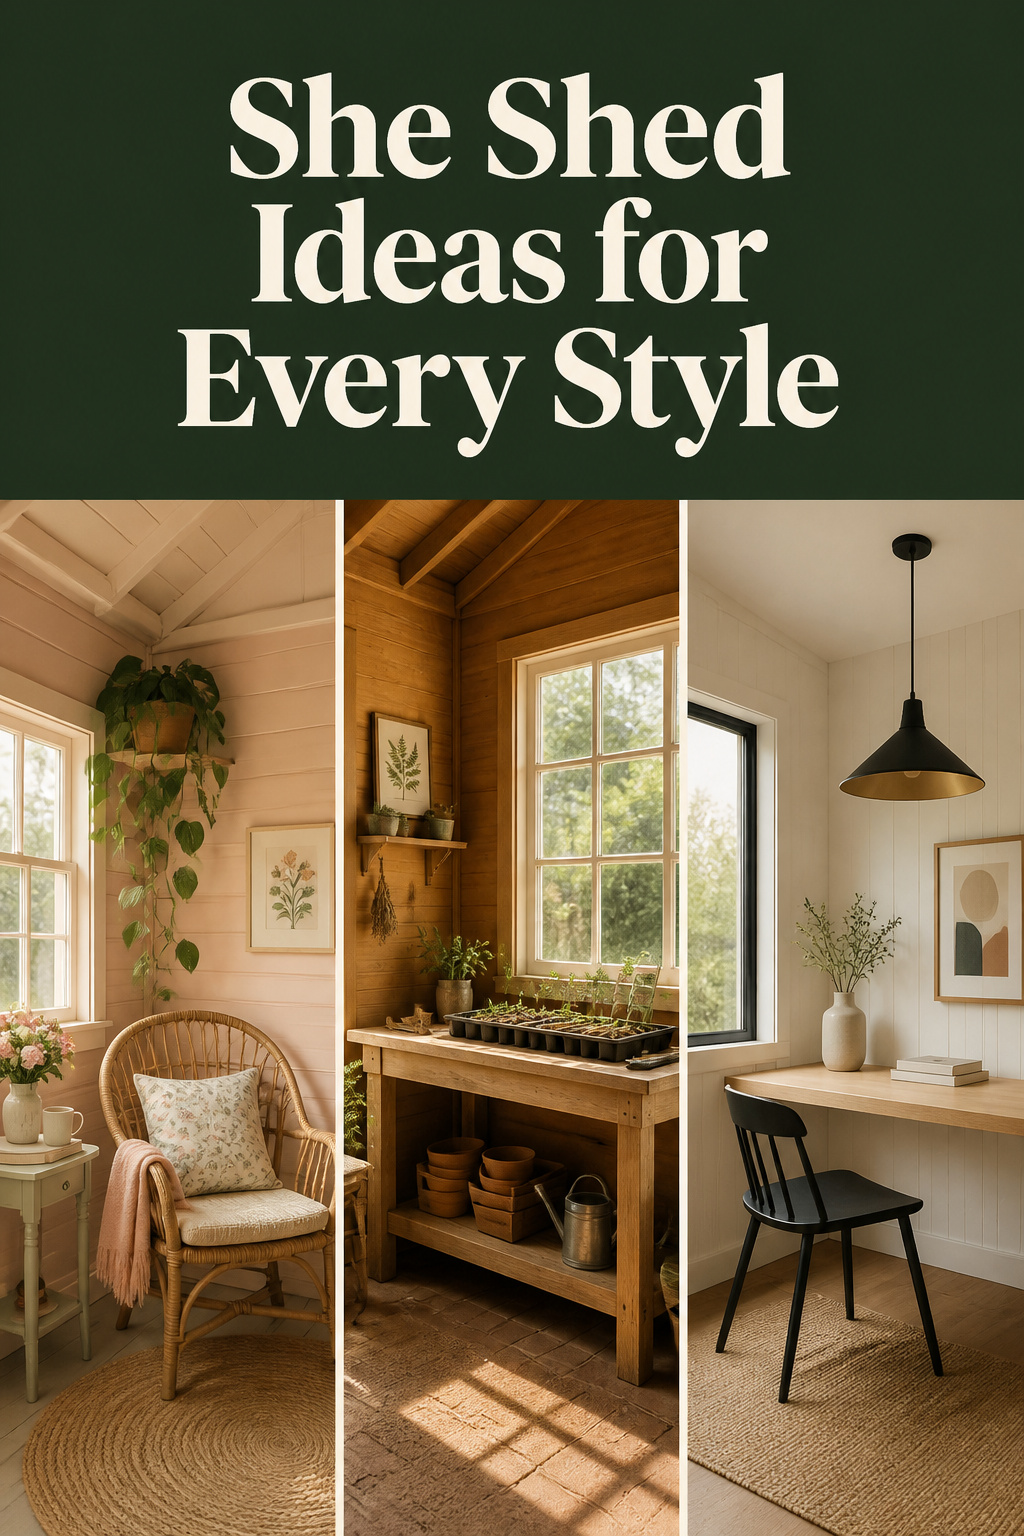

Search “she shed ideas” and you drown inside an hour — thousands of pretty photos, almost none telling you what made that shed worth building. After a decade designing outdoor rooms, most of them in a climate that gave me nine wet months a year to plan around, I’ve learned the photos are the last thing that matters and the first thing everyone looks at. So this guide does the sifting: not the prettiest hundred sheds, but the handful of decisions that decide whether yours gets used four evenings a week or becomes the place the lawnmower lives. Purpose, siting, build, power, decor, seasons — get those in the right order and the styling takes care of itself.
A she shed is a small backyard outbuilding given over to one person’s pursuits — a woman cave, a garden room, a backyard studio, the names vary. The term went mainstream around 2015 as the feminine answer to the man cave, though the idea is older: it’s Virginia Woolf’s “a room of one’s own,” literalised into clapboard and a window box. What it’s for is up to you — and that single choice drives everything below.
What Makes a She Shed Work — and What Doesn’t
A she shed succeeds or fails on two decisions made before any paint is bought: what it’s for, and where it sits. Decorating is the easy part, and the part everyone over-weights. I’ve watched beautiful sheds go unused because they faced due west and baked all afternoon, and plain ones get lived in daily because the light was right. The shed is rarely the problem; the thinking ahead of it usually is.
Defining the space: more than a shed with curtains
The gap between a storage shed with a chair in it and a real she shed is intention — it’s designed backward from how you’ll actually spend an ordinary Tuesday in it. Every downstream decision — size, power, warmth, flooring — flows from that one honest answer about use.
The one question to answer before you plan anything
So ask yourself: what will I do in here on an ordinary Tuesday? Not the Pinterest fantasy — the real, repeated activity. Repotting seedlings wants a counter-height bench and cross-ventilation; a full workday wants a dedicated circuit and insulation; stillness wants sound control and clear floor. Builders and designers I respect all land on the same point: purpose is the single most important planning decision, ahead of budget, ahead of style. As one she-shed guide puts it, “select a theme and focus on it throughout the shed — a cohesive design feels more organised and comfortable for everyday living.” A shed built around one use beats one hedged across three.
Siting for sun, wind and privacy
Where the shed sits decides how often you use it — the cheapest decision to get right and the most expensive to fix later. The sweet spot is 4–6 hours of morning sun with afternoon shade: early light dries overnight damp and stays cool, while afternoon shade keeps the box from overheating. South-facing in full sun is the trap — dark-painted sheds there can hit surface temperatures of 160°F in warm climates, chalking the paint and cooking the interior. For passive winter warmth, orient the windows within 15–20 degrees of true south. Never sink a shed into permanent full shade, though; constant damp breeds mould and rot. Lattice, hedging or trees on the west and south give shade without the moisture trap, and a door set away from the main house sightlines handles privacy.
Building or Converting: Your Path to a She Shed
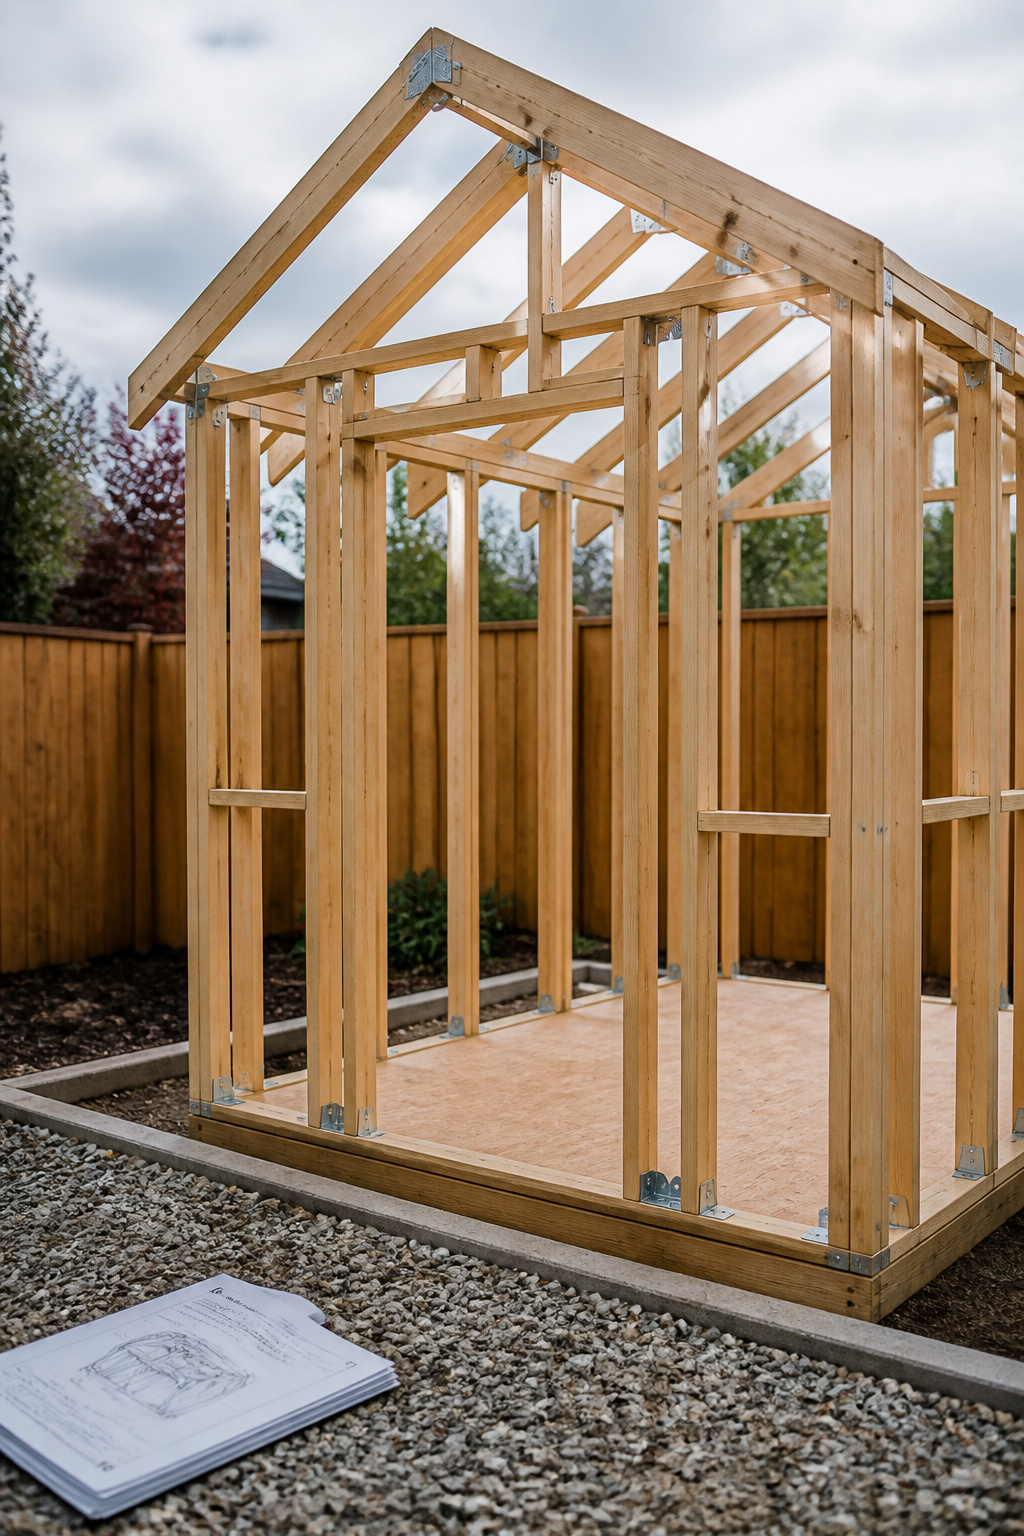
Three roads lead to a finished shed, and choosing the wrong one for your skills or budget is where projects stall: buy a kit and assemble it, build from scratch, or convert a shed you already have. Here’s how they stack up.
| Build path | Approx. cost | Weekend timeline | Skill level |
|---|---|---|---|
| Kit / prefab shed | $1,500–$8,000 + $500–$3,000 fit-out | 1–2 weekends (shell); 4–6 with fit-out | Beginner |
| Scratch build | $2,500–$8,000+ materials | 8+ weekends for a quality finish | Intermediate–advanced |
| Convert existing shed | $3,000–$12,000 | 3–4 weekends if sound; 8+ if not | Beginner–confident |
Kit shed vs scratch build vs converting what’s already there
A kit is the predictable path: pre-cut lumber, roof panels and hardware for $1,500–$8,000, plus $500–$3,000 for paint, flooring and tools. Pieces arrive cut to size, which spares beginners the measuring errors that quietly inflate a scratch build. Building from scratch runs $10–$150 per square foot — roughly $2,500–$8,000+ for a 10×12 — and looks cheaper on paper but costs more in time and tools. Converting a sound existing shed is often the smartest money at $3,000–$12,000. As one shed specialist sums it up: “Building is usually cheaper on paper. Buying often costs less in real life.” Want it fully finished and climate-controlled out of the gate? Custom and prefab garden rooms start around $15,000 and climb past $30,000. The full mechanics of how to build a she shed from scratch — foundation, framing, openings — sit in the dedicated build guide.
Foundation and permits: what most guides skip
This is the part the inspiration posts never mention, and the part that gets people fined. The IRC model code exempts detached one-story structures under 200 sq ft from a building permit, but many jurisdictions set that lower — 100 to 144 sq ft — and any shed with electricity, plumbing or a permanent foundation almost always needs one regardless of size. Foundation ties in directly: gravel pads, pier blocks or skids are often permit-exempt as movable structures, while a permanent concrete slab usually triggers a permit. Even then, zoning setbacks, lot-coverage limits and HOA rules still apply. Confirm it all with your local building department before you site anything — permits typically run $50–$500.
Realistic costs and weekends — by build type
Timelines lie more than budgets do. A basic kit shed goes up in one or two weekends with two capable adults; add insulation, lining and basic wiring and it’s four to six. A scratch build is an eight-weekend project for a quality finish, and unless you already own a circular saw, drill and nailer, add $500-plus in tools to it.
She Shed Ideas by Use: Choosing the Purpose That Fits Your Life
Here’s the hub the whole project orbits. The trick is knowing the two or three non-negotiables for your use before you commit: an office needs power and connectivity, a yoga space needs floor and quiet, a potting shed needs ventilation and a bench. Get the must-haves right and almost any shed becomes the thing; get them wrong and no styling rescues it. Below, the four most common uses and what each genuinely requires.
Home office: the shed as a proper workday boundary
The real payoff of a backyard office isn’t the desk — it’s the twenty steps between it and the house. Remote workers consistently report that physical separation as the biggest productivity gain: a short commute to a separate building is a genuine psychological boundary, not just decor. Four things make it work — a dedicated electrical circuit, reliable internet (wired ethernet or a high-quality mesh extender), insulation for all-day comfort, and daylight-balanced lighting positioned to avoid screen glare, where north-facing glass gives diffused light with none. The popular footprint is 120–199 sq ft; a 10×12 holds a desk, storage and a second chair without cramping. The full treatment of setting up a backyard office shed covers placement and connectivity in depth.
Yoga and meditation retreat: stillness by design
A movement space is built by subtraction — you clear the room down to what practice needs and stop. The numbers anchor it: a single mat wants 6 ft × 4 ft of clear floor, and comfortable practice with movement wants 8 ft × 10 ft, with no furniture encroaching. Lighting should dim, since warm 2000K–3000K light creates the calm state most practitioners need; sound treatment on walls, ceiling and windows drops intrusive noise to a tolerable level, and cork or rubber underfoot gives grip and cushion. This is the one use where less truly is more — see a she shed yoga and meditation studio for flooring, light and scent in full.
Garden and potting shed: where the growing starts
A garden she shed organises itself around one surface: a potting bench at counter height, 34–36 inches for most adults, positioned to catch natural light from a window above or beside it. From there the priorities are clear — large windows or a greenhouse panel for plant-grade light, open shelving with a pegboard for tools, and ventilation that’s non-negotiable, since soil moisture, plant respiration and fertiliser chemicals all demand air exchange. A louvred vent or operable window opposite the door creates the cross-flow that keeps a potting shed healthy. The full build of a garden and potting she shed retreat — bench specs, grow lights, planting the shed into the beds — runs in its own guide.
Craft, reading and creative pursuits
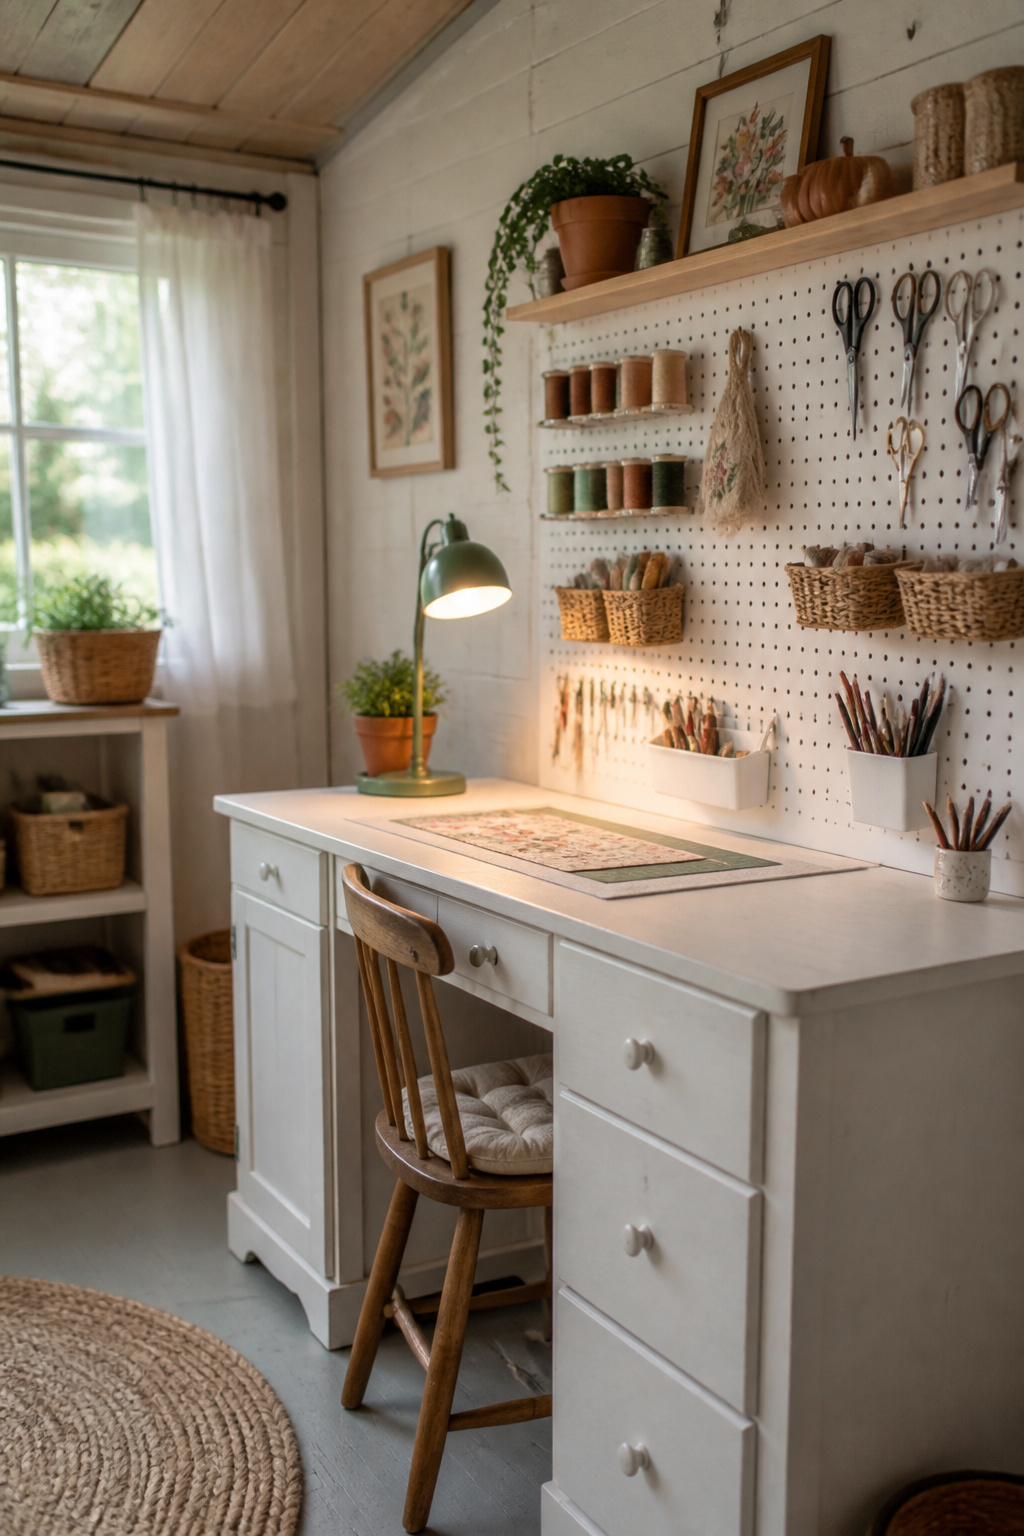
Craft and reading sheds are the most forgiving uses, and the easiest to get subtly wrong. A craft space needs three things: a zoned layout keeping the work surface separate from storage, intentional storage like pegboards and adjustable shelving, and task lighting at 5000K–6500K for true colour accuracy — standard warm-white LEDs distort what you’re making. A reading shed wants layered light instead: ambient overhead, a dedicated reading sconce, and warm decorative lights for the hours you’re not reading. An ergonomic chair earns its keep in both, because crafting fatigue and reading-chair slump shorten the sessions you built the shed for.
Small Footprint, Full Potential: Planning a Compact She Shed
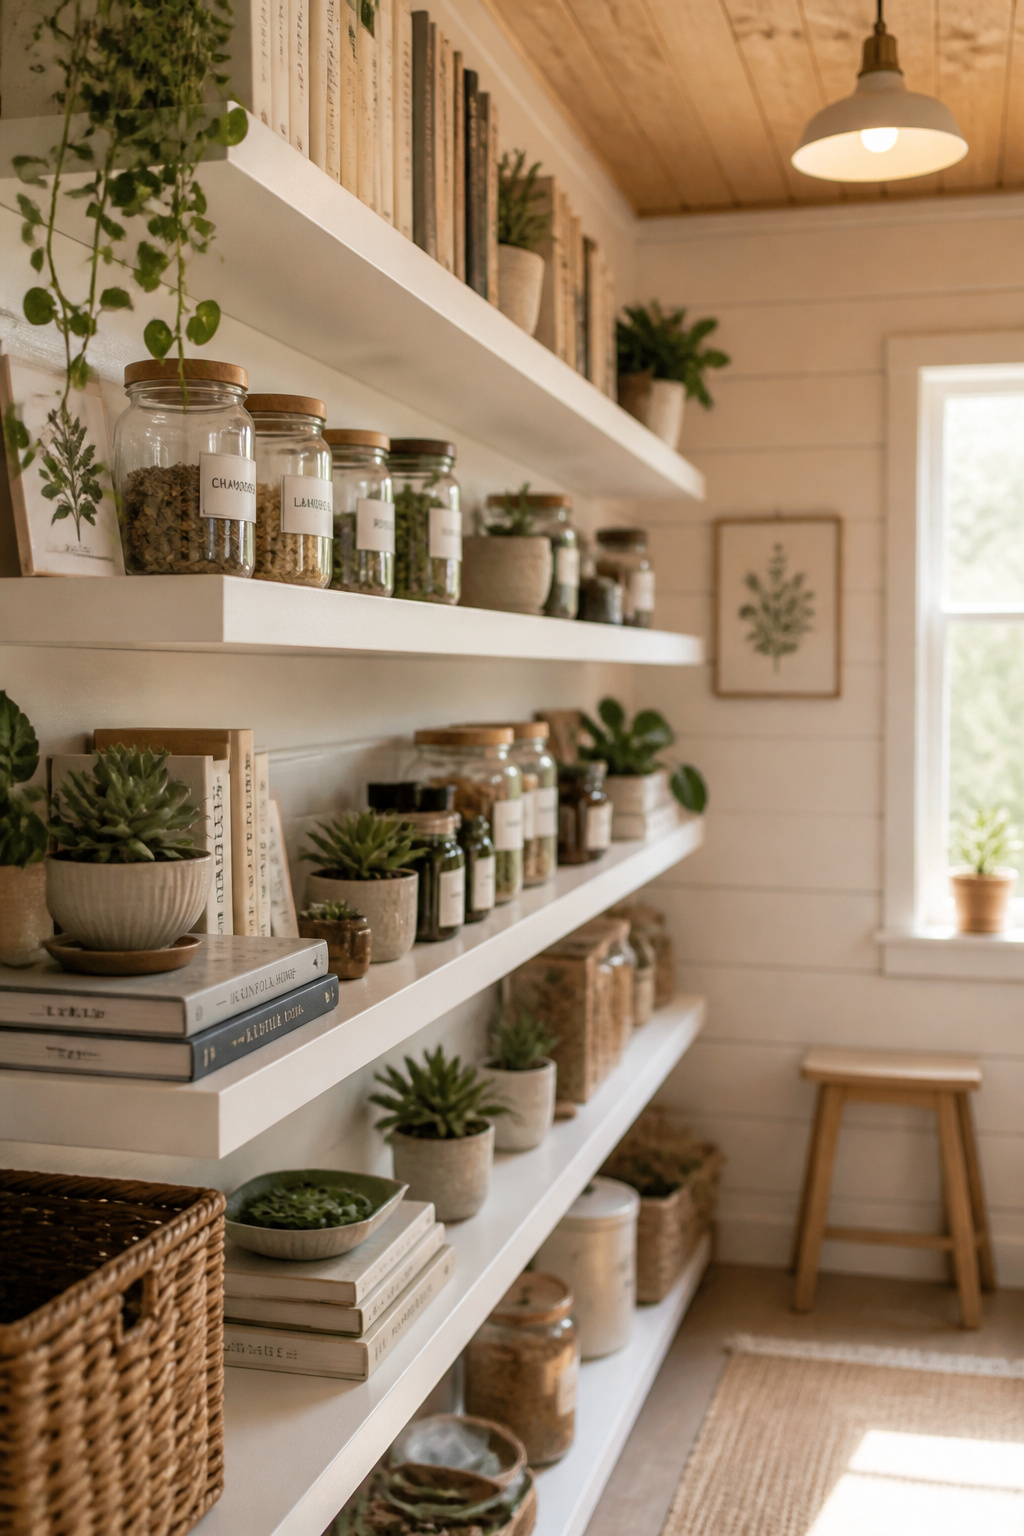
Most she sheds land between 80 and 120 sq ft, and at that scale the layout decisions outweigh every decorating choice. Where the storage goes, how the room is zoned, whether the furniture earns its floor space — these decide daily usability far more than paint does. Start by matching the size to the use.
| Size | Sq ft | Fits comfortably | Tight squeeze | Won’t work |
|---|---|---|---|---|
| 8×10 | 80 | Reading, meditation, modest craft | A fold-down desk nook | Full-time office |
| 10×12 | 120 | Full office, dual-use desk + seating | Light three-function | Three separate zones |
| 12×16 | 192 | Three real zones, small studio | A guest-room hybrid | — |
Common sizes — 8×10 to 10×12 — and what fits in each
An 8×10 (80 sq ft) holds a comfortable armchair, a small side table and built-in shelving along one full wall — plenty for reading, meditation or a modest craft setup. A 10×12 (120 sq ft) is the most commonly built size, and the first that takes a full desk with a second chair and filing storage — the minimum I’d plan for a full-time office. Zoning one room for two uses works only when the activities share compatible furniture: a desk that doubles as a craft table, a yoga floor that becomes meditation space when the mat rolls up.
Zoning a single room for more than one use
In a compact shed, vertical space is the resource that matters most: wall-mounted shelves, pegboards and overhead storage keep the floor clear and make the room feel bigger than its footprint. Multi-use furniture does the rest — a drop-leaf table that folds away, an ottoman that stores. The discipline is restraint: over-zone for three uses and you get three unusable half-spaces instead of one excellent room. Full detail on small she shed layout planning — sizing, zoning and the tricks that make small feel generous — sits in the layout spoke.
Built-ins and vertical storage that earn their floor space
Built-ins beat freestanding furniture because they use the space freestanding pieces waste. Wall-mounted shelves at 12-inch depth are the standard — deep enough for most books and supplies without narrowing the walkway. Pegboard is the most flexible system going: hooks reposition as uses change, and a 4×4 ft panel stores dozens of tools. The principle holds across every use: send storage up the walls and let the floor stay open.
Insulation, Power and Year-Round Comfort
An uninsulated shed is a six-month shed. Heat or cooling escapes through gaps and thin walls faster than the system can replace it, so the shed is usable only in the shoulder months — half the year lost. The fix is to treat the shell and the systems as one decision, made before you fall for any particular heater. The table below covers the main options at a glance; the deeper material-by-material breakdown lives in the dedicated guide.
| Option | Best climate | Approx. cost | DIY or pro |
|---|---|---|---|
| Fiberglass batt | Temperate | $0.30–$0.80 / sq ft | DIY |
| Rigid foam board | Cold | $0.50–$1.50 / sq ft | DIY (experienced) |
| Closed-cell spray foam | Extreme / tiny sheds | $3.00+ / sq ft | Pro |
| Mini-split heat pump | All, incl. cold | $2,000–$5,000 installed | Pro |
| Portable electric heater | Mild / light use | Under $200 | Plug-in |
Why an uninsulated shed loses you six months of the year
The physics are simple and unforgiving. A thin-walled shed stores no energy, so the moment a heater switches off the warmth is gone, and while it runs it fights a steady leak through the walls and ceiling. The result in a temperate climate is a structure pleasant in spring and autumn and unusable the rest of the time. Insulation converts those two seasons into four; skip it and even an expensive mini-split can’t hold the room.
Insulation and heating options at a glance
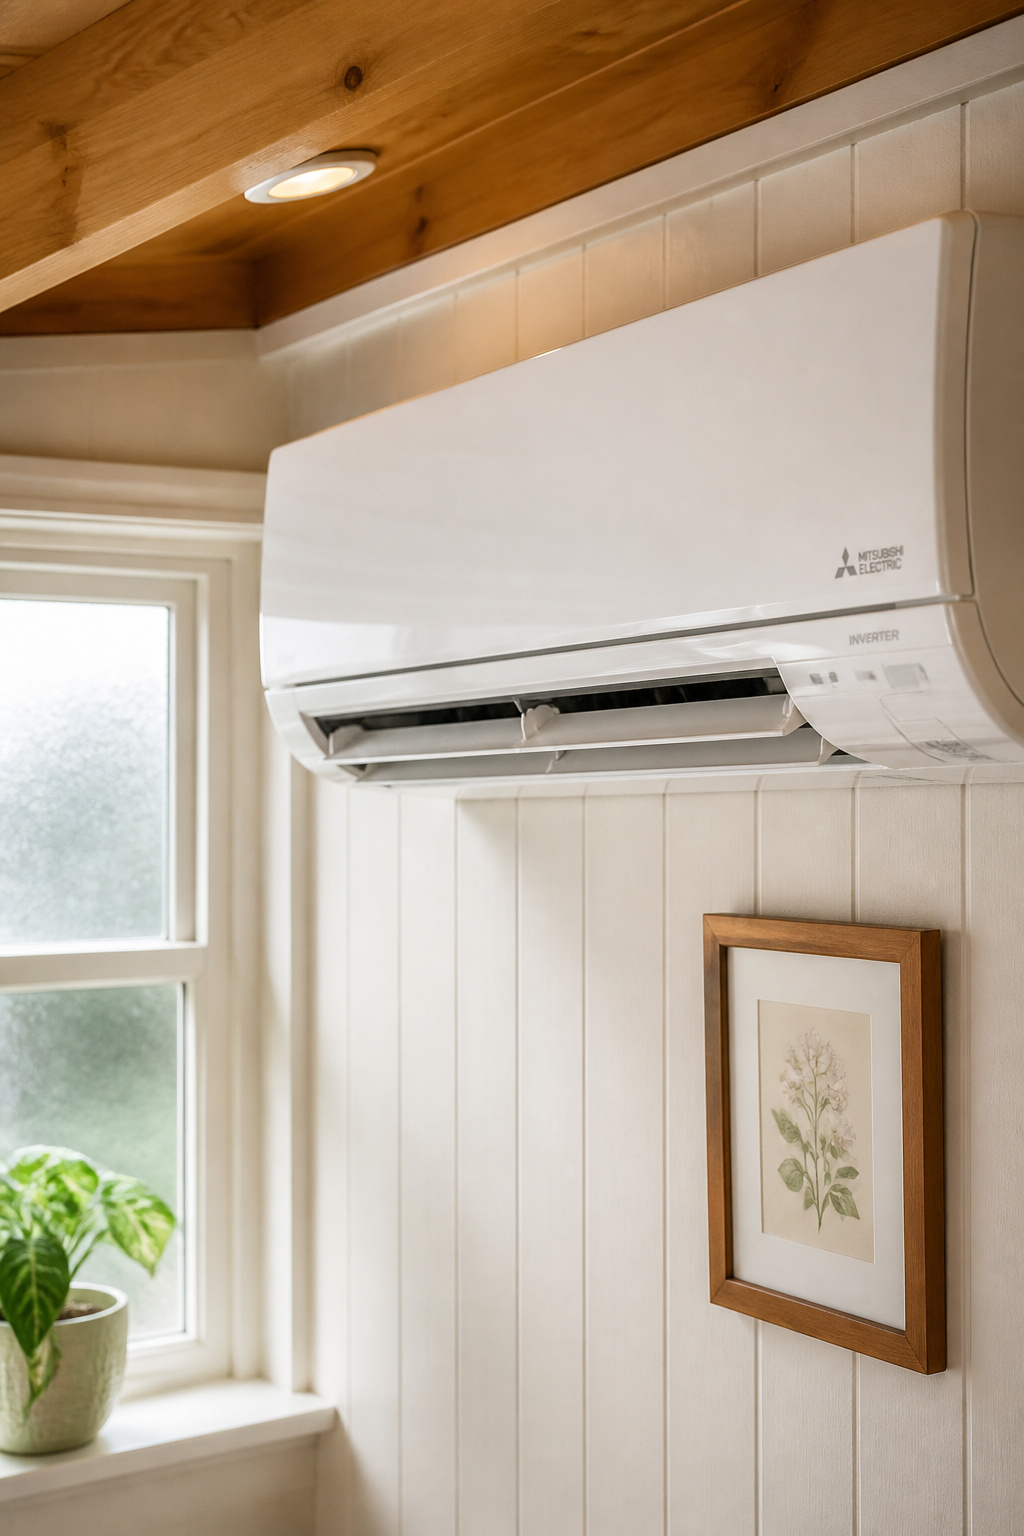
Fiberglass batt is the budget choice at R-3.1–3.4 per inch, DIY-friendly and good for temperate climates, with the bonus of some noise reduction; closed-cell spray foam delivers the category’s highest R-value at R-6.0–7.0 per inch and seals air gaps as it goes, but it’s a pro install. For heat, a ductless mini-split is the benchmark: it heats and cools from one quiet unit at $2,000–$5,000 installed, and the running-cost savings typically recover the upfront price within two to three seasons. A portable electric heater needs no install but runs less efficiently for sustained use.
Adding electricity: what needs a licensed electrician
This is where I tell you plainly to hire out. Most jurisdictions require a permit to run power to a shed, $50–$500, and some demand a licensed electrician to pull it. More to the point, the dangerous steps belong to a pro: any shed with more than one circuit needs a sub-panel by code, and a detached structure with a sub-panel needs its own grounding system. Underground conduit in a buried trench is the durable, code-preferred feed across the yard. As one electrical contractor puts it: “This work is dangerous and complex… you should always hire a licensed electrician for these connections.” The full walkthrough of insulating a she shed for year-round use — R-values, draft-sealing, ventilation and the wiring sequence — carries the depth.
Decorating Your She Shed: Directions That Actually Work
Decor is where most guides start and where I’d have you finish, because styling only reads as deliberate once the bones are right. Three decorating directions hold together: cottage/vintage suits creative and reading pursuits, garden naturalist suits potting and plant care, and modern minimal suits office and focused work. The mistake is mixing them — a cottage shed with industrial pendants and minimalist furniture reads as three half-finished rooms. Pick one, match it to your use, and let paint and lighting do the heavy lifting; the next section breaks down each style’s materials and upkeep in full.
Where paint does the heavy lifting
Paint is the single highest-impact decision in the room, and it works on two levels. Aesthetically, natural green tones — sage, olive, eucalyptus — lead the 2025 exterior palettes because they blend into a garden, hide dirt and read as calm, with matte and satin finishes trending over gloss. Practically, colour is climate management: a light exterior keeps the structure up to 40°F cooler than an equivalent dark one in full sun. Inside, match paint to function — bright whites for craft spaces where colour accuracy matters, warm off-whites and wood tones where calm does.
Lighting that changes the mood from morning to evening
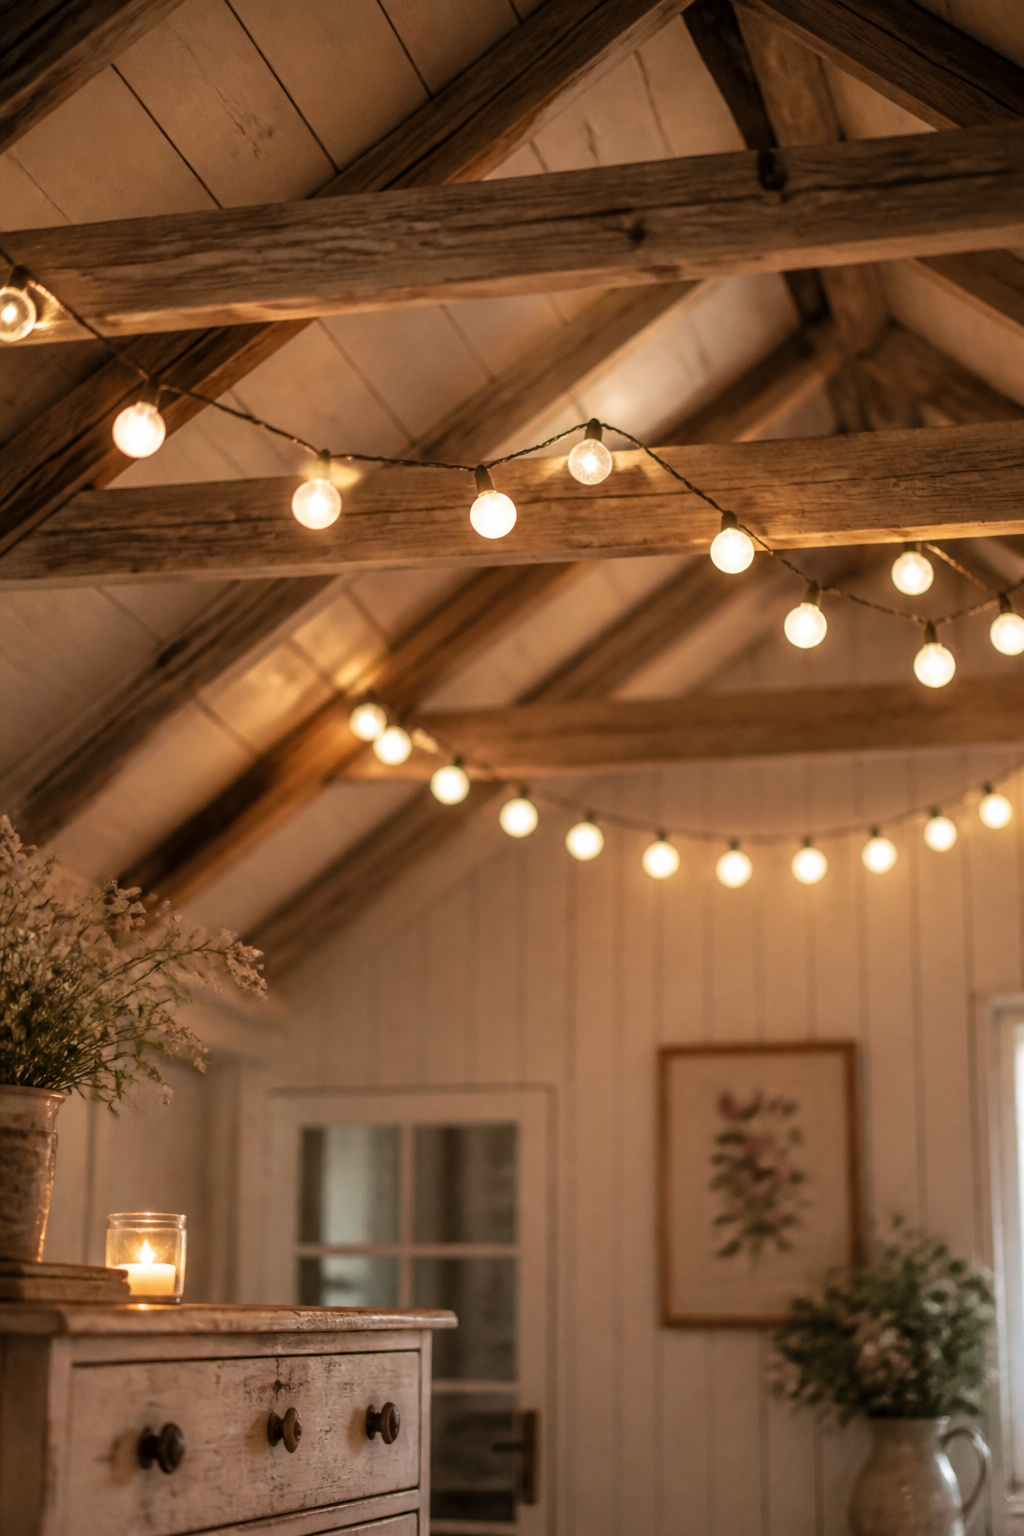
Layer it, the same way you would any room you live in: ambient light from an overhead fixture, task light from a desk lamp or sconce, atmosphere from string lights or dimmer-controlled warm LEDs. Match colour temperature to use — 4000K–5000K cool-white for craft and office accuracy, 2700K–3000K warm-white for meditation and reading calm — and smart bulbs let one fixture serve both moods without rewiring. Warm globe string lights draped between exposed rafters are one of the most affordable atmospheric upgrades there is, and they do more for the feel of the room than any single pendant. For sourcing it all without overspending, here’s how to decorate a she shed on a budget.
Backyard She Shed Designs: Styles Worth Knowing
Step back and a she shed is a whole-object design — exterior and interior reading as one coherent thing or not at all. The three established she shed designs each carry a characteristic material set, palette and a maintenance bill you live with for years. That last column is the one the photos never show and the one I’d weight heaviest: the finish you won’t maintain is the wrong finish for you. Here’s how the three compare.
| Style | Key materials | Colour palette | Maintenance demand |
|---|---|---|---|
| Cottage / vintage | Painted tongue-and-groove, salvaged wood | Pastels + white trim | Repaint every 3–5 yrs |
| Garden naturalist | Cedar, corrugated metal, climbers | Natural wood, silver-grey patina | Reseal cedar every 1–2 yrs |
| Modern minimal | Composite / cement-board siding | 1–2 neutrals | Lowest — 20+ yrs on composite |
Cottage and vintage: painted tongue-and-groove, salvaged finds
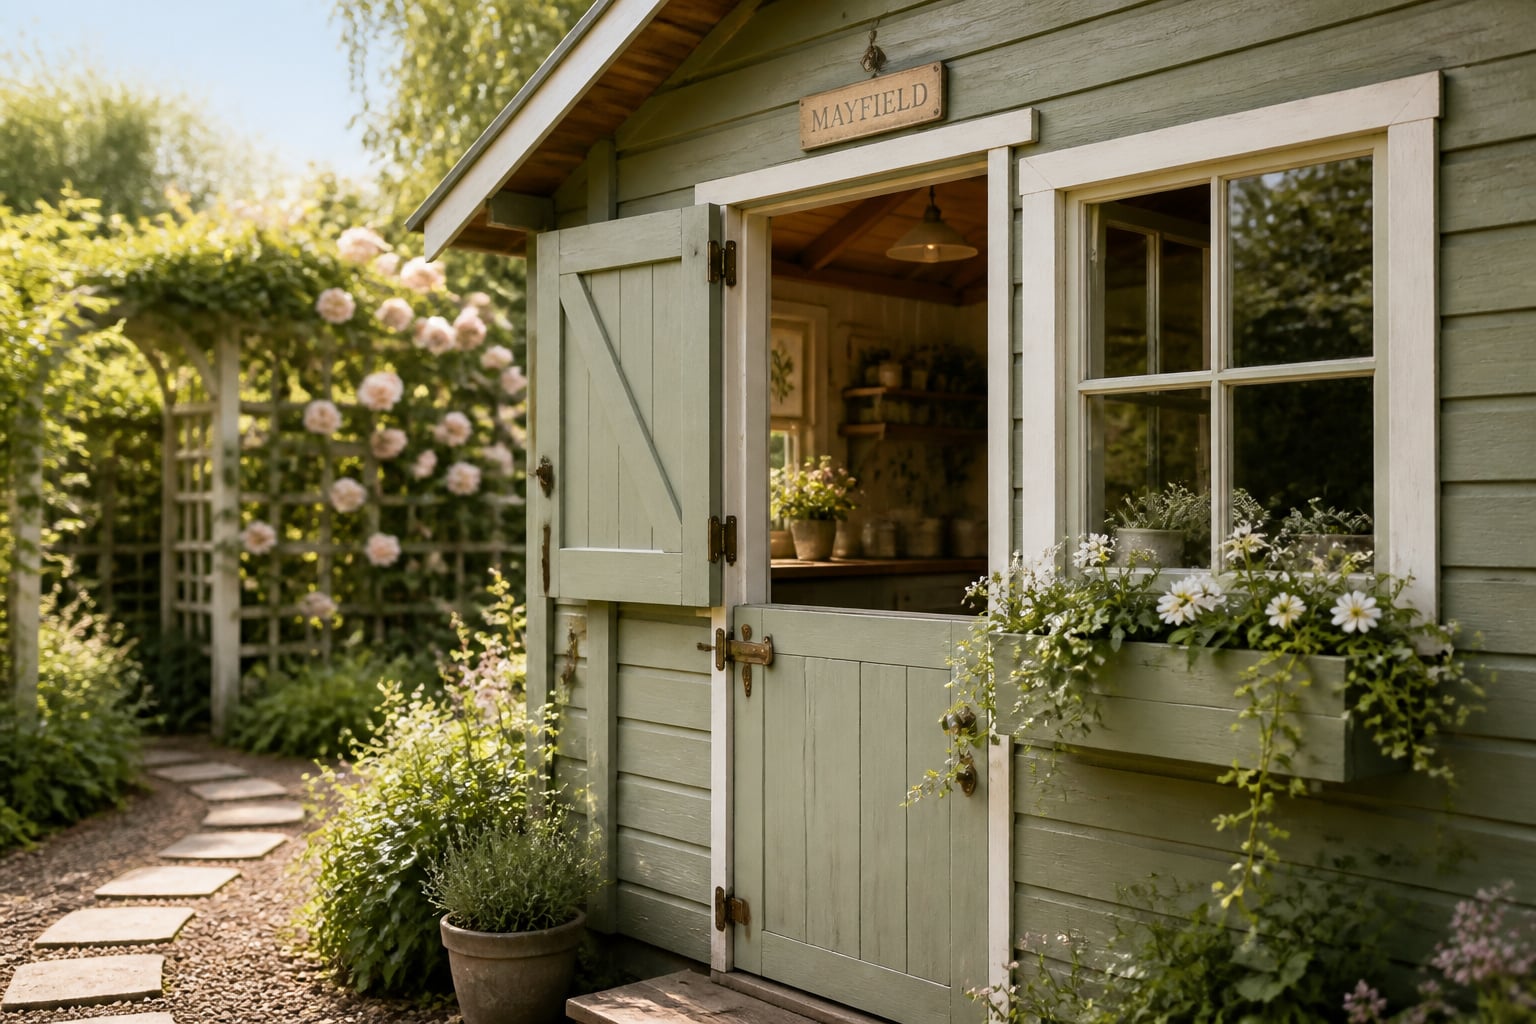
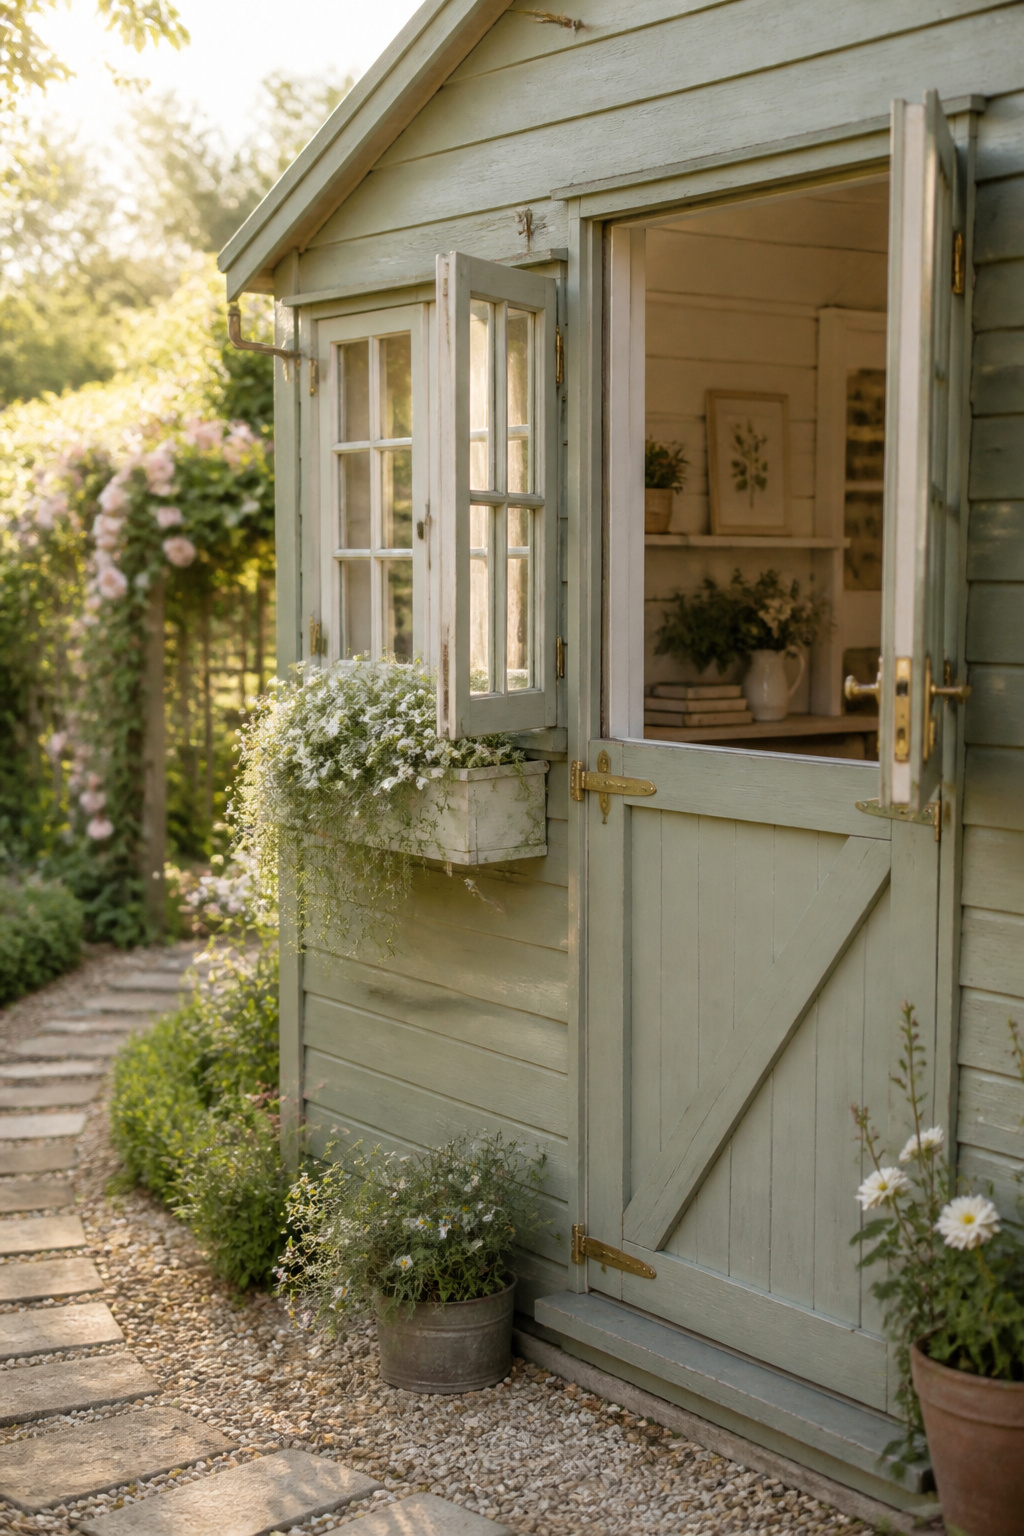
The cottage shed is a light pastel body with white trim and a window box of trailing plants — the detail that merges shed and garden. Interior walls are usually tongue-and-groove or beadboard painted off-white, blush or pale sage. Furniture comes from antique markets and estate sales: distressed painted wood, rattan, wicker, aged hardware, where scuffs are the style rather than defects to correct. The trade-off is upkeep — and skip gloss on the exterior, since it spotlights every imperfection and ages badly on exposed timber.
Garden naturalist: cedar, corrugated metal, climbing plants
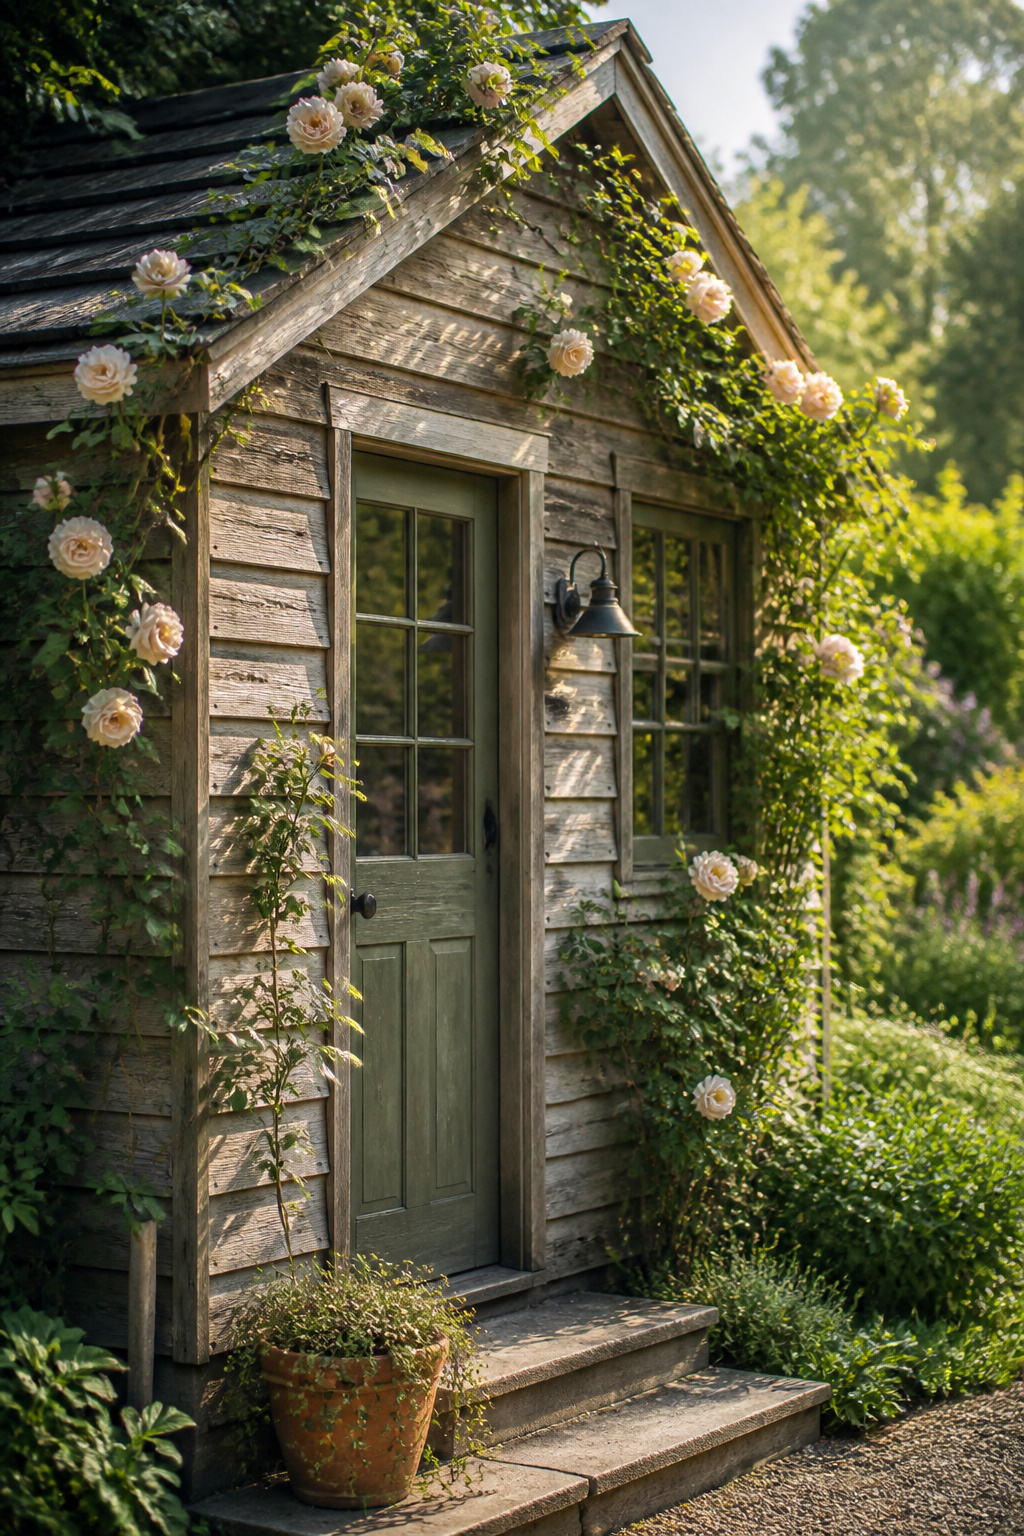
This is the style that disappears into the garden, and the one closest to my own register. Cedar shake or horizontal boards are the signature: natural oils resist rot and insects without chemical treatment, and the wood deepens to a prized silver-grey patina as it ages. Corrugated metal on the lower half protects the base from garden splashes while warm wood above keeps it from reading industrial. Climbers do the rest — roses for scent, clematis for colour, wisteria for spring drama. As one gardening editorial notes, encouraging vines over the walls “softens hard edges, provides seasonal interest, and helps your structure blend seamlessly into the garden landscape.” One caution: never train wisteria onto a lightweight timber frame without serious support — it can do real damage within a few years. Cedar wants resealing every 1–2 years; the metal wants an annual rust check at the cut edges.
Modern minimal: clean lines, muted palette, no clutter
The modern shed earns its calm through restraint and pays it back in low maintenance. Smooth siding — cement board, composite or painted cedar — in soft grey, off-white or muted earth, with a mono-pitch roofline and no decorative trim. Inside, two neutrals at most reflect natural light and amplify a small footprint, while storage stays built-in and concealed. The discipline is the whole point: fill it with display objects and you’ve defeated the style. The reward is the lowest upkeep of the three — composite needs no repainting for 20-plus years.
Planning for the Long Term: What Makes a She Shed Retreat Last
A shed lives outdoors, and the weather tests every choice you made twice a year. The sheds still a pleasure to walk into a decade on are the ones where the materials were chosen for the worst month, not the catalog’s best photo — and where someone gave them an hour each spring. This is the unglamorous half of a she shed retreat, and the half that decides whether the project was worth it. It comes down to three things: materials that age well, an honest maintenance habit, and the connection between the shed and the house.
Weather and material choices that age well
The structural choices set the ceiling on how long the shed lasts. Pressure-treated pine framing can last 50-plus years with basic care — the longest-lasting, lowest-cost choice. Cedar cladding outperforms it in wet or shaded spots without chemical treatment, and both can reach 25–40 years cared for. Composite siding resists moisture, insects and UV, needs no resealing, and often carries a 20-year warranty; metal gives 15–25 and wants rust checks rather than repainting. Whatever the wood, the single highest-impact habit is a water-repellent sealer on exterior surfaces every 2–3 years. That’s the cedar deck I built with my uncle at sixteen, still standing because it got re-oiled every spring since — maintenance as relationship, not chore.
The maintenance reality — what every spring demands
Two planned checks keep a shed honest: spring to find what winter broke, autumn to brace for what’s coming. The spring walkthrough:
- Roof — check for loose shingles, panels not sitting flat, and fasteners pulling up or rusting; inspect the wall-to-roof seams first, where most leaks start.
- Paint and sealant — chalking or flaking means reapplication within the season; a full year of bare wood lets in the moisture that causes structural damage.
- Weatherstripping — freeze-thaw opens gaps around windows and doors; caulk the small ones, and use tubular silicone on doors, which lasts and flexes far better than foam.
When the shed is ready: the indoor-outdoor test
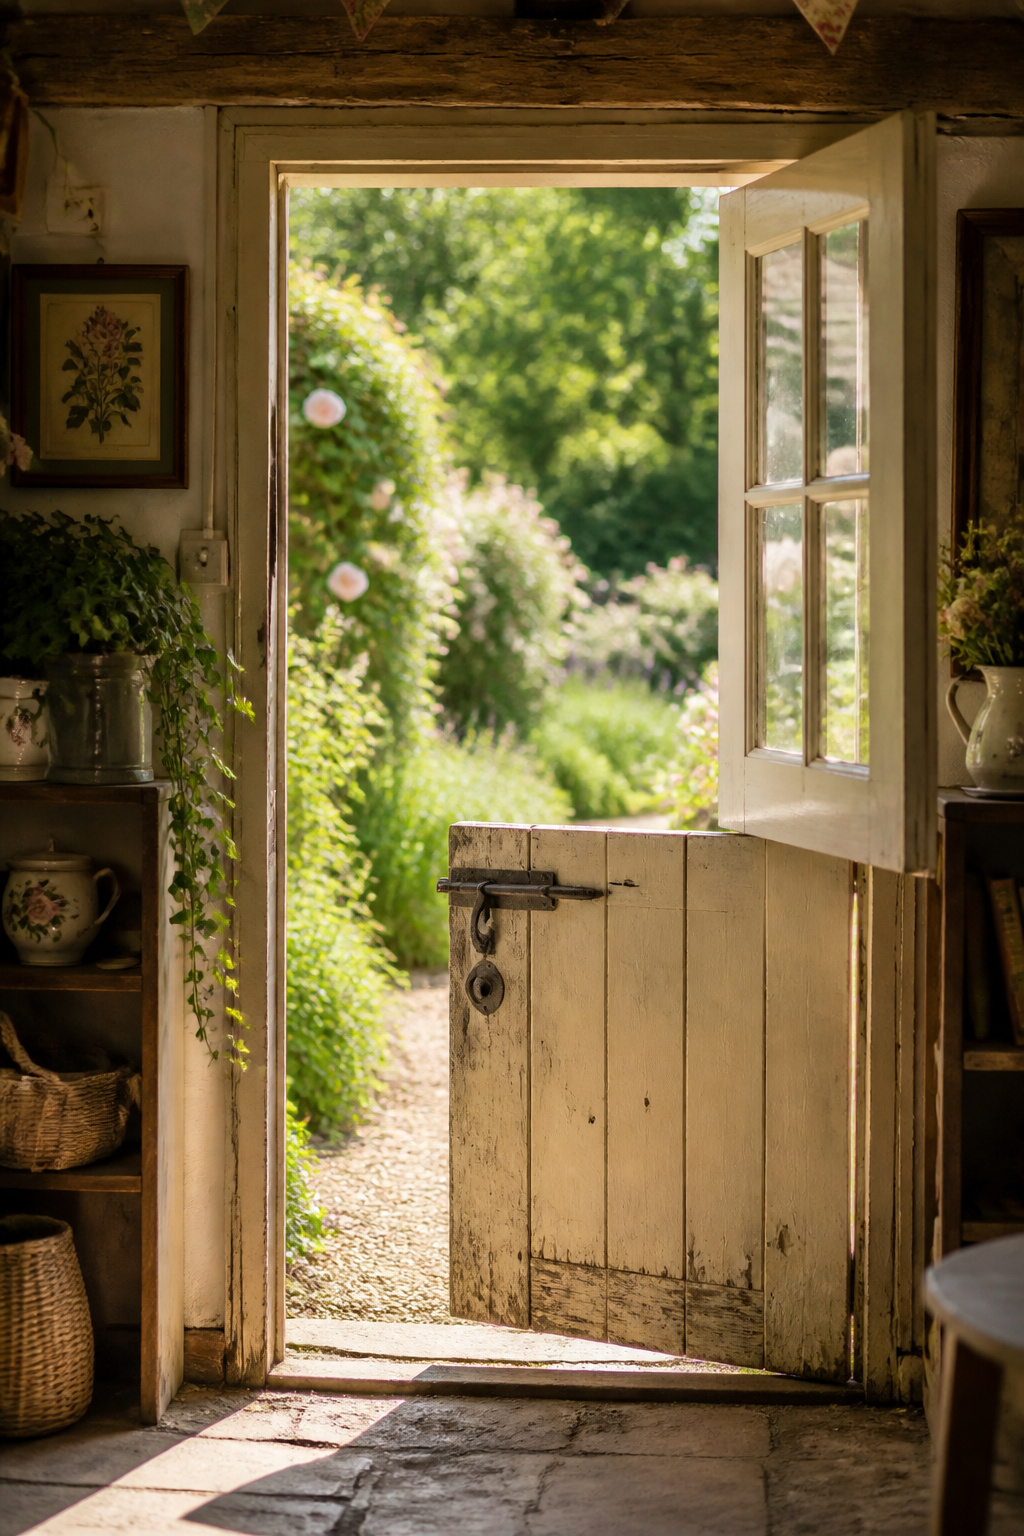
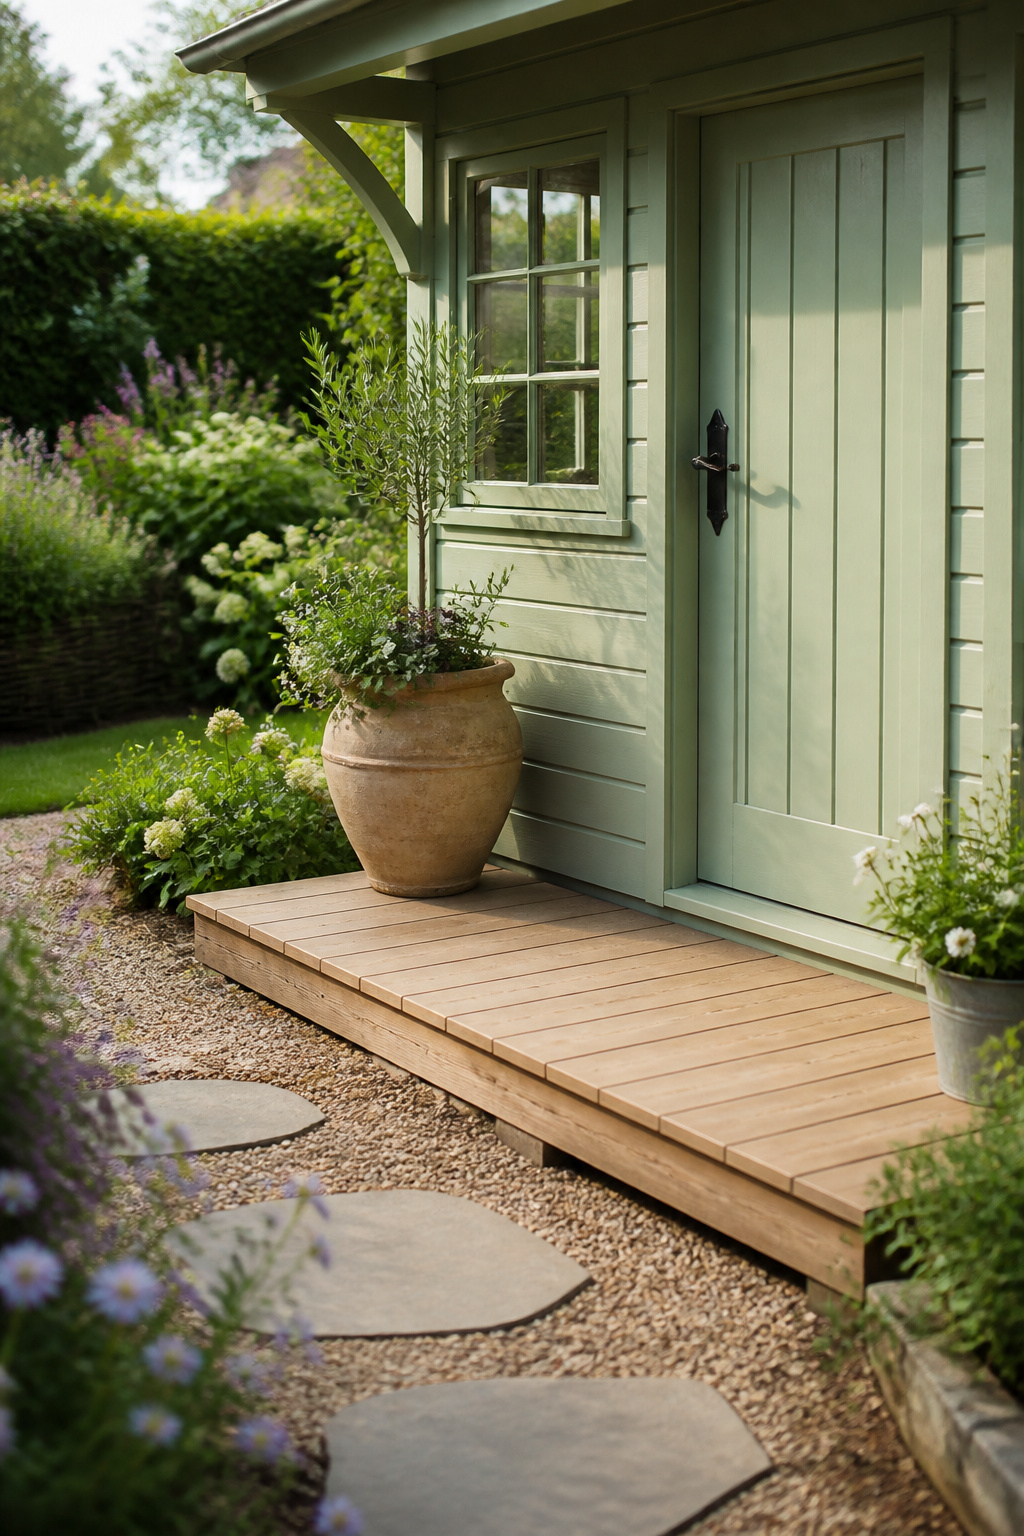
Here’s the test that tells you the shed is truly finished, and it has nothing to do with the interior. Stand at the back door and look at the path. If the route is muddy, overgrown or unlit, the shed gets used less — the landscape connection matters as much as anything inside. A stepping-stone or gravel path makes the walk deliberate, signalling a destination rather than an afterthought, and a small landing at the entry, even 4 ft × 6 ft, gives you somewhere to knock the mud off your boots and an outdoor perch in good weather. My own backyard “June kitchen” — a grill, a salvaged prep table and a string of lights under a pergola I built in three weekends — taught me the same lesson a she shed teaches: a modest space you drift into beats a showpiece you photograph once. When the walk out feels like part of the pleasure, it’s done.
If I had to compress a decade of this into a few lines: decide the one thing the shed is for before anything else, and let that drive the size, the power and the layout. Site it for morning sun and afternoon shade. Insulate before you heat, and hire the electrician for the panel work. Pick one decorating direction and commit. Then the styling — the part you came here looking for — falls into place on its own, because a shed built around real use is hard to make ugly. The sheds that get lived in aren’t the prettiest in the search results; they’re the ones someone thought about in the right order.