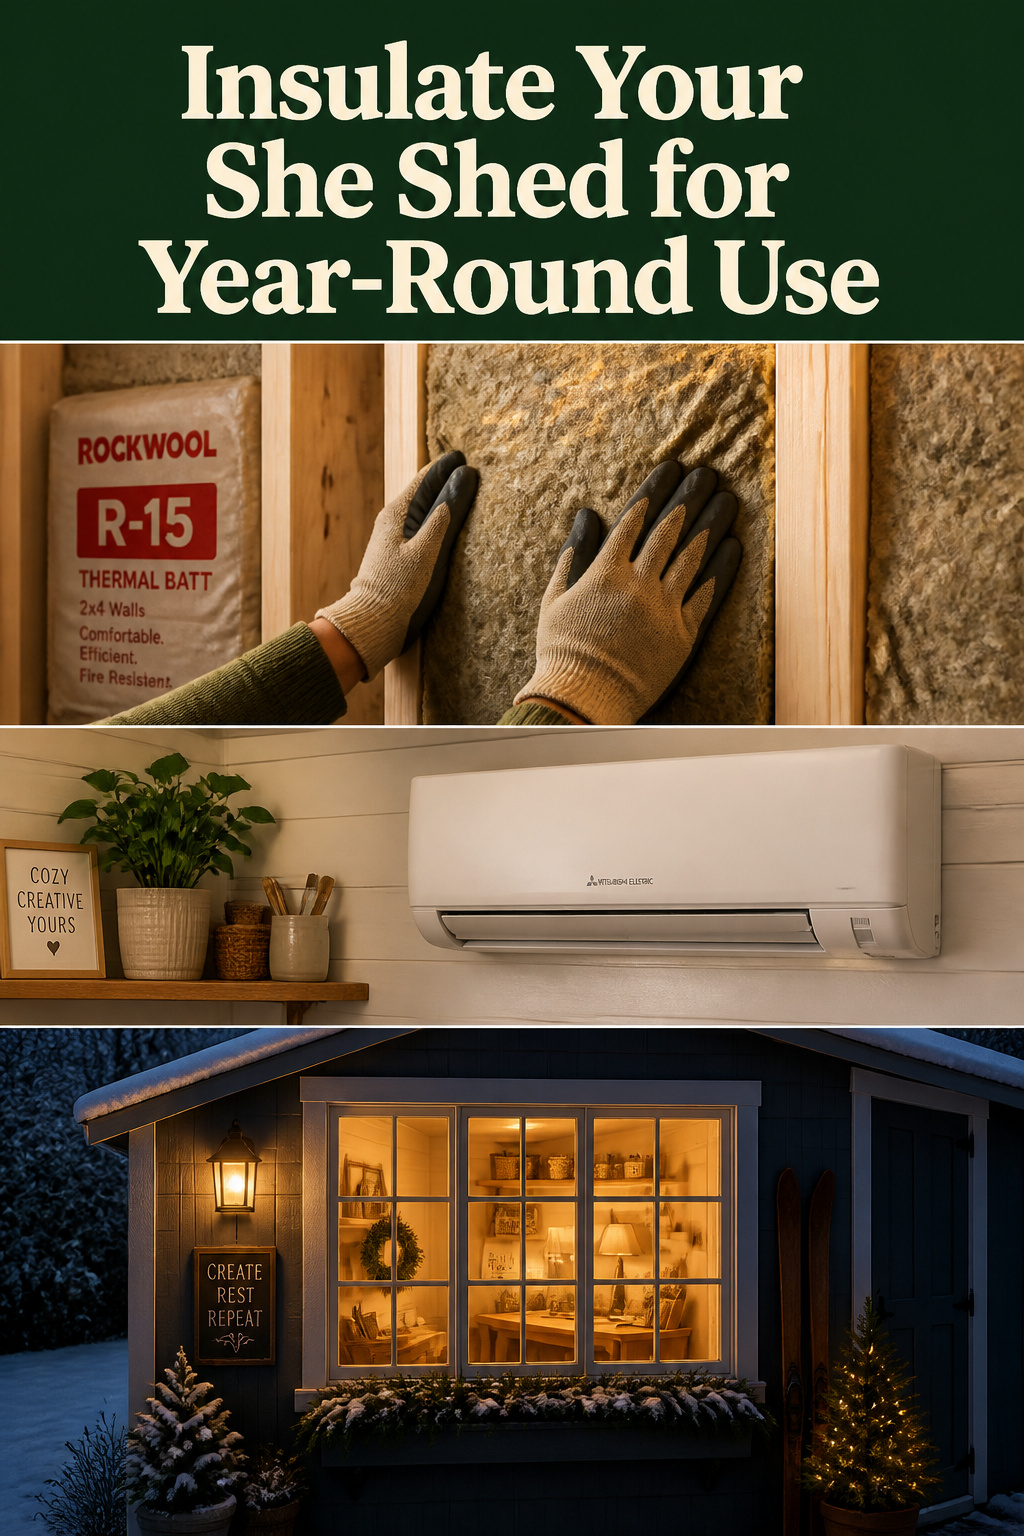
Here is what catches almost everyone out about an insulated she shed: the heater is rarely the problem. People buy a 1,500-watt unit, fire it up on a cold January evening, and watch it run flat out while the room never warms. The shed isn’t underpowered — it’s a sieve. An uninsulated shed loses all its added heat within hours of the heater switching off, because the shell stores no energy. Fix the building first, and a modest heater does the work of an expensive one.
TL;DR
- An insulated she shed needs the envelope sealed and insulated before any heater goes in — most heat escapes through the ceiling and walls, and a heater can’t outrun that loss.
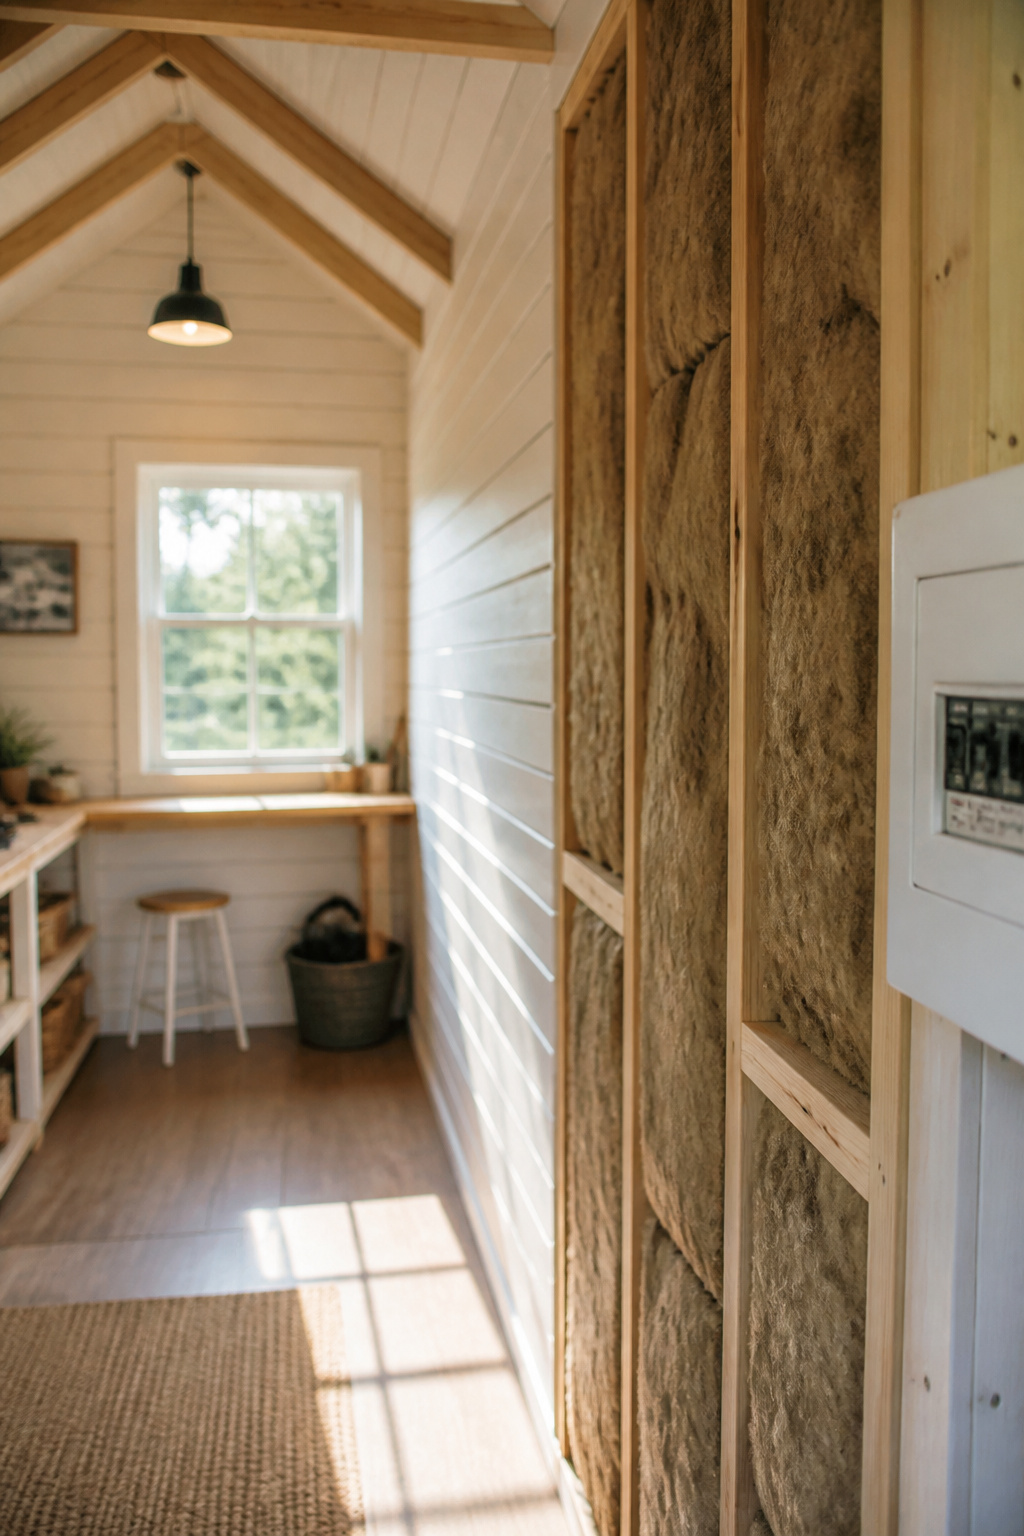
- Rockwool R-15 batts in the walls, R-30 to R-49 in the ceiling, and a mini-split heat pump (COP 2.5–4.0) are the year-round benchmark for a 100–200 sq ft shed.
- Adding electricity means a licensed electrician for the panel work, plus deliberate ventilation so a tight, sealed shed doesn’t trap moisture and rot its own framing.
For the bigger picture on purpose and siting, the she shed ideas pillar covers the whole journey. This guide is the climate-and-comfort half, run in the order the work happens: envelope, then sealing, then heating, then power, then upkeep.
Why Your She Shed Heater Isn’t the Problem
Where the heat actually goes in an uninsulated shed
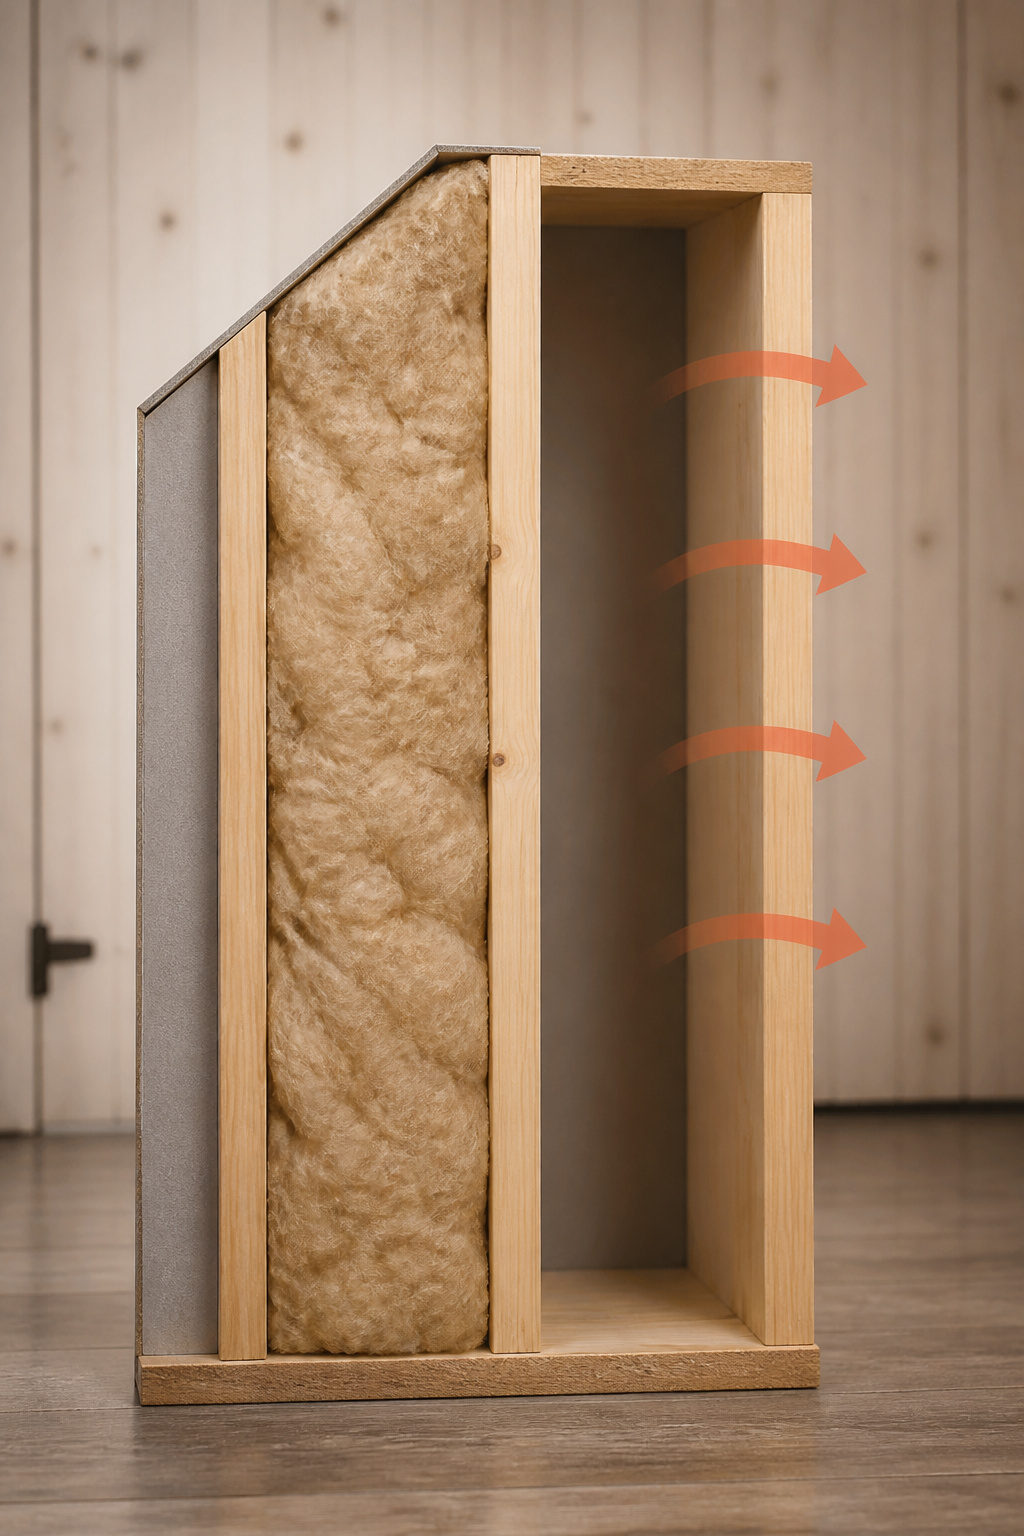
Warm air rises, presses against the ceiling — the highest, least-resistant surface — and leaves. By rough rule-of-thumb estimates, the ceiling accounts for approximately 65% of an uninsulated shed’s heat loss, walls the remaining 35%. Treat those as illustrative; the exact split varies. But the principle holds: heat goes up first, and most kit sheds arrive with wall-only insulation or none, leaving the worst offender untreated.
The envelope-first rule: insulate before you heat
Seal and insulate the shell before you spend a cent on heat — no heater compensates for steady loss through walls and ceiling. Proper sealing and insulation cut winter energy costs by 10–20%, and the gain is proportionally larger in a shed. Before you buy any heater, work through these four:
- Seal the air leaks — around windows, doors, outlet boxes and the floor perimeter, where even a 1/8-inch gap around a door admits as much cold air as a half-open window.
- Insulate the ceiling — the highest-loss plane, and the one DIYers skip most.
- Insulate the walls — to the right R-value for your climate.
- Insulate the floor — the source of cold feet that ruins a shed even when the air is warm.
A can of spray foam belongs in those gaps and penetrations, not in your stud bays.
What ‘year-round comfortable’ actually requires — by climate zone
Your DOE/IECC climate zone sets the targets. Warm zones 1–3 want R-13 to R-15 walls; mixed zones 4–5 want R-15 to R-19; cold zones 6–7 want R-19 to R-21; the coldest wants R-21-plus. Ceilings always want roughly double the wall figure — R-38 to R-49 for conditioned space — because heat stratifies upward. What fits also depends on how the shed was built: stud depth and roof framing decide what will physically go in.
Insulation Types: What Goes Where in a She Shed
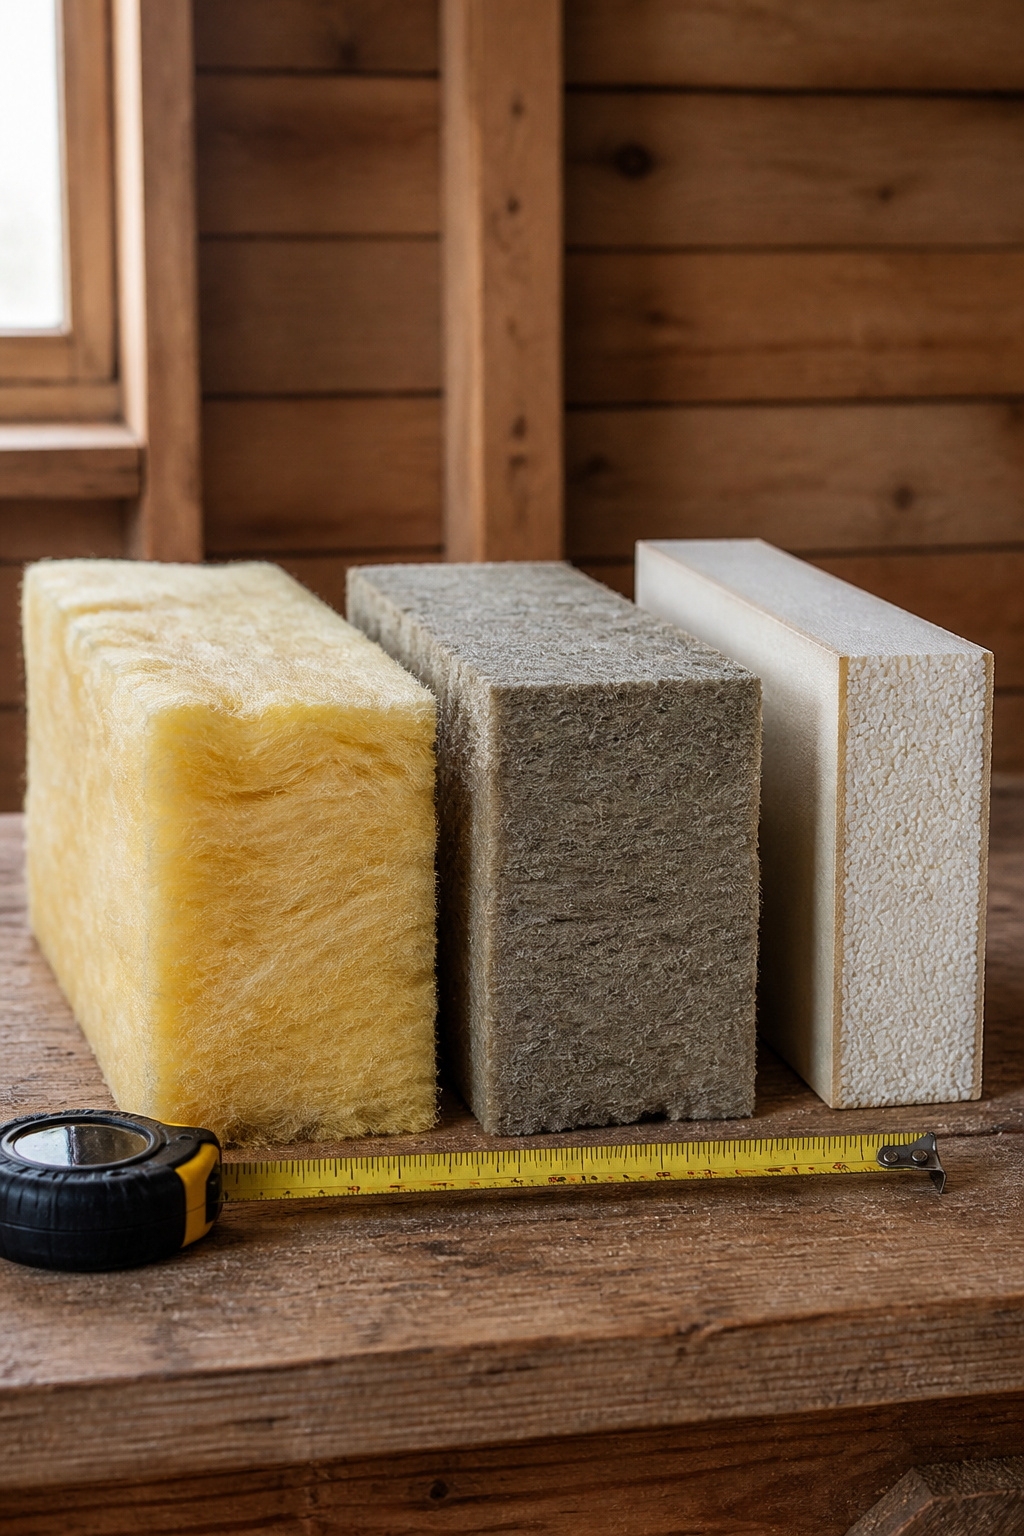
Three materials cover almost every she-shed job — here’s how they compare:
| Insulation type | R-value per inch | Approx. cost per sq ft | DIY or pro | Best for |
|---|---|---|---|---|
| Fiberglass batt (R-13) | 3.0–3.7 | $0.30–$0.80 (DIY) | DIY | Tight budgets, dry sheds |
| Rockwool batt (R-15) | 3.0–4.2 | $0.62–$1.10 (material) | DIY | Conditioned walls, studios, offices |
| Closed-cell spray foam | 6.0–7.0 | $1.50–$3.50 (pro) | Pro | Shallow or irregular ceilings |
| XPS rigid foam board | 5.0 | varies by thickness | DIY | Thermal break over studs, under floors |
Batt vs rigid foam vs spray foam — and the cost difference
Fiberglass is the cheapest way to fill a cavity — but it compresses easily, losing R-value, and absorbs any moisture it meets. Rockwool costs roughly twice as much: it friction-fits without slumping, shrugs off damp, and holds its rating when slightly wet. For a shed you mean to condition, Rockwool is the one to reach for. Spray foam seals as it insulates, but at stud-bay scale it’s a pro job and runs 6–8x the cost of Rockwool per square foot.
Walls: the right R-value for your climate and stud depth
A standard 2×4 cavity — 3.5 inches deep — fits R-13 fiberglass or R-15 Rockwool and no more. Pack in extra and you just compress it, losing R-value. To beat R-15, add a continuous one-inch layer of XPS rigid foam over the stud faces before panelling. That adds R-5 and breaks the thermal bridge through the studs, which otherwise shaves 15–20% off the labelled rating, pushing the effective wall toward R-20.
Ceiling and floor: the two spots most DIYers under-insulate
Ceilings want R-30 to R-49 — a single R-19 batt falls short in Zone 5 and colder. Where rafter bays are shallow, closed-cell spray foam at 3–4 inches gives R-21 where a batt would give R-13. The floor is the quiet saboteur: one Maryland owner foamed her ceiling to R-21 but still got cold feet all winter under a working mini-split because the floor went untreated. For an elevated shed, two inches of rigid foam under the joists adds about R-10; if you can’t reach underneath, one inch over the subfloor adds R-5.
Sealing Drafts and Managing Moisture
Air-sealing is the step most DIY jobs skip — and it’s what separates a warm, dry shed from a cold, mouldy one. Find the leaks before a single batt goes in.
The draft-check walkthrough before you insulate
Walk the shed on a breezy day, in order:
- Move a lit candle or incense stick slowly past window frames, door jambs, outlet boxes, and the wall-plate-to-floor line — a flickering flame or drawn smoke marks the leak.
- Test door seals with a dollar bill: close the door on it, and if it pulls out easily, replace the weatherstripping.
- Foam-seal the penetrations — wire entries, conduit, base-plate gaps, and the corners where two walls meet.
- Fit peel-and-stick foam gaskets behind exterior-wall outlet cover plates; they cost pennies and kill a consistent draft.
Seal the door perimeter last — a 1/8-inch gap leaks like a half-open window.
Vapour barriers: when you need one and where it goes
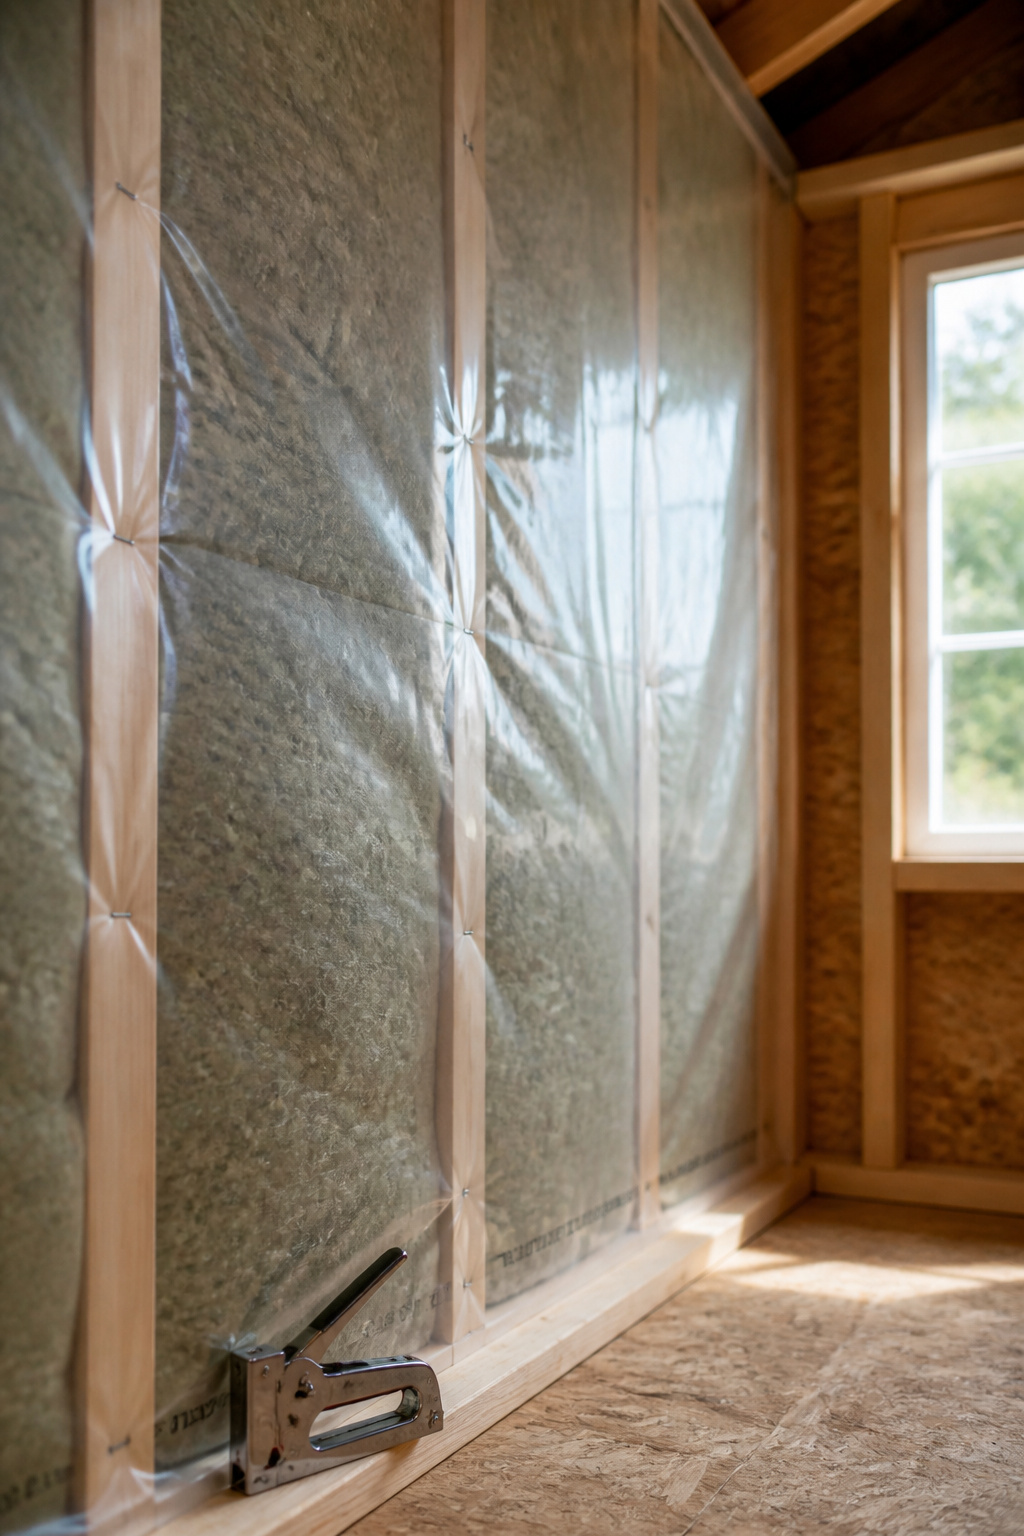
In a heating climate the vapour barrier goes on the warm side — the interior face of the studs — so moist indoor air can’t condense on the cold sheathing. Faced fiberglass gives a Class II retarder when you staple the paper flanges to the stud faces; unfaced Rockwool needs a 6-mil polyethylene sheet. The “two-thirds rule” — keeping at least two-thirds of the wall’s R-value outside the vapour layer — applies in Zones 5–7. Mixed zones and hot-humid climates manage vapour differently; check local guidance.
Ventilation and moisture control — why a tight shed needs airflow
Once you seal the water out, you trap moisture in — from breathing, plants, damp craft materials, and the humid air July pushes through the door. One 12×16 shed, beautifully sealed but under-ventilated, buckled its T1-11 siding from the inside out in a single season. Vent it on purpose: one square foot of net free vent area per 150 square feet of floor, intake low and exhaust high so the stack effect works for you. Ridge venting drops summer temperatures 20–30°F as a bonus. For an existing shed, opposing gable vents are the simplest retrofit.
Heating and Cooling Options for a Year-Round She Shed
With the envelope sealed, a small heater will do. Here’s how the four options stack up:
| Option | Approx. installed cost | Best climate | DIY install | Ongoing cost |
|---|---|---|---|---|
| Mini-split heat pump | $2,000–$5,000 (DIY kits less) | All, incl. cold | DIY kits available | Low (~$60/mo, 12k BTU) |
| Portable electric heater | under $100 | Mild / light use | Plug-in | High per BTU |
| Wood stove | varies + flue work | Cold / off-grid | Pro flue work | Low fuel, high tending |
| Vented propane heater | varies + gas supply | Off-grid | Pro | Moderate |
Mini-split heat pump: the benchmark option and why
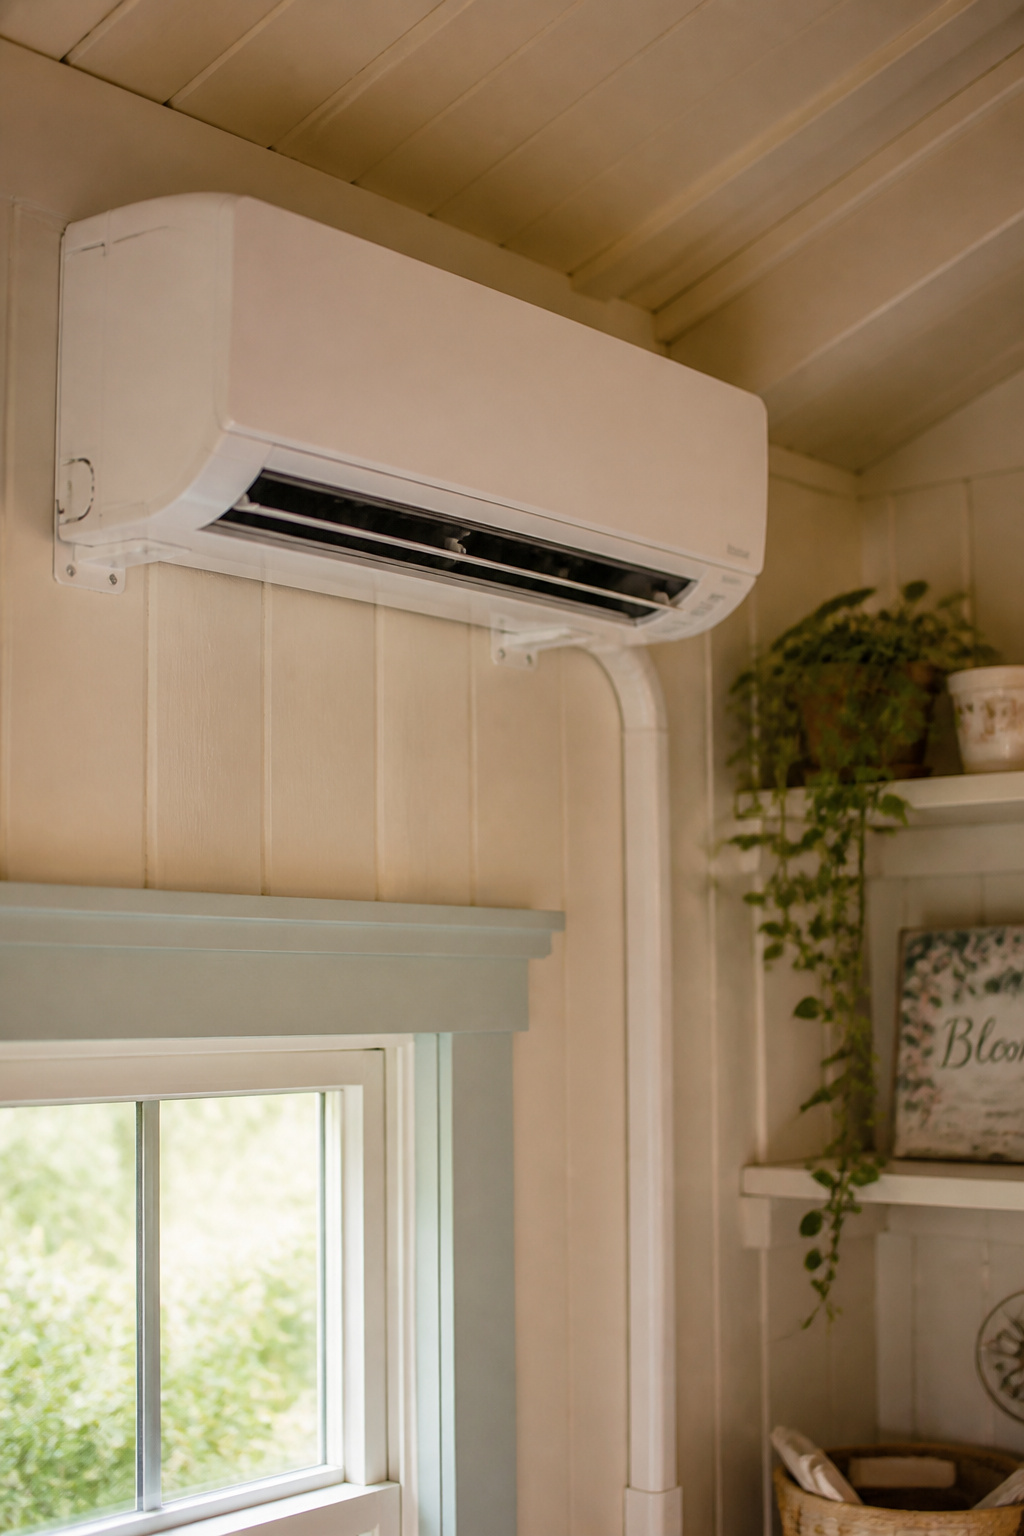
For a shed used across all four seasons, a mini-split is the near-universal answer. It runs at a coefficient of performance of 2.5–3.0 in moderate cold and 4.0+ in mild weather — a dollar of electricity buys $2.50 to $4.00 of heat. Running a 12,000 BTU unit 6–8 hours a day in a moderate winter costs around $60 a month, against $270–$300 for resistance heaters at the same hours. Size it at floor area times 25 BTU: a 9,000 BTU unit suits 100–200 sq ft. It also cools in summer, which is what genuinely earns “year-round” and makes the shed viable as a year-round office shed.
Portable electric heaters: what they can and can’t handle
A portable heater is cheap to buy, dear to run, and fine for light use. A 1,500-watt resistance unit puts out about 5,120 BTU/hour — nearly two would match a single 9,000 BTU mini-split. An infrared panel is the smarter portable, warming people and objects directly so it feels effective faster. It runs off a standard 120V outlet, the only option that needs no electrical upgrade. For a shed used a few hours a week the running cost barely registers; what it can’t do is hold temperature through a hard freeze.
Wood stove and propane: the charm-vs-practical trade-off
A wood stove brings charm a heat pump can’t match, but with rules you don’t skip. It needs a twin-wall insulated flue — never single-skin pipe — plus a non-combustible hearth (one UK supplier specifies 300mm/12 in. beyond the stove sides, 500mm/20 in. in front — treat as a guide, not law; your Authority Having Jurisdiction sets the binding clearances). A CO alarm and smoke detector are non-negotiable. Propane suits off-grid sheds, but only vented units belong indoors — an unvented heater dumps roughly a pound of water vapour per gallon burned into a sealed shed.
Adding Electricity to a She Shed Safely
This is the one part where I’ll say plainly: put the tools down. Running power to a detached building combines burial-depth rules, detached-structure grounding, and a connection into your main panel — all three create genuine shock and fire risk done wrong.
What a licensed electrician must do — and why this isn’t DIY territory
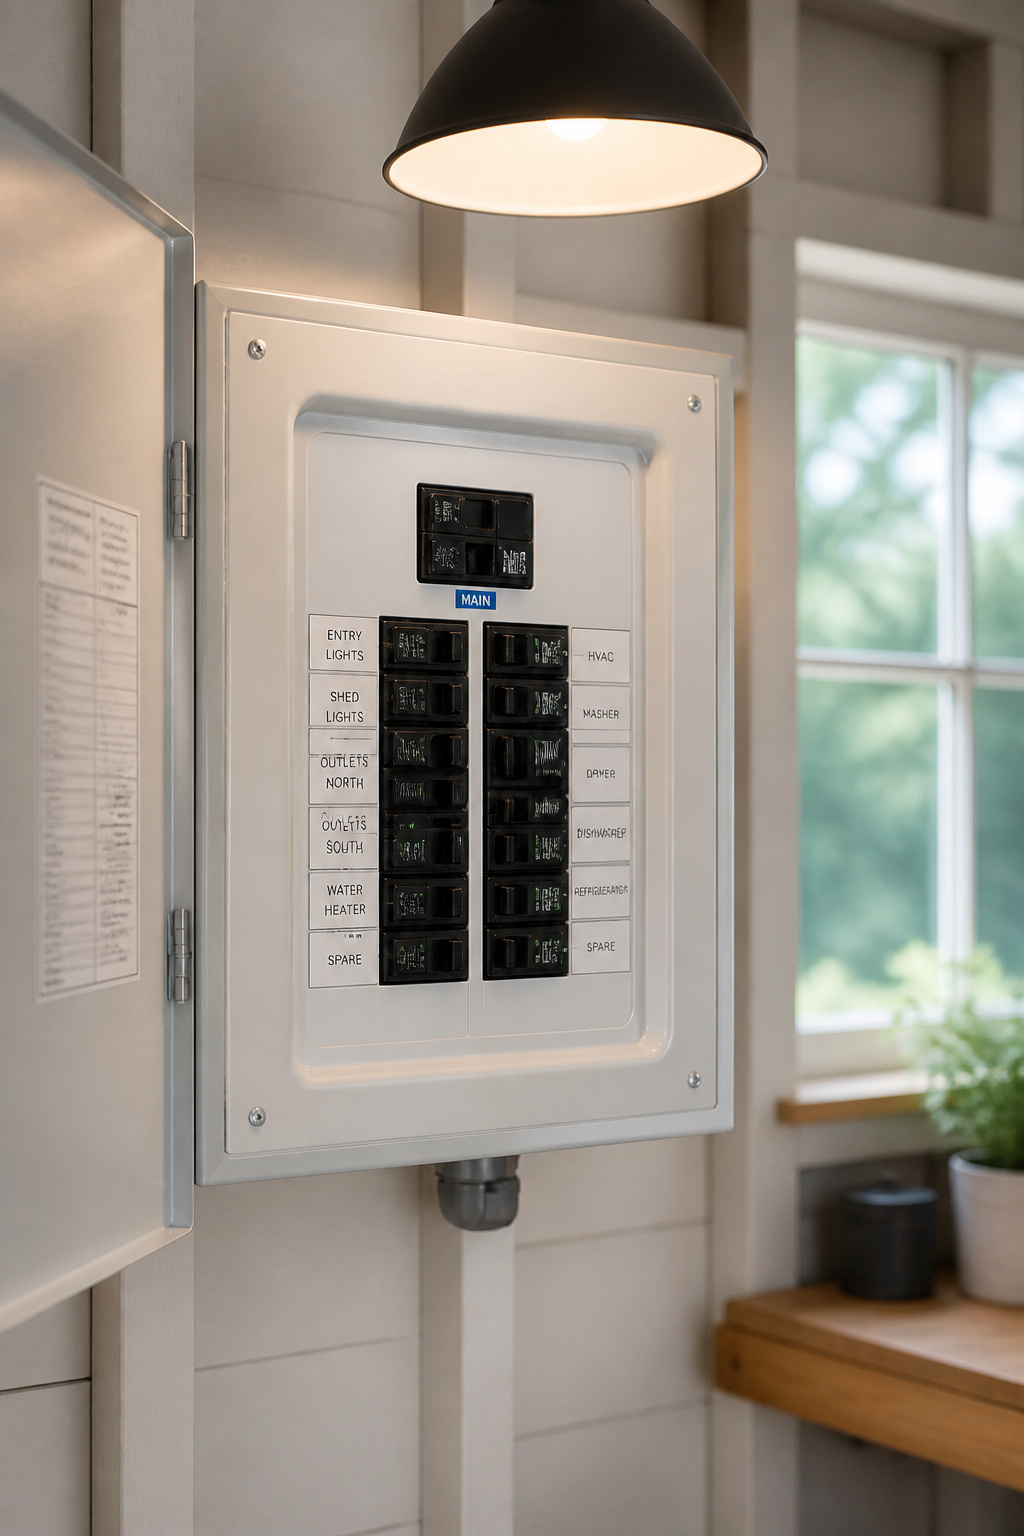
In virtually every US jurisdiction, adding power to a detached shed needs a permit before work begins, typically $50–$500. The two genuinely dangerous steps — connecting the feeder cable to your main panel and wiring the subpanel — belong to a licensed electrician. Code also requires a detached structure with more than one circuit to have its own subpanel.
Running a subpanel from the house: what the work involves
Your electrician handles the specifics. Direct-burial UF-B cable goes a minimum of 24 inches deep; PVC conduit can sit at 18 inches; rigid metal conduit needs only 6. A warning ribbon goes in the trench at least 12 inches above the cable — so a future spade hits it first. A detached building needs its own grounding system: two 8-foot copper ground rods, separate from the house ground. The trench is inspected before backfilling, your one chance to verify depth and tape.
Circuits to plan for: lights, outlets, heating and a dedicated circuit
Before you call, do the homework that sharpens the conversation:
- Write the load list — every device now and in three years, with wattages — so the panel isn’t under-specified.
- Measure the run from house panel to shed; that distance sets the wire gauge.
- Ask for at least 60 amps — the mini-split alone draws 15–20 amps at startup.
- Specify a dedicated 240V circuit for the mini-split; sharing it invites nuisance trips.
- Confirm every outlet is GFCI-protected, as code requires for outbuildings.
The Year-Round She Shed: Seasonal Maintenance That Keeps It Working
Weather tests every seal twice a year. Two planned checks keep it working: spring to find what winter broke, autumn to brace for what’s coming.
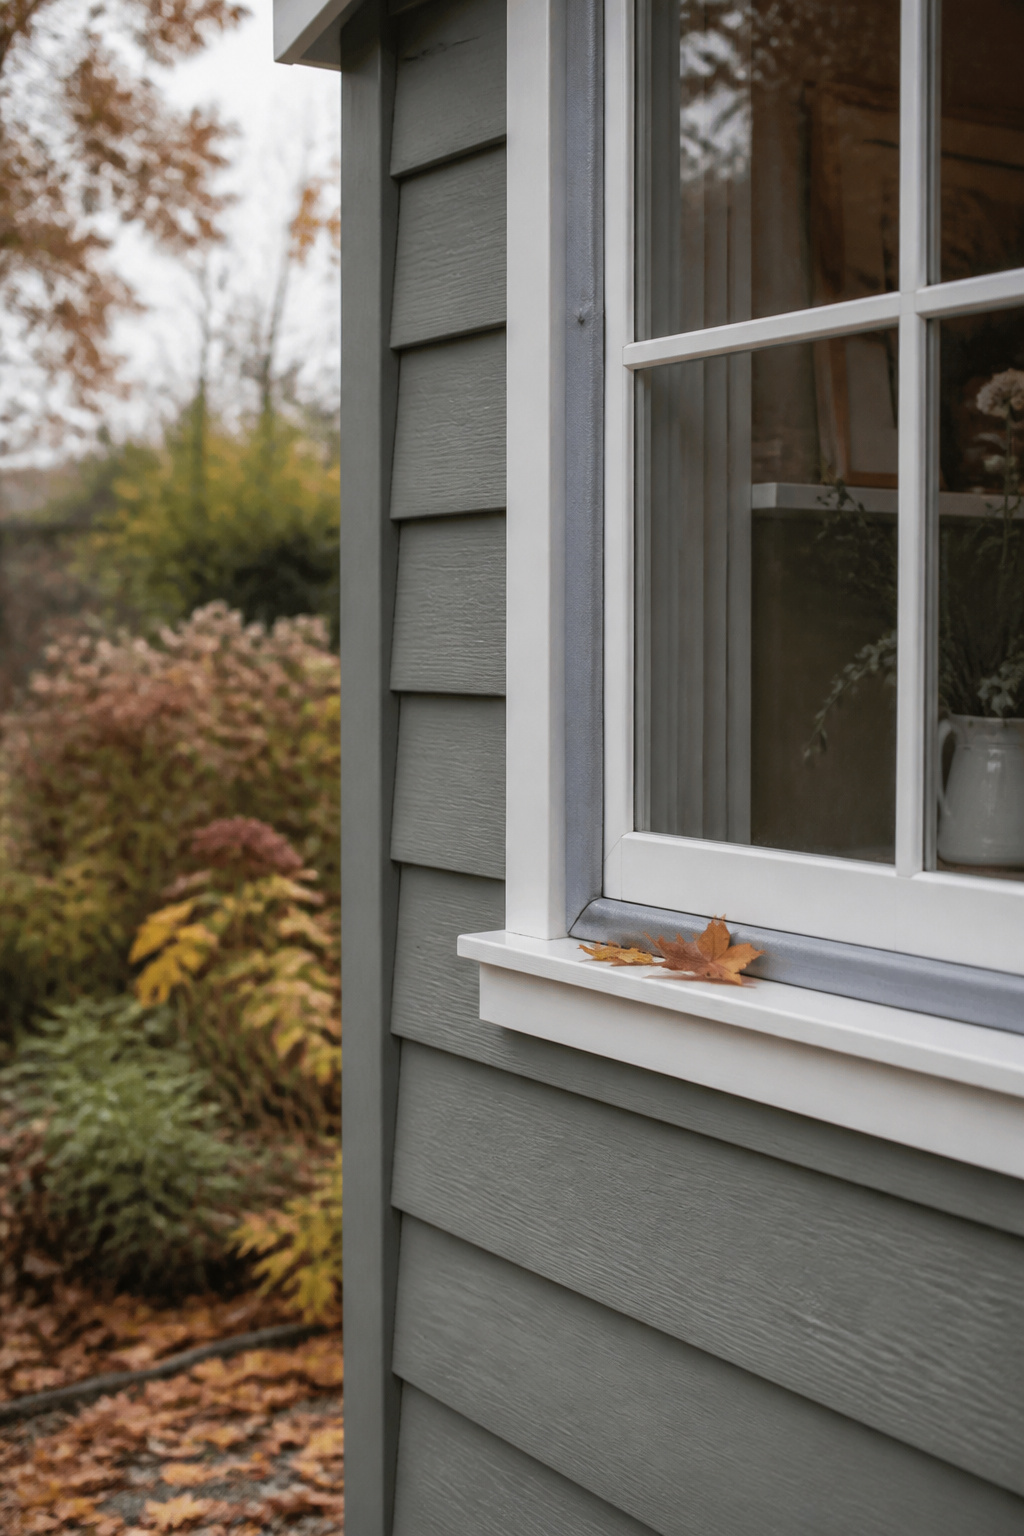
- Spring — Check the roof for cracked panels and the floor perimeter for gaps that winter ground movement opens, then press the test button on each GFCI outlet, which winter moisture can quietly fail.
- Summer — A dark-roofed shed can hit 150–160°F inside without ventilation. Clear soffit and gable vents before peak heat, and check south-facing seals, since UV degrades weatherstripping fastest on the sun side.
- Autumn — Run the mini-split on heat for 30 minutes to confirm the defrost cycle before you need it, and replace compressed weatherstripping — under $20, and the highest-return envelope job there is.
The order that matters: seal and insulate the envelope before any heater; Rockwool in the walls and twice the R-value in the ceiling; deliberate ventilation; a licensed electrician for panel work; two seasonal checks. Get that sequence right and the heater you choose almost stops mattering. The two failures that undo everything are buying the heater first and sealing the shed airtight with nowhere for moisture to go. Avoid those, and the shed works as well in December as in June.
FAQ
What is the best insulation for a she shed?
Rockwool (mineral wool) R-15 batts are the best all-round choice for a conditioned she shed: moisture-resistant, R-value-stable when damp, friction-fit into 2×4 stud bays without slumping, and safe to handle without respiratory protection. Fiberglass R-13 is the budget option for a dry shed; closed-cell spray foam suits shallow ceilings.
Can I add electricity to a she shed myself?
In most US jurisdictions, the feeder connection to your home’s main panel and the shed subpanel wiring must be done by a licensed electrician, with a permit and inspection. Some states allow homeowners to pull their own permit and run interior wiring after rough-in — but the panel connections always need a professional.
How do I heat a she shed in winter without expensive installation?
A portable infrared heater ($40–$100, 1,500 watts) on a standard 120V outlet needs no installation — it warms people and objects directly, so it feels effective fast in a small shed. Running cost is roughly $0.18–$0.23 per hour, manageable for occasional use. Insulate first; that’s what holds the heat you generate.