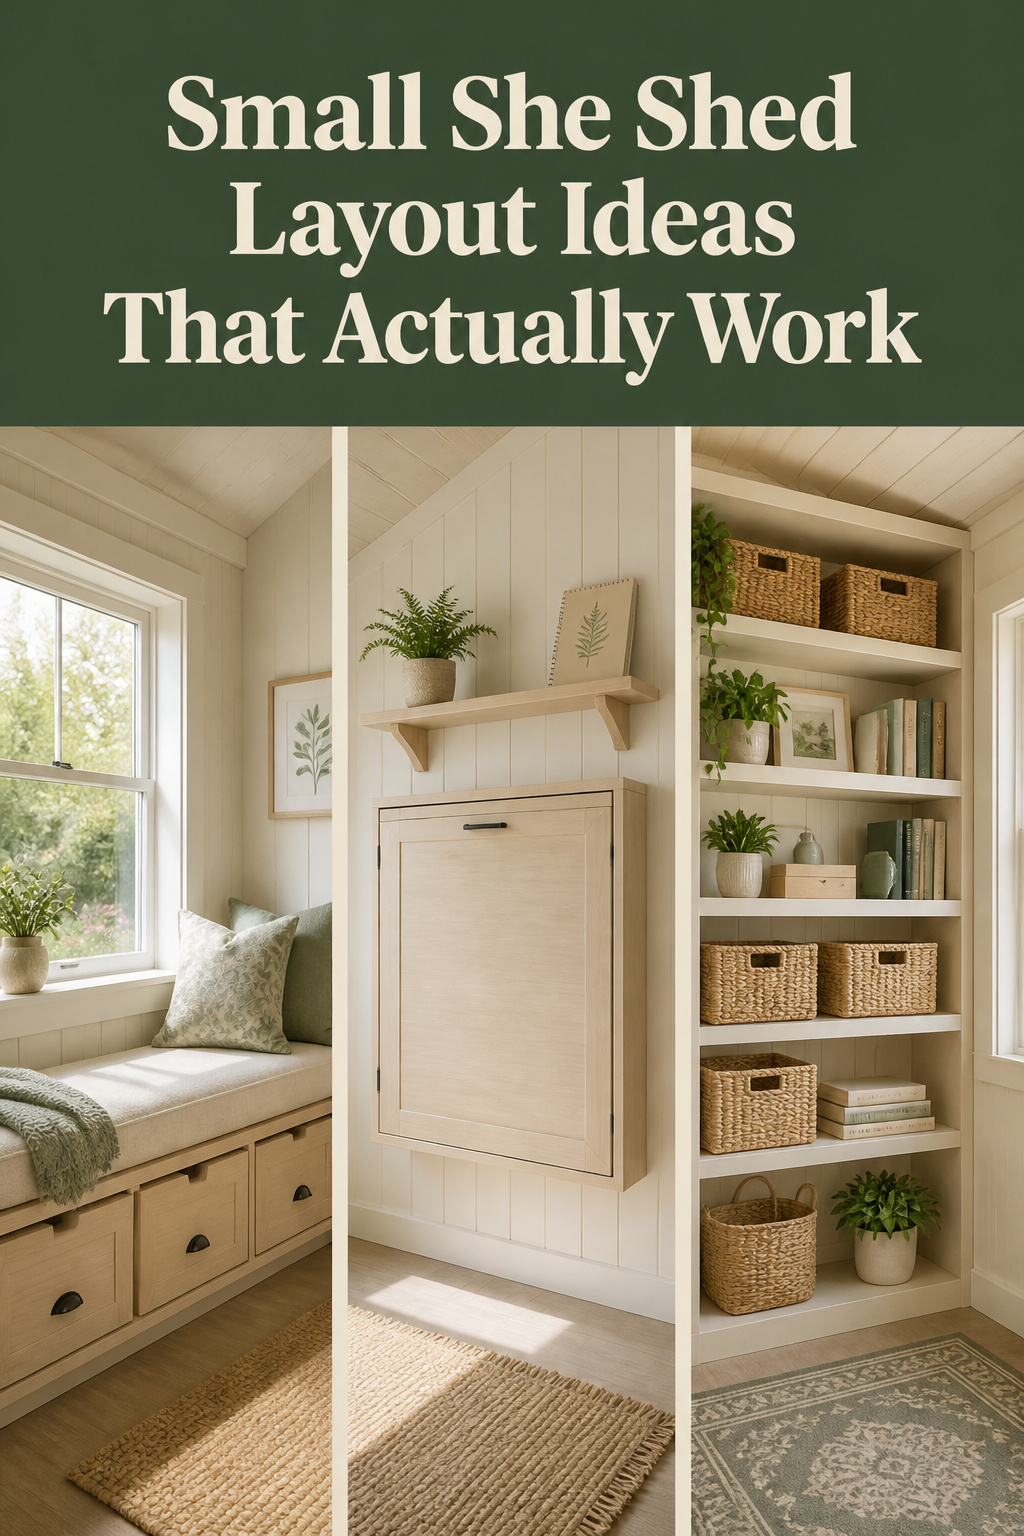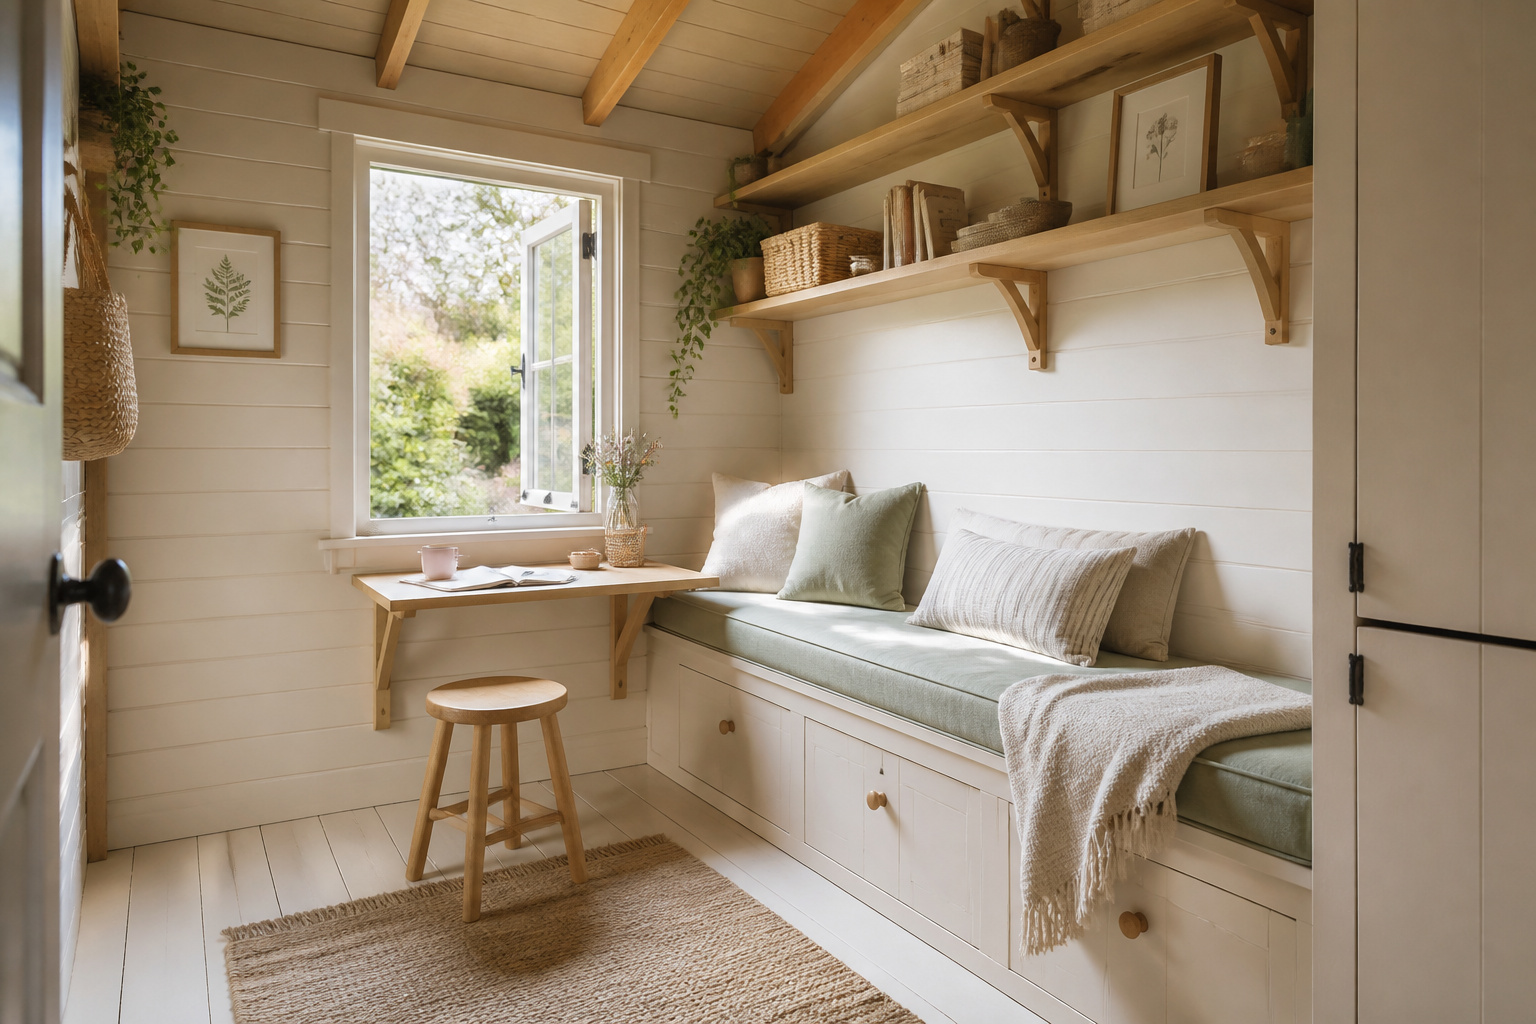
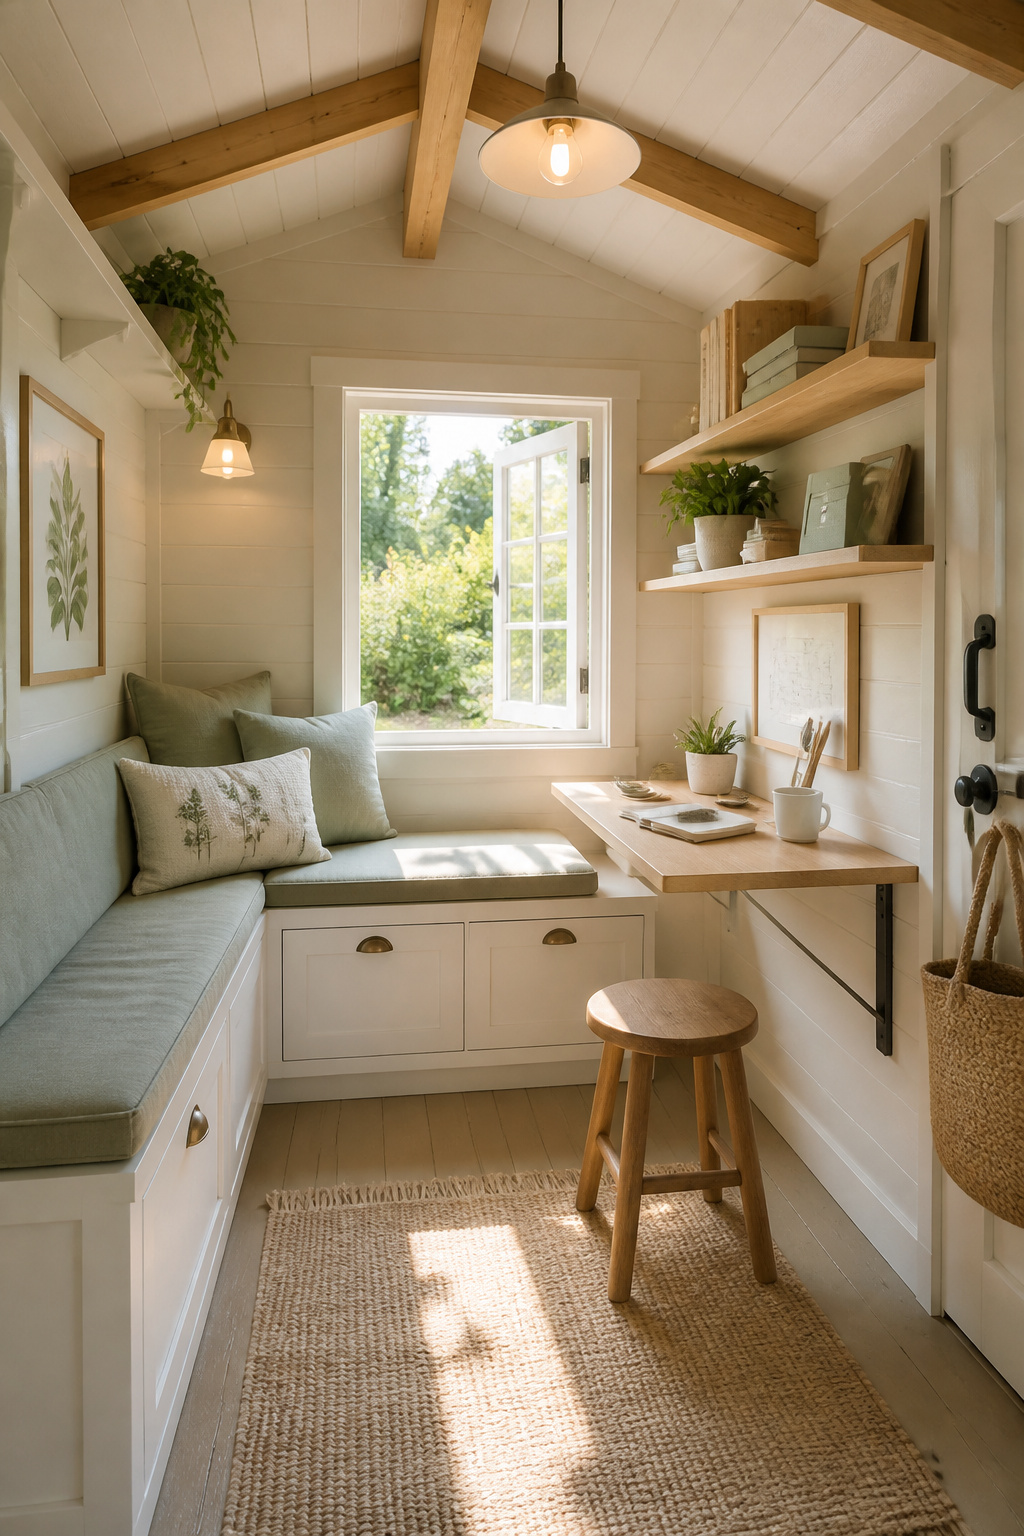
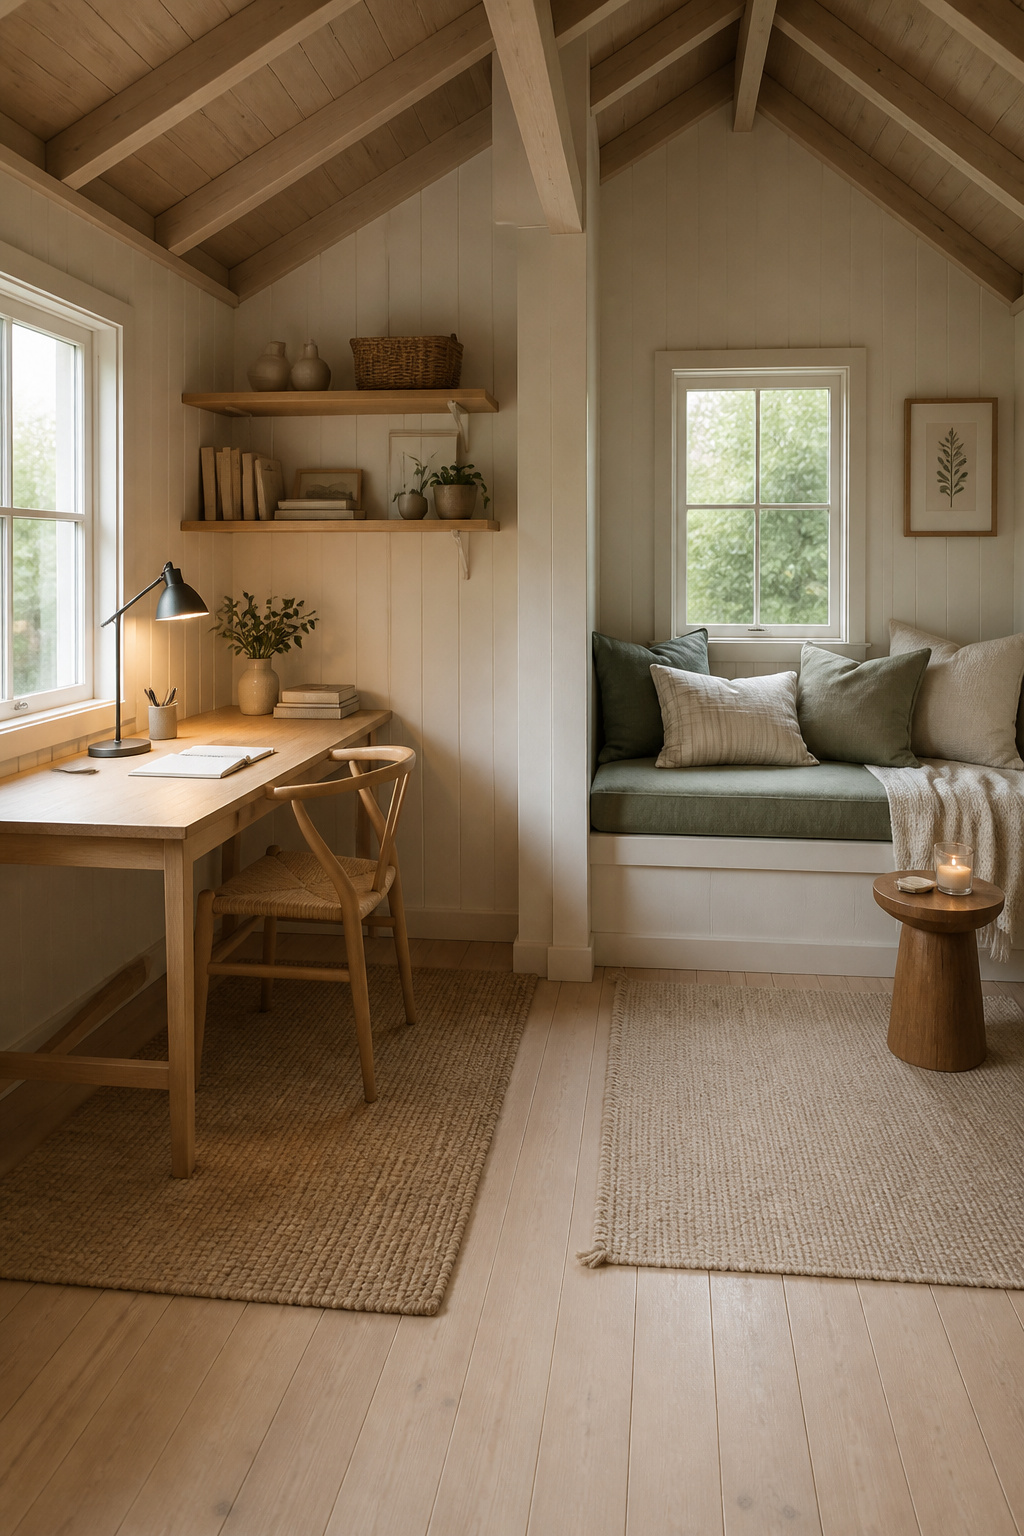
Step inside an 8×10 shed on a September morning and the first thing you notice is the light. It comes in low across the long wall, lands on a built-in window seat, and warms the painted floorboards under a soft rug. A narrow desk sits beside the window; shelves climb the wall above your head. There is nothing in the middle of the room, and that emptiness is the trick — eighty square feet that reads as enough because every piece sits against a wall. A good small she shed layout is not about squeezing more in. It is about deciding what the room is for, then clearing space around it.
TL;DR
- An 8×10 (80 sq ft) is the smallest she shed that comfortably holds one dominant use; keep the floor centre clear and put every piece against a wall.
- Zone one room with rugs and open shelving, not walls — one dominant use, one supporting function, never three equal zones under 120 sq ft.
- Built-ins earn their place: a window seat with storage, a fold-down desk, and 12-inch-deep shelving give you seating, work and storage while the floor stays open.
This is a planning guide, not a build guide — framing and foundation belong to a separate conversation, and the full range of small-space she shed inspiration is covered in the pillar. Here we work from the inside out: size, zoning, furniture that does two jobs, walls that store, and tricks that make small feel generous.
Eighty Square Feet: What a Small She Shed Layout Can Hold
The scene: a finished 8×10 shed on a September morning
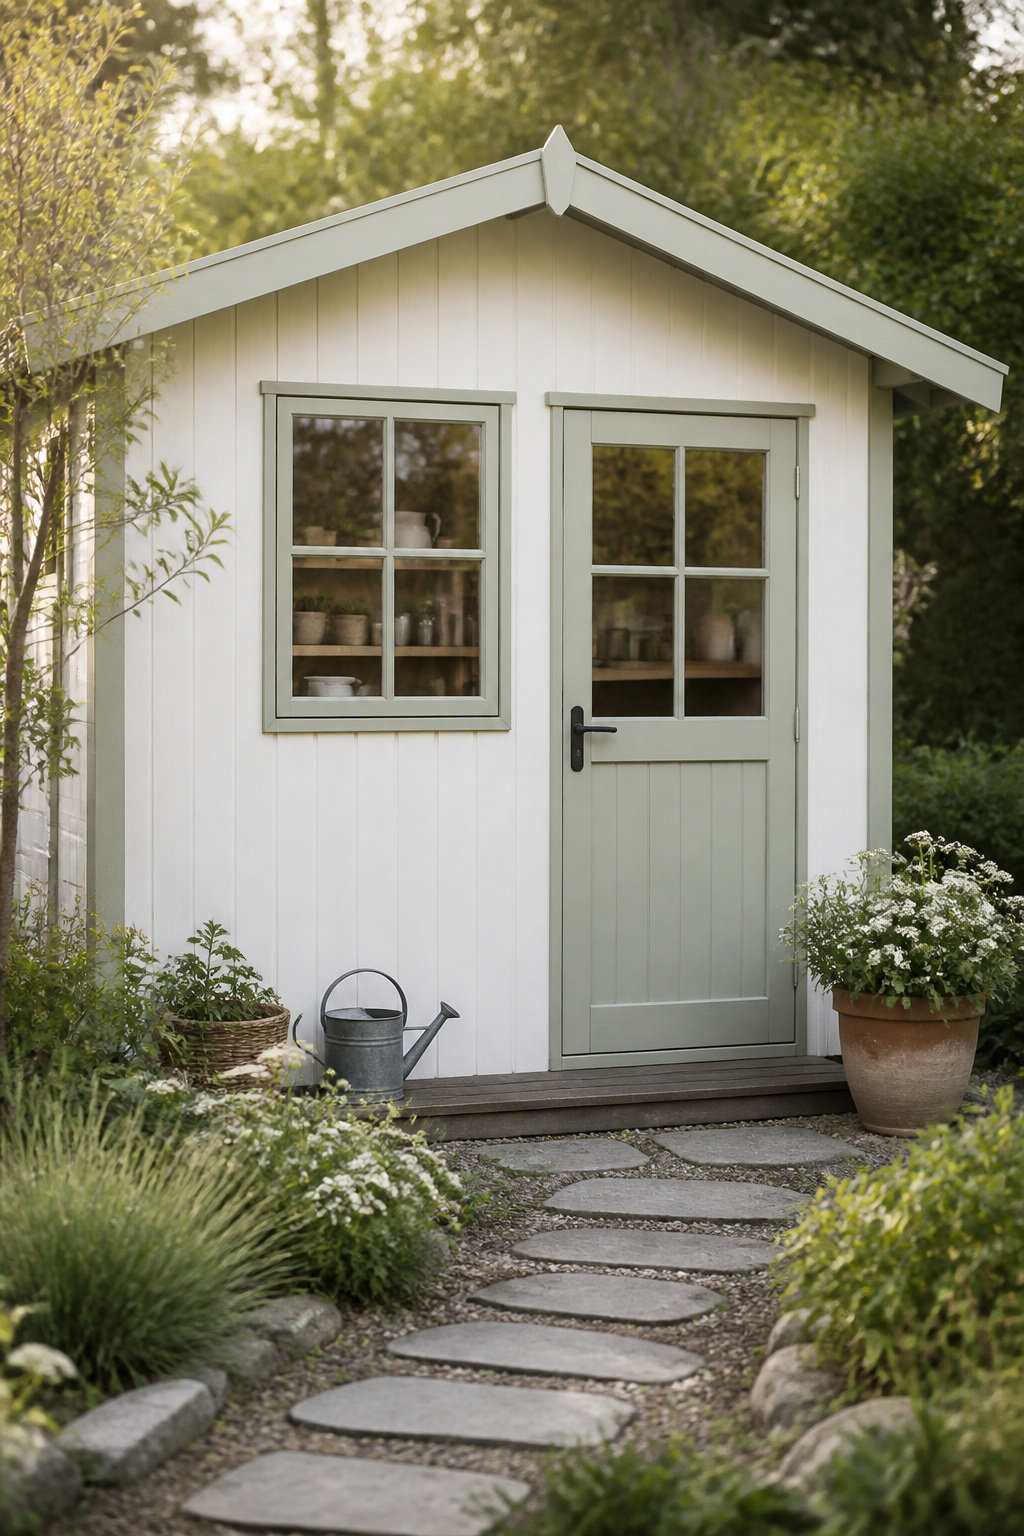
An 8×10 gives you exactly 80 square feet — compact, but plenty for a retreat built around reading, journaling, crafting or light desk work. The detail that makes it feel right is the window: put a casement on the long 10-foot wall and daylight crosses the full width of the room instead of poking through one end. Then paint everything pale, because light colours bounce the morning light instead of soaking it up — which is what keeps the walls from closing in.
Why small she sheds get overlooked — and what they actually offer
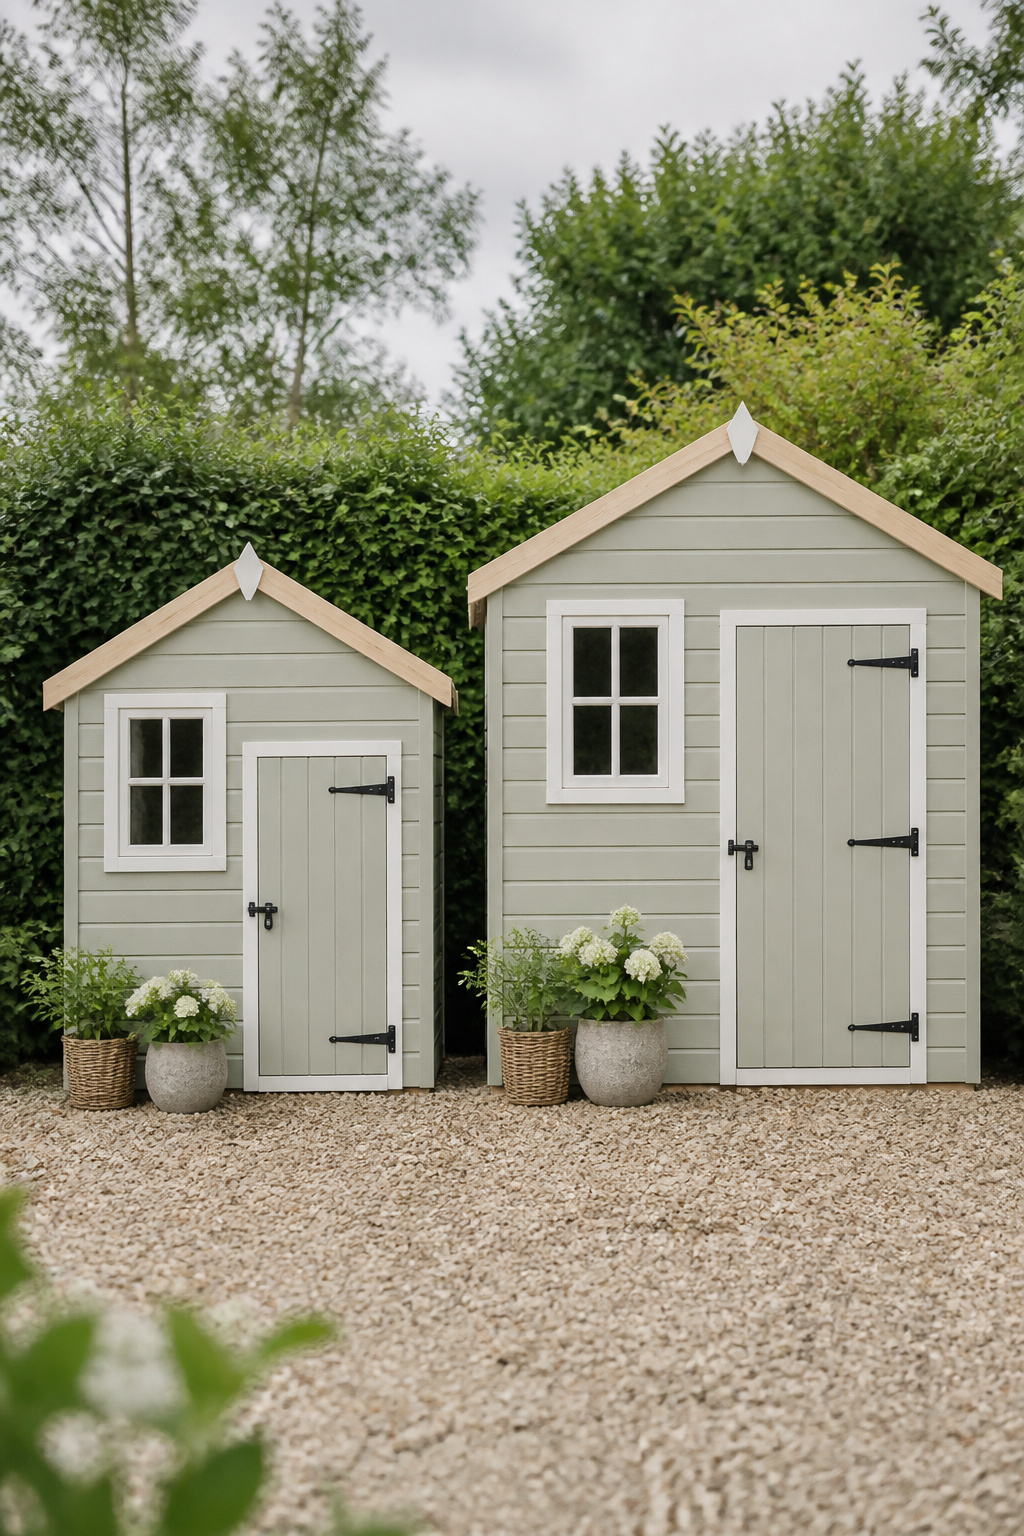
Most people land their she shed between 8×10 and 12×16, and the 8×10 is the affordable entry. A basic kit runs $3,000–$5,000 against $15,000-plus for a custom build, and a small shed is faster to install and cheaper to heat. There is a planning bonus too: most jurisdictions let you build up to 120 square feet without a permit, so an 8×10 clears that easily. Setback rules from your property lines still apply at any size, so check those first.
The layout principle that makes small feel right
Here is the rule the whole article hangs on: keep the floor centre clear and put every piece against a wall. That habit preserves the sense of open space and keeps the shed flexible when its use changes. For craft-heavy use, a U-shape along three walls keeps everything in arm’s reach — as long as the third wall stays light with open shelving rather than bulky cabinets.
Choosing Your She Shed Size: The Honest Guide
Size follows the use, not the other way round. Pick what you will actually do in there, then choose the smallest footprint that does it well.
| Size | Sq ft | Fits comfortably | Tight but workable | Won’t fit | Approx. shell cost |
|---|---|---|---|---|---|
| 8×6 | 48 | One chair, one shelf wall | A journaling nook | A desk with legroom | $1,500–$3,000 |
| 8×10 | 80 | One dominant use + storage | A fold-down desk nook | All-day office | $3,000–$5,000 |
| 10×12 | 120 | Dual-use: desk plus seating | Light three-function | Showpiece lounge | $1,500–$4,000 (kit) |
| 12×16 | 192 | Three real zones | A small studio | — | Higher tier |
8×6: the minimum that works and what it rules out
An 8×6 gives you 48 square feet — realistically one wall of shelving, a small chair, and a narrow path between them. It works as a quiet retreat or a journaling spot, but it cannot hold a desk with legroom on both sides, or any dual use. Below it, a 6×6 (36 sq ft) is the floor, and only for sitting.
8×10: the sweet spot for a single-use shed
The 8×10 is where a small shed becomes properly functional. Eighty square feet holds a reading chair, a window seat with storage, or a compact desk with wall shelving — pick one and it works. Treat the long 10-foot walls as furniture walls: a desk along a 10-foot run gets real legroom and leaves the 8-foot end free for the door. Once the size is settled, the next step is building the shed — framing, foundation and openings. A shell runs $3,000–$5,000; fully fitted, $7,000–$9,000.
10×12 and 12×16: when a bigger footprint earns its yard space
The 10×12 (120 sq ft) is the most popular size for a reason — it is the first footprint that takes a genuine dual-use layout without cramping, and the minimum I would build for an all-day office. Expect $1,500–$4,000 for a basic kit, or $10,000–$14,000 fitted, roughly double the 8×10. Go to 12×16 (192 sq ft) only when you want three separate zones — work, lounge and storage as distinct areas, not corners of one room.
Zoning a Single Room: How to Make One Space Do Two Things
The zone rule: one dominant use, one supporting function
In a small shed, zoning never means building walls — it means giving one room two jobs without it feeling crowded. The rule: one dominant use and one supporting function. The dominant use — desk, craft station, reading chair — takes the window wall and the best daylight; the supporting function takes what is left. Try for three equal zones under 120 square feet and you get clutter, not utility.
Visual dividers that don’t eat floor space — rugs, shelving, half-walls
A bold rug under the desk or chair makes that zone read as its own area, with no barrier and no lost circulation. Open shelving set perpendicular to the wall does more — in a 10×12, a bookcase standing 4–5 feet off the side wall splits an office zone from a seating zone while adding storage. Keep dividers open-backed and below 54 inches; a tall solid cabinet boxes the room into two rather than dividing it.
The layout map: a 10×12 shed zoned for office plus reading nook
Here is how I would plan a 10×12 for an office plus a reading nook — my own builder’s logic, not a fixed floor plan, so adapt it to your door and window. Put the desk perpendicular to the window on the long right wall. Build a window seat into the short rear wall, shelving above it, a pegboard above the desk. Keep a clear 4×5-foot patch of floor in the middle, and mark the change with two rugs — jute under the desk, wool under the seat. In an 8×10 the same split works only if the desk folds down; a fixed desk eats 18 square feet you cannot spare. The hardest version of this — fitting a real workspace into a small footprint — is covered in fitting an office in a small shed.
The dividers worth using, none of which cost floor space:
- A bold rug under the active zone
- Open-backed shelving set perpendicular to a wall
- A low half-wall or bench under 54 inches
- A change in flooring or paint tone underfoot
- A pendant or task light over one zone only
Dual-Purpose and Built-In Furniture That Earns Its Place
Every piece has to do at least two jobs, and built-ins beat freestanding because they use space freestanding furniture wastes. Three earn their place again and again.
| Furniture piece | Floor space saved | Approx. cost | Skill level |
|---|---|---|---|
| Window seat with storage | Uses dead under-window space | $400–$3,500 | Some builds |
| Fold-down (murphy) desk | Returns 15–18 sq ft | $75–$2,500 | First build (kit) |
| Built-in shelf wall | Replaces freestanding units | Materials only | Some builds |
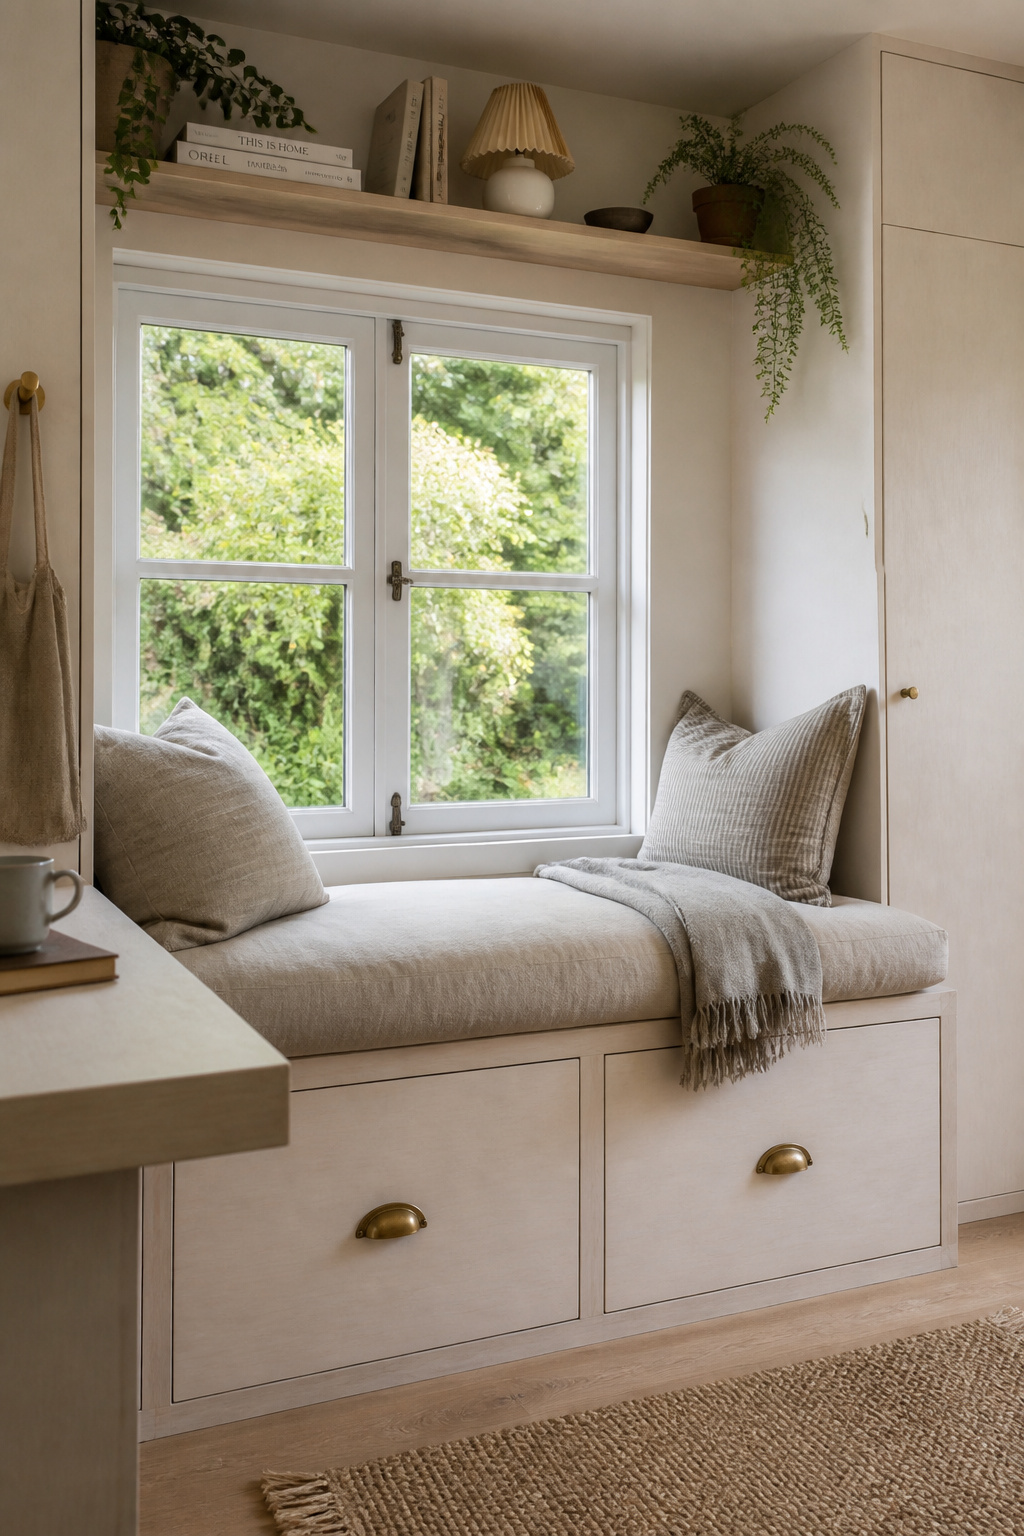
The window seat with storage below: bench, storage and daylight in one piece
A built-in window seat works the dead zone under the window. Build it 17–20 inches deep and 16–21 inches high and it sits comfortably; add drawers or a hinged lid below and you gain real storage without touching the floor plan. Cost spans wide: $2,500–$3,500 by a pro, $1,200–$1,600 in DIY plywood, or $400–$600 on an IKEA Kallax base.
Murphy desk: the full workspace that disappears
A wall-mounted fold-down desk closes flush to about 7 inches deep, then opens to a full 48×16-inch surface. That matters because a fixed desk and chair permanently hold 15–18 square feet of floor — in an 8×10, space you need back. Panels start at $75–$170; stay-level designs run $800–$2,500. Check the open size first: some budget models manage only 36×12 inches, too tight for a laptop and notebook.
The built-in shelf wall: twelve inches deep is enough for most things
You do not need deep shelves. A 10–12 inch depth takes standard books, small bins and most objects, where a 16-inch shelf would crowd the room. Run shelves the length of one wall, from 18 inches off the floor to within 6 inches of the ceiling, and you build a continuous storage wall — on a 10-foot wall at 12 inches deep, roughly 30 linear feet of shelf.
Vertical Storage and the Walls That Work
The ceiling-height advantage: small sheds often have more vertical space than expected
The space owners waste most is the wall above their furniture. Standard shed walls run 7 feet (84 inches) to the eaves; a barn-style gambrel roof gives 7 feet 7 inches and far more attic headroom — up to 4 feet from wall top to peak, against about 2.5 feet on a gable. Once you store in layers instead of only on the ground, even 80 square feet feels roomy, because the floor stays clear while the walls do the work.
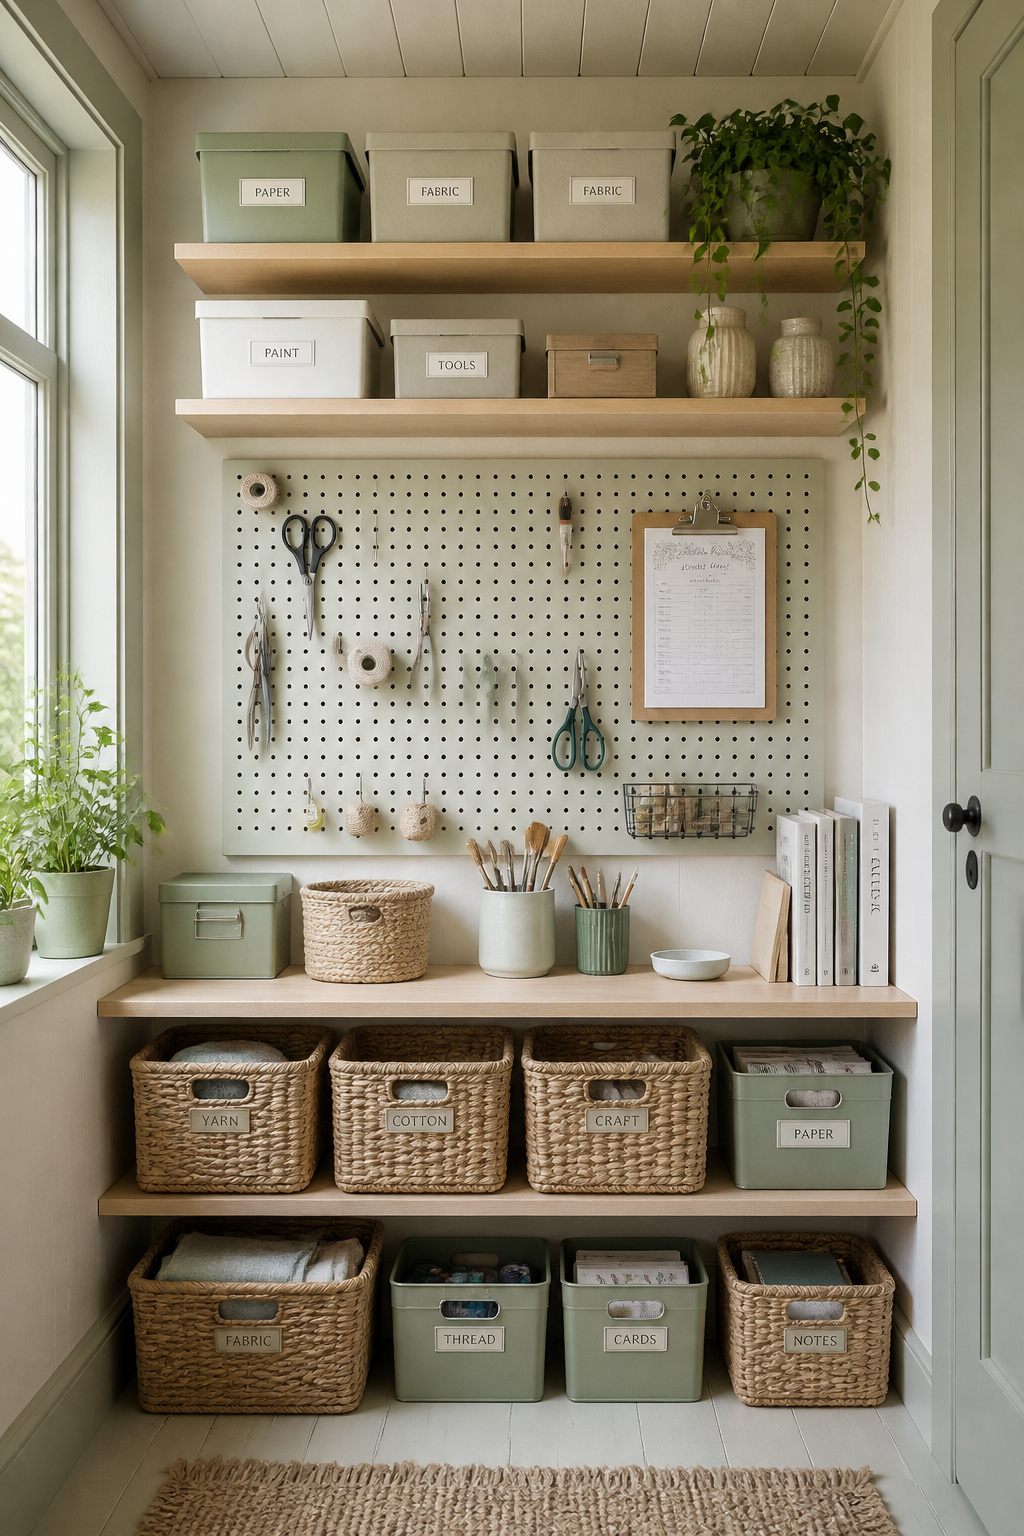
Pegboard and rail systems: tool storage that organises without furniture
Pegboard is the cheapest way to get tools and craft gear off shelves and onto the wall. Mount it on 1×3 furring strips so there is clearance behind the panel for the hooks — skip the strips and the system will not work. One 4×8 sheet covers 32 square feet and holds 30–50 small items; the heavier 1/4-inch hardboard takes sturdier hooks than the 1/8-inch type.
Upper shelving: what goes at eye level vs what stores above
Where things live by height is worth planning, though treat the figures as rules of thumb rather than a fixed standard. Use clear bins up high so you can see contents without climbing, and choose adjustable shelving so a craft shelf can become a plant shelf without new holes. As a working guide, top to bottom:
- Floor level — heavy bins, fold-down stool, anchor rug
- Waist height (30–60 in) — daily tools, current project, frequent books
- Shoulder to eye (60–72 in) — occasional supplies, reference books
- Above head (72 in up) — seasonal, light items in labelled clear bins
Layout Tricks That Make a Small She Shed Feel Bigger
Once the furniture plan is set, three cheap decisions change how big the room feels: paint, mirrors and the way the door swings. Paint is the most powerful single move.
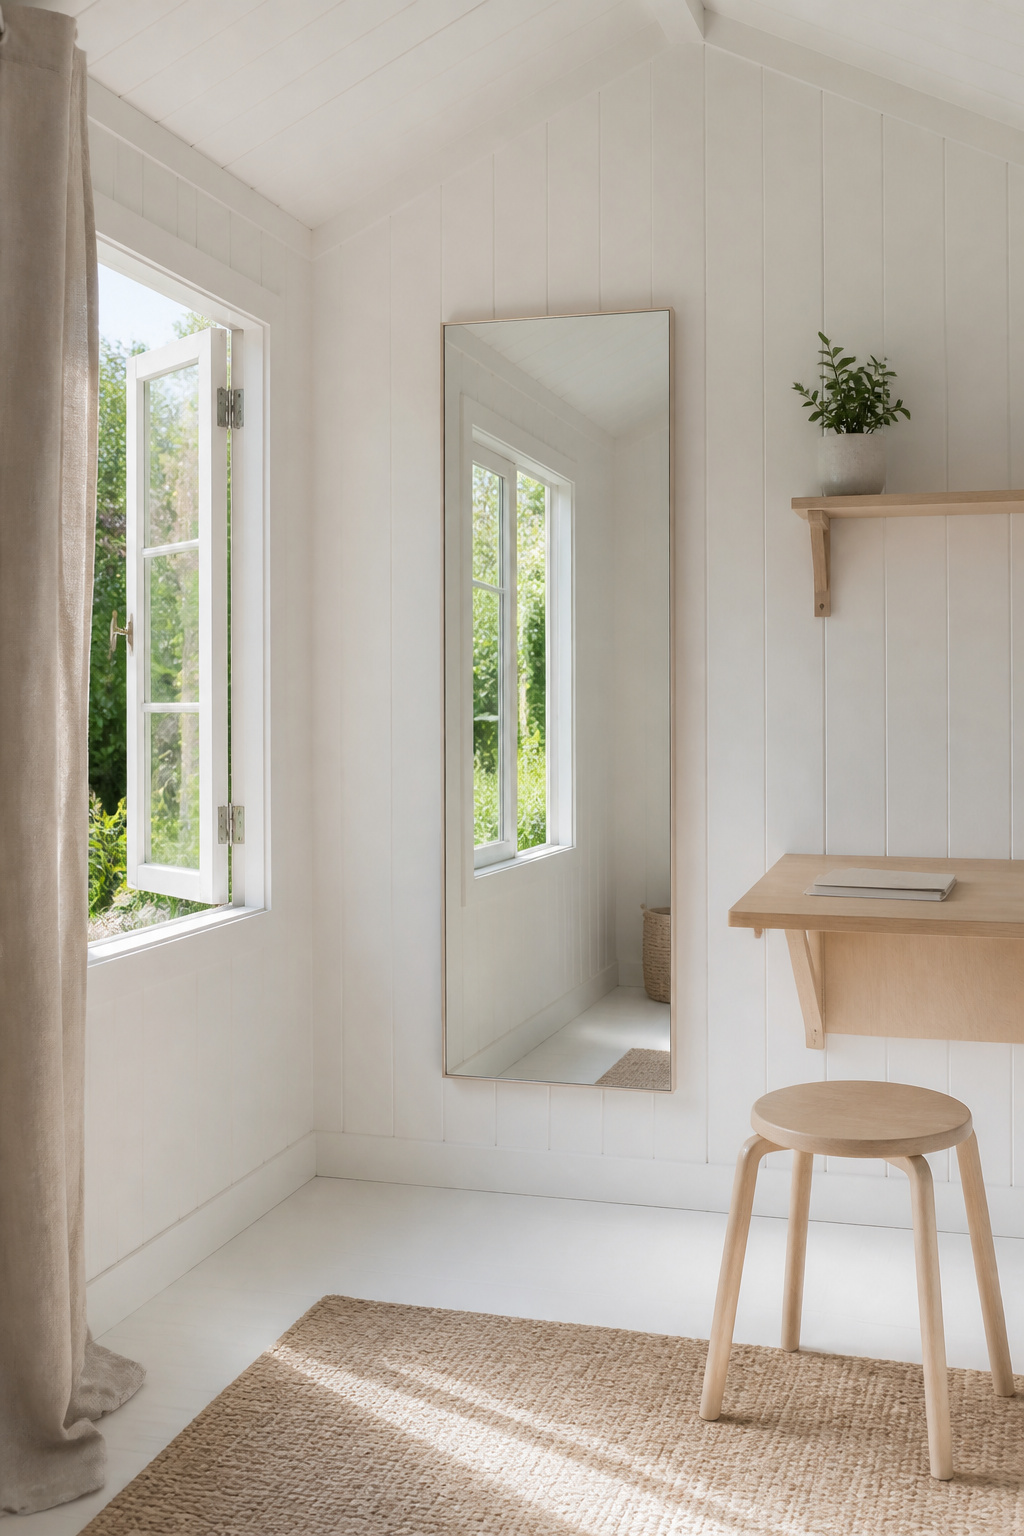
Colour: why the whole shed should be one pale tone
Colour-drench it. Paint walls, ceiling, baseboards and window frames in the same pale tone, and you remove the visual breaks that chop a small room into pieces — the walls read as extending further than they do. Reach for a hue with a Light Reflectance Value of 70 or above; those bounce light rather than absorbing it, and a white in the LRV 80–100 range reflects most.
Mirror and glass: borrowed space on a flat wall
A mirror does not add square footage; it borrows it. Hang one opposite the window and you roughly double the natural light and create the read of a second window — the highest-impact placement in a small shed. Keep it large, though: anything under 24 inches wide does nothing for the sense of space.
The door direction: which way it opens changes the room
Which way the door swings quietly decides how much floor you keep. An inswing door needs a 3-foot clearance arc inside — in an 8×10 that is 9 square feet, 11% of the floor, where nothing can sit. Hang it to swing outward and that whole arc comes back to you. A sliding barn-style door removes the swing entirely but needs 36–42 inches of clear wall beside the opening for the panel — fine on a 10×12, tight on an 8×10.
None of this asks for more square footage — it asks for fewer decisions, made well. Choose the use, size to it honestly, put everything against the walls, and let the floor stay open. That is the layout you will not resent maintaining. Walk back into that 8×10 on a September morning and the light still lands on the window seat, the desk still folds away, and eighty square feet still feels like exactly enough — because you planned it that way.
FAQ
What is the minimum size for a she shed?
The practical minimum is 6×8 feet (48 square feet) — room for one chair, a wall of shelving and a standing entry. A 6×6 (36 sq ft) works only for quiet sitting with no real furniture. For a genuinely functional retreat, an 8×10 (80 sq ft) is the smallest size worth building, and it stays under the 120 sq ft permit-exempt threshold.
How do I layout a she shed for multiple uses?
Follow one rule: one dominant use, one supporting function — not two equal zones. Give the dominant use, such as a desk or craft table, the best daylight at the window wall; put the supporting use at the door end. Keep the centre of the floor clear and mark zones with rugs, not furniture. Below 120 sq ft, use a fold-down desk to reclaim floor space.
What furniture works best in a small she shed?
Built-ins outperform freestanding every time: a window seat with storage drawers, ceiling-height shelving 12 inches deep, and a wall-mounted fold-down desk give you seating, storage and a workspace while returning the floor when idle. For freestanding pieces, choose dual-function — a storage ottoman over a footstool, a bench with drawers — and wall-mounted task lamps to save desk space.