
The video said two hours. I lost a whole weekend to it: a run of floating shelves, a bit I didn’t own, and two drives back to the store. None of the work was hard; the timeline was fiction. So when someone asks me how to stack a washer and dryer, I quote the afternoon and the trip to the parts counter in the same breath. On most brands this is a real do-it-yourself job. It is not a quick one, and one step can put a 150-pound dryer on your foot.
TL;DR
- Only front-load pairs the manufacturer rates as stackable can be stacked, checked by model number. Whirlpool warns an incompatible stack can drop the top machine or void the warranty.
- You need the model-matched kit: roughly $30 to $80, about half an hour to fit. A bungee or a spare bracket is not a substitute.
- Sequence decides everything. Level the washer, pull the transit bolts, then lift the dryer with a second person. A pair runs 270 to 370 pounds.
What usually trips people up is the assumption that any dryer balances on any washer if the widths look close. That assumption is the one that puts sheared brackets in front of repair techs. Work in order and the job turns boring, which is the goal.
How to stack a washer and dryer: confirm the pair is rated first
Start here, before a tool comes out of the box.
Where to find the stackable rating (model number, not marketing copy)
Look up both model numbers in the owner’s guide or on the manufacturer’s site. Whirlpool is blunt: you can’t stack just any washer and dryer, and the check is documentation, not eyesight. LG puts it gently: only some select LG sets stack. Front-load washers only, underneath.
Why cross-brand stacking isn’t supported, even when it looks like it’ll fit
Two machines can share a width and share nothing else. Hole spacing, foot height and the kit’s weight path all change between models. Whirlpool puts it plainly: an incompatible stack “can result in the top appliance falling.”
What to do if your washer and dryer aren’t a matched pair
Two honest options, neither a workaround: replace one machine with a rated match from the same brand, or run the two you own side by side. Even the universal kits come with limits: LG restricts its own to LG pairs.
Buy the manufacturer-matched stacking kit
Thirty to eighty dollars, brand and size dependent, and about half an hour to fit.
What the kit actually costs ($30-$80) and what’s in the box
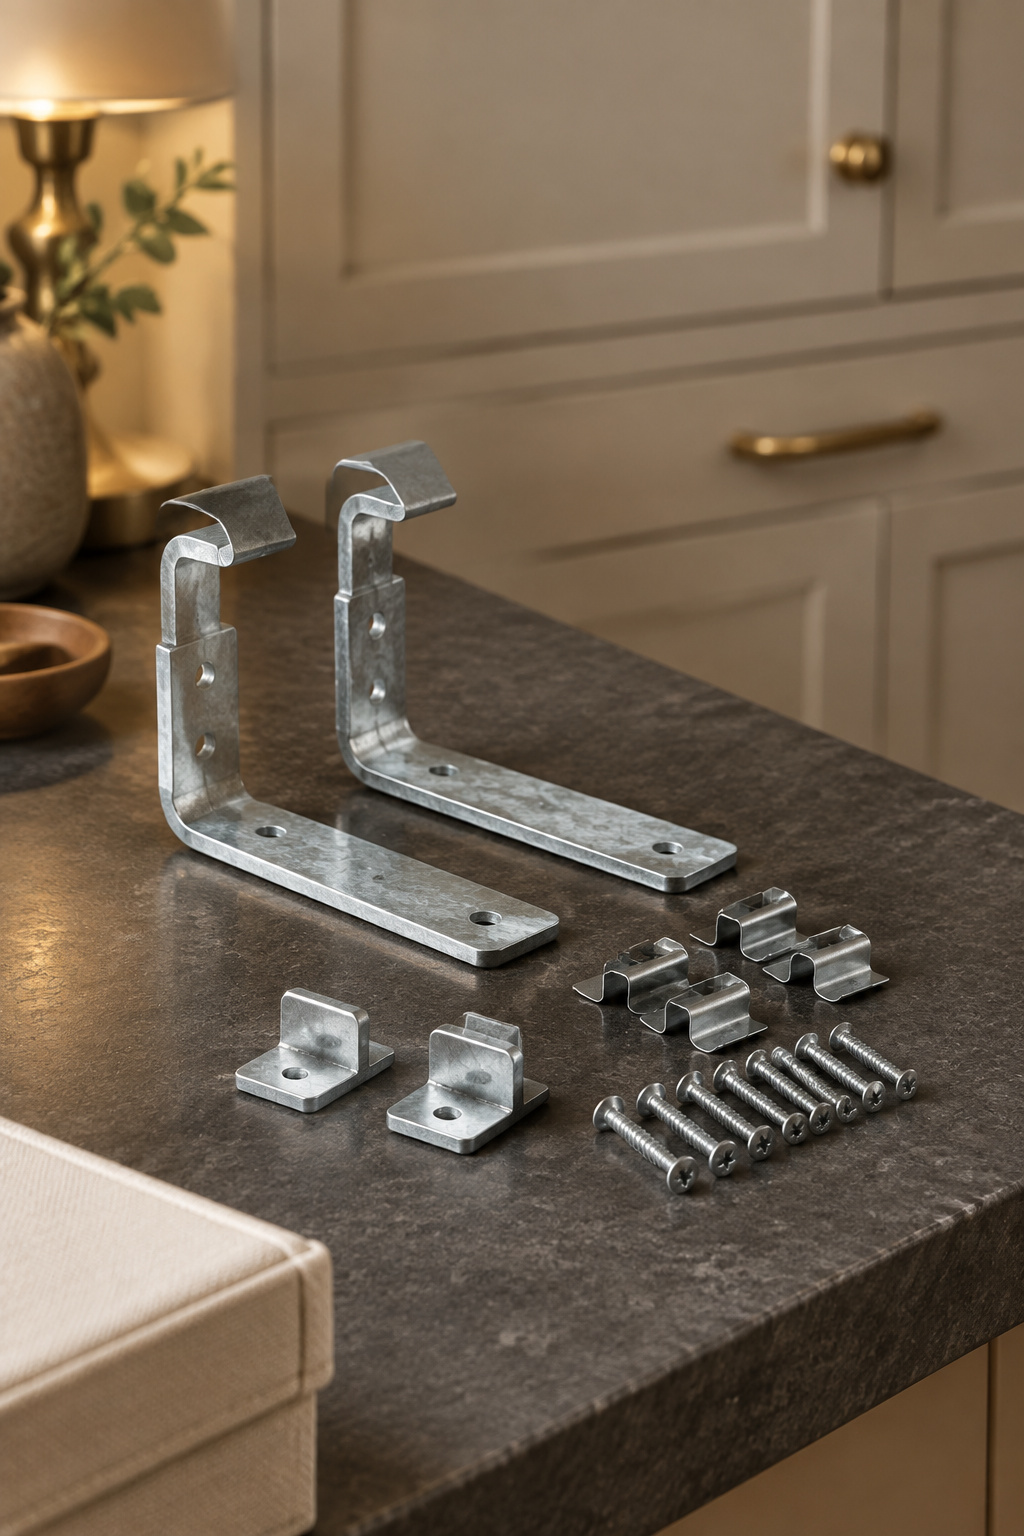
A full-size 27-inch kit is typically two hooked galvanized steel brackets, levelling feet, clips and screws. Compact kits use foam pads and smaller brackets instead. Not interchangeable.
| Line item | Cost | Time | Skill |
|---|---|---|---|
| Kit | $30-$80 | ~30 min | Beginner |
| DIY job | Kit only | An afternoon | Some builds |
| Hired out | $150-$350 | 2-4 hours | — |
Why a bungee cord or a friend’s old bracket isn’t a substitute
Because a spinning washer moves, and the bracket is the only thing telling the dryer to move with it. Bosch’s documentation says the dryer will walk off the washer during spin without the specific kit.
Ordering the right kit for your exact model numbers
Have both model numbers in hand before you order. Widths inside one lineup take different part numbers, so ordering by “27-inch” alone gets you the wrong box.
Check the clearances before you lift anything
Delivery day is the trap: machines in the room, a helper with an hour, and re-measuring feels like stalling.
Why this is the step that gets skipped when the machines are already in the room
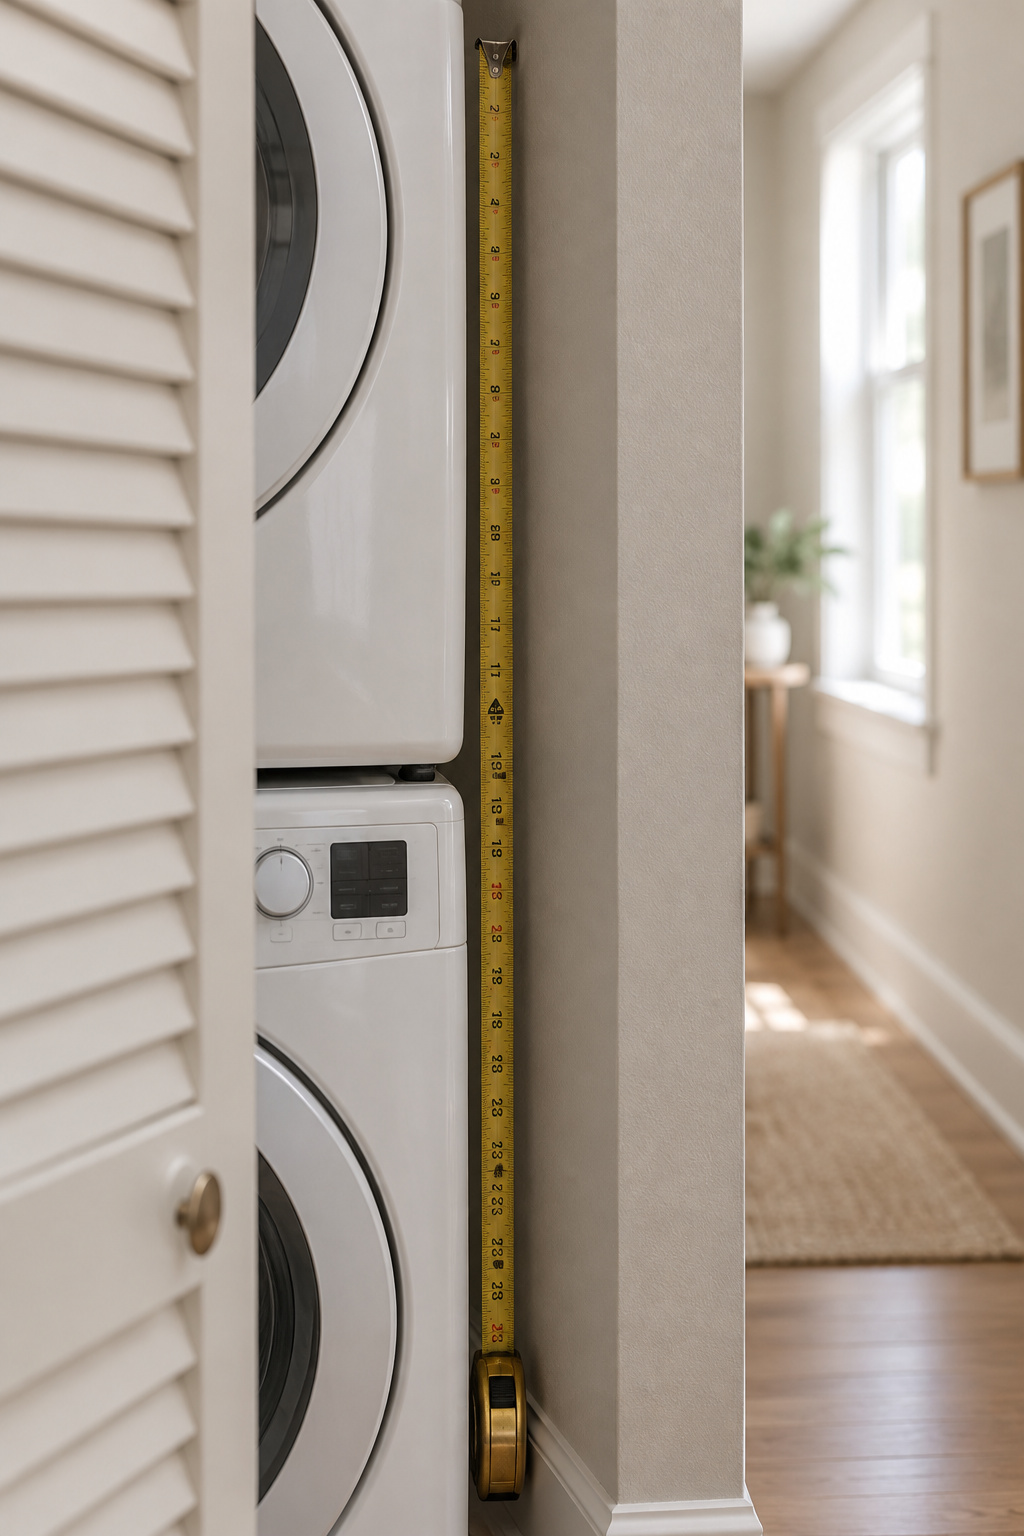
People assume a space that swallowed two machines side by side will swallow them stacked. Height is a different question from width, though, and the kit adds to the total.
What to measure with the kit in hand
Measure with the kit’s stack-up included, not the two machine heights added together. Requirements also shift by brand and by whether the pair stands in the open or inside a closet, so check the clearances first.
When to stop and walk the plan back
If the stacked height won’t clear the doorway or ceiling with room for the door to swing, stop. That call costs an afternoon now, a return delivery later.
Level the washer first, every time
The dryer’s feet and brackets are built to sit on a level surface, not to correct one.
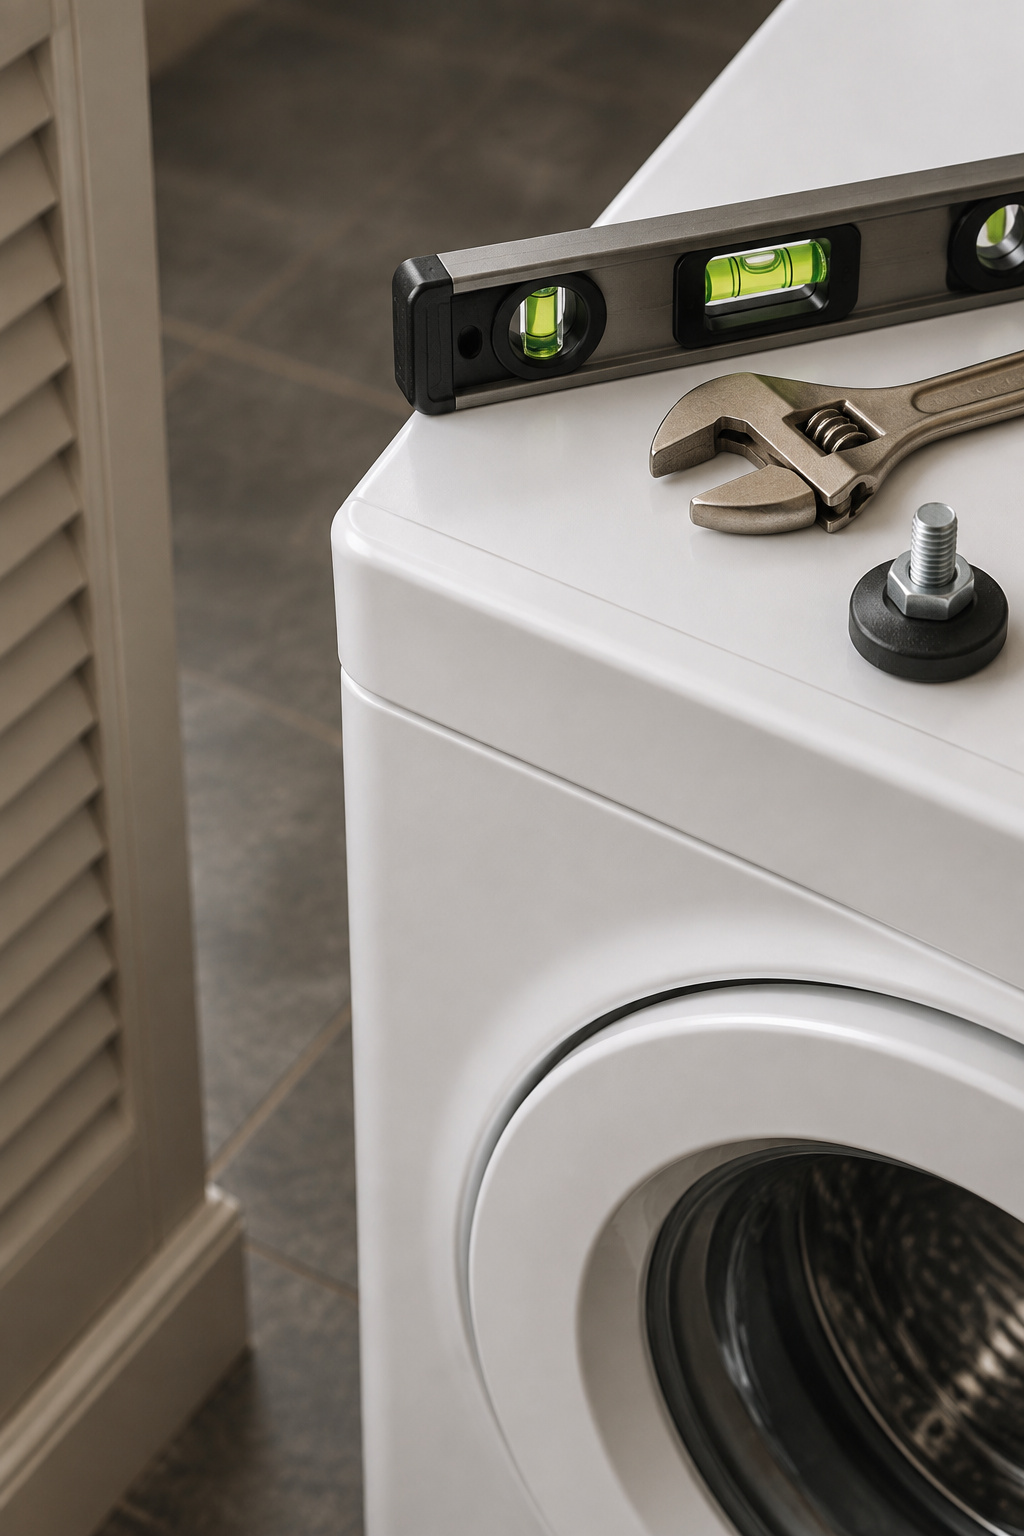
Why the base machine must be level before the dryer goes on, not after
Whirlpool sequences it the same way: place the washer and check levelness first, then swap the dryer’s feet for the kit’s. Afterwards those feet carry the whole stack: 270 to 370 pounds, not just the washer.
Using a level correctly on adjustable feet
Set all four feet firmly on the floor. Rock the washer diagonally, corner to corner. Any teeter means a foot needs adjusting. Check front-to-back and side-to-side with a torpedo level, not by eye. Clockwise shortens a leg. Then lock the nuts.
What a slightly-off washer does to the dryer above it
The failure I’d bet on is a washer that isn’t level. It can’t settle onto its own feet during spin, and Whirlpool ties that to excessive vibration, noise and damage over time. Bolt a dryer on and that energy has somewhere new to go: up, through the bracket. Recovery is unglamorous: unplug, pull the pair out, relevel, lock the feet.
Remove the transit bolts before the bracket goes on
Did the washer come off a truck? Then assume the bolts are still in until you’ve looked.
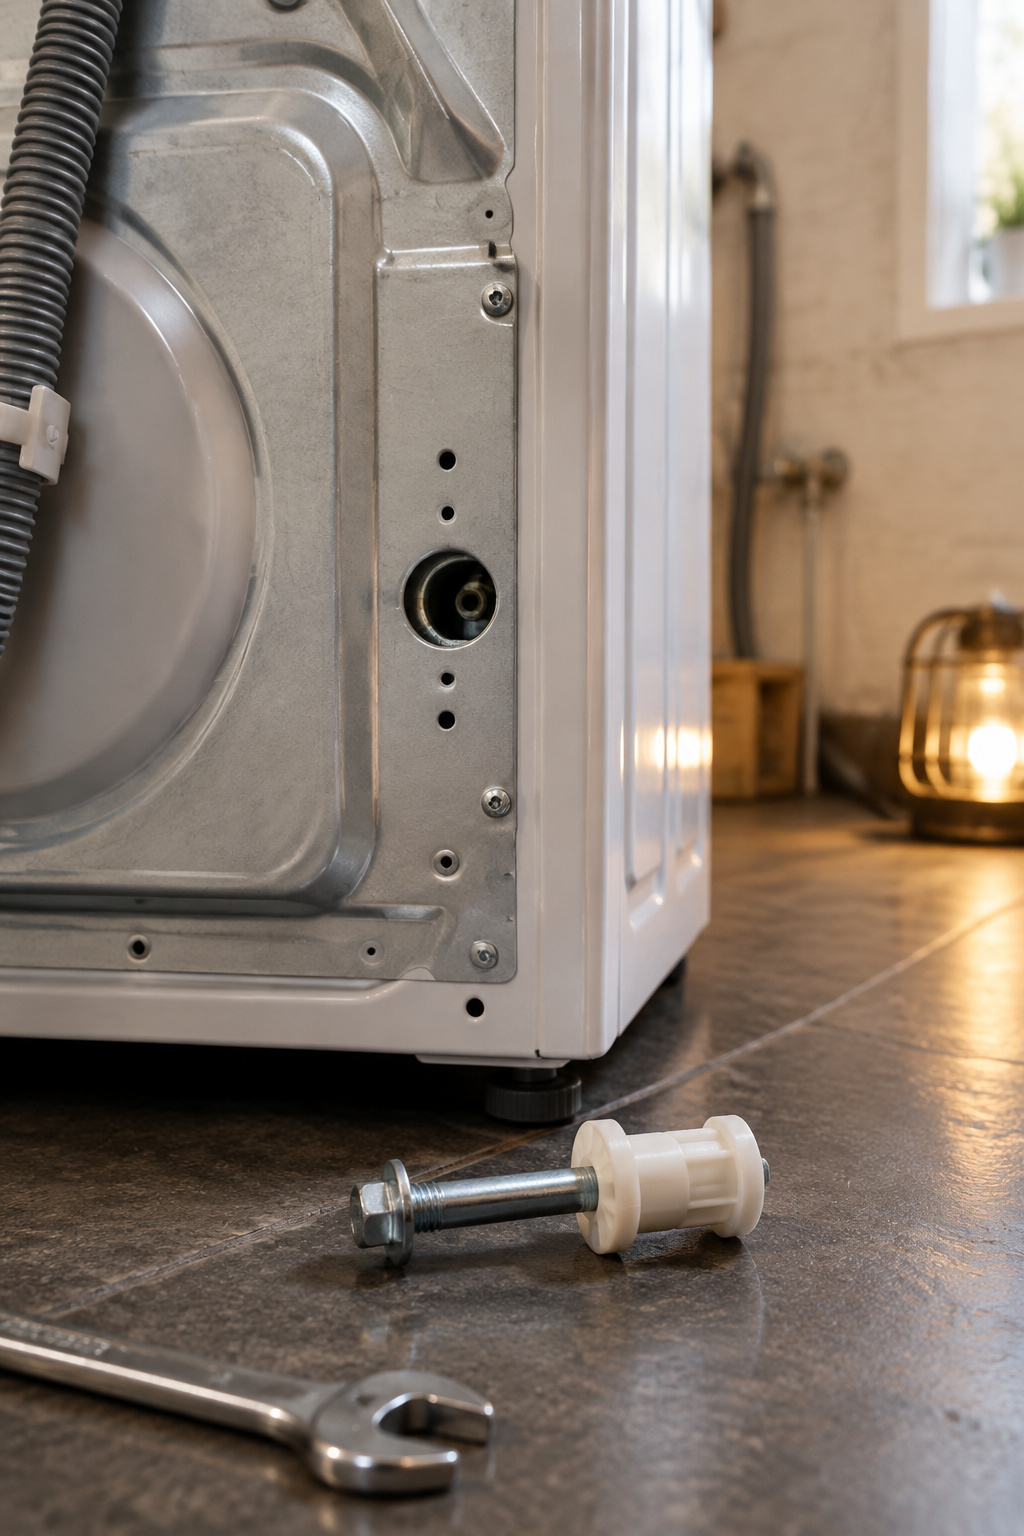
Where transit bolts hide and why washers ship with them in
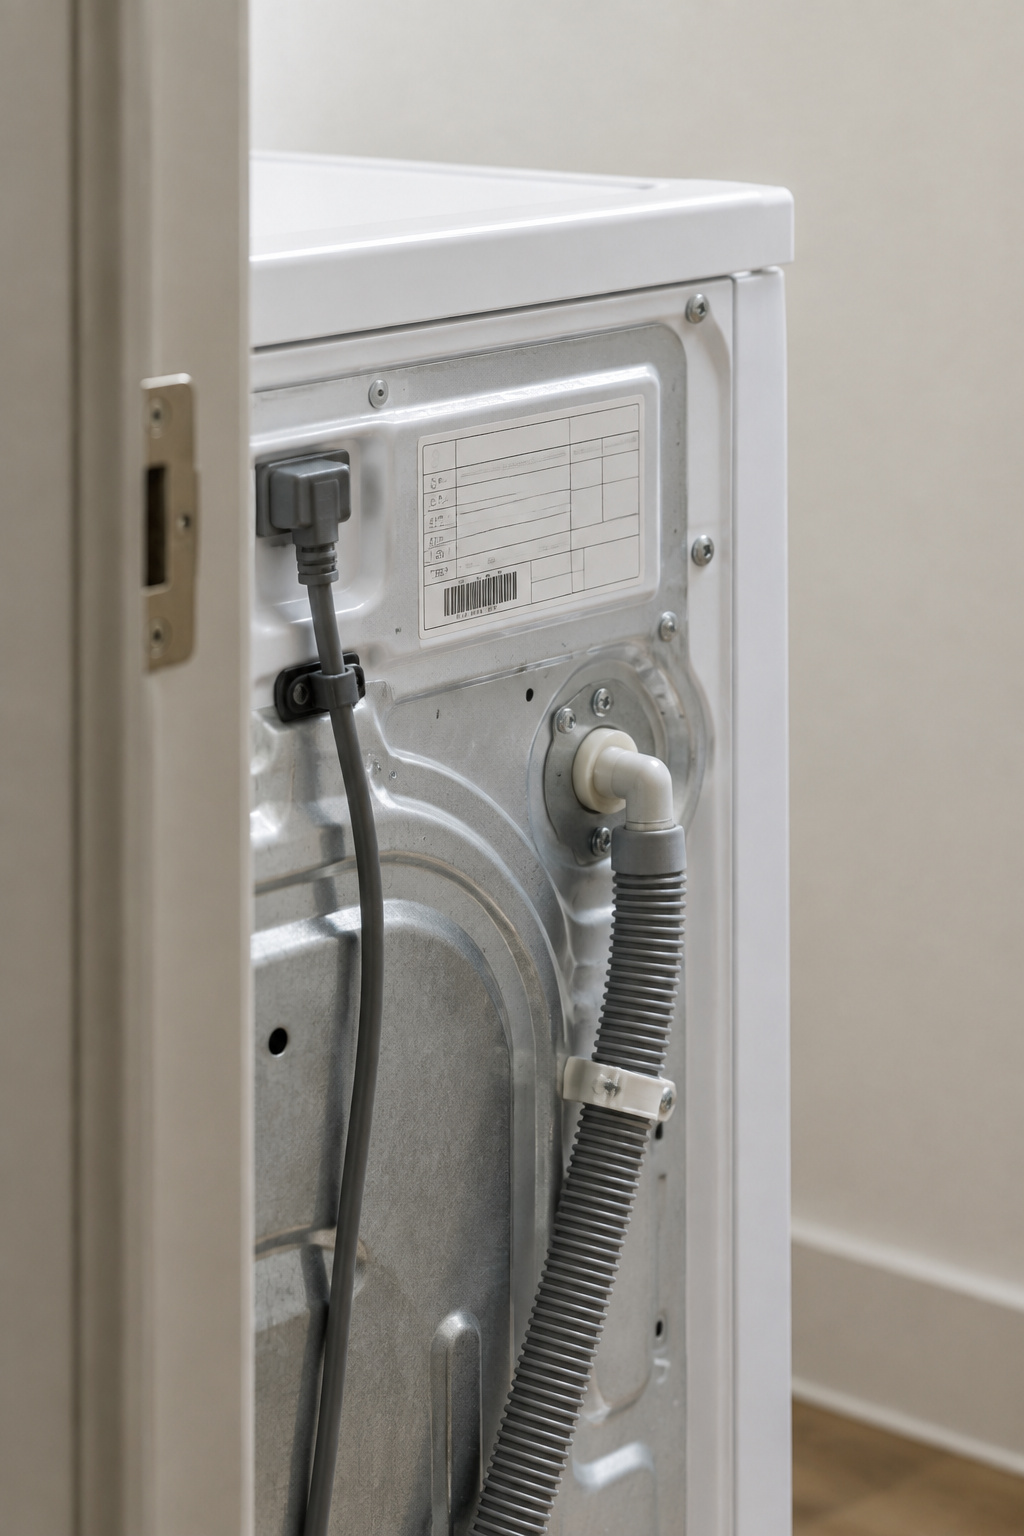
They sit at the back and lock the drum suspension so it can’t swing in transit. You’ll want a 5/8-inch (16mm) wrench. Loosen each bolt, slide it and its spacer to the centre of the hole, then pull both out and bin them.
What happens if you stack over bolts left in
Whirlpool is direct: running a washer with the shipping bolts still in causes excessive vibration, noise and damage, and can void the warranty. Stacking seals that in. Reaching them afterwards means taking the dryer back down.
How long this step takes: first build, some builds, confident builder
First build: budget an extra half hour to find the bolts and source the wrench. Some builds: ten minutes. Confident builder: five. The risk is skipping the check because the washer “seems fine” standing still, not the difficulty of the step.
The two-person lift and bracket fit
This is the part that hurts people, and the part sped-up videos make look effortless.
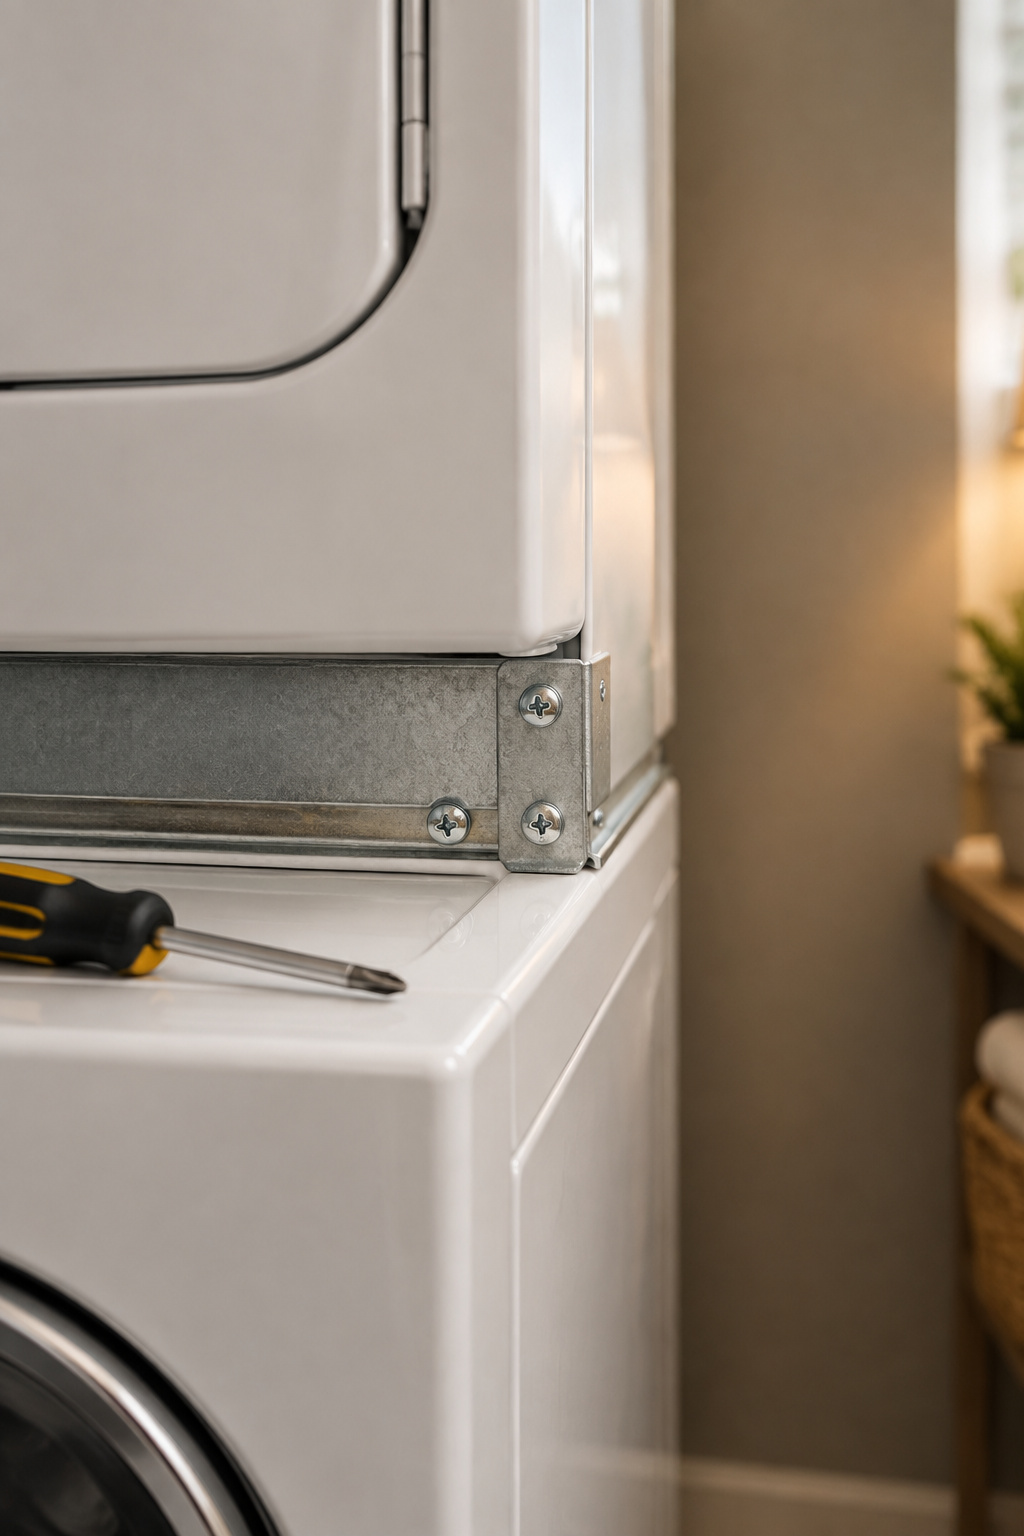
Why this is not a one-person job, whatever the video shows
A washer runs roughly 150 to 200 pounds, a dryer 120 to 170. GE’s own stack-kit manual doesn’t hedge: more than two people are recommended, and failure to do so “could result in personal injury or death.”
Setting the bracket and torquing it to spec
Swap the dryer’s feet for the kit’s stacking feet first. Lift, land it, align the front edges flush, then fasten the brackets at the rear with a Phillips screwdriver. Snug, not gorilla-tight. You’re driving into sheet metal, and a stripped hole holds nothing. GE publishes its own ceiling: 18 in-lbs for #8 self-tapping screws, 22 in-lbs for #10 self-drilling. That is GE’s spec for GE hardware; other brands publish no equivalent figure.
The trip back to the store you should budget for
Assume it. Professional installers put 2 to 4 hours on a stacked install; a first-timer runs two or three times that, mostly positioning and levelling. Plan around a store that’s open late.
How to tell the bracket is still doing its job
Nobody publishes an inspection schedule for a stacking bracket. I looked; there isn’t one. So this is judgement, not a service interval. I check mine when I’m back there for lint anyway.
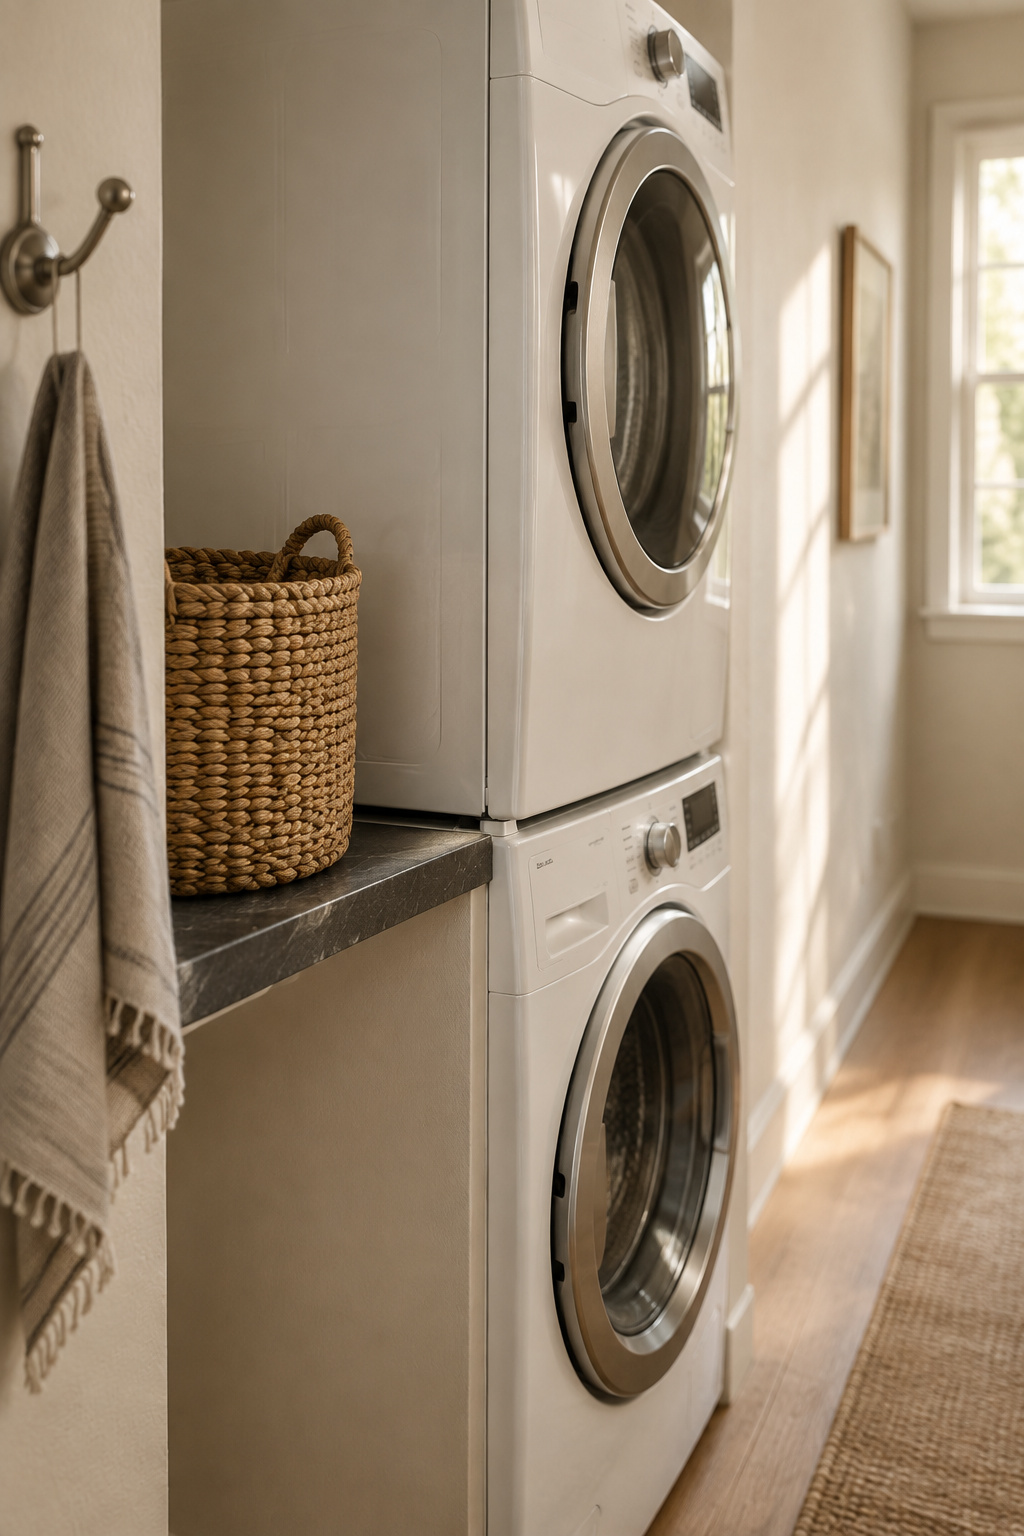
The check repair techs wish more owners ran
Unplug both machines. Put a hand on each side of the dryer and try to rock it, front to back and side to side. It should move only if the whole stack moves. Independent play means the screws need checking.
Signs the stack has shifted since install day
A gap opening between the dryer’s front edge and the washer top. Corners no longer flush. A new or louder note during the spin cycle. You learn a machine’s hum through a wall fast.
Why this connects straight to a shaking or walking stack
Every step above keeps energy in the base machine instead of the bracket. If your stack has already gone loud or started to travel, that’s a diagnosis job. Read why a stack shakes before tightening at random. Still choosing a setup? Start with the stackable washer dryer ideas guide.
You can do this one. Rated pair, matched kit, level base, bolts out, two people on the lift, brackets snug: that’s the procedure, in order, and none of it needs a skill you don’t have. Do one thing today: find both model numbers and look up whether your pair is rated to stack.
FAQ
Can you stack any washer and dryer, or only certain models?
Only certain models. The manufacturer has to rate that specific pair as stackable, and you confirm it by model number rather than by measuring or comparing sizes. Top-load washers are never stackable. Cross-brand pairs aren’t supported either: Whirlpool warns that an incompatible stack can void the warranty or let the top machine fall.
Do you need a professional to stack a washer and dryer?
It depends on the brand, and LG’s own materials disagree with each other. One LG support page says stacking must be done by an LG installation technician; another walks owners through the kit steps themselves. Whirlpool, GE, Maytag and Samsung all publish owner instructions. Gas connections and electrical work go to a licensed pro regardless.
How long does it take to stack a washer and dryer?
Professional installers budget 2 to 4 hours for a stacked pair. A first-time DIY installer should plan on two or three times that, because the time goes into positioning, levelling and reconnecting utilities rather than the bracket screws. The kit itself fits in about half an hour. Add a parts run.