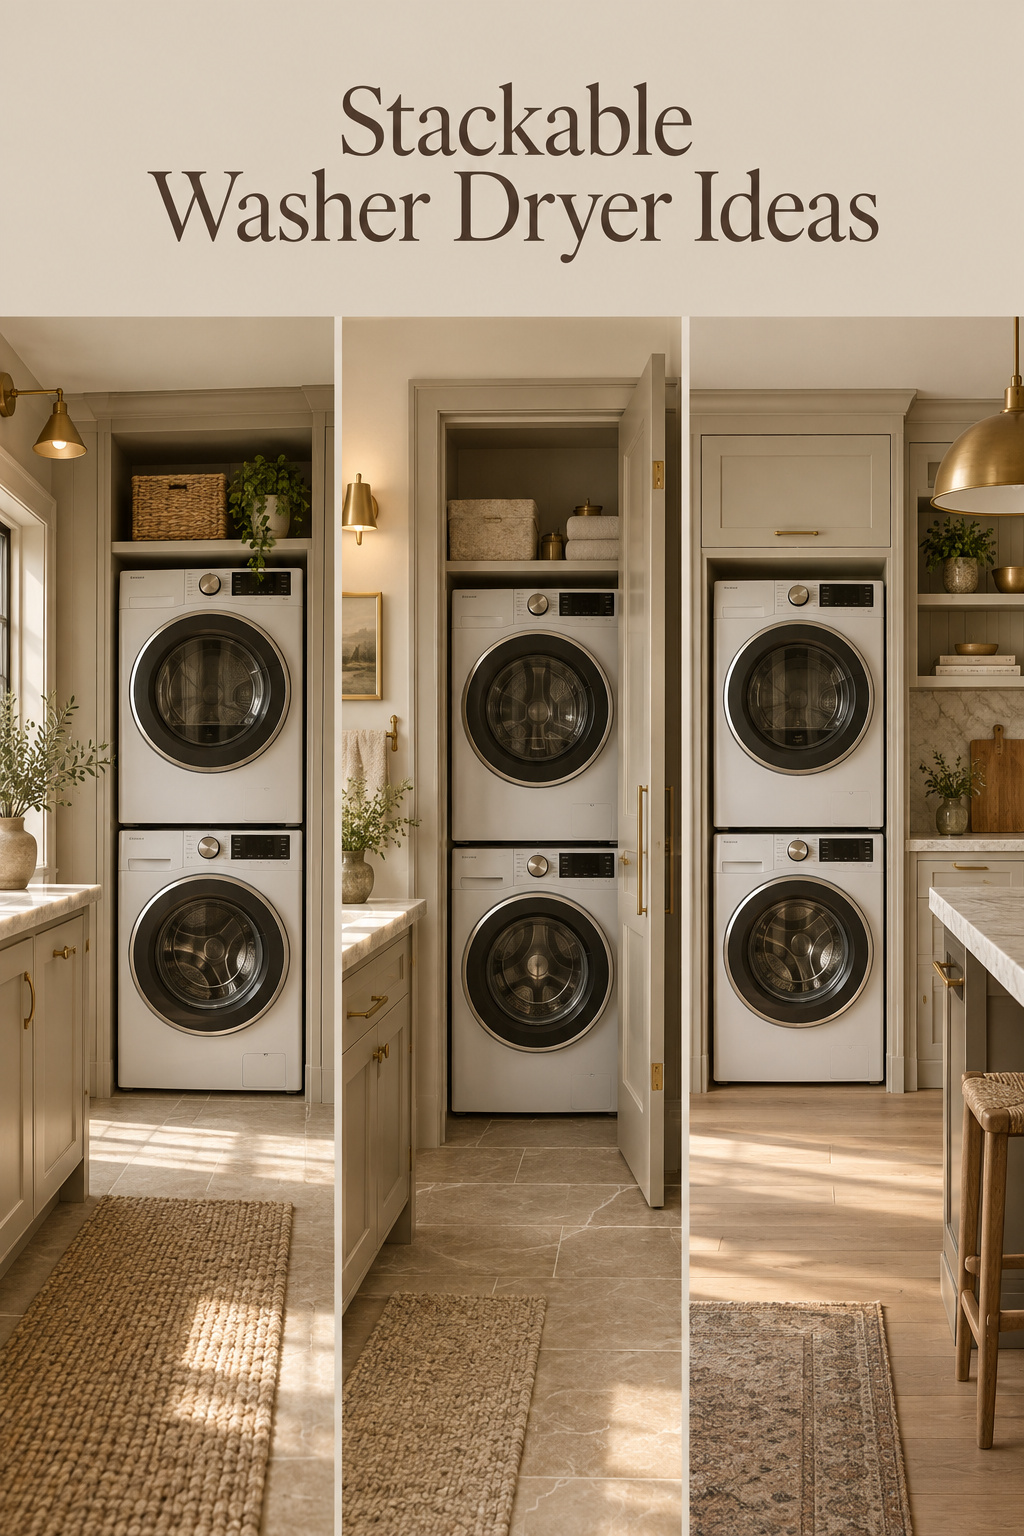
Most stackable washer dryer ideas arrive as one photograph and five tangled decisions: which room, how it is hidden, compact or full-size, vented or not, and one machine or two. Every one of those pulls against the others, and nobody tells you which to settle first.
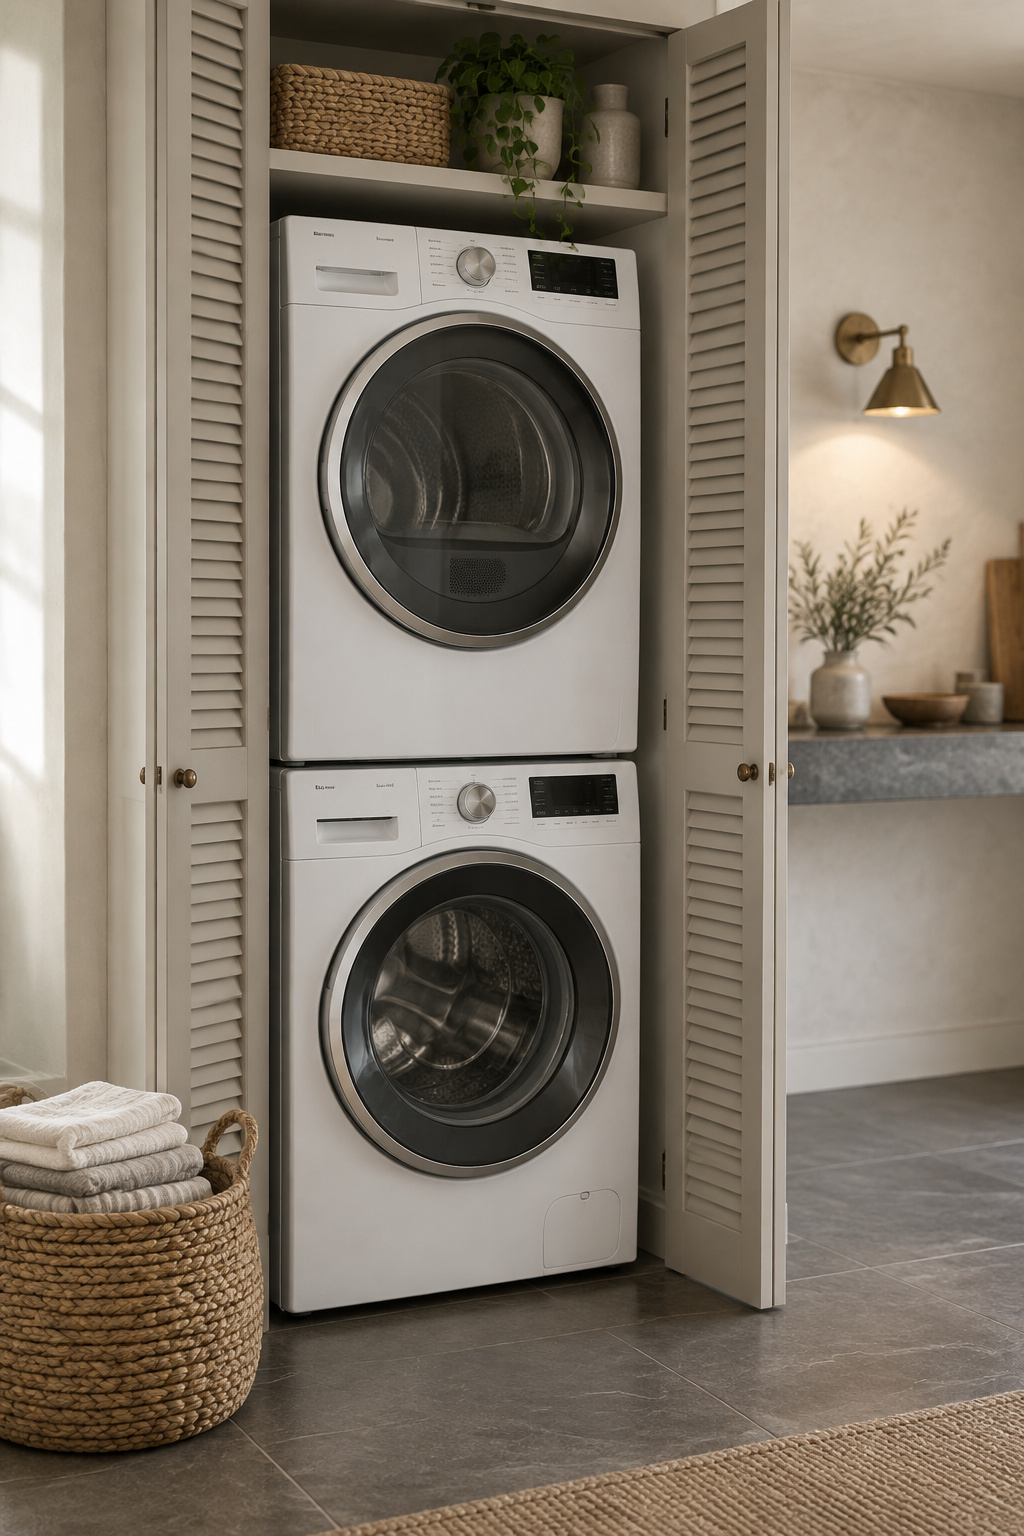
Here is the order I use, which is not the order the spec sheets suggest. Start with the room, because that is the part you live with. Then the doors and the paint, because they make the difference between a stack that looks planned and one that looks shoved in. Only then the numbers. They are brutal, which is why they come after you know what you are fighting for.
By the end you should be able to say three things out loud: my room is X, my size class is Y, my format is Z.
What a stacked washer and dryer actually buys you
Why you’re trading height for floor space
Two 27-inch machines side by side need about 56 inches of clear width: 54 inches of appliance plus an inch of breathing room each side. Stack the same pair and you need a 30-inch opening, which takes close to half the wall out of the requirement.
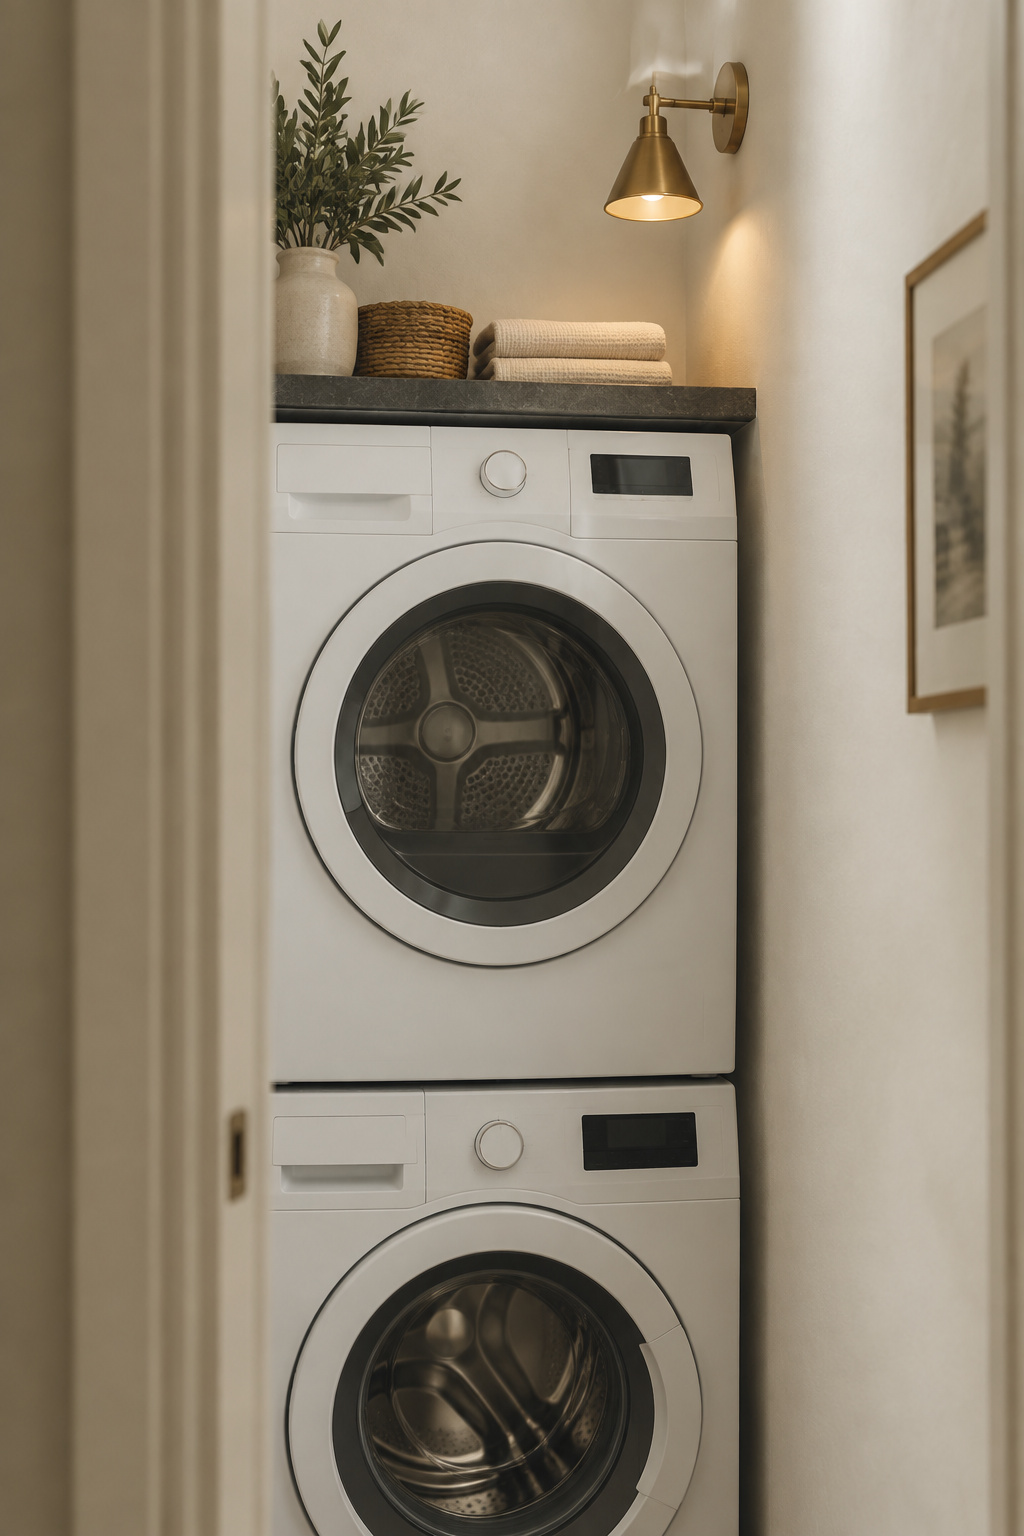
What you buy back is width. Depth stays put: the stack still wants the same 30-plus inches a single front-loader needs, so a shallow cupboard stays a shallow cupboard. The 26 inches you recovered can become a folding counter, a cart, or simply a hallway you can still walk down with a basket.
The rooms this opens up that a side-by-side pair never could
A bathroom, a corridor cupboard, a single-wall kitchen run, a linen closet with the shelves pulled out: none of those rooms typically has 56 contiguous inches of wall to give, which is exactly why they sit empty of laundry in most houses. A stack’s narrow footprint is what gets laundry into them.
What stacking doesn’t solve on its own
Stacking is a spatial decision. Venting, capacity and installation are separate decisions, and stacking does not make two mismatched machines safe to bolt together. Cross-brand stacking is not supported by manufacturers, and Whirlpool is blunt that an incompatible stack can end with the top appliance falling. Solve the space first, then solve the other three separately.
Closets, alcoves and bathrooms: where a stack actually lives
The reflex placement: a dedicated closet or alcove
The default answer is a closet, and the default answer is usually right. A full-size stacked pair wants a minimum 30-inch-wide opening; a compact pair needs 25 to 26. Measure the narrowest point, which is almost never the wall. It is the door trim, the casing, or a stray pipe boxed into the corner.
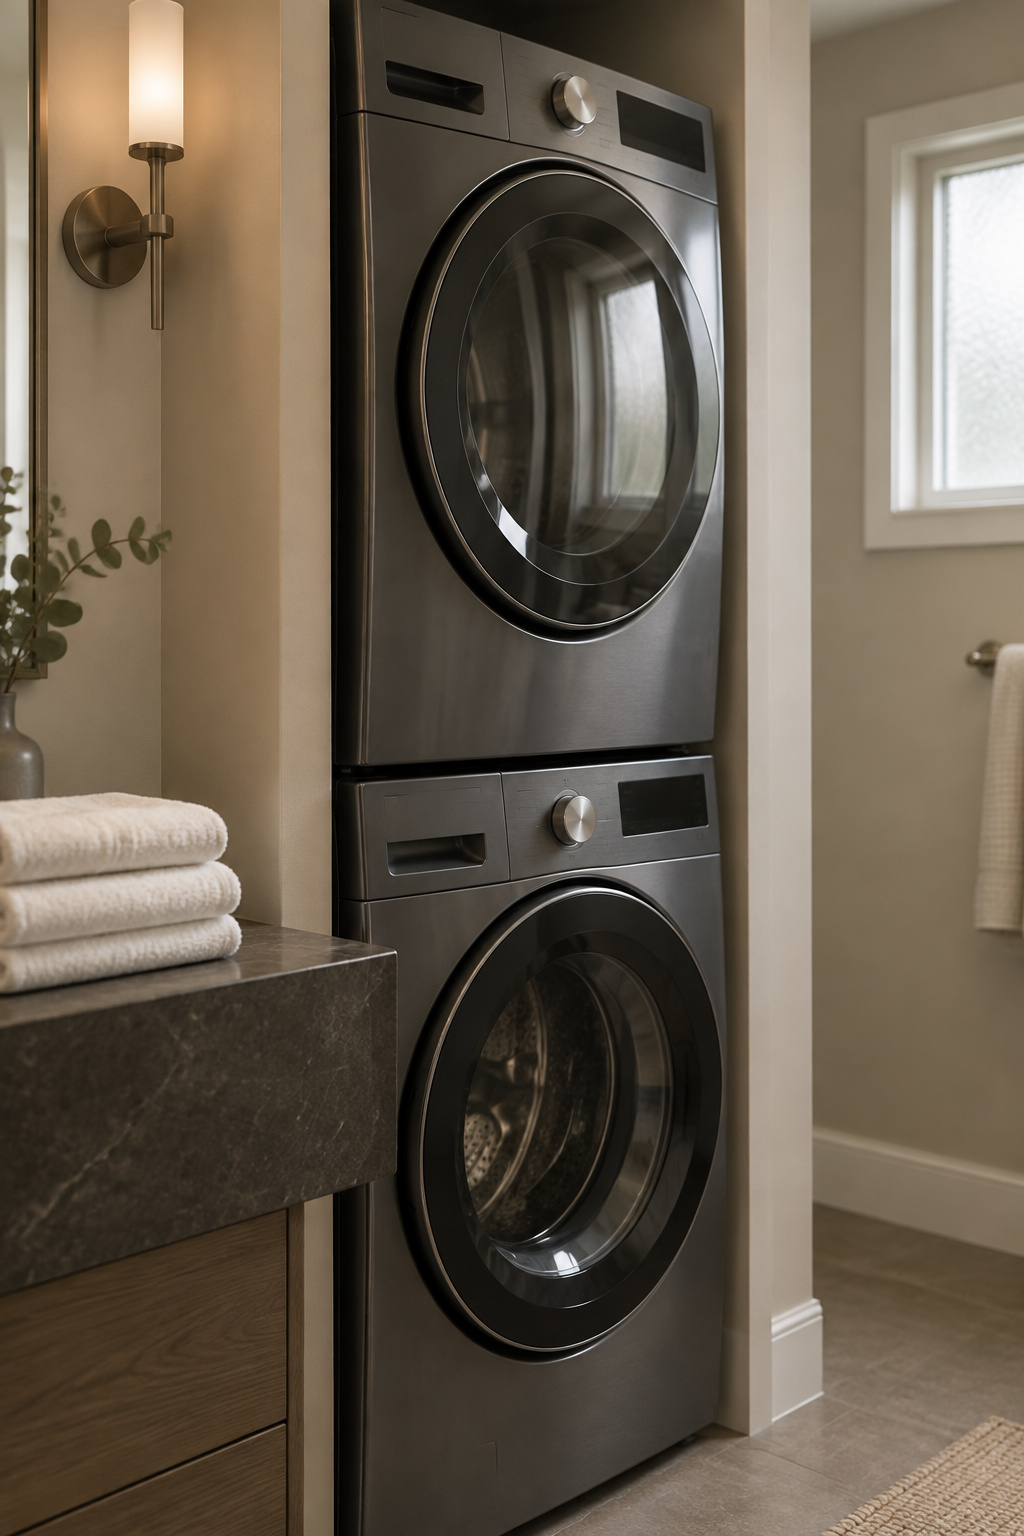
An alcove is better than a closet if you can get it, because an open alcove solves the air problem for free. A closet has to be given air deliberately.
The row-house answer: putting it where the drain stack already is
Most guides treat the next placement as a compromise. In row houses, flats and older homes with one wet wall, the bathroom holds the drain stack, the supply lines and often the only circuit near water. Running new plumbing to a closet across the house is a materially bigger job than adding a standpipe to the room that already drains.
The Uniform Plumbing Code (Section 804.1) specifically permits a clothes-washer standpipe inside a bathroom when the washer sits in that same room. That is an explicit carve-out from the general bar on indirect-waste receptors in toilet rooms, and the code wrote the exception because the situation is that common. Rachel Blackwood’s guide to putting laundry in the bathroom covers moisture, finishes and how to keep the whole intervention reversible.
Reading a room for whether it can take a stack at all
Ask three questions, in this order. How much height is there to the lowest obstruction (the shelf, the header, the slope)? Is there a drain within reach? Is there power of the right kind? A room that fails on height fails immediately, and no amount of clever joinery fixes it. A room that fails on drain or power fails expensively instead.
The hallway and landing cupboard, reconsidered
Why a corridor cupboard works when a closet doesn’t exist
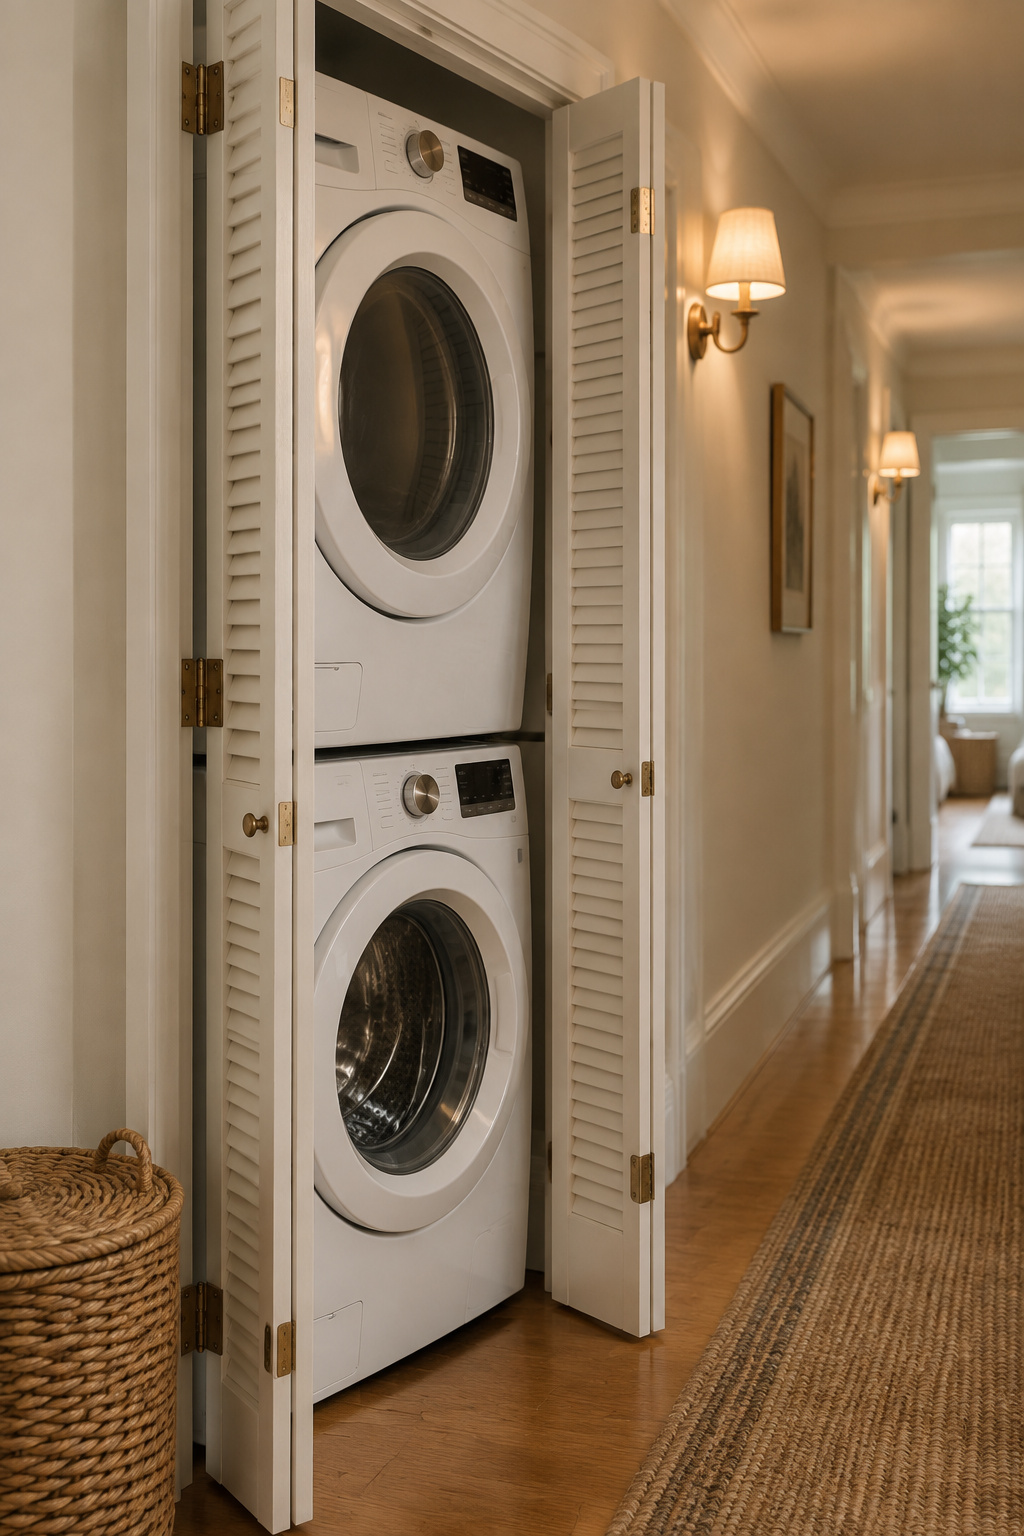
A corridor cupboard needs the same 26 to 30 inches of width as any other stacked closet. The corridor is what kills it: apartment-hallway design guidance works to roughly a 36-inch-wide hallway segment, and whatever the door does, it has to do it without blocking the walkway. That single constraint is why door type matters more here than anywhere else in the house.
Living with a stack that’s audible from a bedroom
Hallways and landings typically feed bedroom doorways (that is what corridors are for), so the cupboard wall is usually somebody’s sleeping wall. Owners who have lived with this raise spin-cycle noise as the main regret, well ahead of fit. That is a common experience rather than a measured figure, but it is consistent enough that I would rather you hear it now than in week two.
Run one load at the hour you would actually run it, standing in the room next door, before you commit. It costs nothing and tells you more than any spec.
Door types at a glance: bifold, pocket, flipper, curtain
Four options, and the choice comes down to clearance and cost:
| Door | What it costs you | Best when |
|---|---|---|
| Bifold | Some floor clearance to fold open | Budget matters; installs in an afternoon |
| Wall cavity and framing work | The corridor cannot spare any swing | |
| Flipper | Less standardised, harder to source | Bifold is close but the jamb is tight |
| Curtain | Almost nothing; least sound damping | Renting, or testing the layout first |
A curtain is a fraction of the roughly $400 per linear foot that built cabinetry runs, and it is the only one of the four you can undo in ten minutes. Period joinery changes the calculus again, and a laundry cupboard on the landing in an older house has its own rules about what you are allowed to cut.
Concealing the stack: doors, louvres and cabinetry
Why every stack needs a top and bottom air gap, concealed or not
Both machines make heat and moisture, and a sealed box holds both against the appliances. Manufacturers call for roughly 6 to 12 inches above a stacked dryer for heat and vent access, on top of the side clearance, and a closed closet or louvred door needs air openings at top and bottom. The one hard figure available is IMC 504.5’s 100 square inches of make-up air; treat the rest as sound practice rather than code.
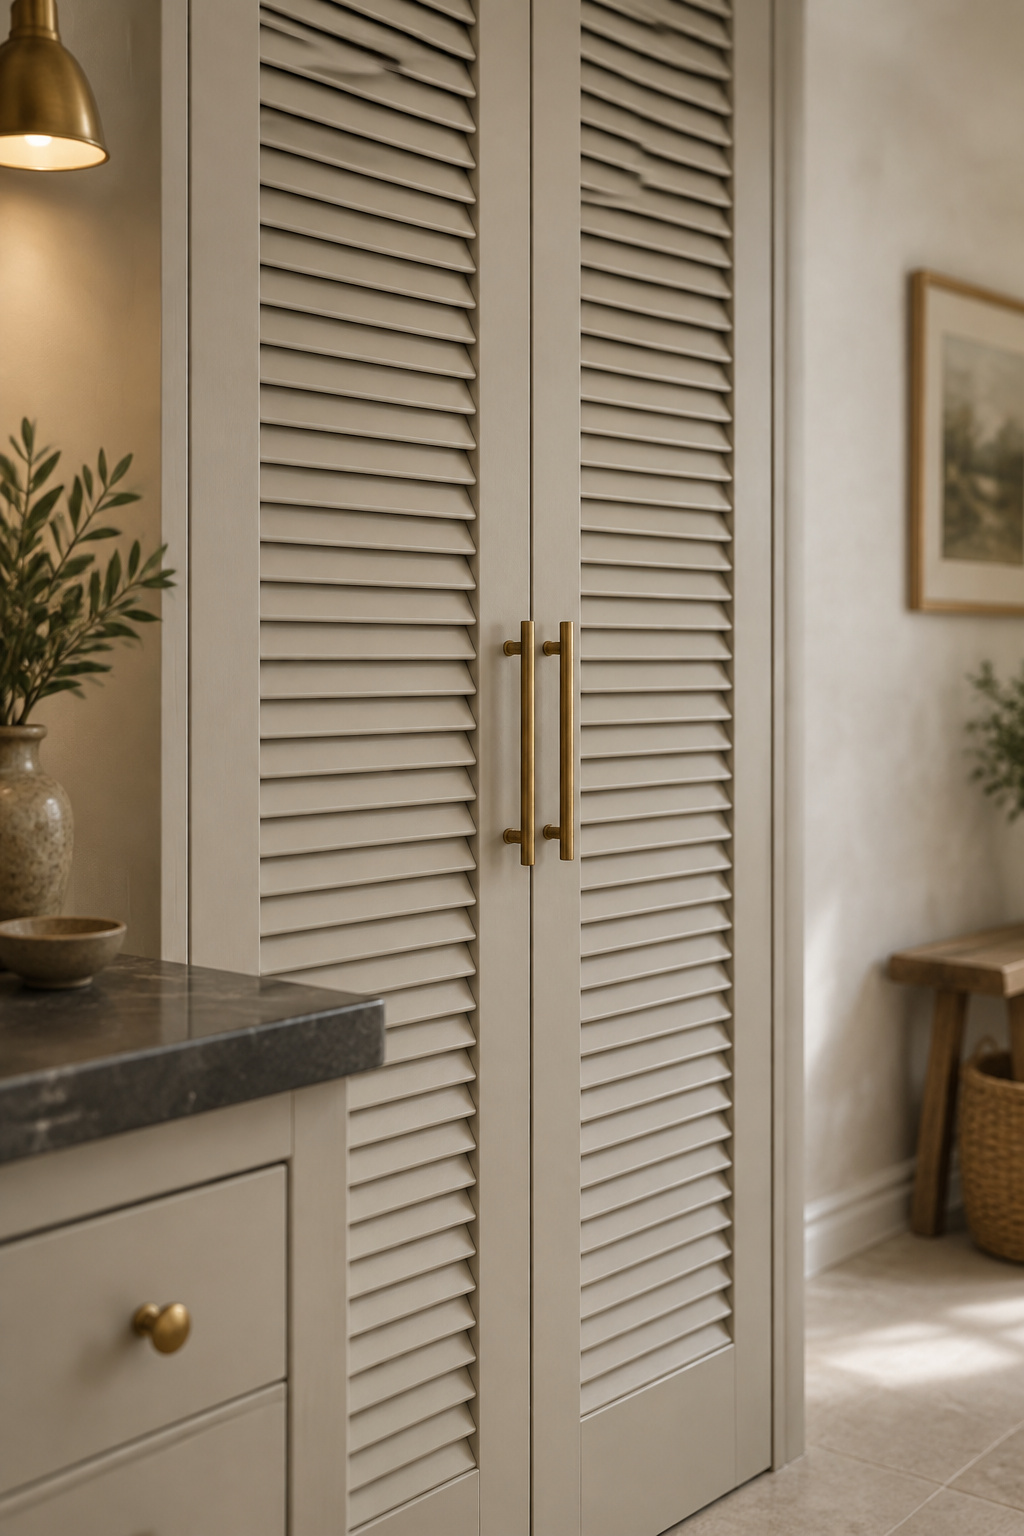
Seal a stack in behind a solid slab door with no gap and you get a dryer that runs longer, hotter and worse, and the mistake stays invisible until the energy bill and the lint tell on you.
Louvred doors, curtains and built-in cabinetry compared
Louvres are the reflex answer because they ventilate passively: the slats are the vent, so nothing has to be cut. A curtain ventilates only if you hang it honestly: loose of the floor, short of the ceiling. Hang it floor-to-ceiling on a tight track and you have built a fabric box. Built-in cabinetry conceals best and ventilates worst, because it needs a grille or a gap designed in deliberately. If you want cabinetry, draw the grille before the doors.
The warm-neutral palette that keeps a utility stack from reading as one
I built my sister a kitchen island out of $212 of stock lumber and paint-grade pine. Her family still calls it “the showroom one,” and nobody has ever asked what it cost. Cheap reads as deliberate when the finish is consistent: one paint, one hardware metal, edges that line up.
A laundry stack works the same way: putty or greige painted louvre fronts, a honed dark stone shelf edge, and one warm metal thread (unlacquered brass or aged nickel) on every pull in the run. Leave the machines white or graphite. Don’t try to colour-match appliances to cabinetry, because the eye reads a failed match faster than an honest contrast. Let the doors do the concealing.
One machine or two: stacking vs. an all-in-one combo
What a combo trades away in dry time and throughput
You have been assuming two machines, and that is worth checking. An all-in-one combo washes and dries in a single drum, in one cabinet, usually ventless and usually on a standard 120V outlet. It is the smallest laundry that exists.
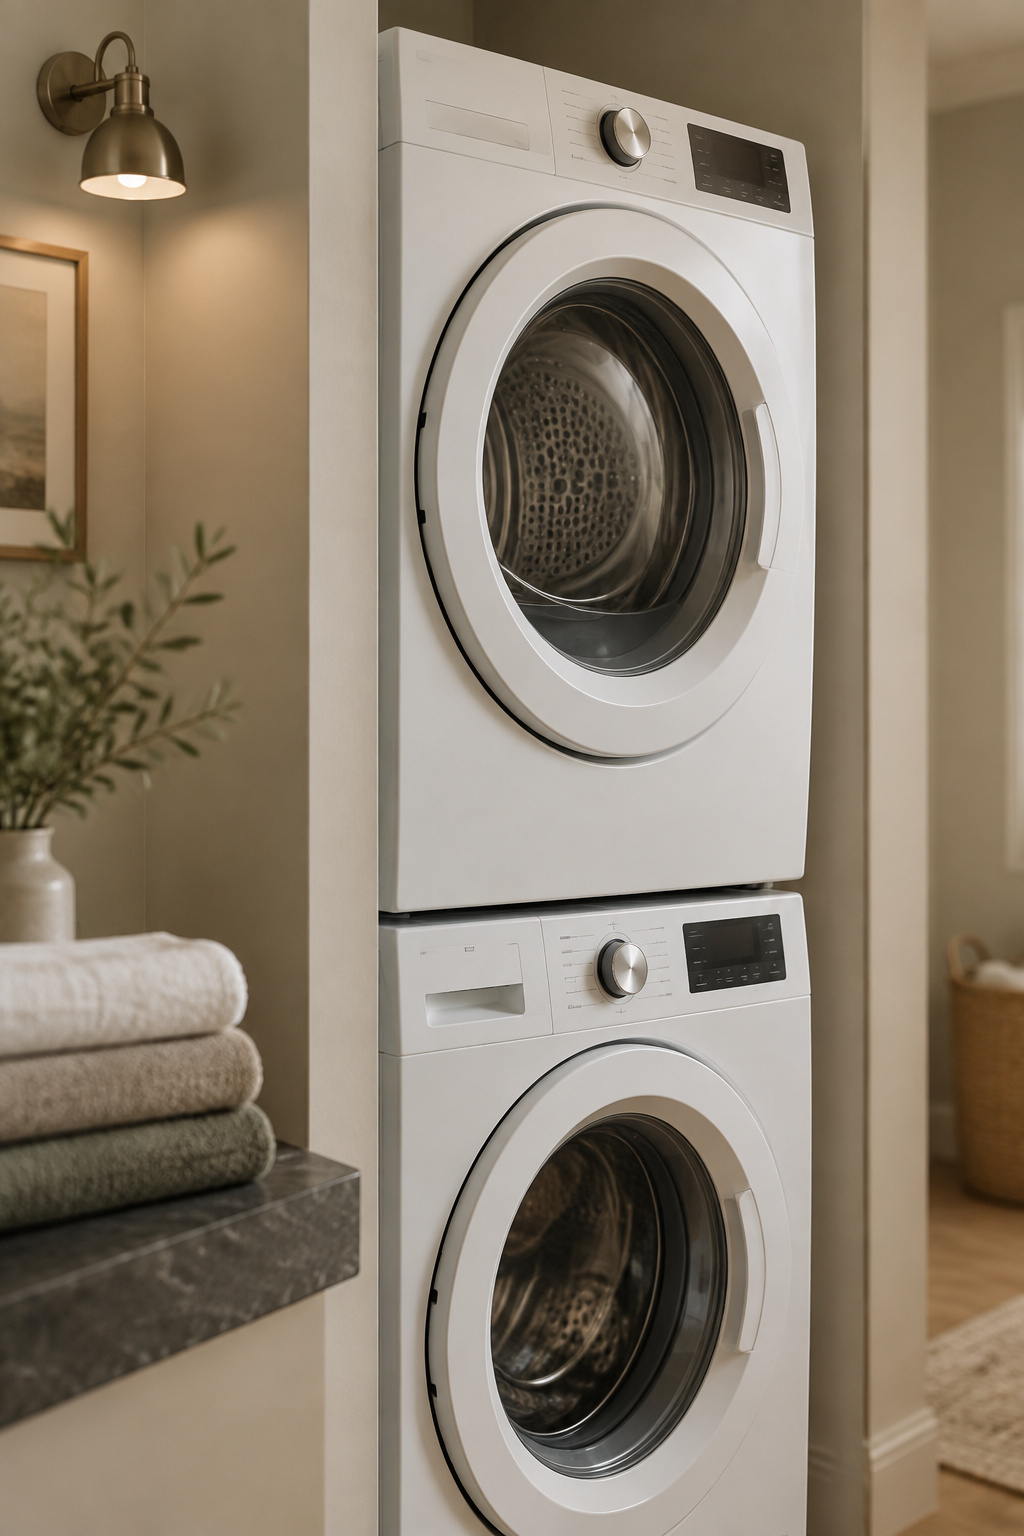
The cost is drying. Consumer Reports timed a 12-pound load at roughly three and a half hours to dry in a tested GE Profile combo, and an 8-pound mixed load ran past two. A combo saves you the transfer from washer to dryer, but it doesn’t save time, because nothing else can happen in that drum until the load is dry.
The households a combo suits
One or two people, light weeks, a room with no duct and no 240V circuit. In a flat where a vented stack is illegal and rewiring is a board decision, a combo is the only machine that works.
Why most stackers still choose two machines
It comes down to throughput. Two machines let load one dry while load two washes, and the difference compounds over a Saturday. Henrik Larsson’s breakdown of how an all-in-one combo compares runs the ten-year version of that maths, including what happens when the one machine doing both jobs goes in for repair.
The two size classes that decide everything else
Compact 24-inch pairs vs. full-size 27-inch pairs
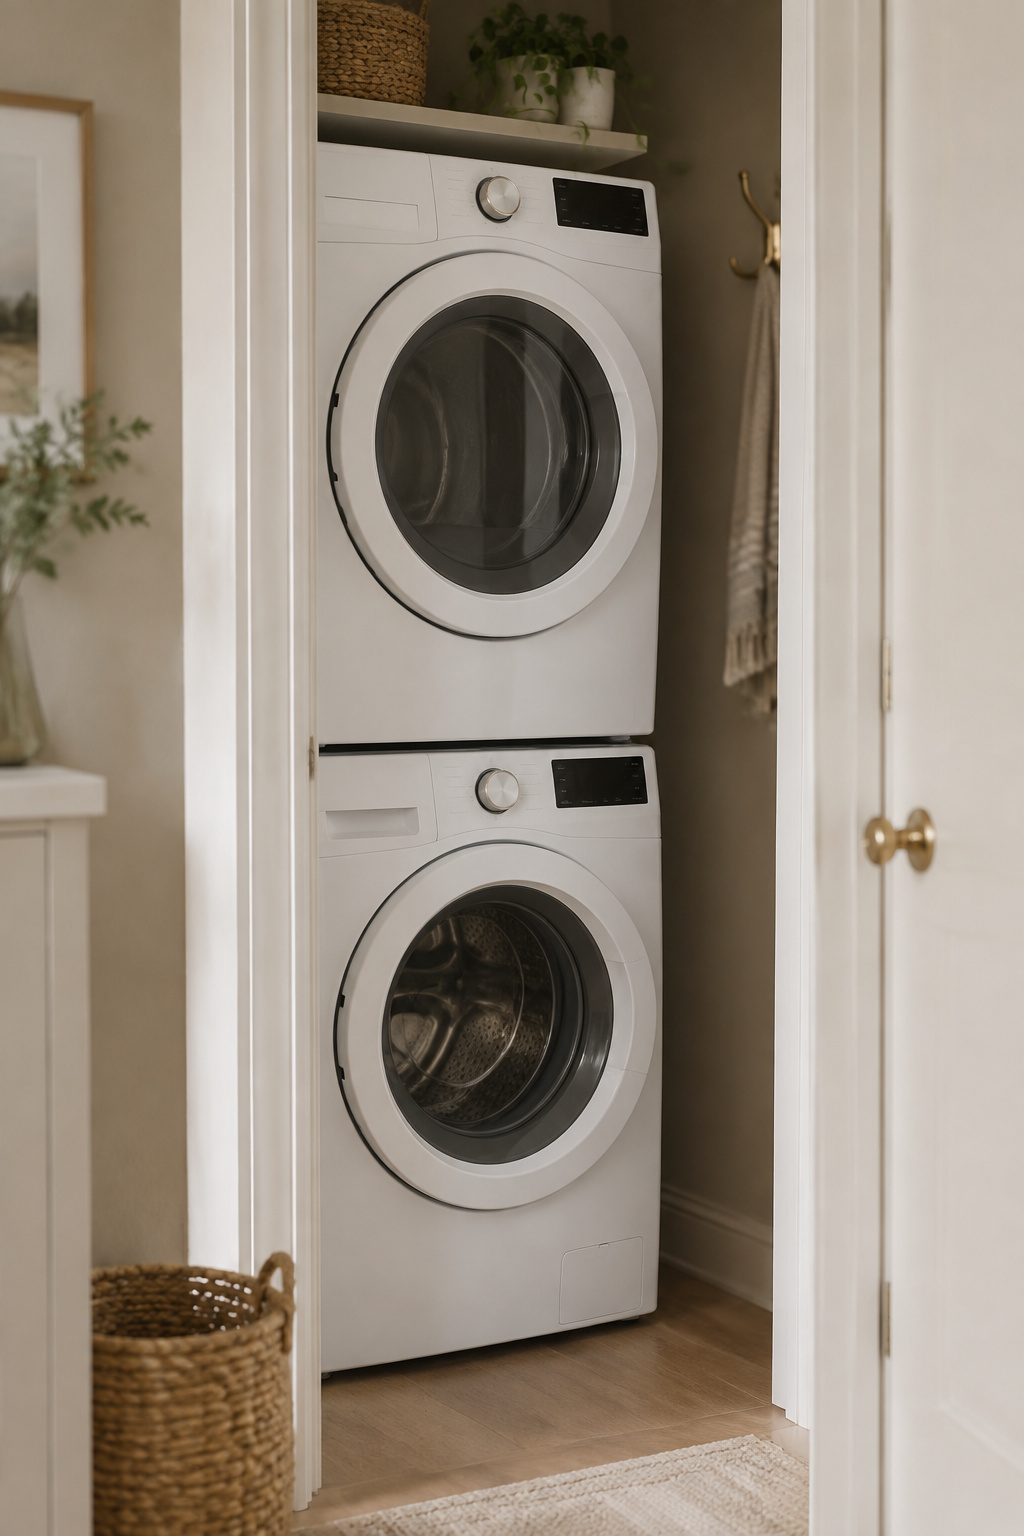
Almost every stackable pair is one of two classes, and most content blurs the line:
| Class | Width | Depth (machine) | Stacked height |
|---|---|---|---|
| Compact / European | 24 in | 24–26 in | roughly 66–76 in |
| Full-size | 27 in | 30–34 in | roughly 74–80 in |
The ranges are wide because kit heights and spec sheets differ by brand, so treat them as the shape of the decision and verify your two model numbers before you buy.
Why closet height usually kills a plan before width does
The most useful number in this guide is the height you recover by dropping from full-size to compact: roughly 8 to 14 inches. Width only moves 3 inches between the classes.
Readers arrive measuring width, but height is what fails. A full-size stack at 74 to 80 inches, plus the top clearance the kit demands, lands close to seven feet of wall. A sloped ceiling, a header over a closet, or an existing shelf will violate that long before width ever becomes the problem.
Who should go compact and why
One or two people running two or three loads a week are squarely compact-class on capacity alone. Beyond four to six loads a week, or with bedding and towels washing together, the full-size drum earns the harder fit. Compact is also merchandised as its own category by Bosch, Miele, LG and Midea rather than as a shrunken full-size machine, and Henrik’s guide to compact 24-inch pairs for apartments covers the electrical reality that comes with them.
The clearances a stacked pair actually needs
Why the spec sheet depth is not the real depth
The printed depth covers the cabinet only. It leaves out the bowed door, the hose loops that have to curve rather than kink, the power cord and the vent elbow, and a rigid elbow alone accounts for about 6 inches unless you fit a low-profile periscope. Add them up in your head and the machine gets deeper while you watch.
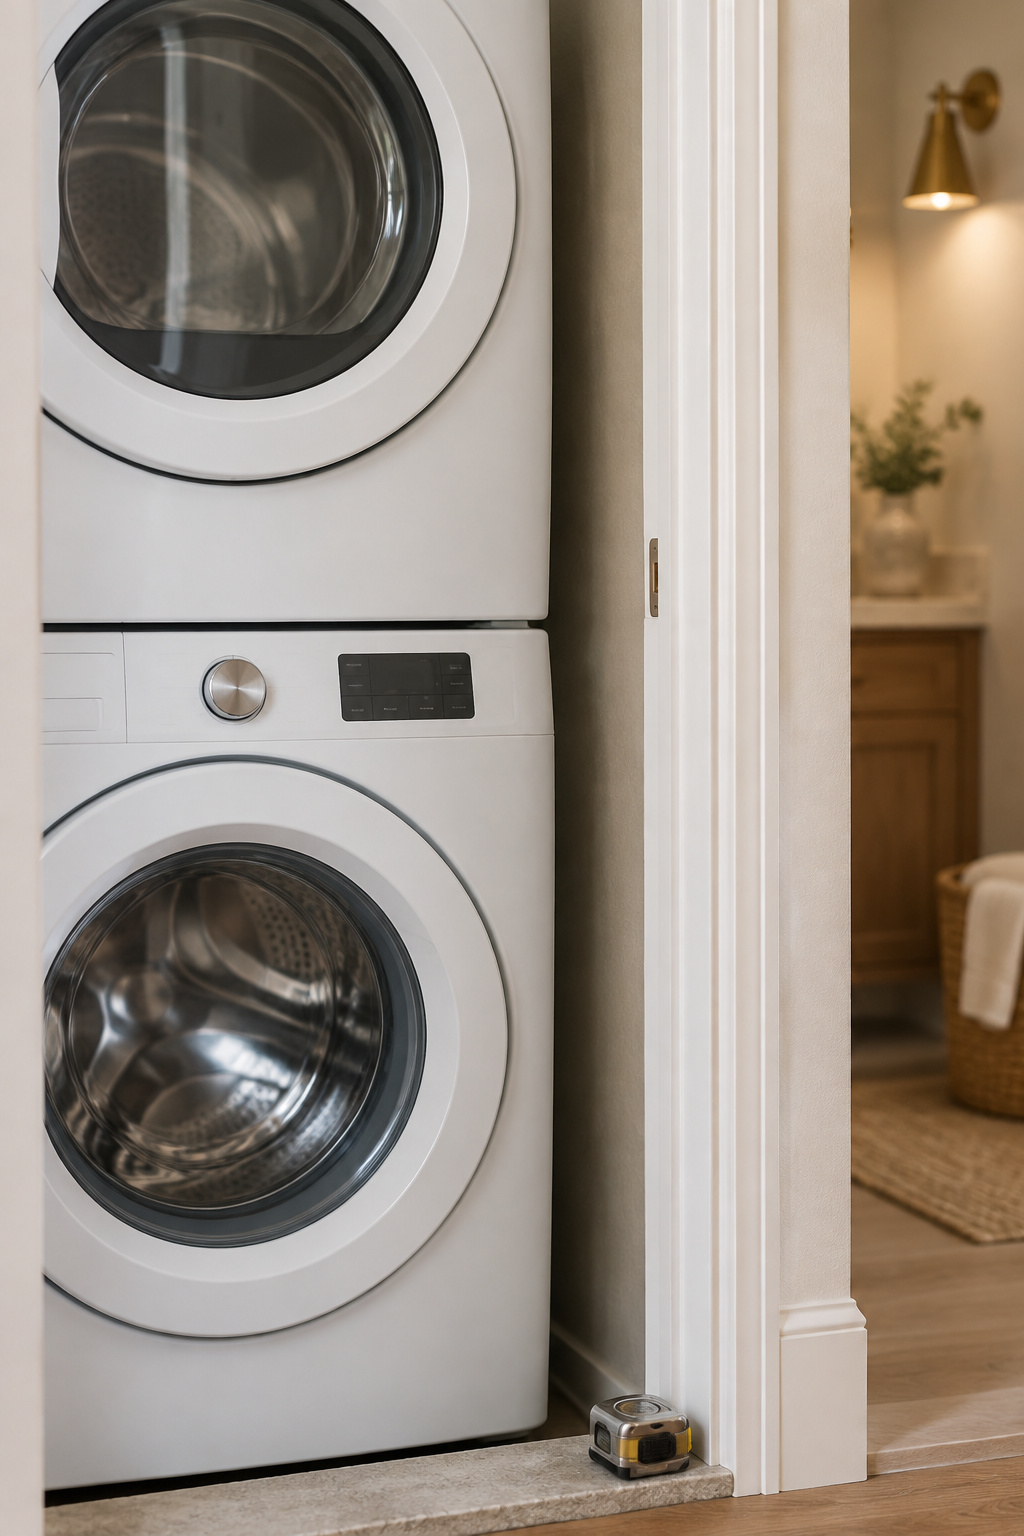
My working rule is to plan 5 to 6 inches more depth than the sheet states. Trade rough-in guidance for a full-size stack asks for 40 to 50 inches of interior closet depth, which arrives at the same place from the other direction.
Side, back and top clearances at a glance
Allow roughly 1 inch each side for heat and movement, and somewhere between 1 and 5 inches behind for hoses and ventilation, more if a vent elbow is in play. In front, leave enough for the door to open fully. A stack whose dryer door can’t swing clear of the jamb is a stack you will resent weekly.
The measuring checklist before you buy anything
- Measure the narrowest point of the opening, trim included.
- Measure floor to the lowest obstruction, not floor to ceiling.
- Confirm 1 inch of side clearance at that narrowest point.
- Add the stacking kit’s own top-clearance figure to the stack height.
- Add 5 to 6 inches to the spec-sheet depth, then check that against the cupboard.
Bring a tape and a torch. For the full version, with every tolerance, every door-swing case and the closet-door air openings, the clearances a stacked pair needs is the article to take to the closet with you.
Vented or ventless: the decision that decides the room
What a ventless heat-pump dryer trades for no duct
A ventless heat-pump dryer buys you the duct-free install and uses meaningfully less energy than a conventional vented dryer. It costs roughly $650 more upfront than a comparable vented model, adds something like 15 to 40 minutes per cycle, and hands you a condensate drain to plumb or a tank to empty by hand.
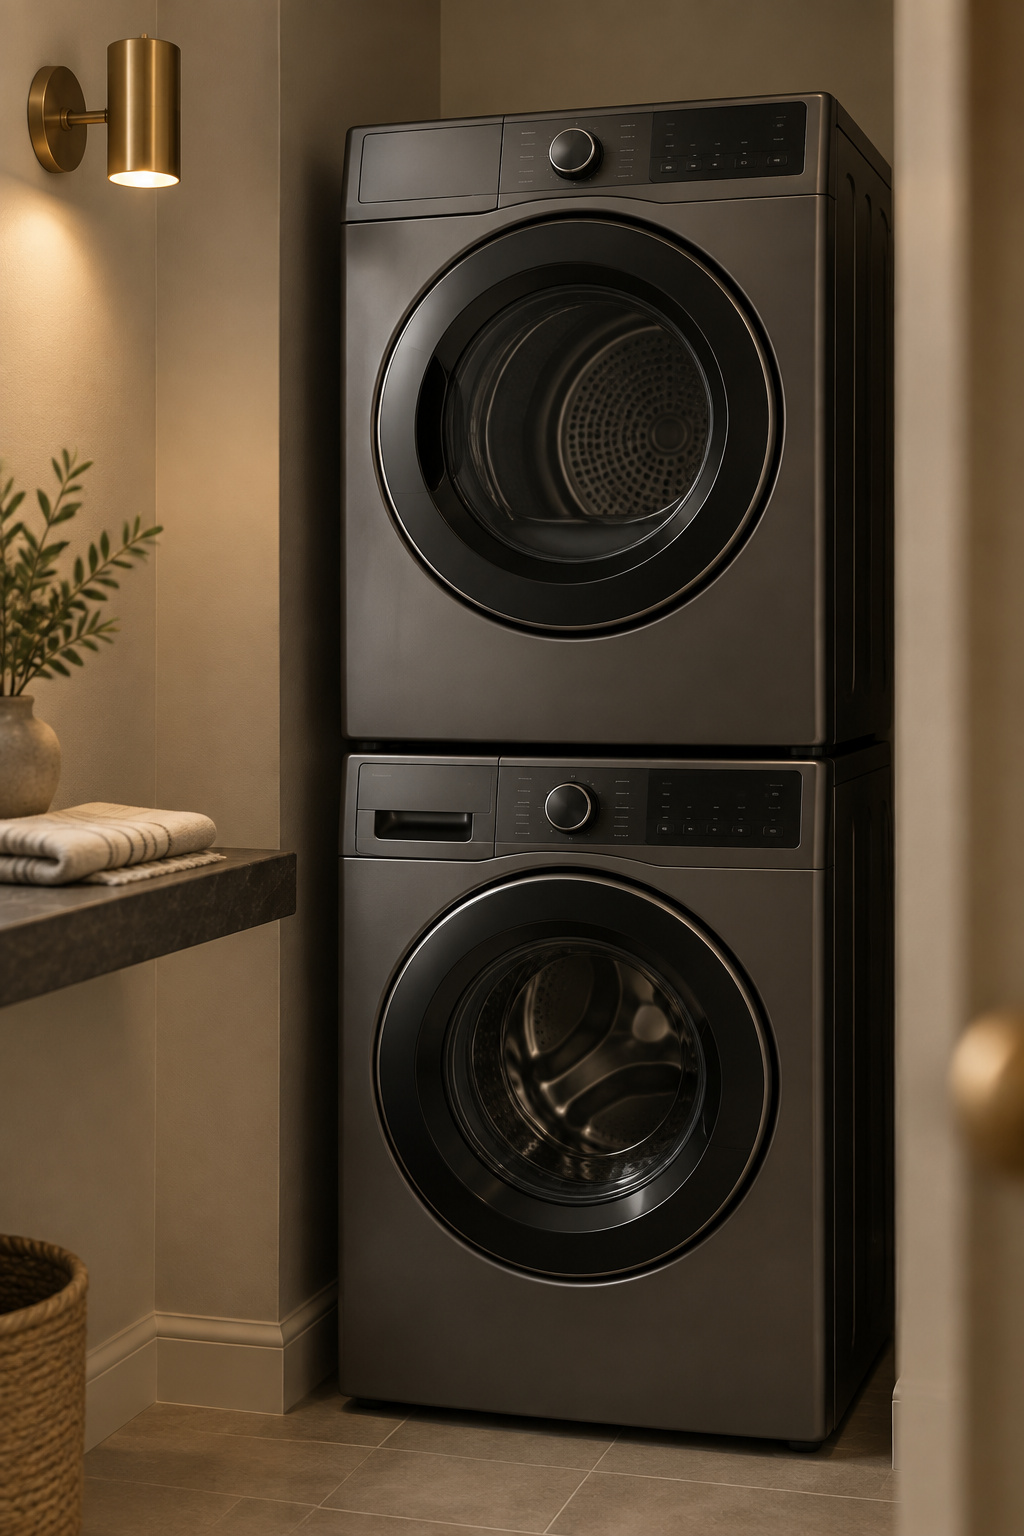
It won’t keep the room cool, though. Ventless sounds heat-free, but the machine releases real heat into the space it stands in, which matters most in a small sealed bathroom.
Rooms a vented dryer simply rules out
Venting is a geometry problem with a budget. IRC M1502.4 caps a dryer exhaust run at 35 feet equivalent length in rigid smooth metal, and every 90-degree elbow spends 5 feet of that; every 45-degree elbow, 2.5. A windowless interior bathroom or a mid-corridor cupboard can burn the whole allowance before the duct clears the room.
How to weigh cycle time against room flexibility
If the room has no compliant duct path, ventless is the only thing that makes the room usable, and cycle time becomes a detail. If the room does have a duct path, then you are genuinely choosing, and the energy figures published for heat-pump dryers vary enough between sources that Henrik’s guide to ventless dryers for a closet with no duct is where that argument belongs, spread and all.
Installing and living with the stack
Why a stacking kit is not optional, whatever the machines cost
A kit runs roughly $30 to $80, takes about half an hour and is model-specific. On a pair worth thousands, that is the cheapest insurance in the house, and people skip it because it looks like a bracket.
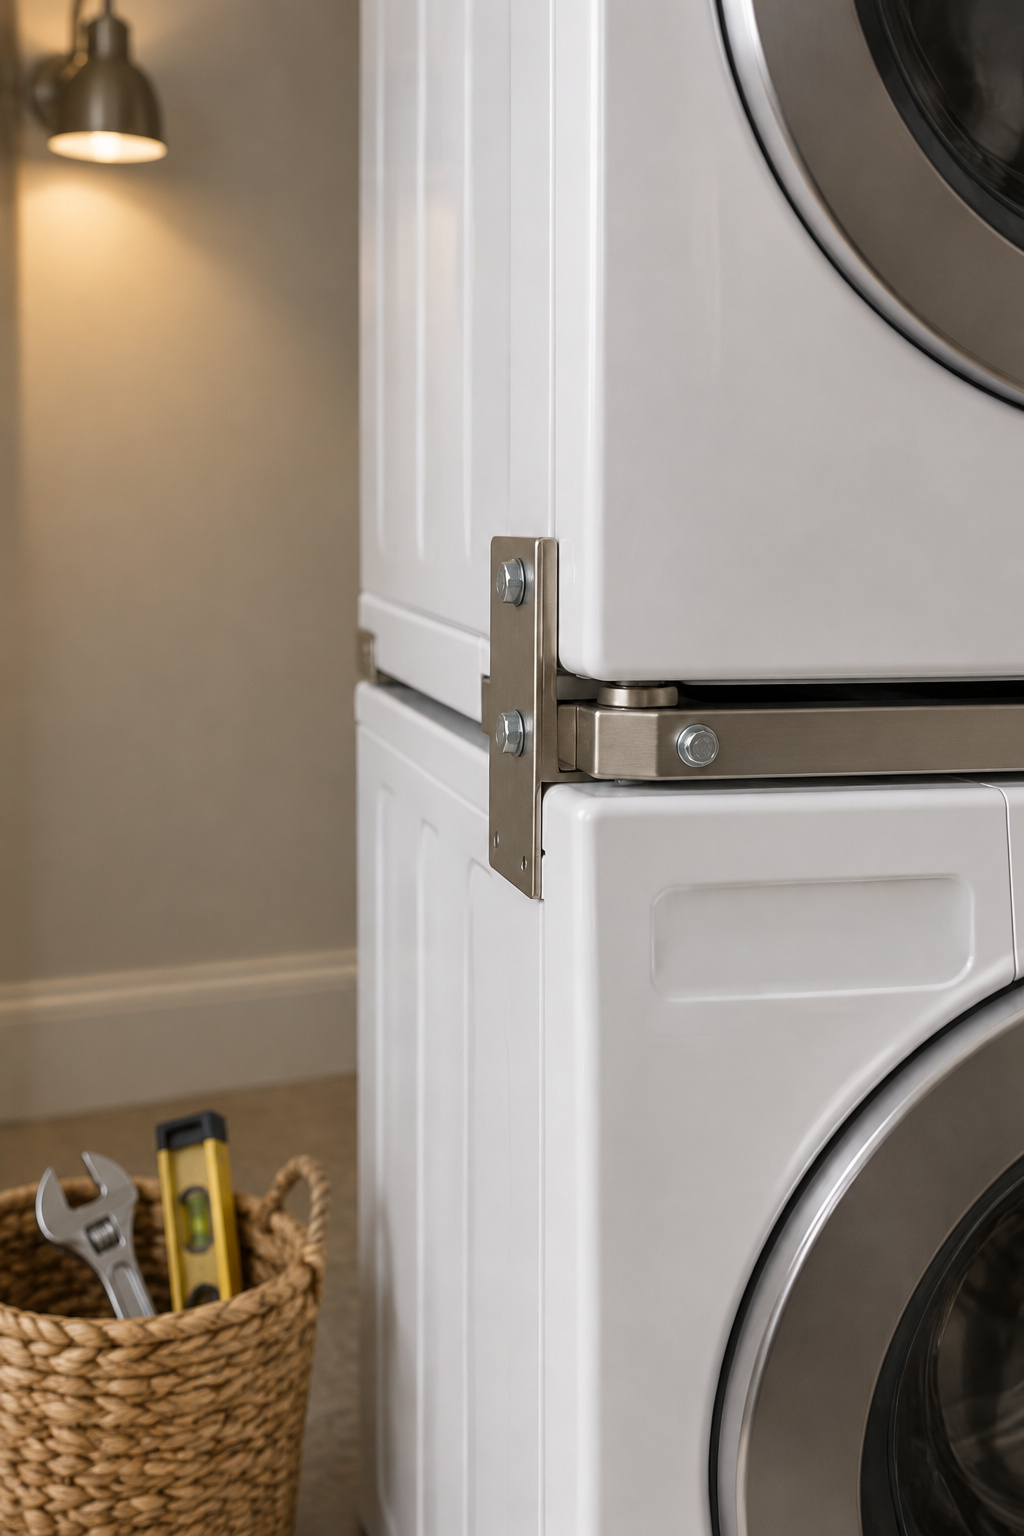
Whirlpool treats a missing or unmatched kit as a safety issue: vibration can shift an unsecured dryer, and a dryer that shifts far enough comes down. The washer has to be level before the dryer goes on top of it. Get that step wrong and the whole stack fights you from day one. The exact sequence belongs in the install article.
The vibration nobody mentions until they own it
Consumer Reports measured a stacked pair against the same washer running solo and found the vibration barely differed, with peaks at the start and end of the spin cycle even on correctly installed machines. Some movement is just the machine working, and it doesn’t mean the stack is failing.
The second finding is worse for your wallet: off-the-shelf anti-vibration pads, the internet’s favourite fix, did not cut vibration by much in that same testing. Diagnose before you buy anything, which is the whole point of stopping a stack from shaking.
The single biggest mistake: skipping the manufacturer-matched bracket
Repair technicians keep finding sheared brackets on stacks the owner assumed were fine, because a bracket fails slowly over years rather than all at once on a Tuesday. Check yours now and then: no daylight at the seam, no movement when you push the dryer’s top corner, no fasteners backing out. It takes two minutes with a torch. If you are ordering the kit and doing the lift yourself, how to stack a washer and dryer safely walks the sequence. As for the lift, a full pair is heavy enough that you need a second person, full stop.
Name your room, your concealment, your class and your format, in that order rather than the order the spec sheets push you toward. Room first, because a bathroom with the drain already in the wall beats a closet across the house every time. Concealment second, because a louvre or a curtain or a built cabinet changes what the room can even hold before a single number gets involved. Class third, and if the height is close, go compact and buy back those 8 to 14 inches rather than gambling on an inch. Format last, and unless your week is genuinely light, two machines beat one drum.
Every other guide skips that sequence and hands you dimensions before you know what room you’re fitting them into. Work it in this order and the numbers stop being a wall of specs and become the last four questions you have to answer.