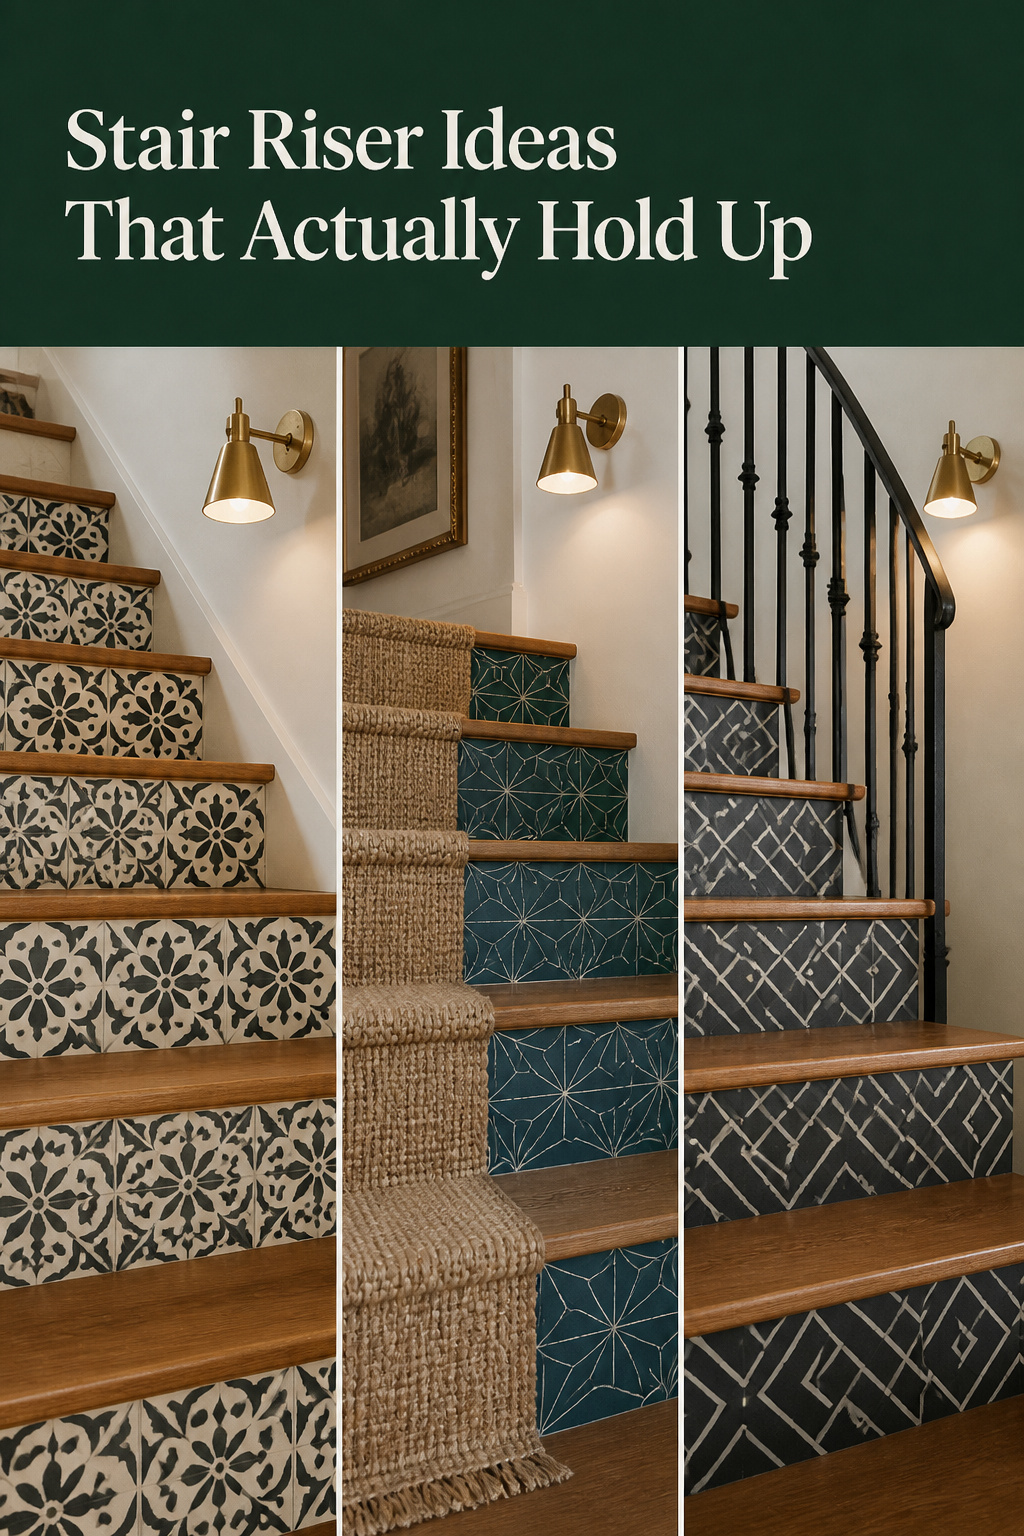
The first question anyone asks about patterned risers is how long they’ll last. The worry is fair; it just lands on the wrong board. Nobody has ever walked on a riser. The tread takes the body weight and the shoe grit; the riser is the vertical face between treads, carrying no walking load. That is why stair riser ideas that would be laughable on a tread (paper, thin vinyl, stencil work) survive fine one board down. The sections below cover what the four routes cost, and which durability claims hold.
TL;DR
- Risers aren’t a walking surface, so wallpaper, vinyl decals and stencil work all hold up there; the tread takes the abrasion instead.
- Real costs: 8 risers came in under $35 in peel-and-stick wallpaper, decal sets run $22 to $56.63, and a reusable $27.95 stencil covers every riser you own.
- Let one surface carry the pattern, risers or runner, and keep treads, walls and balusters quiet.
The myth about riser durability (and why risers are the forgiving surface)
Riser treatments get judged against tread standards they were never asked to meet.
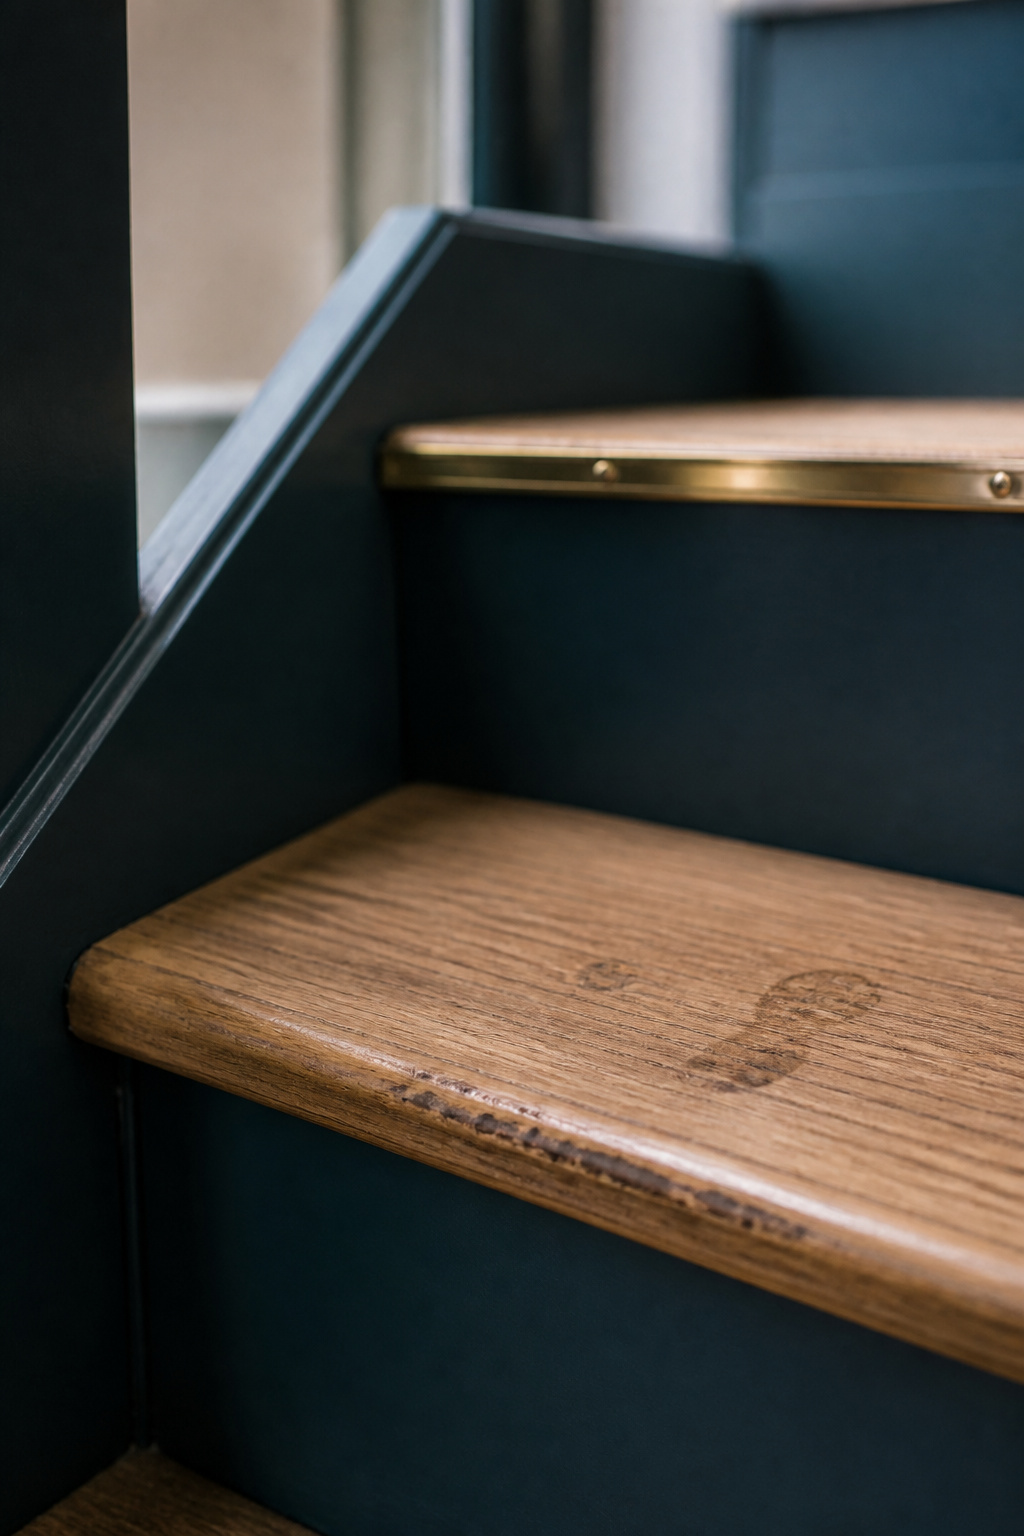
What actually takes the abuse on a staircase vs what doesn’t
The tread bears the weight and impact of every footstep. The riser does a safety and appearance job: keeping step height consistent, closing the gap. Code sizes them accordingly: IRC R311.7.5 caps riser height at 7-3/4 inches and sets a 10-inch minimum tread depth, with no more than 3/8 inch of variation across a flight. Riser products advertise protection from scuffs (shoes and vacuum heads, nothing heavier).
Why risers can carry pattern that treads never could
Incidental contact is the whole exposure: toe-kicks going up, a vacuum head clipping the face coming down. A tread takes compression and shear dozens of times a day. So materials too delicate for a tread (paper-backed wallpaper, thin vinyl, stencil work under clear coat) are viable one board lower.
What this means for budget and material choice
Put the money where the feet go. Tread-grade enamel is worth every dollar; the riser wants the cheapest treatment that looks right. A 13 to 15 riser flight finishes for under $50 in decal or wallpaper material, while tile-look routes climb into the hundreds. Four routes, by cost and by what they cost to undo:
| Route | Material cost, full flight | Effort and timeline | Comes back off? |
|---|---|---|---|
| Peel-and-stick decals | $22-$57 a set, often several packs | One weekend, no cure time | Yes — sellers say damage-free |
| Wallpaper offcuts | Under $35 for 8 risers | One weekend, mostly templating | Yes — designed reversible |
| Stencil and paint | $27.95 reusable stencil, plus paint | Two weekends; 24-hour filler cure | No — it’s paint |
| Tile-look vinyl | Roughly $25-$140, my calculation | One weekend, plus grouting | Not sold as removable |
Peel-and-stick decals: real wear and real cost
$22 at one end, $56.63 at the other, and the jump has almost nothing to do with the pattern.
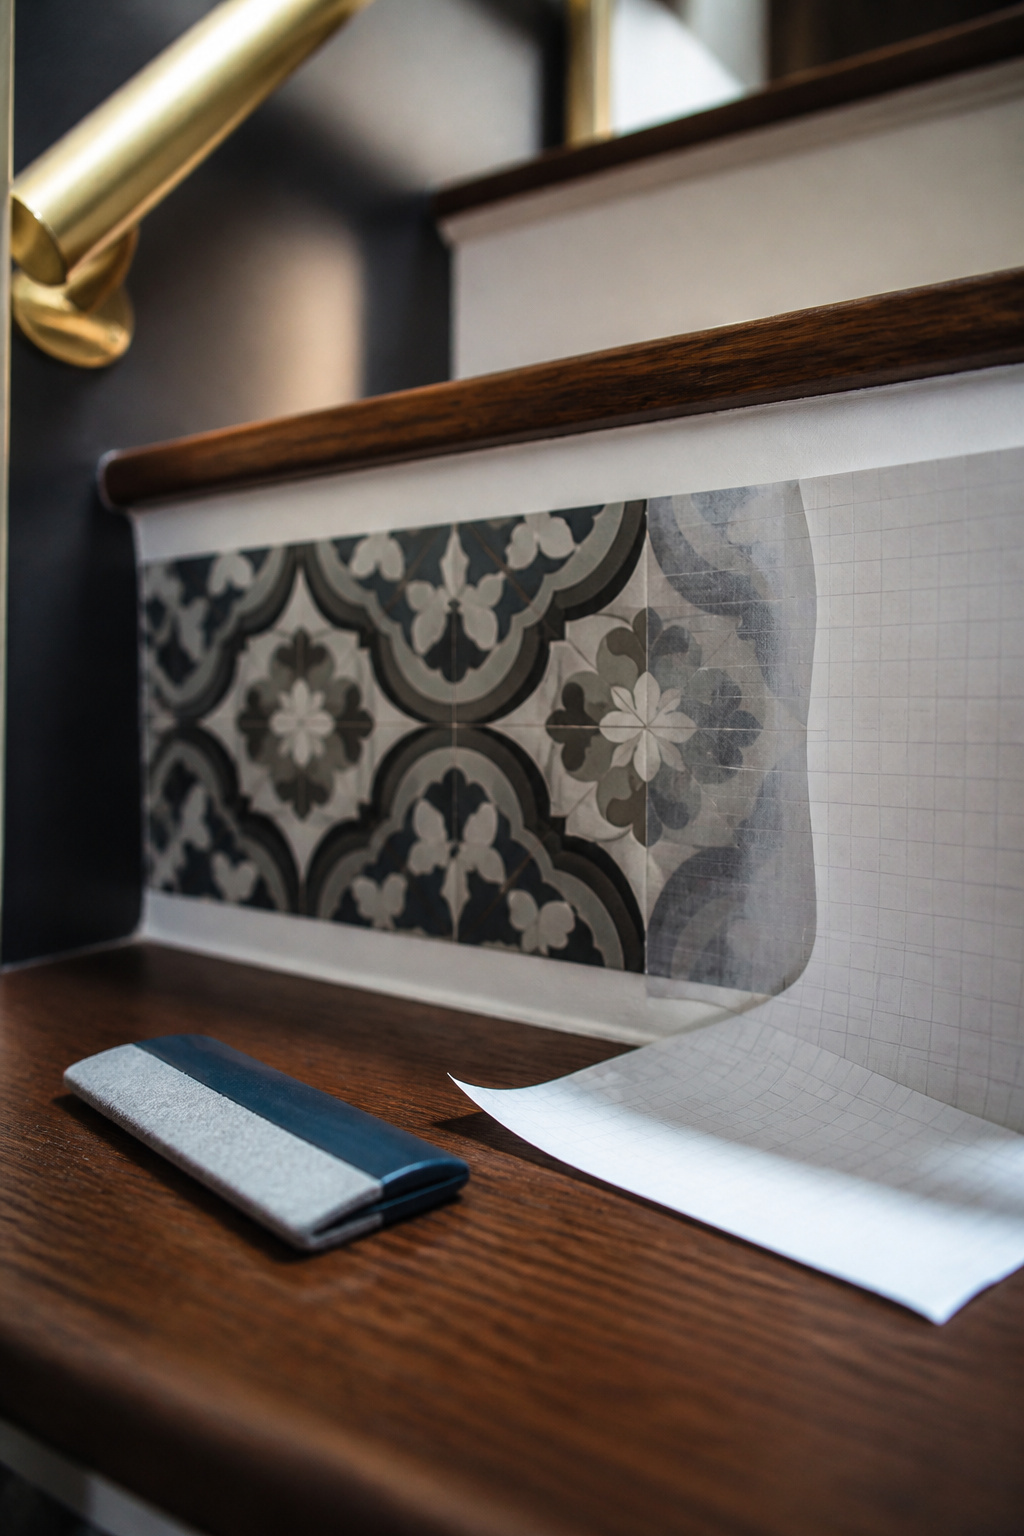
What actually happens to decals after a year of use
I can tell you what the sellers say. Decords describes its strips as damage-free and unlikely to harm the surface underneath. But the same sellers recommend a sealant coat in high-traffic entries, which tells you where they expect the edges to give. Nobody has published a multi-year report on riser decals; every account I found was seller copy or a fresh-install post.
Cost per stair and where the price jumps
Decords’ sets span $22 for a Rainbow self-adhesive design to $56.63 for a glow-in-the-dark one. Price climbs with custom sizing, glow ink and multi-color gradients, not with pattern complexity. Pack maths matters more than sticker price: WALPLUS sells 15 strips at 39 x 7.1 inches, covering a standard flight in one purchase, while InfiniteDots’ tile-look strips come five to a pack, so a full flight needs three.
Surface prep decals need to actually stick
This is the boring part, and it decides the result:
- Measure every riser individually. One measurement copied fifteen times is the classic gap-maker.
- Vacuum and clean each face thoroughly, grease included.
- Peel and apply from the top of the flight down.
- Work bubbles out with a smoothing tool as you go, not afterward.
- Trim with a sharp blade, changing it once it drags.
One rule overrides all of that: freshly painted risers need up to 30 days of cure (the window depends on paint type) before anything adhesive goes on. Skip it and the decal takes your paint with it.
Wallpaper offcuts on risers
There’s a half-used roll standing in a closet somewhere in your house. A riser face is under 2 square feet, which is the whole reason this route costs so little.
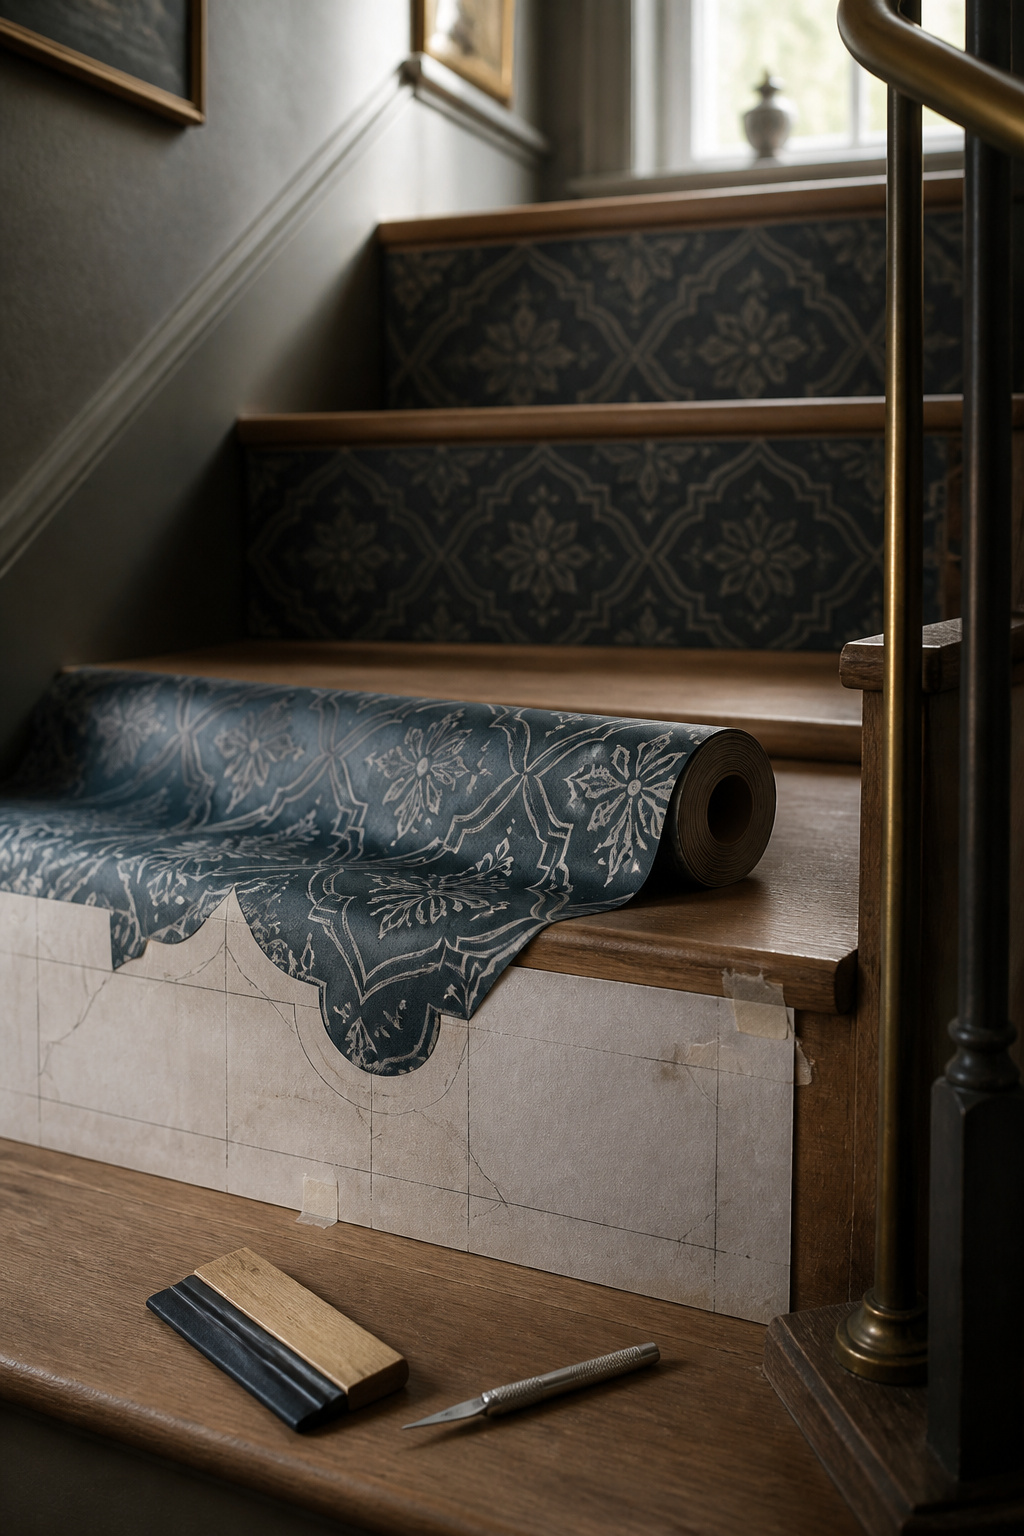
Using leftover rolls instead of buying full sheets
One documented project wallpapered 8 risers (every other riser on a 16-riser staircase) for under $35, using three rolls of peel-and-stick paper plus an application kit. Buying new, a NuWallpaper roll runs $33.42 for 30.75 square feet, roughly $1.09 per square foot, so one roll carries a flight with room to spare.
Paste-and-seal method for a surface that gets bumped and vacuumed
Clean first, then template each riser separately in paper. I’ve never measured a flight where every riser came out the same; the tape reads one number at the wall and another at the baluster. Analyse the repeat before cutting. Work top down, pushing bubbles out, trimming with a craft knife. Paintable caulk seals the tread-to-wall and riser-to-wall seams; pull its tape immediately or the bead tears ragged. Keep spare glue, because edges lift.
Where wallpaper risers hold up better than expected
The functional win surprised me more than the decorative one: papered risers stop showing the black scuff marks bare painted risers collect from shoes and vacuums. Peel-and-stick paper is also reversible, coming down cleanly whenever you want. Against tile or stencil work, it commits you to nothing.
Stencilled risers: the cheapest route with the most labor
Load the stencil brush too heavily and paint creeps under the edge. Do that at riser three and riser twelve won’t match. Offload the excess onto a paper towel before every pass.
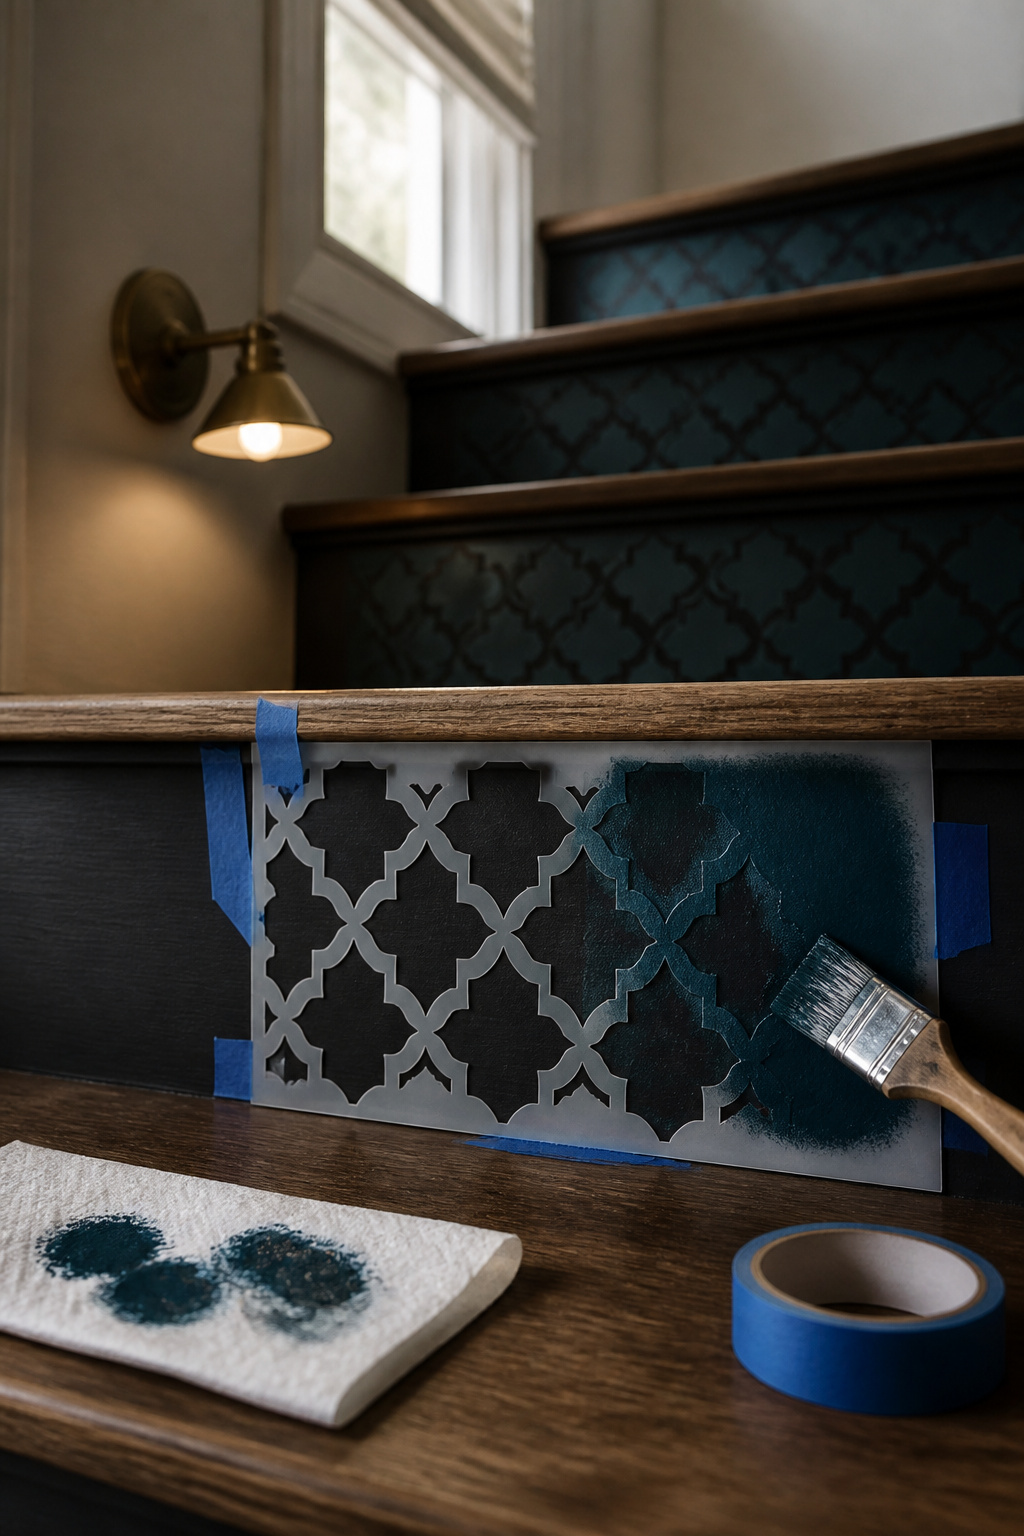
Paint-grade prep before stencilling
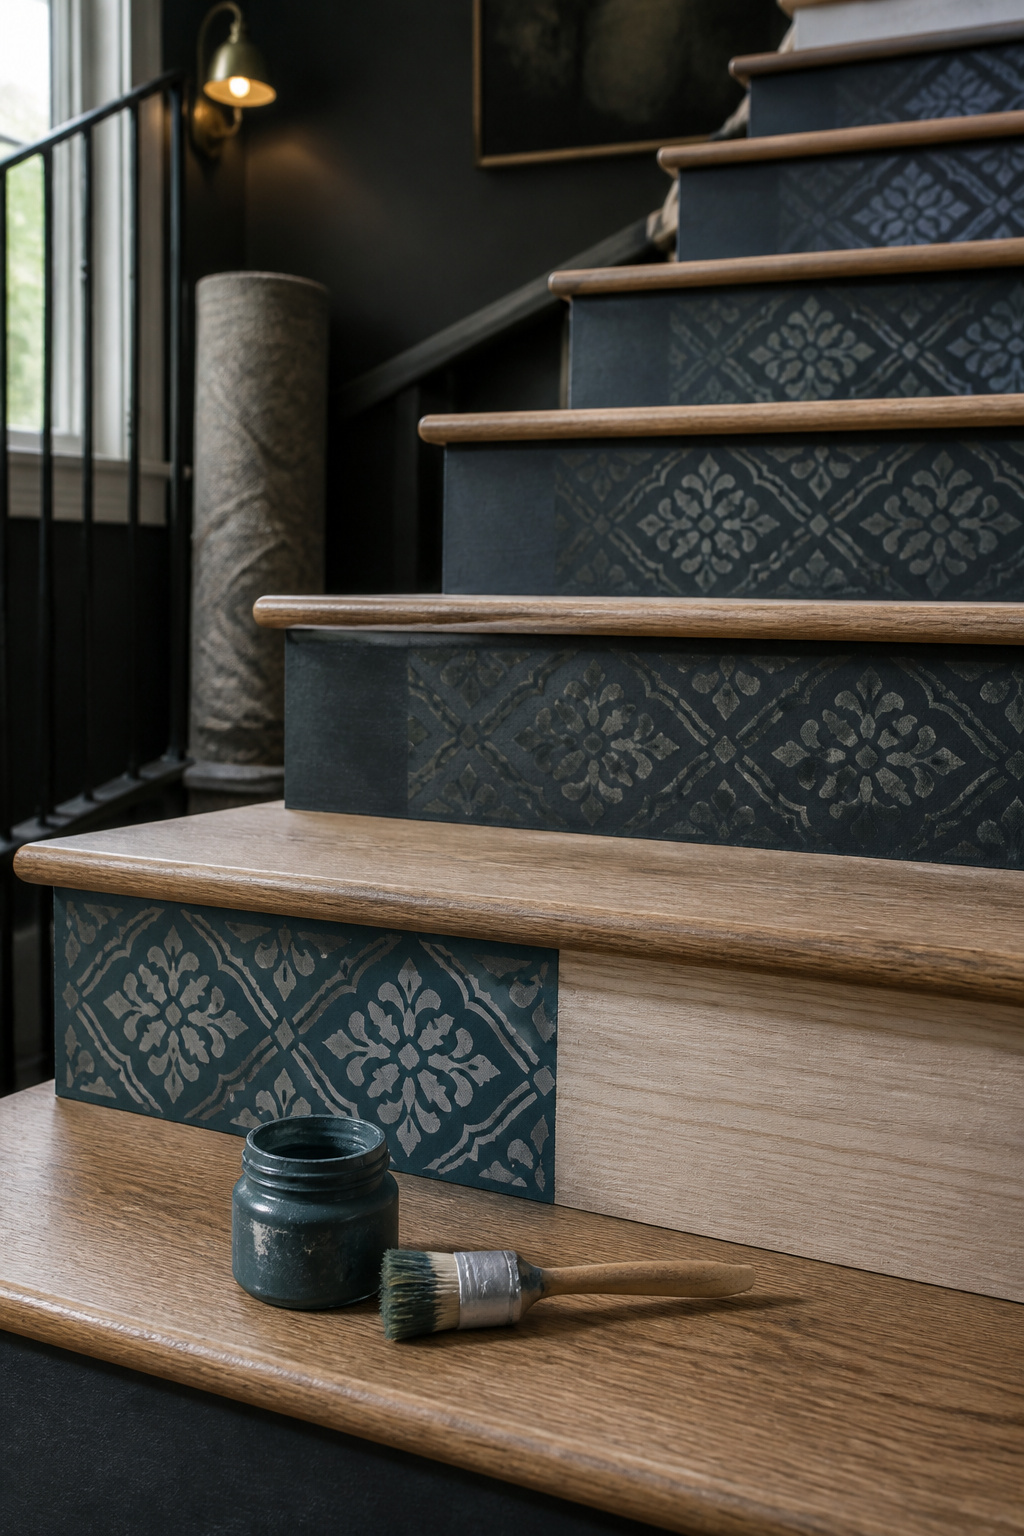
Fill holes and dents with wood filler and give it a full 24 hours. Sand with 120 grit on an orbital sander, clean off dust and grease, then let it dry before primer. Primer needs roughly 12 hours before anyone walks the stairs, and that wait is the real constraint here, more than the stencilling itself. Alternatively, a Paint, Peel & Stick Canvas base coat gets stencilled flat on a table and applied like a panel.
Getting repeat patterns aligned stair to stair
Alternating tile-silhouette stencils (black-on-white, then white-on-black) get worked riser to riser in sequence, painter’s tape holding the pattern still. Material cost stays flat however many stairs you have, since the stencil is reused rather than consumed. Cutting Edge Stencils’ Westbury Stair Riser Stencil is $27.95, sized 5.2 by 35 inches. Skill level: some builds, and the skill is patience.
Sealing a stencilled finish so it lasts
Clear wax or a water-based urethane topcoat over dried paint protects the design from scuffs and cleaning; clear varnish is recommended over areas taking wear. One shortcut: use a floor-grade paint as the topcoat and the varnish step disappears.
Tile-look and other durable stair riser ideas
How much durability are you buying at the top of the range? More than the paper routes, with a caveat.
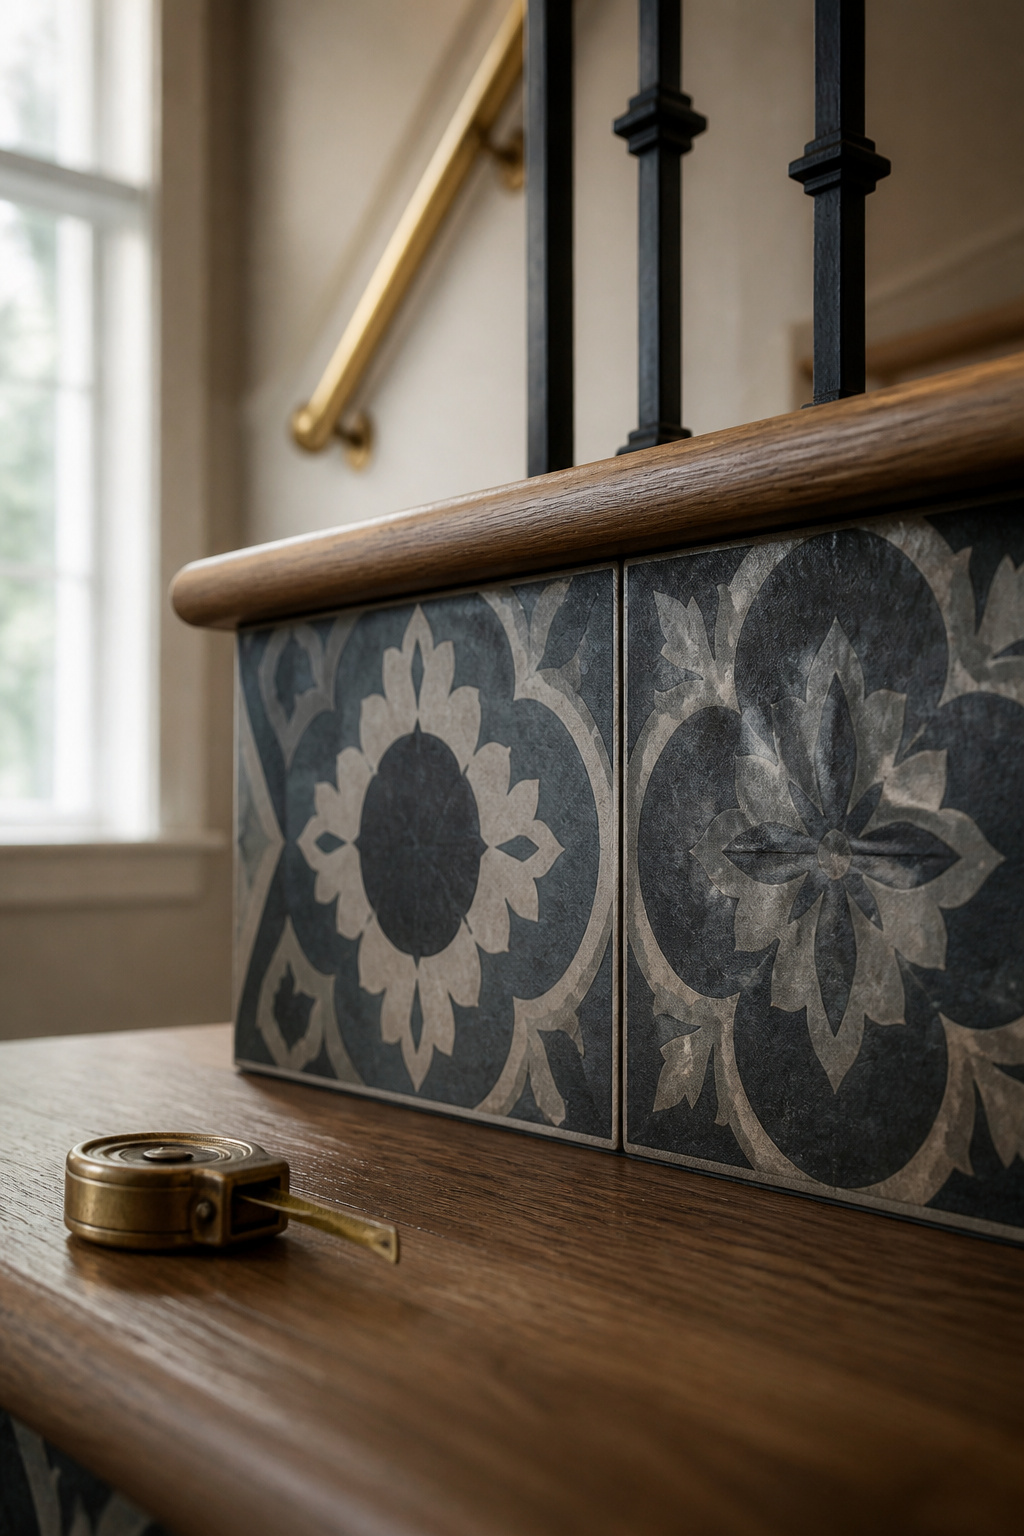
Vinyl tile squares and encaustic-look options
Good-quality peel-and-stick vinyl tile runs $1 to $5 per square foot and stays functional 5 to 10 years under normal household conditions. Both figures come from floor tile. Run them for a riser: a 7.75-inch face across a 36-inch stair is about 1.9 square feet, so $1.90 to $9.50 per riser, or $25 to $140 for the flight. That per-riser number is my arithmetic on floor pricing, not a quoted riser price.
When a harder finish is worth the extra cost
The durability data has a hole in it, and I’d rather name it than paper over it: peel-and-stick tile guidance covers low- to moderate-traffic indoor floors and never addresses vertical use. Riser durability borrows floor numbers by analogy. Where the harder finish pays is the contact zone: the bottom risers by an entry, or a house with kids and pets, where shoes and vacuum heads hit the same faces.
Installation differences from paper and decal routes
Pressing and smoothing works like any decal. The difference comes after: some tile-look options recommend grouting the seams, a step paper and decal routes skip. Cutting to fit is fussier too, since a printed tile pattern shows a crooked line plain vinyl hides. And nobody markets these as removable; treat the route as permanent.
How busy is too busy: pairing risers with the rest of the staircase
Two patterns on one staircase argue with each other on every single step. That’s the constraint the photographs never mention.
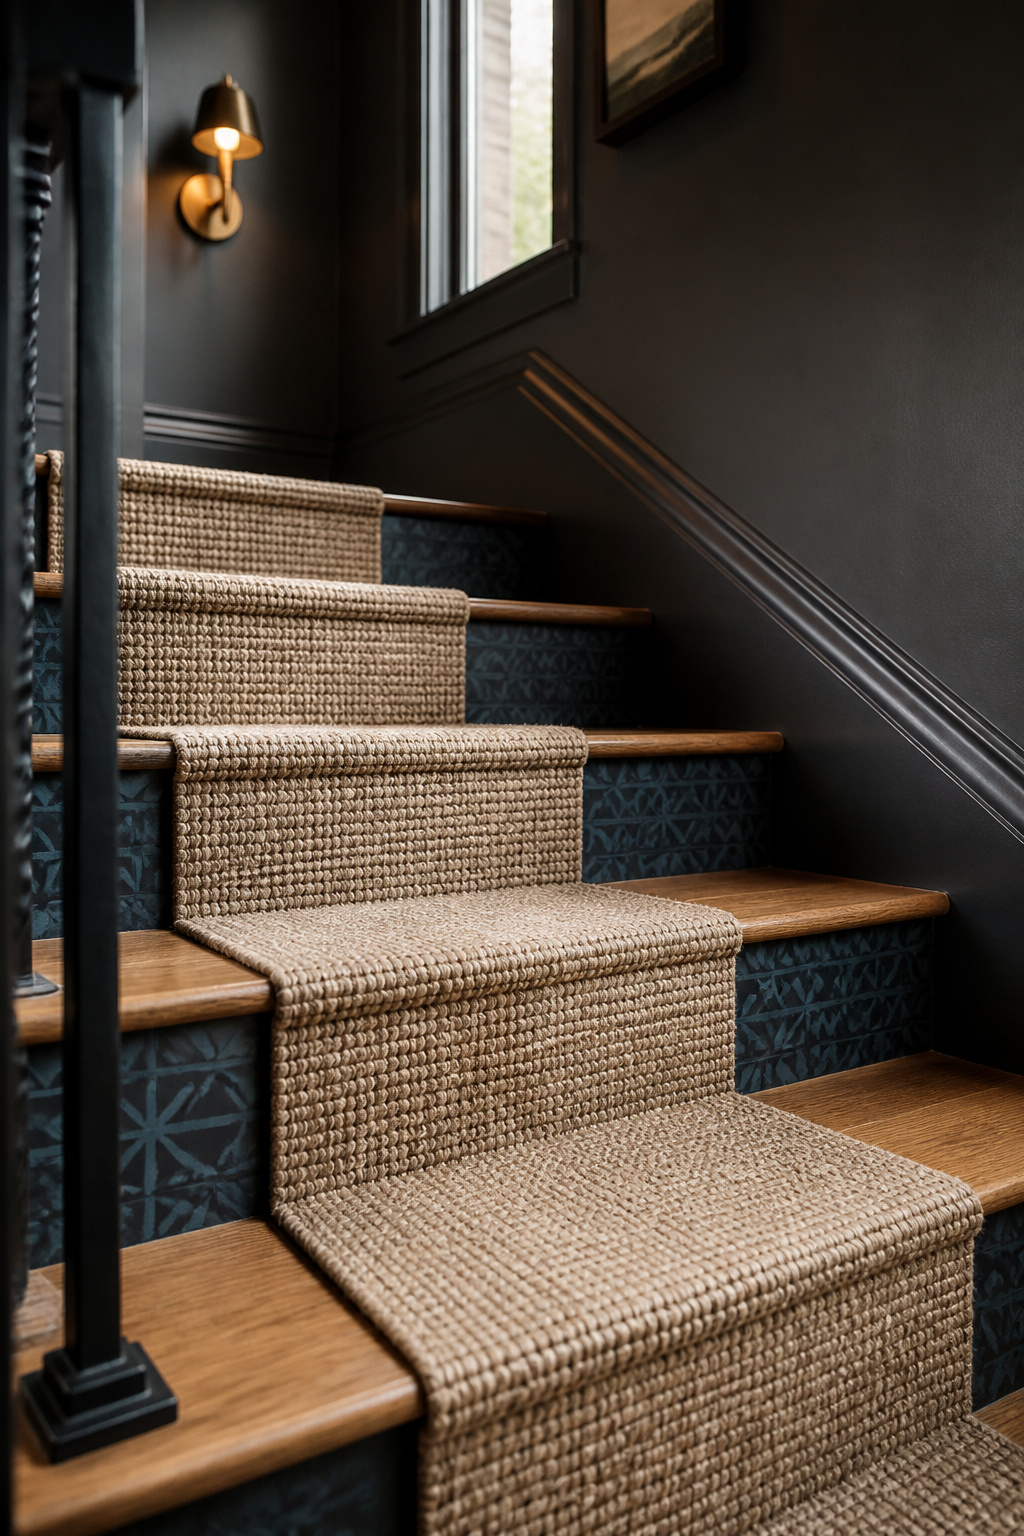
Letting risers lead vs letting a runner lead
Look at what practitioners actually pair. Patterned risers with a plain runner turns up constantly, and so does a patterned runner over plain painted risers. Both at once doesn’t appear; that absence is a working default rather than a stated rule. Interior designer Linda Merrill frames the test well: when a pattern doesn’t land perfectly on each step, ask whether it’ll bother you every time you climb. Subtle or modern repeats cause less friction than bold, irregular ones. If a textile is already in the plan, settle how a runner changes the riser decision first.
Coordinating pattern with a painted tread scheme
Treat pattern as a layer on top of the paint scheme, not the foundation underneath. The painted scheme (dark treads with lighter risers, or the reverse) sets the staircase’s core contrast, and riser pattern goes on top of it. So commit to the base paint scheme first. If a full repeat feels like too much, ombre-blended riser paint across several steps is a documented middle path: gradual color change, no repeating print.
One rule for keeping a patterned staircase from looking chaotic
My rule of thumb, drawn from what those pairings have in common rather than anyone’s published guidance: pick one lead pattern surface, risers or runner, and keep every other stair surface solid or near-solid. Treads, walls, balusters stay quiet. A staircase gets seen in slices, one step at a time, and two competing patterns leave the eye nowhere to rest.
Start on the bottom three risers
Measure all your risers this weekend, individually, because they won’t match. Then buy one pack and do the bottom three steps only, the ones nearest the door taking the most shoe and vacuum contact. Live with them a month. Since nobody has published long-term wear data, your own busiest three risers are the most reliable test going. Still right after four weeks? Finish the flight in a weekend. Grating by day ten? You spent $22 instead of $140 to find out. And if the risers are one move in a bigger plan, the complete stair update playbook sequences the rest.
FAQ
Do stair riser decals ruin the wood underneath?
Sellers market them as damage-free and say they typically won’t harm the surface underneath, which is why they’re sold for owned homes and rentals alike. The real risk is timing rather than the decal: apply peel-and-stick material before a fresh paint job fully cures — up to 30 days, depending on paint type — and removal can pull the paint off.
How many risers can you realistically finish in a weekend?
A no-cure route like decals or peel-and-stick wallpaper covers a 13 to 15 riser flight in one weekend; one documented project finished 8 risers for under $35 with no multi-day drying. Stencilling is slower, since wood filler needs 24 hours and primer about 12 before anyone walks the stairs.
Do riser treatments work on carpeted stairs?
Decals, wallpaper, stencils and tile-look strips all need an exposed riser face, bare or painted. So they suit staircases where only the tread is carpeted, not a wall-to-wall flight with the riser wrapped. Swapping that carpet for a runner is what exposes the riser — the two decisions are linked.