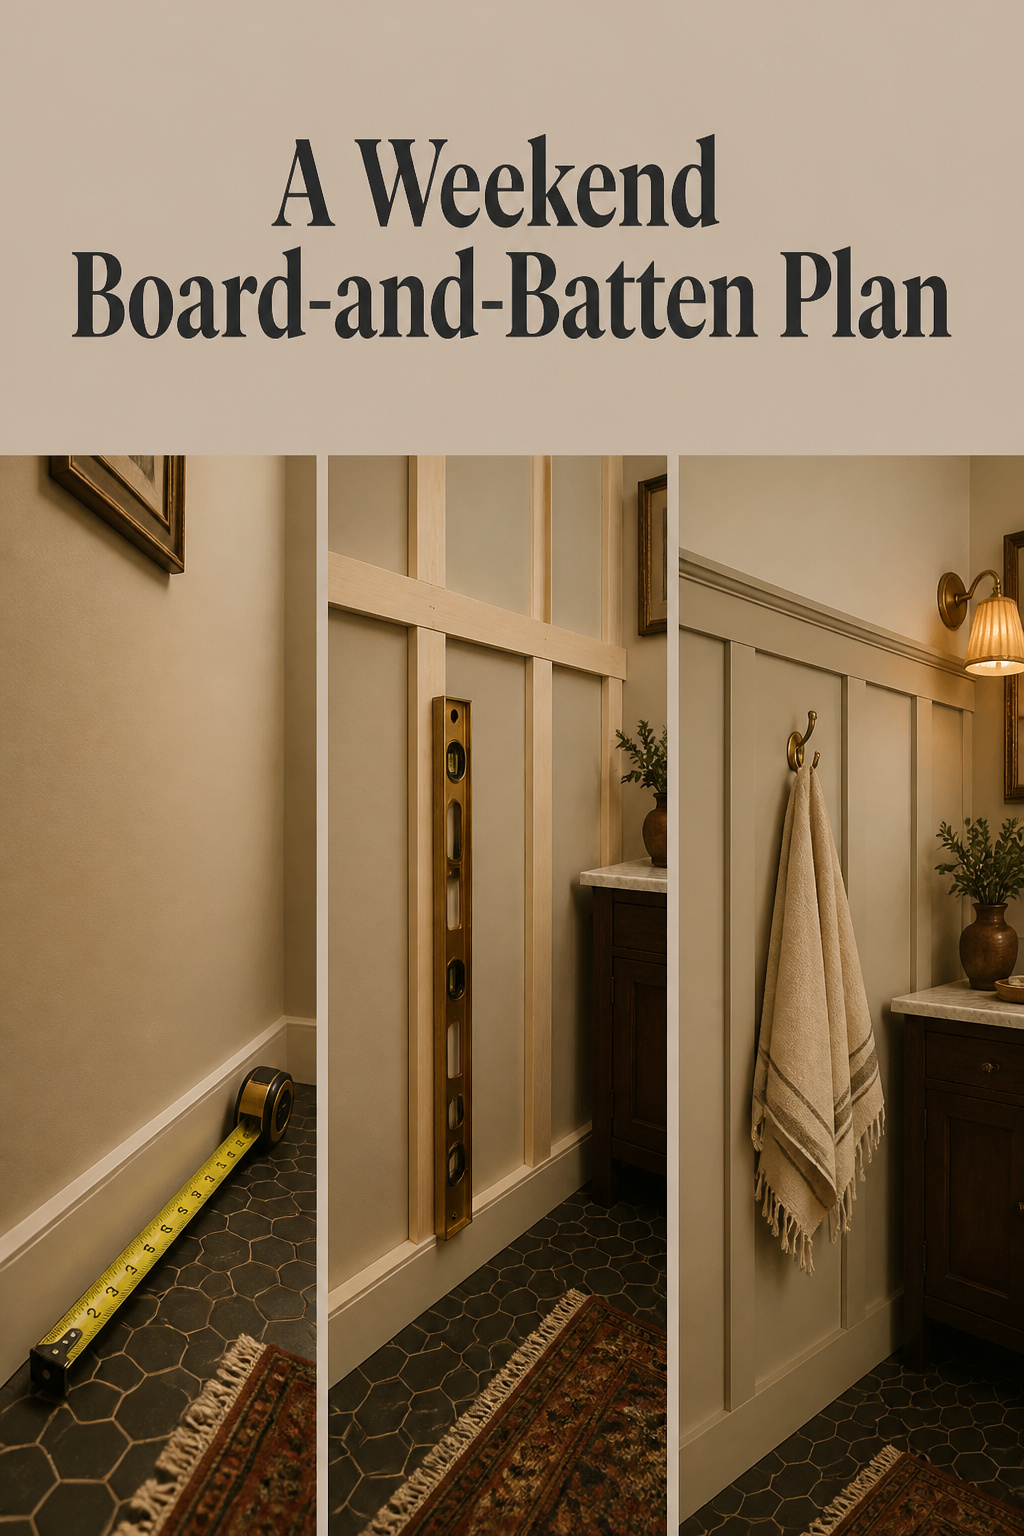
Pull out a contractor’s tape and look at the numbers: every 16 inches, they turn red. That mark is most of the reason powder room wainscoting is a weekend job, because the grid you are about to build lines up with framing already in the wall. Budget two days, one of them mostly spent waiting on caulk, and about a dollar a linear foot in board stock. What no photo tells you is where the cap rail goes.
TL;DR
- Cottage bathroom beadboard runs 32 to 42in (36in typical). A chair-rail dado sits lower, at 26 to 32in, and 48 to 54in is wall paneling with a plate rail, which is a different element.
- Lay the job out in linear feet and stud centres, never floor area. The 16in on-centre spacing comes from sheet sizes; the building code doesn’t require it.
- Primed MDF 1×4 runs about $0.86 to $0.96 a linear foot, primed pine $1.03 to $1.05. Budget a full weekend, plus one trip back to the store.
Where the powder room wainscoting cap rail height comes from
The chair-rail logic, in a room that has no chairs
Nobody pulls up a chair in a powder room, so why does the rail land at chair height?
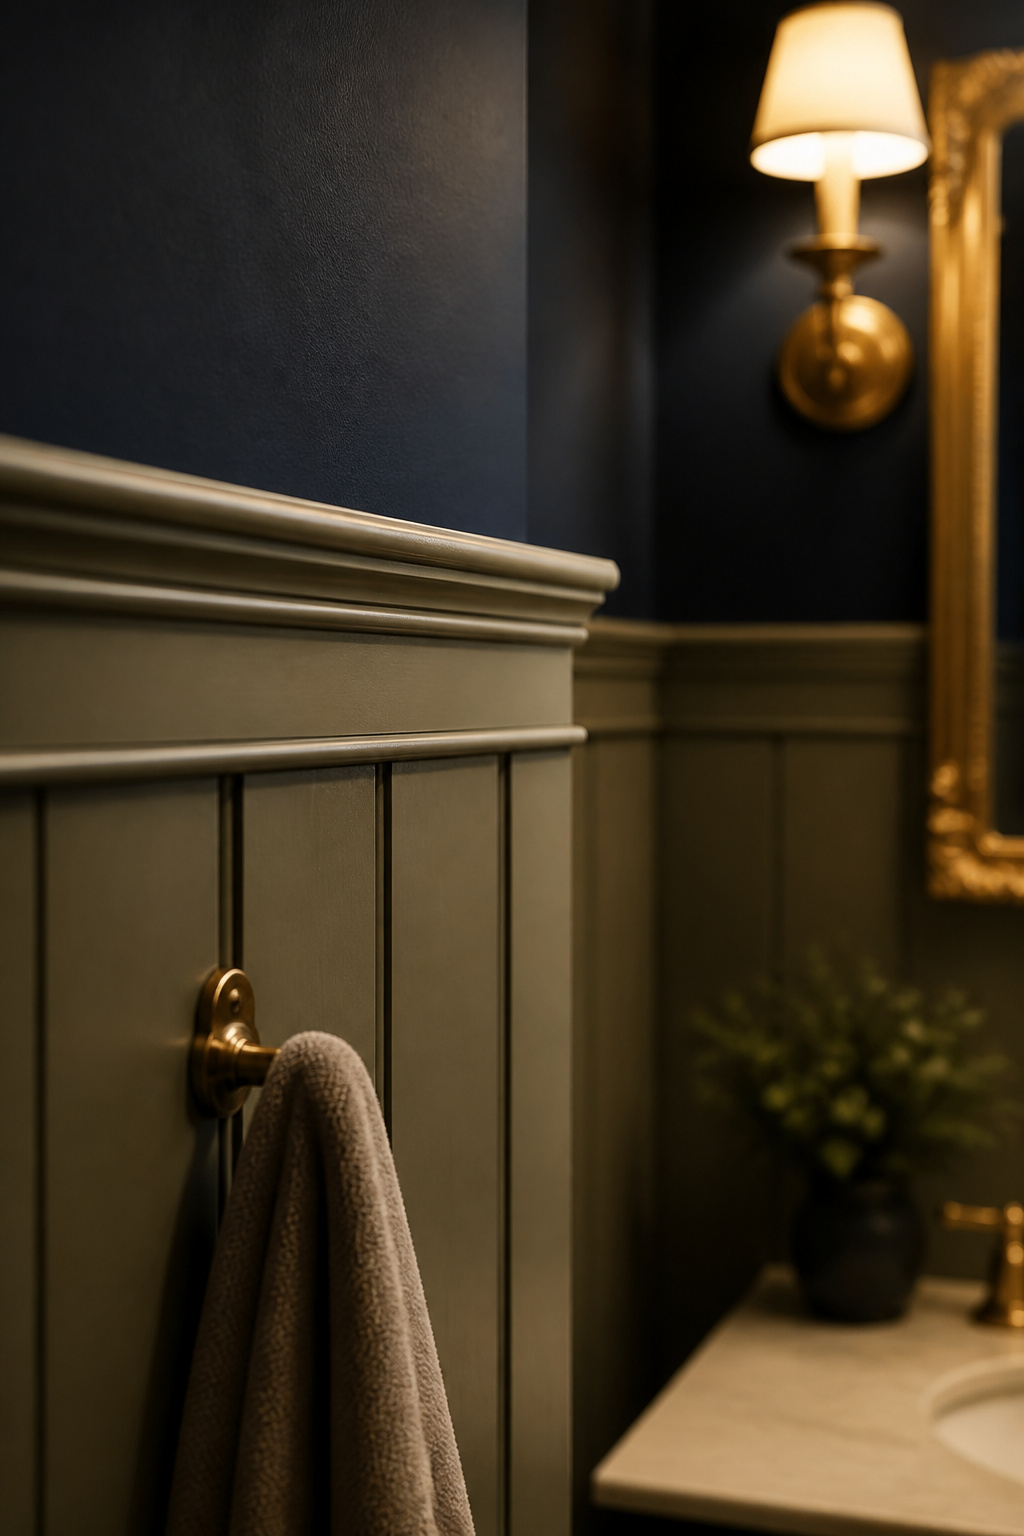
The Victorian Society, the UK conservation body, gives the standard account: the dado sat where a chair back brushes the wall, so it protected the wall covering from furniture. Metrie, a US moulding manufacturer, tells a different story, and the two don’t reconcile. Metrie credits the term to the Shaker habit of hanging chairs to clean, and traces the moulding to Roman and Greek wall proportion. I lead with the Victorian Society because it is the higher-grade source and a named standards body, but the other account exists and I won’t pretend the question is settled.
Cottage vs vanity-aligned vs Victorian heights
Only one of these three conventions is a dado.
| Height | What sets it | What it is |
|---|---|---|
| 26–32 in | Chair-back contact, classical proportion | A dado |
| 32–42 in (36 typical) | Rule of thirds: 8ft wall → 32in, 9ft → 36in | Cottage bathroom beadboard |
| 48–54 in | 9–10ft ceilings, pre-war tile precedent | Wall paneling with a plate rail |
Finish carpenter Gary Katz, writing for ThisIsCarpentry, calls that bottom row a different element, not a taller dado. The vanity-aligned option gets no number here: take it off your own fixture.
Measuring the room: linear wall run and stud spacing
Finding studs at 16in o.c.
One number carries this build: the linear run of wall you are covering. Millwork is priced, cut and laid out along a line, so floor area tells you nothing useful.
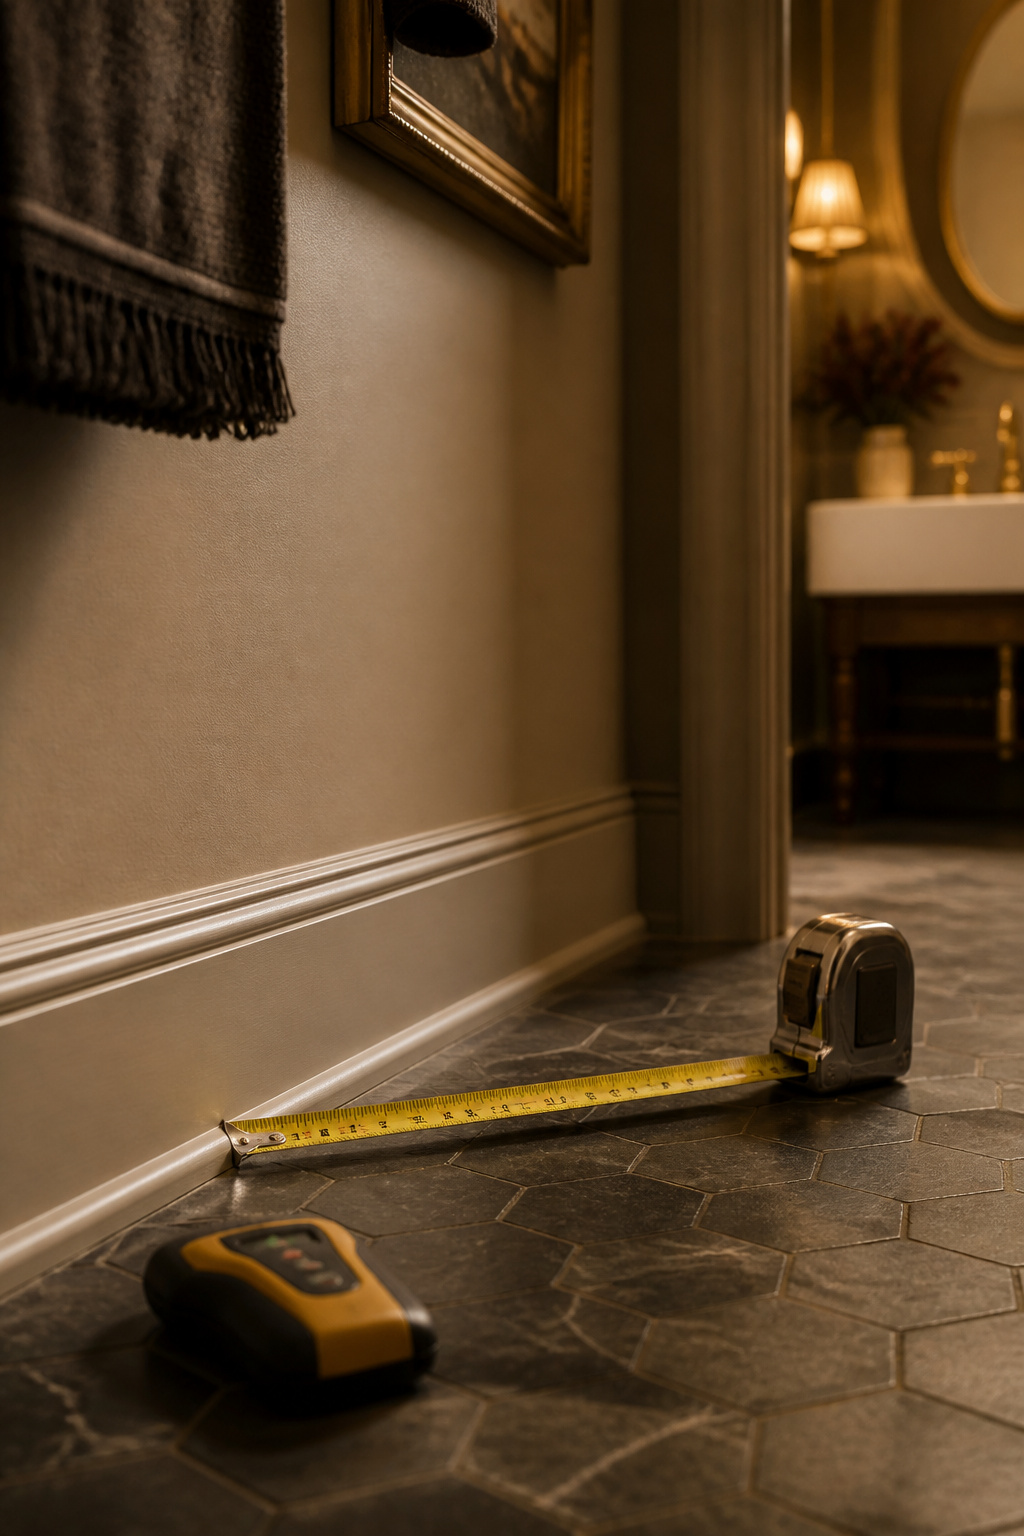
Assume 16 inches on centre behind it, but know why. The IRC’s wall-framing table sets a maximum that varies with stud size, height and load, up to 24in on centre in several conditions, and it never mandates 16in. Sheet modularity is what made 16in near-universal: 16 and 24 both divide a 4×8 panel’s 96in and 48in sides, so the edges land on a stud. JLC puts it the other way round, and that is why those tape marks are red.
Working the layout around the door and the sink wall
Measure the full run, then break it into segments. Door casing and the sink footprint interrupt the wall, so lay out each segment on its own. Skip that and a batten lands half-buried behind a casing or over a plumbing penetration. The fixture also constrains floor-level battens; its depth figures are in the vanity-versus-pedestal article.
Laying out the powder room wainscoting batten grid: count, centres and the cap rail
Calculating batten count from the linear run
The giveaway on a home-built grid is a sliver of gap left in one corner because someone guessed the spacing.
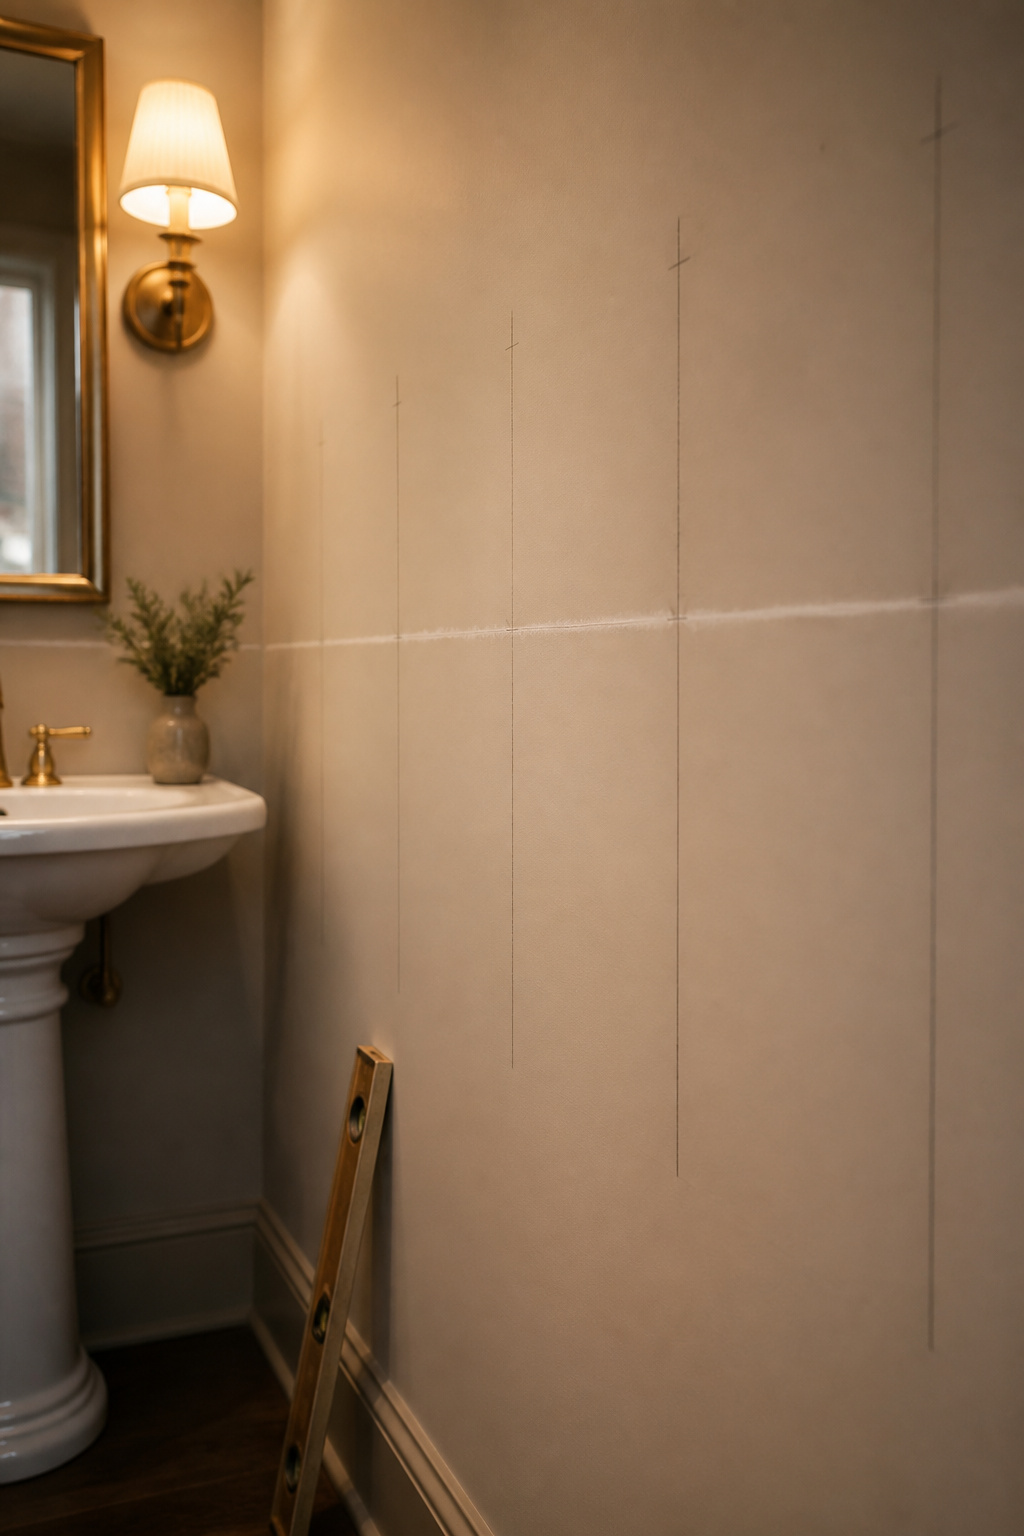
Subtract one batten width from the wall width. Divide the remainder by (batten width + target gap), round to whole spaces, then divide the remainder by that number. On a 10ft wall with 3.5in battens and a 16in target (my numbers, not yours), it works out like this:
- 120 − 3.5 = 116.5in remaining
- 3.5 + 16 = 19.5in unit
- 116.5 ÷ 19.5 = 5.97, rounds to 6 spaces
- 116.5 ÷ 6 = 19.42in, so every gap is 15.92in
That gives seven battens and six identical gaps, with nothing left over. Use actual dimensions, never nominal: a 1×4 is 3.5in wide, a 1×2 batten 1.5in.
Centring the grid on the sink wall
Centre that wall’s grid on the sink centreline rather than the wall’s geometric centre. An off-centre grid behind a basin looks like a mistake even when the arithmetic is perfect. Fix corner and door returns first, then fill between.
Setting the cap rail height
Mark your chosen height as the underside of the cap moulding. Batten length, panel infill and hook placement all get cut to that line.
Building it: scribing, undercutting the baseboard and the caulk-and-fill sequence
No wall is square, and yours won’t be either.
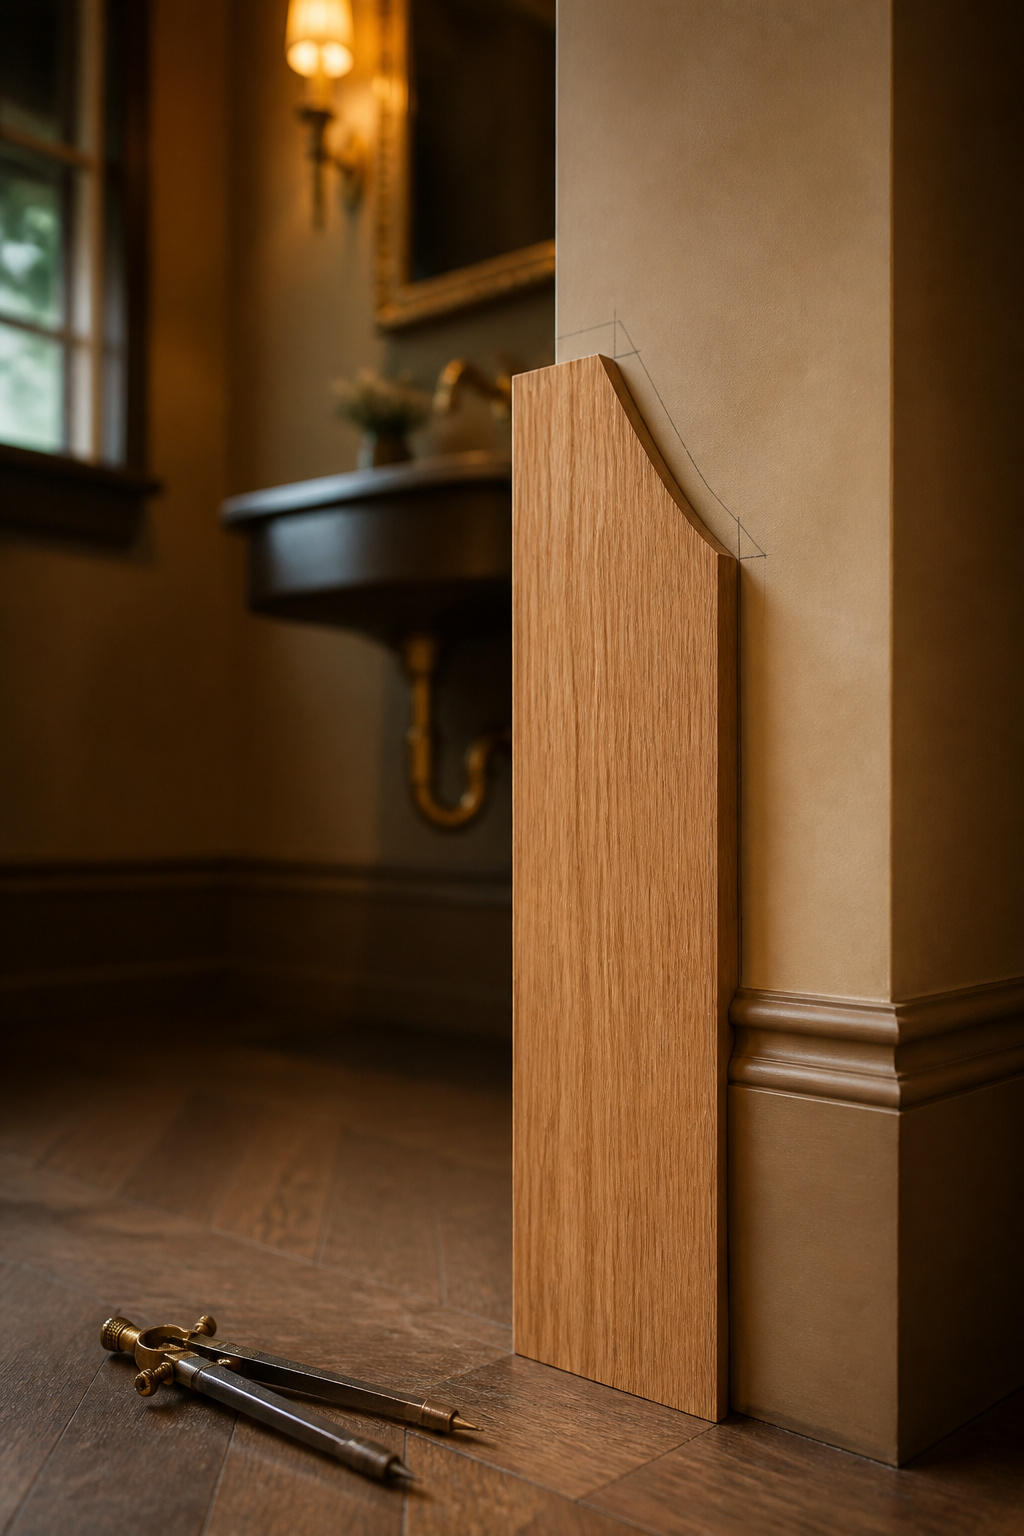
Scribing battens to an out-of-square wall
- Set a compass to the widest gap and run it along the wall, held perpendicular, so the pencil traces the real contour. Take the waste off with a block plane, or a sanding block if you would rather not buy one. Kit Camp, writing for Fine Homebuilding, adds that back-bevelling keeps the face tight.
- Rough-cut first, leaving the pencil line standing. If you cut exactly to the line on the first pass, any overshoot means a new board.
Undercutting the baseboard for panel edges
Batten stock is usually thicker than your baseboard’s top edge, so a board butted onto it will not sit flush. You have three options:
- Notch the batten to the baseboard profile with a coping saw. It’s the fiddliest option and the least documented.
- Swap to thinner 1/4in x 1.5in lattice, which needs no notching.
- Replace the baseboard with a wider matching board.
Before you commit to a depth, check how much clearance you actually have to give up.
Caulk, fill, sand
- Shim, then caulk. Pack wider gaps with shims first; caulk cannot bridge a gap it can’t hold a bead in. Then caulk every seam, fill nail holes, and sand once dry.
- Paint the field first, the millwork last. You’ll need touch-ups whatever the order, so painting the boards last buys one final coat instead of two.
The cap rail as a hook rail: solving the towel problem in the millwork
Integrating hooks into the cap rail
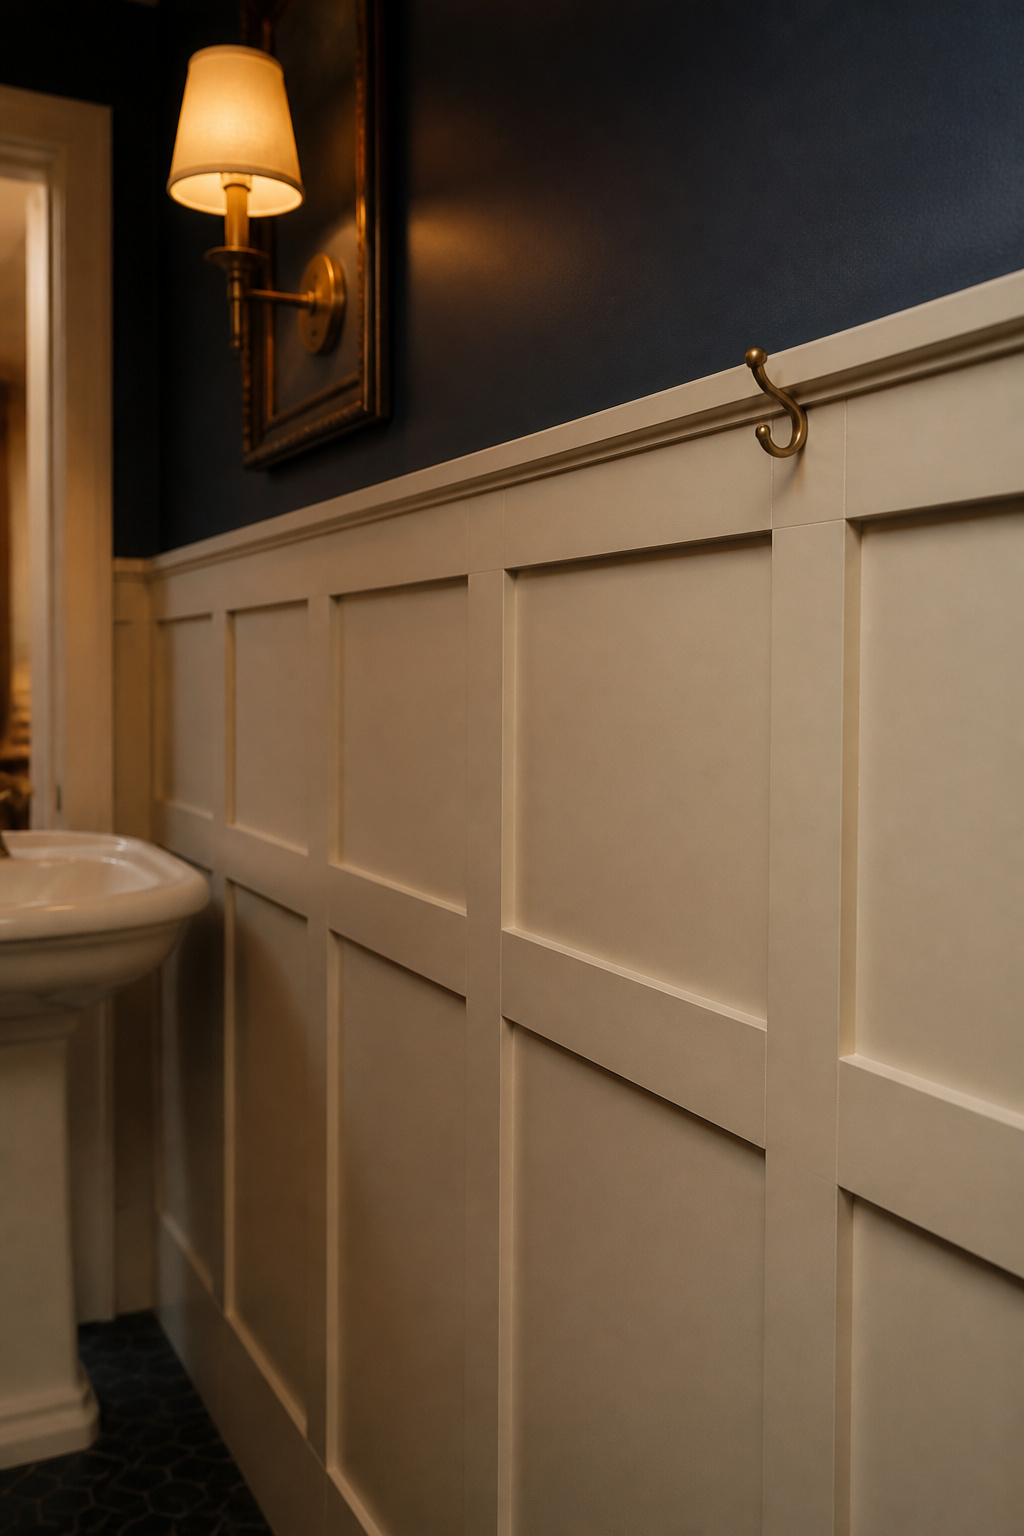
A guest washes their hands, then stands there dripping, looking for somewhere to put the towel back. The cap rail is the one place to fix that permanently.
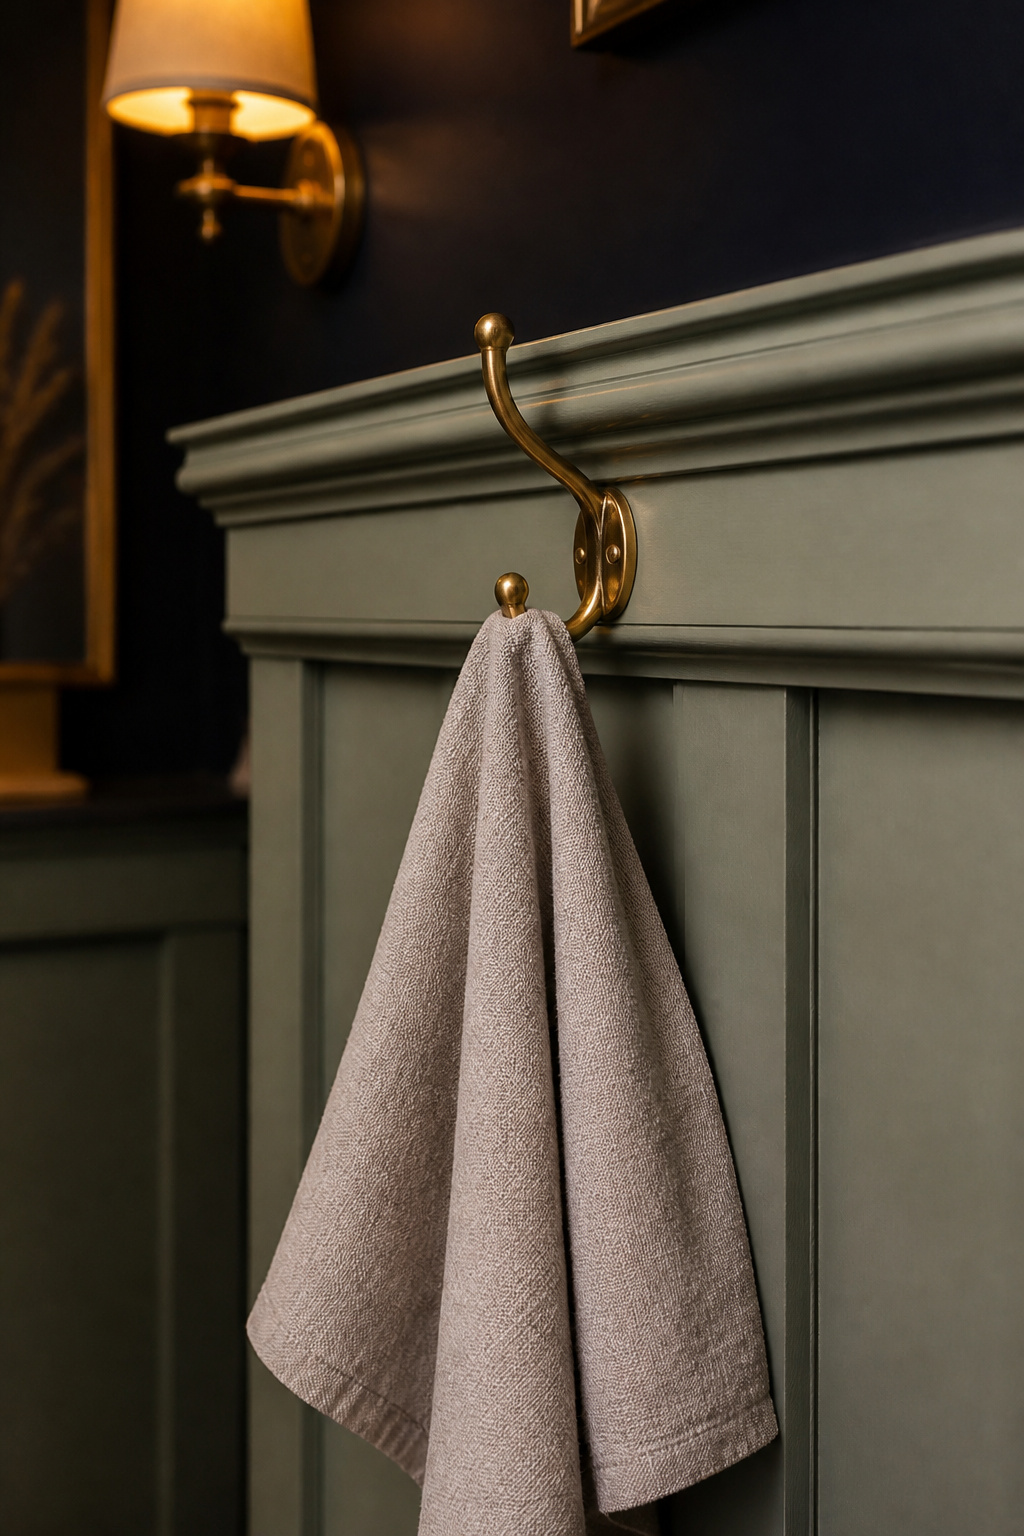
Mount the hook on or just under the cap moulding, at whatever height your rail landed. Standalone towel-hook guides say 60 to 66in above the floor, but that figure assumes a hook placed on its own for reach. Import it here and you hang a hook a foot above your cap rail, so let the joinery set the height.
Spacing hooks for a guest, not a family
No published guide covers a hook mounted into a cap rail, or spacing at hand-towel scale, so the figure here is derived. Multi-hook guidance gives 9 to 12in centre to centre, and concedes that bath towels, about 28in wide, overlap at that spacing anyway. A powder room holds one hand towel, roughly half that width, which halves the problem: 10 to 14in centres, with only the top of that band reliably keeping two towels apart. Treat it as arithmetic on somebody else’s assumption rather than a standard.
Better still, fit one hook: a half bath is judged by what a guest touches. Site it where they pass on the way out, not behind the door swing or over the tank.
Materials, cost and the trip back to the store: MDF vs real wood
MDF beadboard cost per linear foot and per sheet
Prices in the units you buy in:
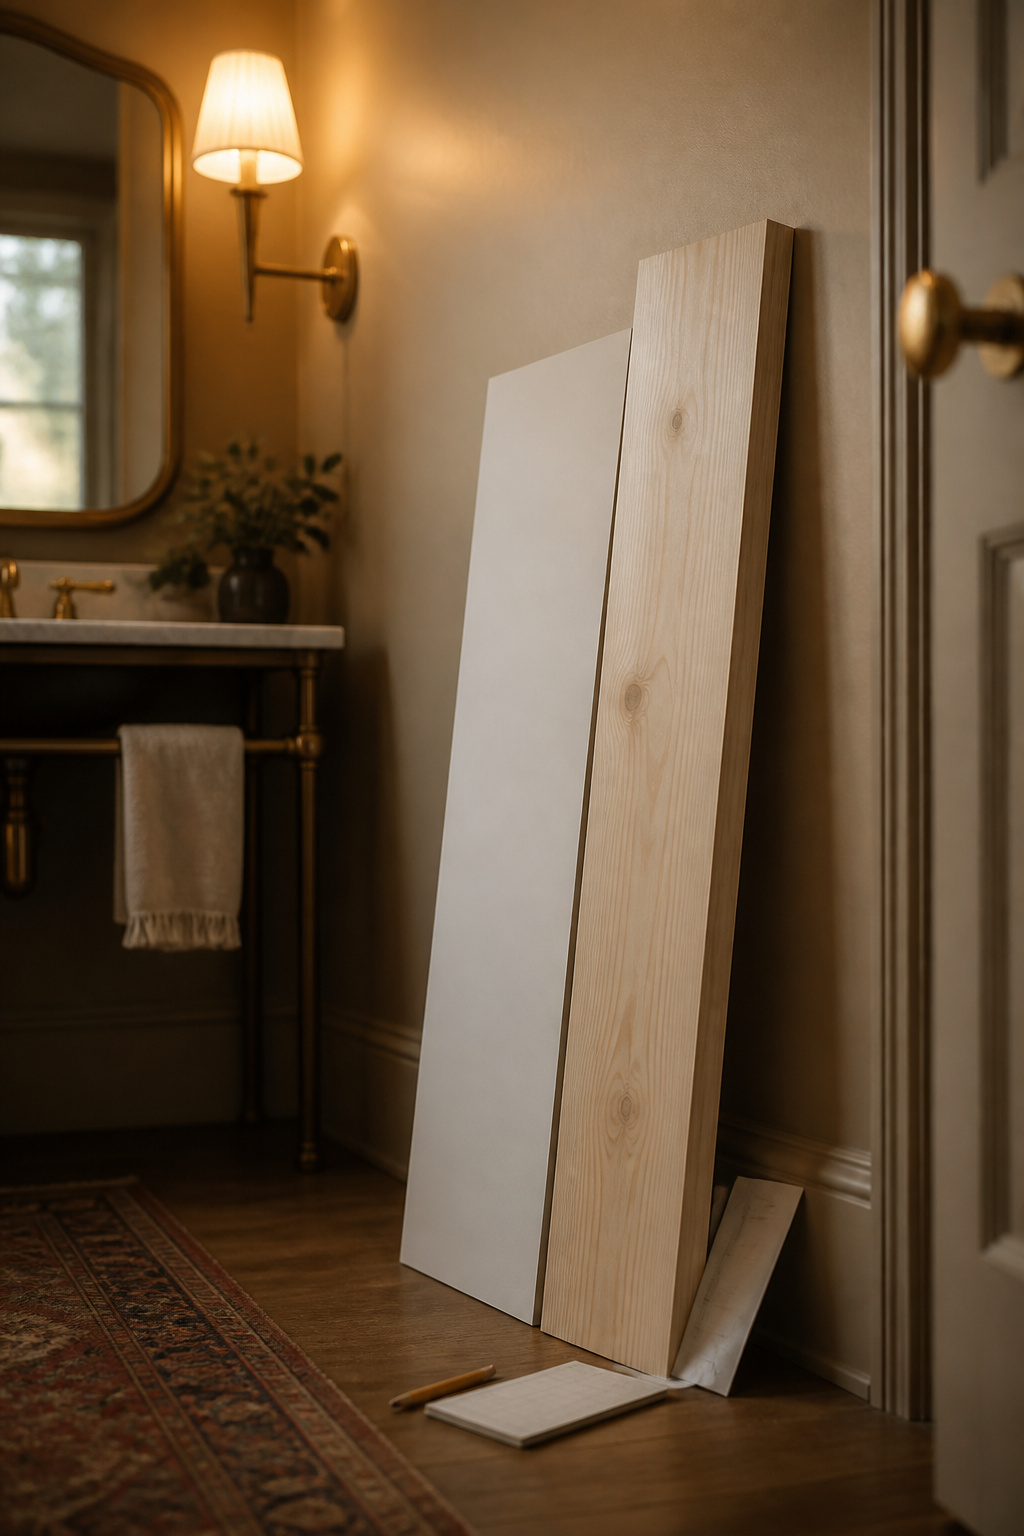
- Primed MDF 1×4: $0.86 to $0.96 per linear foot.
- MDF beadboard panel, 4×8 sheet: $24 to $42, from a single trade source (the other sources were templated cost-guide sites with no named author). Our library’s $0.80 to $1.00 per square foot puts a 32 sq ft sheet at $25.60 to $32.00, which agrees with that range but isn’t an independent check.
Prime every cut edge, including the ends nobody sees, and hold the boards 3/8in off the floor, because swollen MDF never recovers.
Real wood cost per linear foot and per sheet
- Primed pine 1×4: $1.03 to $1.05 per linear foot, from two independent retailers within two cents.
- Beaded pine panelling: $1.79 to $1.99 per square foot, about $57 to $64 for that same 32 sq ft. Cherry reaches $22.
Pine is worth the twenty-cent premium because it takes a nail without crumbling and shrugs off a splash, which MDF does not.
How long it takes, including the second trip
One documented build put a comparable 8x8ft wall at about three hours of hands-on cutting and installing, and its author still recommends a whole weekend once painting, caulking and touch-ups are counted. A powder room has more corners and a door, so the weekend stands, and drying time holds you up more than labour does. Then there’s the second trip nobody budgets for, usually for caulk, because a batten grid makes more seams than anyone expects.
This is a some-builds project, not a first build. Start tonight with a tape: measure the run of every wall segment, write the numbers where the boards will cover them, and pick your cap rail height. Then decide on papering the wall above the cap rail, or step back to the whole half bath, treated as one decision.
FAQ
Do you install wainscoting before or after painting the walls?
Paint the wall colour first. Then install, caulk and fill, and paint the boards and battens last. You’ll need touch-ups whatever the order, so finishing the millwork last means one final coat instead of two. Prime MDF cut edges before installing, because factory stock is not primed on the ends.
Can board-and-batten go over textured drywall or existing tile?
Over light orange-peel texture, yes: boards bedded in construction adhesive and nailed to studs bridge texture shallower than the board itself. Heavier texture can telegraph through thin battens and wants a skim coat first. Ceramic tile changes the fastening entirely and is outside this build.
How long does a DIY board-and-batten powder room actually take, start to finish?
About three hours of hands-on cutting and installing for a comparable 8x8ft wall, per one documented build, but budget a full weekend once painting, caulking and touch-ups are counted. A powder room’s extra corners and door offset its smaller size. Caulk drying sets the pace more than labour does.