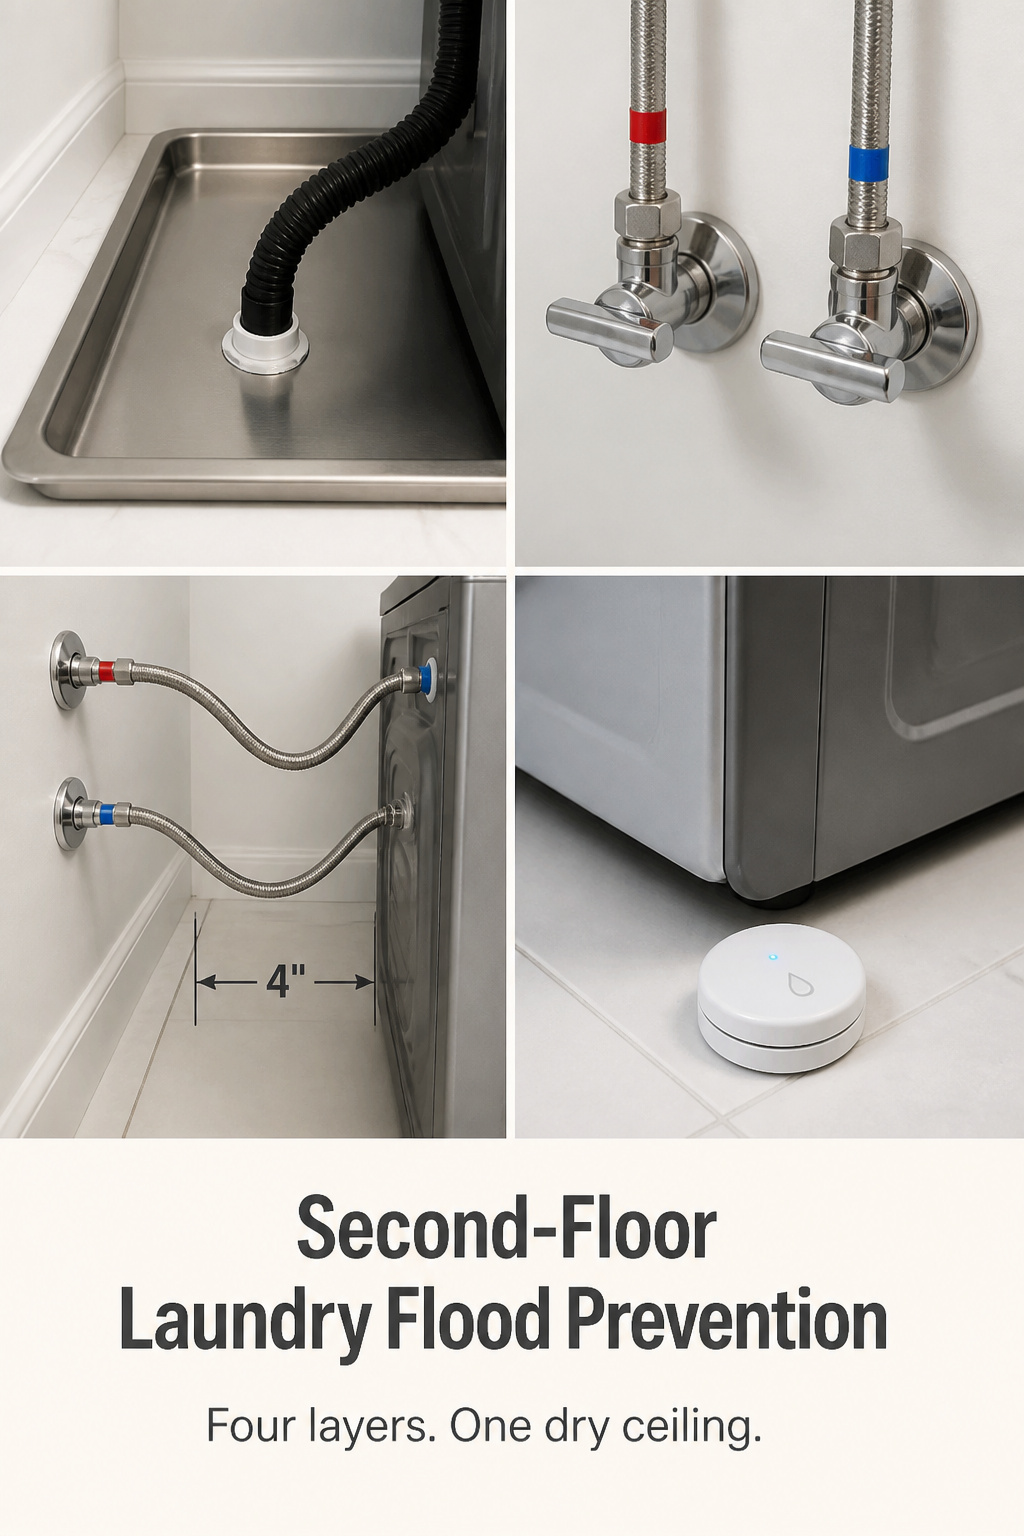
Most people treat a drain pan as flood protection. A burst supply hose pushes more water in minutes than any 2.5-inch-deep tray can hold. The pan fills, overflows, and now you have the exact flood you bought the pan to stop, sitting on the floor that’s your downstairs ceiling. Real second-floor laundry flood prevention uses four layers, each catching what the one above missed.
TL;DR
- A drain pan only works if its outlet is plumbed to a drain. An unplumbed pan overflows fast during a burst; pans run $15–$400.
- Add single-lever ball valves (about $8–$25 each) so you can kill both supply lines in two seconds, or an automatic shutoff like the FloodStop FS34H (around $58) that closes them for you.
- Swap rubber hoses for steel-braided ones ($10–$25 a pair) and drop in a smart leak sensor; the national average water-damage repair runs $3,500–$11,500, so the whole stack is cheap insurance.
Each layer below covers cost, who installs it, and where you need a plumber. Work from the floor up; that is the order water finds the weaknesses.
Layer one: the drain pan that drains
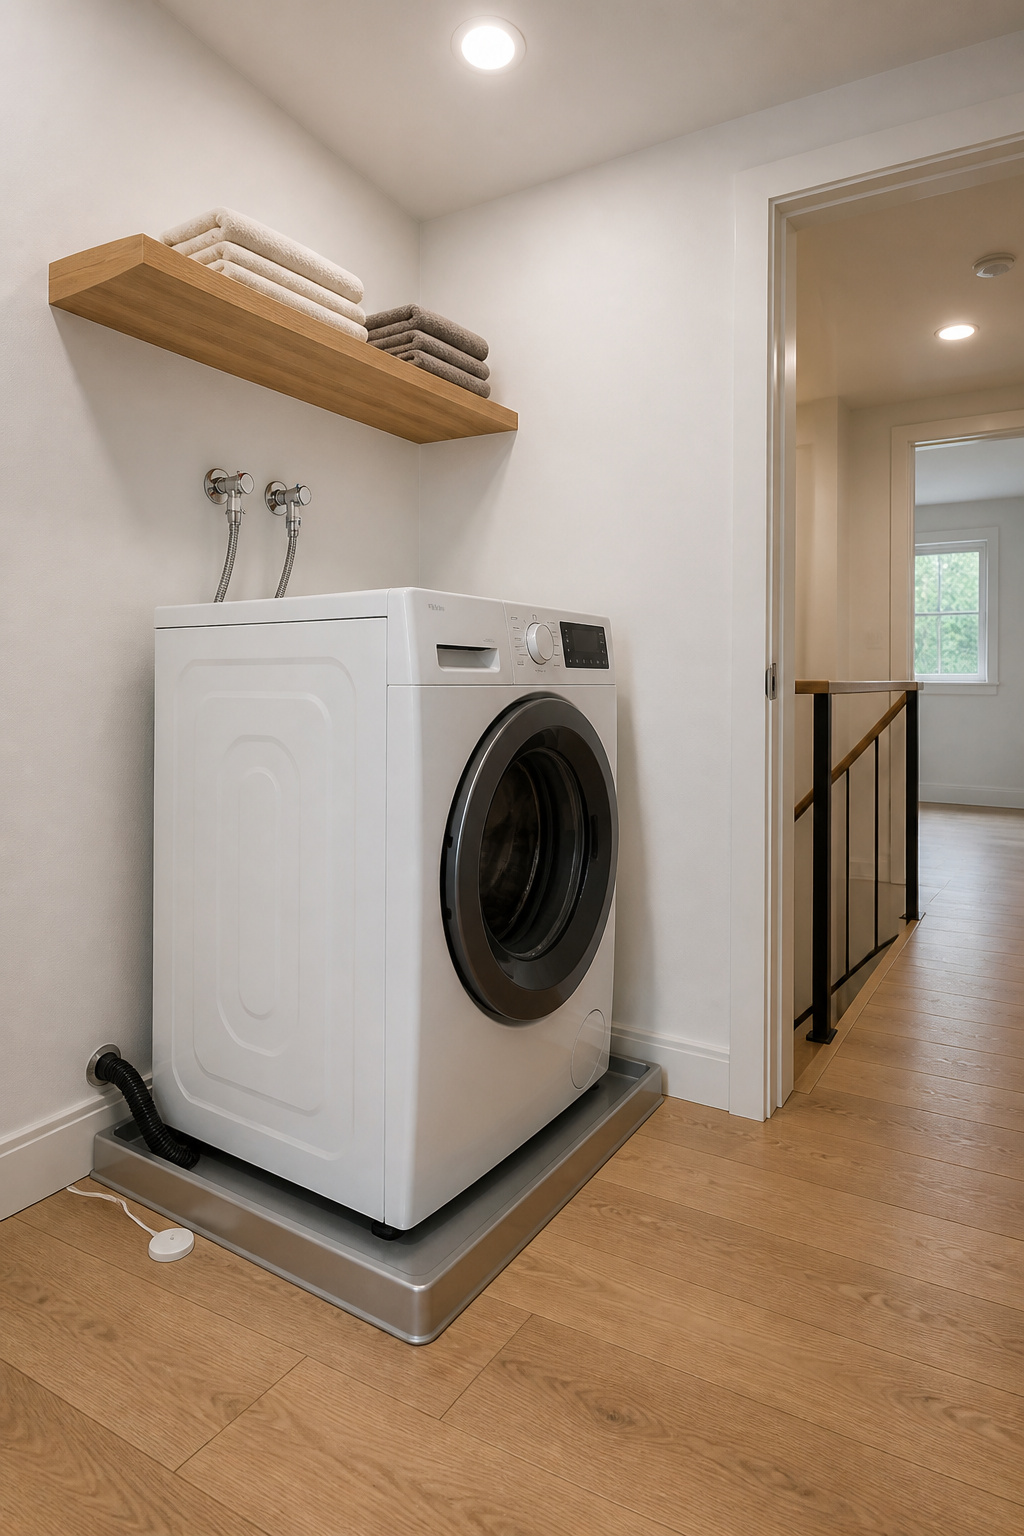
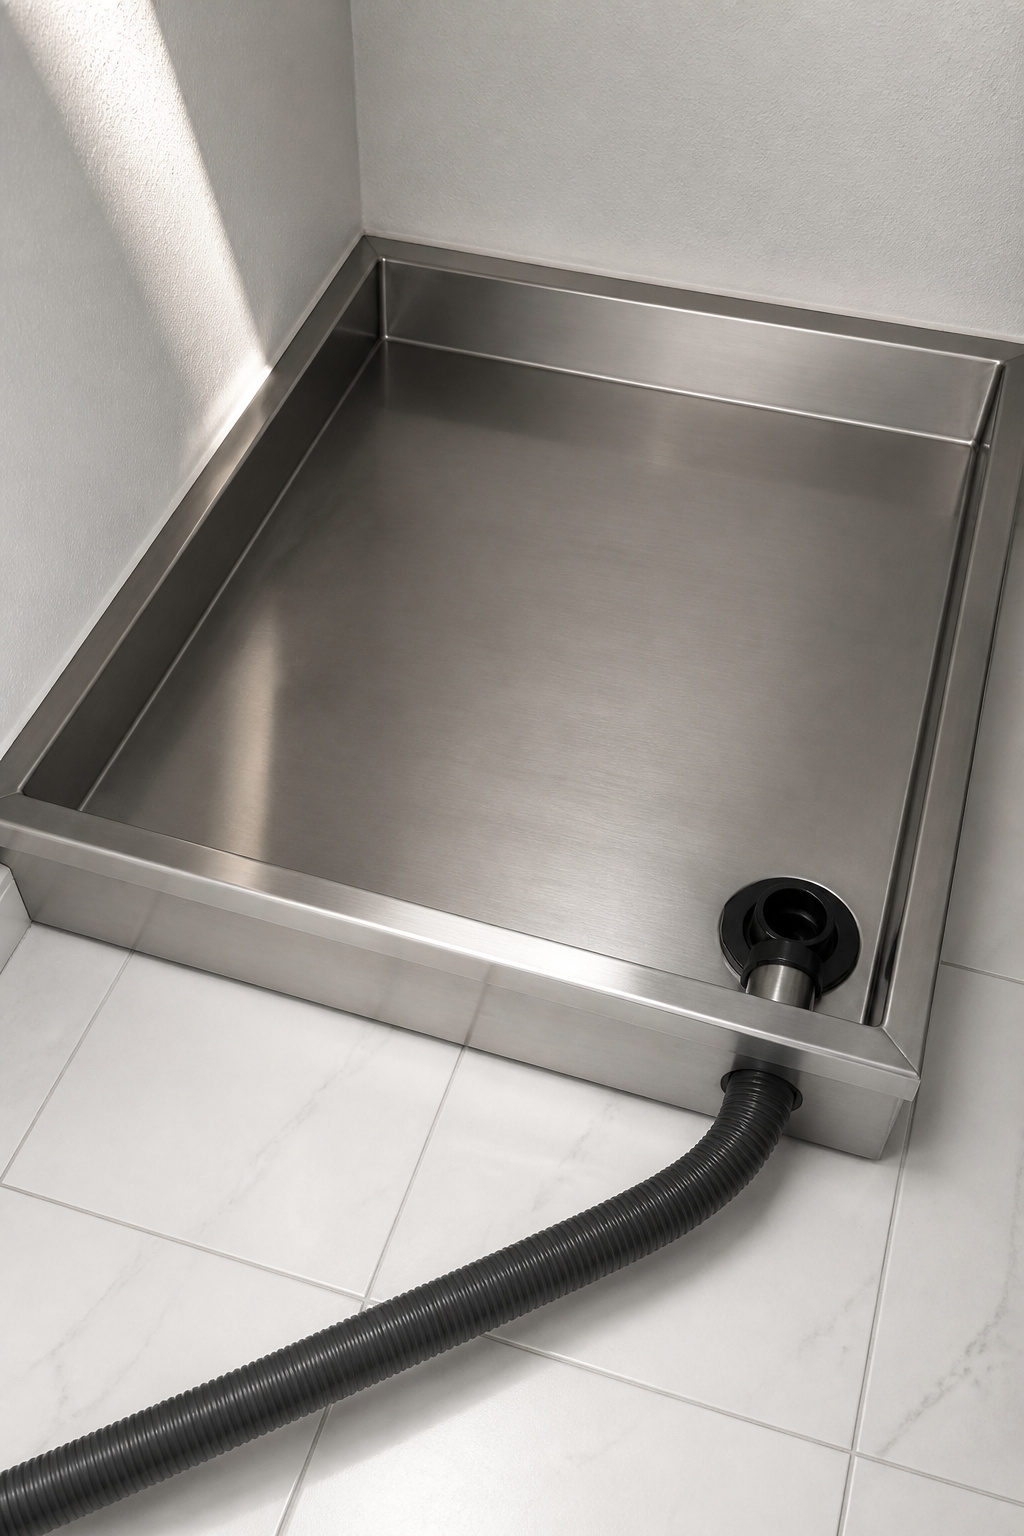
The decision that makes or breaks a pan is whether its drain outlet goes somewhere. A standard drip pan catches a slow seep and nothing more. A plumbed pan routes overflow continuously to the waste system, and that is the only version that survives a real failure. Josh Rudin of ASAP Restoration puts it plainly: a drain pan “can help prevent flooding, but it doesn’t necessarily mean it is totally out of the realm of possibilities.” The IRC itself does not mandate drain pans; local amendments do, so call your building department before you buy. If you’re still planning the room, start with our guide to upstairs laundry room ideas.
Standard pan vs plumbed pan: what the difference costs
| Pan type | Cost | Protects against |
|---|---|---|
| Plastic drip pan, no drain | $15–$40 | Minor seeps only — overflows in a burst |
| Galvanized steel, plumbed | $110–$200 | Continuous overflow routing |
| Stainless steel, plumbed | $200–$400+ | Same, won’t crack under vibration |
Plastic cracks under vibration; steel stays rigid. Against a $3,500–$11,500 average water-damage repair, even the $400 pan is cheap insurance.
How to run the drain line to a floor drain or standpipe
The pan’s 1-inch PVC fitting connects to flexible tubing or rigid PVC routing to an existing standpipe or utility sink. Run it tight against the baseboard; keep the route visible, since that is your early warning. Code requires an indirect-waste connection: outlet terminates above the standpipe’s flood rim with an air gap, never sealed or submerged.
Sizing the pan correctly for your machine
Code wants the pan at least 3 inches larger than your machine in both dimensions, and at least 1.5 inches deep. A full-size washer runs 27–28 inches wide, so the common 28-by-30-inch stock pan fits most machines. For a front-loader, a tapered pan (wall steps from 2.5 inches at the rear to 1 inch at the front) keeps the door accessible.
The mistake that defeats the whole layer: a gap between the pan and the back wall. Water wicks behind the baseboard and soaks the subfloor before you see any stain on the ceiling below. Family Handyman’s fix: run drywall down to the pan rim and keep the pan tight to the framing. Do that, or the pan is decorative.
Layer two: shutoff valves that stop a flood before it starts
A pan contains water. A shutoff valve stops it from arriving. Two flavors: manual valves you turn, and automatic valves that turn themselves.
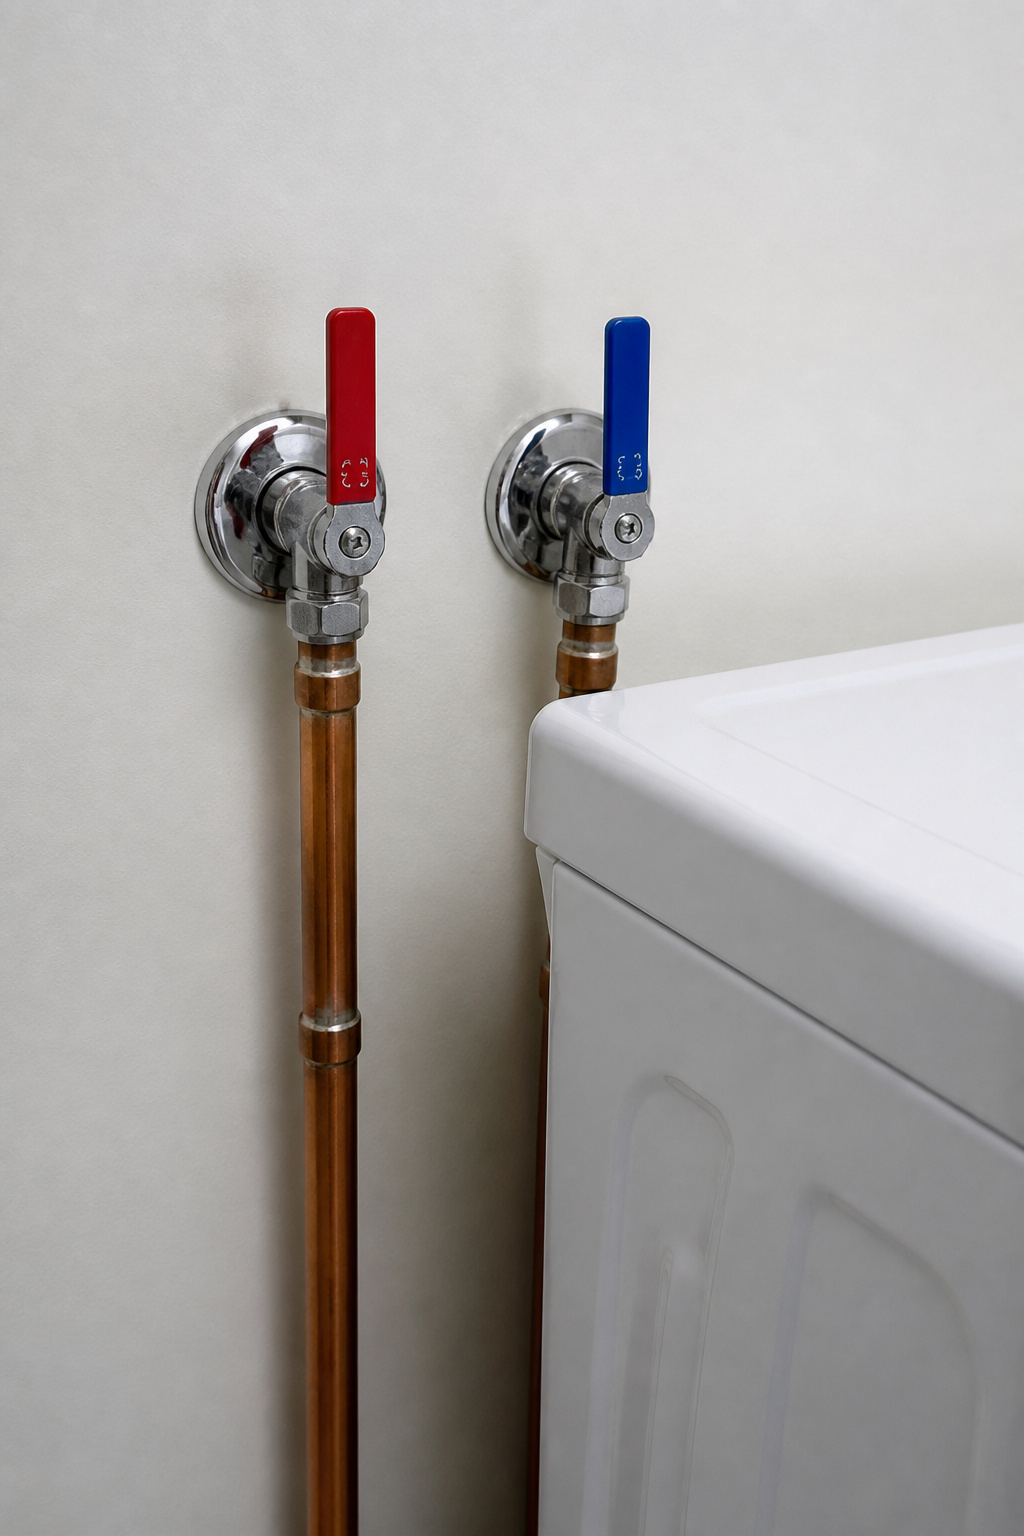
Single-lever ball valves: the manual version every install should have
A single-lever washer valve controls both hot and cold with one quarter-turn handle. Get the ball-valve type, not a gate or globe valve. Those seize from disuse and fail on the one day you need them. Acuity Insurance recommends turning the supply off between loads because “the likelihood of the laundry system springing a leak drops dramatically if the water is not on.” Don’t bury the valve behind the machine. If you have to pull the washer to reach it, you won’t.
Automatic water-shutoff valves: how they detect and cut flow
Two systems dominate. The FloodStop FS34H mounts 3/4-inch motorized ball valves on your inlets plus a floor sensor; water touches the sensor, both valves shut, independently of the washer’s power. The Watts IntelliFlow works differently: plug the washer into it and it opens the valves when the machine draws current, then de-pressurizes the hoses after every cycle. One caution: Tool Detective’s review notes some high-efficiency washers draw a small standby current that can keep the IntelliFlow open when the machine is technically “off.” That’s a single source, so confirm compatibility before buying.
Cost comparison: manual vs automatic
| Option | Cost | What it does |
|---|---|---|
| Single-lever ball valves (pair) | $8–$25 each | Manual; you turn it off |
| FloodStop FS34H | ~$58 | Closes on leak detection |
| Watts IntelliFlow | $80–$150 | De-pressurizes after every cycle |
| Whole-home smart valve | $300–$700+ | Monitors flow, shuts the main |
Buy the FloodStop if anyone forgets the manual valve; go IntelliFlow if you want hoses dead between loads. Whole-home valves are overkill unless it’s a rental that sits empty for weeks. The Insurance Information Institute puts the average water-damage claim at just under $14,000. A $58 valve is not a luxury on the second floor.
Layer three: hoses that don’t burst
Supply-hose failure is the most common cause of washer flooding, and this layer is the one people skip.
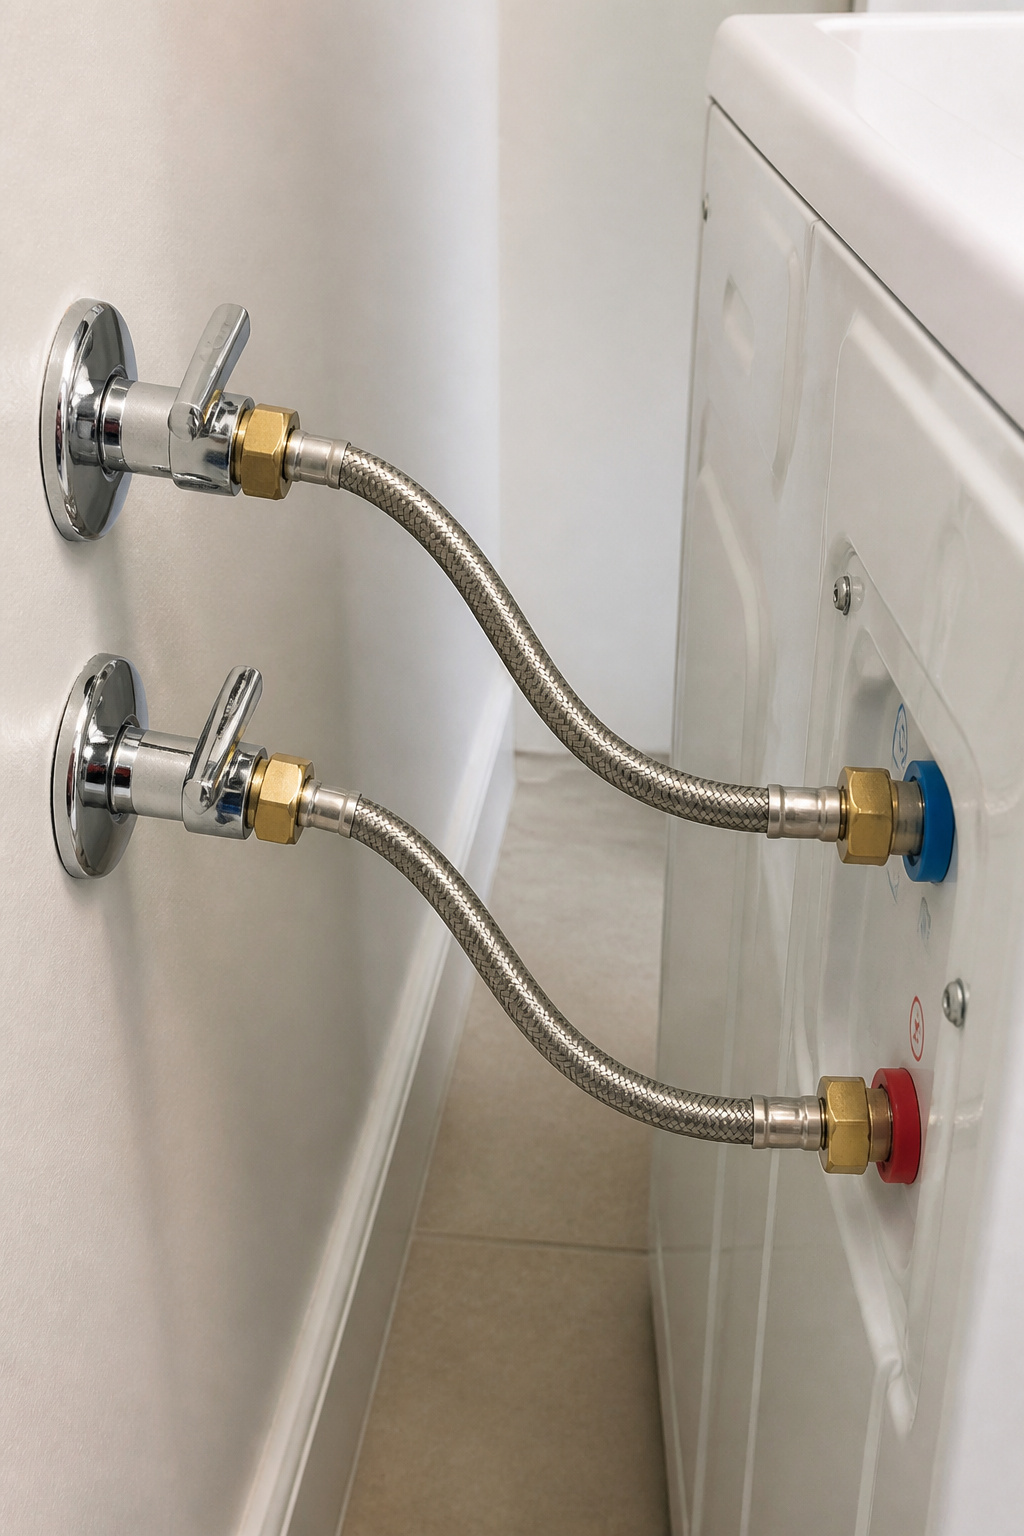
Replace rubber hoses every 3–5 years; past 8–9 years, risk climbs fast. They fail at the fittings or balloon under pressure until they split. A bulge near either end is your warning. Steel-braided “no-burst” hoses wrap the rubber core in stainless mesh so it can’t balloon. They last 10–15 years and cost $10–$25 a pair, a $10–$15 premium Driven by Decor calls worth it for any upstairs install.
Don’t read “no-burst” as “never fails.” Hawkeyed Water Defense is blunt: “burst-proof hoses can fail… with the same water-logged consequences as rubber hoses.” The braid hides internal rubber aging, so inspect every 3–5 years and replace on schedule.
Installation is where most braided hoses die. Keep at least 4 inches of clearance behind the machine so the hose arcs gently instead of kinking at the fitting. Too shallow? Use right-angle elbow connectors at the inlet ports. Hand-tighten, then a quarter-turn with pliers. Over-tightening cracks the fitting, under-tightening drips. Replace hot and cold as a pair with fresh rubber washers.
Layer four: leak sensors and smart alerts
When layers one through three fail anyway, a sensor turns a catastrophe into a mop-up.
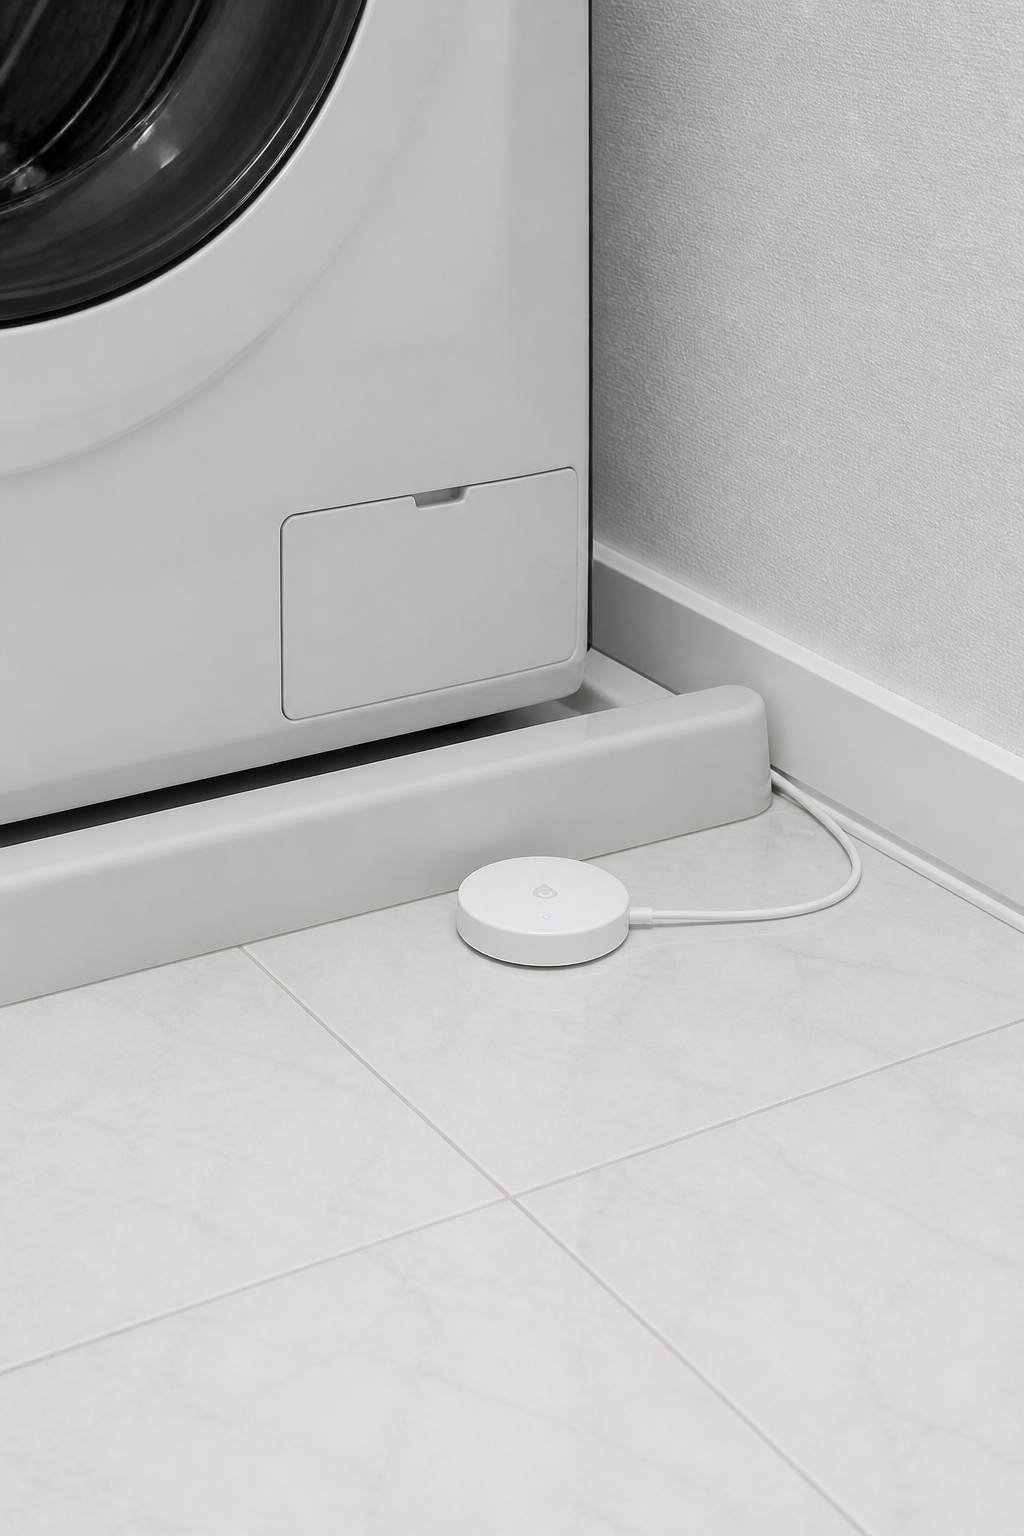
Where to place sensors for fastest detection
Put one sensor on the floor at the rear of the washer, where a supply failure drips first. Drop a second inside the drain pan; it catches slow seeps before they become a problem. The inside-the-pan placement comes from how these leaks behave, not from a rule any single authority has stated. It is still the placement that catches what nobody sees coming. A sensor on a shelf catches nothing.
Standalone sensors vs smart-home-integrated options
A standalone audible sensor ($10–$30) works if someone’s home and within earshot, and it is useless when the house is empty and the load’s running. For an upstairs laundry, the empty-house scenario is the whole point. Spend the extra: a Wi-Fi sensor ($25–$80, YoLink, Moen, ThirdReality) pushes a notification wherever you are. Sensors that use your existing smart-home app get acted on faster. A FloodStop-style kit folds sensor and shutoff into one unit; the sensor closes the valves itself.
What to do when one fires: the 5-minute response
- Unplug the washing machine.
- Close the supply shutoff valves, or confirm the automatic ones closed.
- Pull standing water with towels or a wet-dry vac, never a household vacuum.
- Check the ceiling below for staining; water moves through subfloor fast.
- Set a fan and dehumidifier running; if walls are wet, cut drywall 2 feet above the highest moisture line.
- Photograph everything before cleanup. Insurers cover sudden failures but deny ignored slow leaks.
For a significant leak, call a restoration pro within 24 hours. Josh Rudin puts it plainly: an upstairs flood is “a challenging task.” Pros have air movers and extraction gear you don’t.
What a plumber does vs what you can DIY
The split saves you from overpaying for a hose swap and from skimping on the work that voids your insurance.
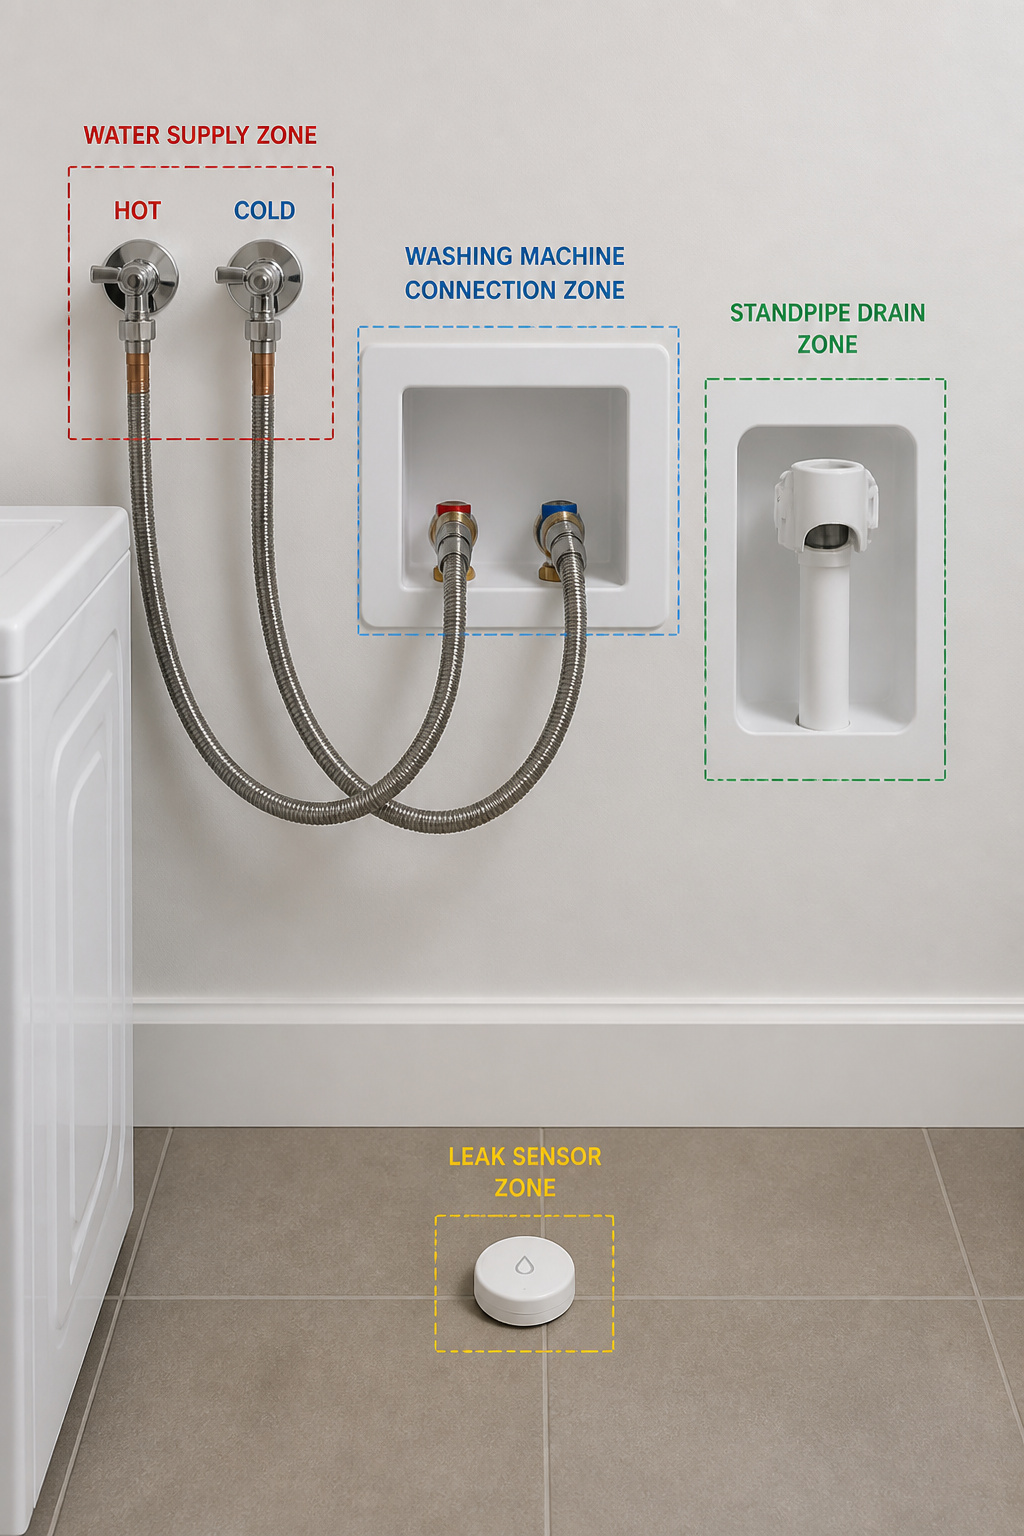
Tasks for a confident DIYer:
- Drop in a leak sensor: plug-and-play, under 5 minutes.
- Swap rubber hoses for braided: turn off water, new hoses with new washers, hand-tighten plus a quarter-turn. About 20–30 minutes.
- Install a single-lever shutoff on an existing accessible line: straightforward with SharkBite push-to-connect fittings, no soldering.
- Slide a drain pan under the machine: doable with a helper or appliance dolly, if the drain terminates at an existing receptor with an air gap.
Where a licensed plumber is non-negotiable: new supply lines, or any drain tie-in cutting into the building’s drain-waste-vent piping. That work gets permitted and inspected in most places. You can tie the drain pan into the plumbing during the original rough-in. Relocating hookups up to 10 feet typically runs $500–$1,500 in labor; longer runs or new drain slope can top $2,500. These are 2025 aggregate figures; local rates vary, so get your own quotes.
When you get a quote, ask whether the pan drain can terminate at the existing standpipe with an air gap or needs a new waste tie-in. That difference can swing the labor $300–$600. As Melanie Powers of Goodberlet Home Services puts it, if the hot and cold valves protrude from the wall and the standpipe’s visible, “you can absolutely handle this yourself.” The plumber earns the fee only on new rough-in.
It all comes back to why placement raises the stakes: the floor under the washer is someone’s ceiling.
Start with ten dollars and five minutes: a smart leak sensor on the floor behind your machine tonight. Work up the layers as budget allows. A dry ceiling downstairs is worth a Saturday and a couple of hardware-store trips.
FAQ
Do I need a drain pan if I have a front-load washer upstairs?
Yes. Front-loaders are not exempt. Most jurisdictions that require drain pans for second-floor laundry apply the rule regardless of machine type. Get a tapered front-load pan so the door and pedestal drawer stay accessible. And it still has to be plumbed; an unplumbed pan under a front-loader overflows exactly like one under a top-loader.
How much does it cost to plumb a washer drain pan on the second floor?
If the pan drain reaches an existing standpipe or utility sink with an air gap, the cost is minimal and a DIYer can do it in under an hour. A new waste tie-in runs $500–$1,500 in labor for runs up to 10 feet, more for longer ones. The pan itself is $15–$400 depending on material.
Can a smart leak sensor actually shut off the water automatically?
Only if it’s paired with an automatic shutoff system like FloodStop or Watts IntelliFlow. A standalone sensor just alarms; it can’t close a valve alone. A FloodStop kit (around $58) closes both supply lines within seconds of detecting water. Whole-home systems like Moen Flo shut the main and protect the house even when you’re away.