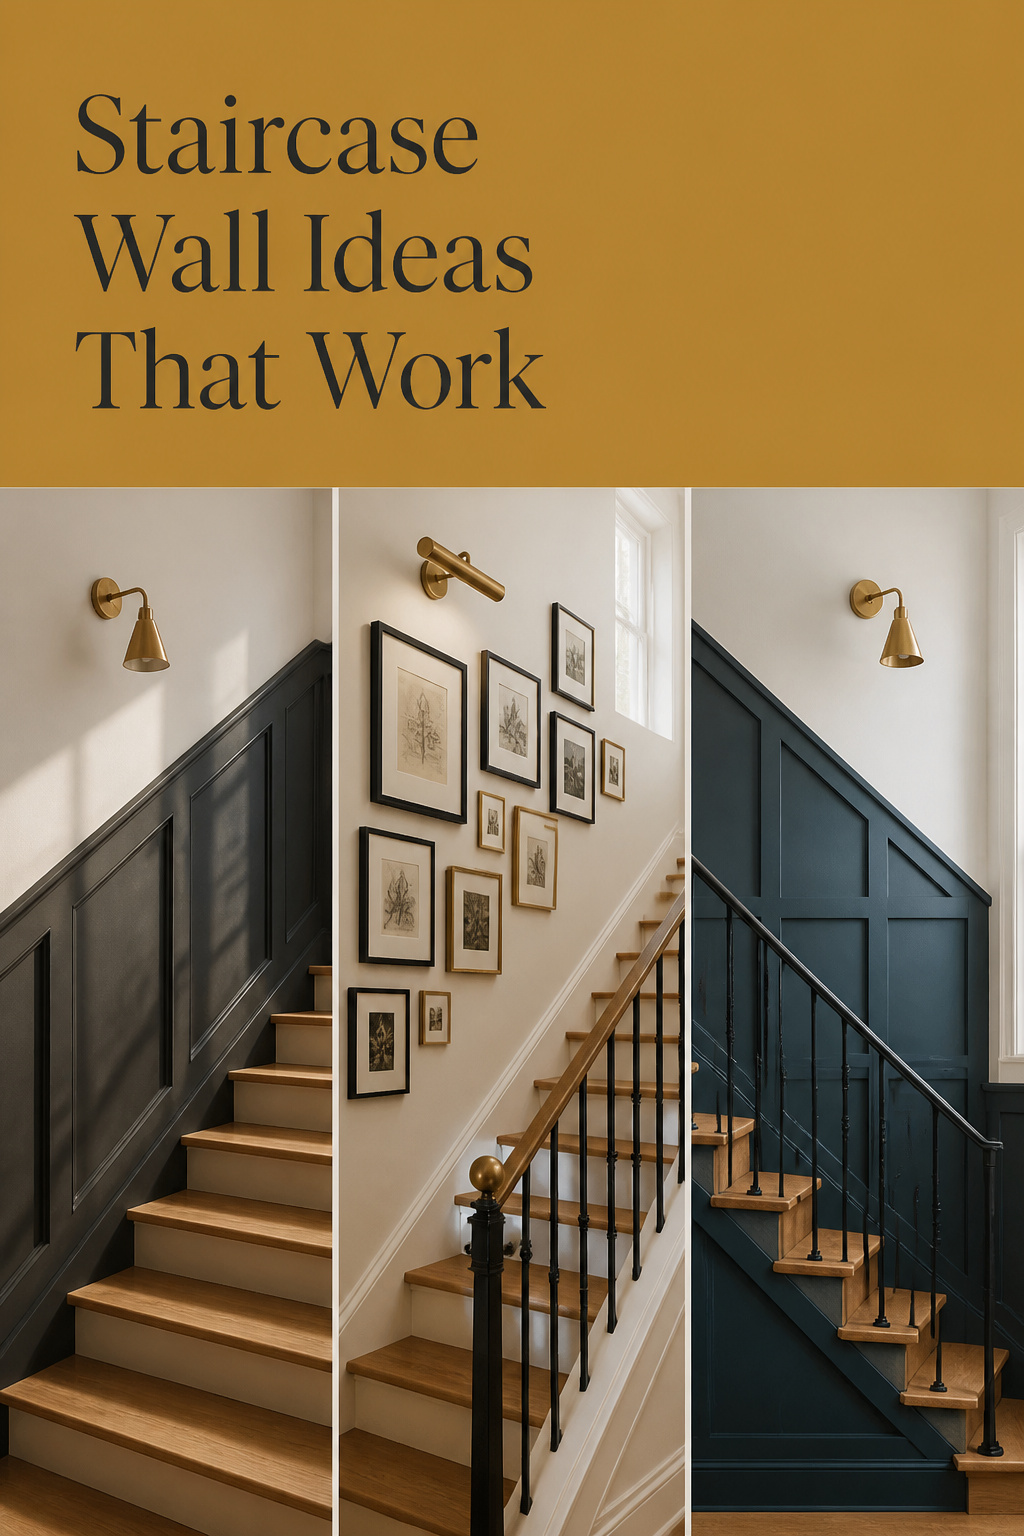
The wall running up your stairs gets touched more than any other in the house, and decorated less. I notice it within a minute of walking into an unfamiliar house: art in the hall, a mirror on the landing, and between them a long blank diagonal holding one light switch. Most staircase wall ideas are photographed on flat walls, which is why they collapse here. Panel boxes drift out of line by the fourth stair, and frames hung level look like they’re sliding downhill. The pitch is the measurement everything else should start from.
TL;DR
- Take the stair’s rise-over-run first: tread top to tread top for rise, front edge to front edge for run, then divide. Every rail height and frame position comes off that ratio.
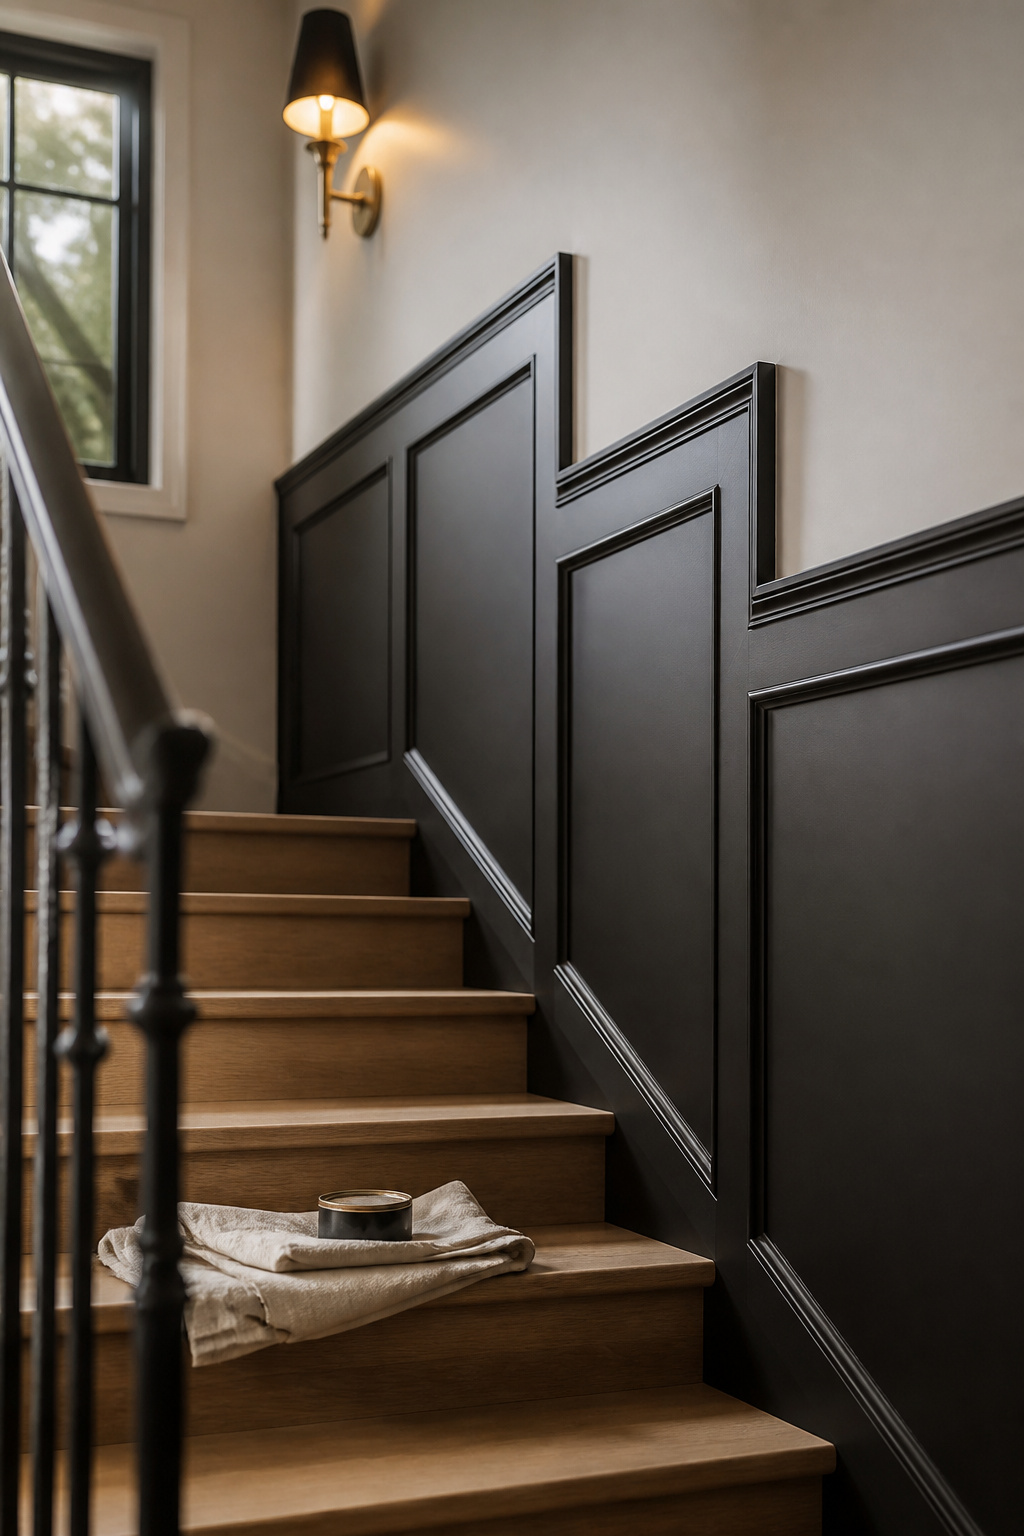
- A dado rail sits about 1 metre (39 inches) from the floor and climbs at the stair’s own pitch. UK panelling trade guides put the landing mitre at half that angle: 17.5 degrees on a 35-degree stair.
- Gallery frames belong on one smooth diagonal, not a stair-step shape: 2-3 inches apart, centres 57-60 inches above the tread below.
The stairwell wall everyone ignores
Ask why a stairwell wall stayed bare and the answer is nearly always the same: it got to the bottom of the list, or never made the list at all. Building code asks nothing of these walls beyond clearance, and habit takes care of the rest.
Why the stairwell is the most-walked, least-decorated wall in the house
A stairwell counts as circulation rather than a room, so it inherits circulation’s low expectations, even crossed dozens of times a day. The neglect outlasts good intentions for a mechanical reason: molding kits and gallery templates are sized for a flat, level wall.
A project where the diagonal defeated the plan before it defeated the wall
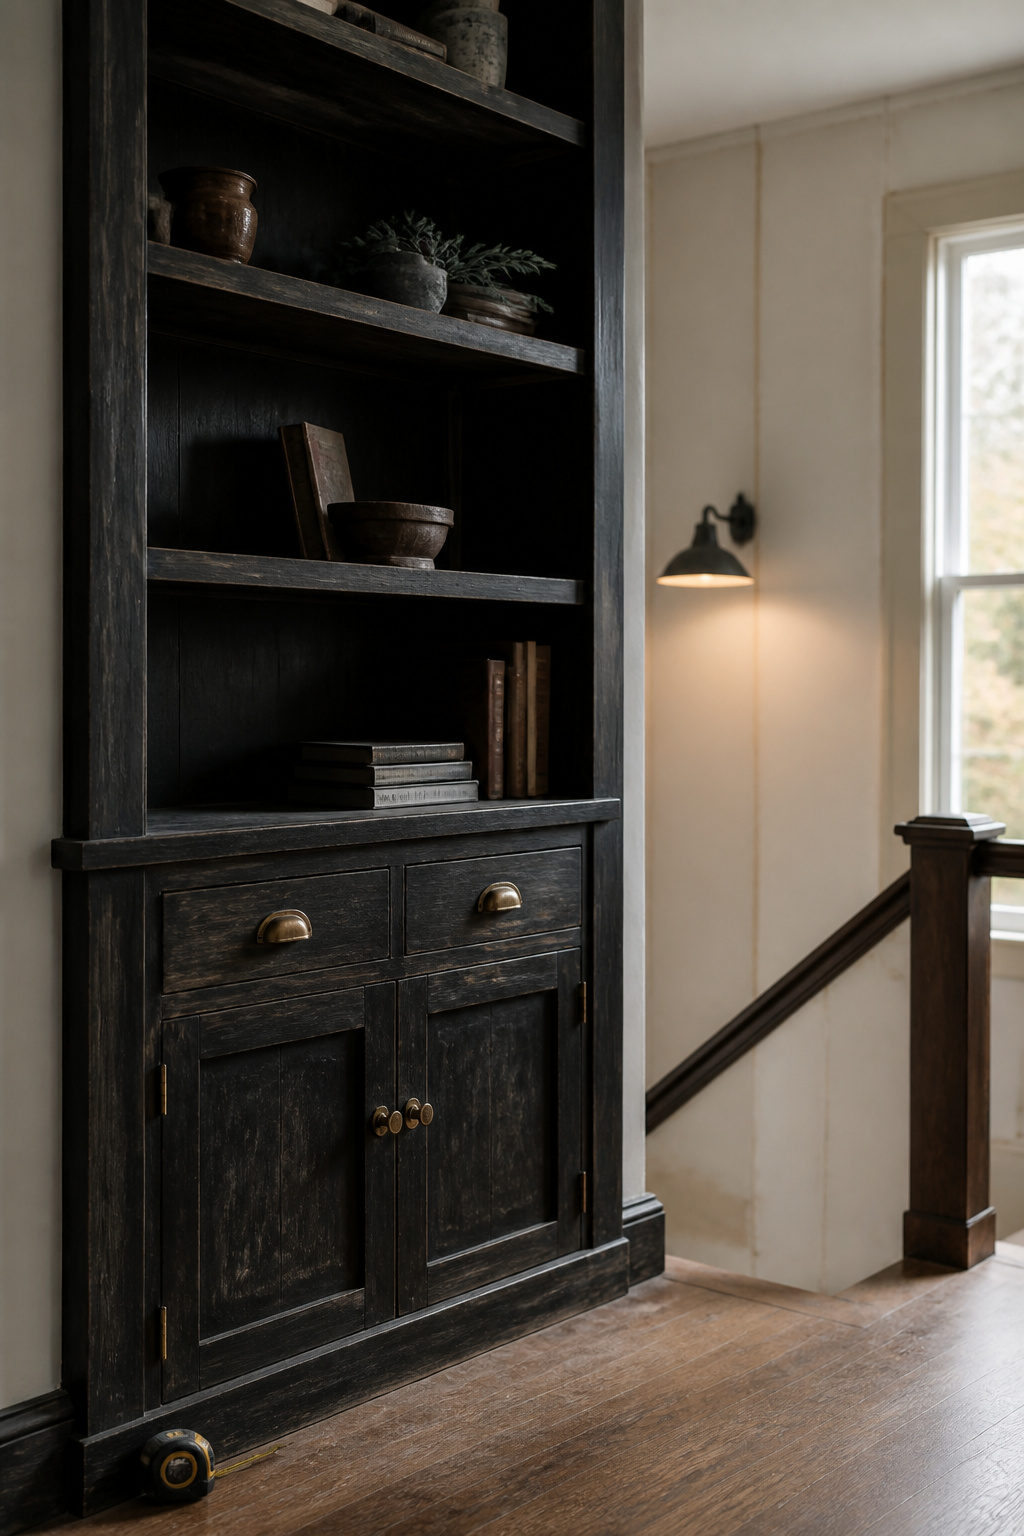
In an 1890s farmhouse I worked on, the clients wanted a deteriorated half-landing built-in stripped to bare drywall. Closer inspection said otherwise: its proportions were original, so it got rebuilt into the new layout instead. The panelling still went wrong first, measured off the wall’s overall height like a flat room: it failed above the fourth stair.
What changed once the pitch was treated as the starting measurement
DIY accounts converge on one fix: stop measuring from the floor, and measure from the stair nosing directly below each panel section instead, so every tread becomes its own reference point. Once that house had a rise-over-run number, rail height, panel width and mitre angle all derived from it.
The layout math panelling needs on a pitch
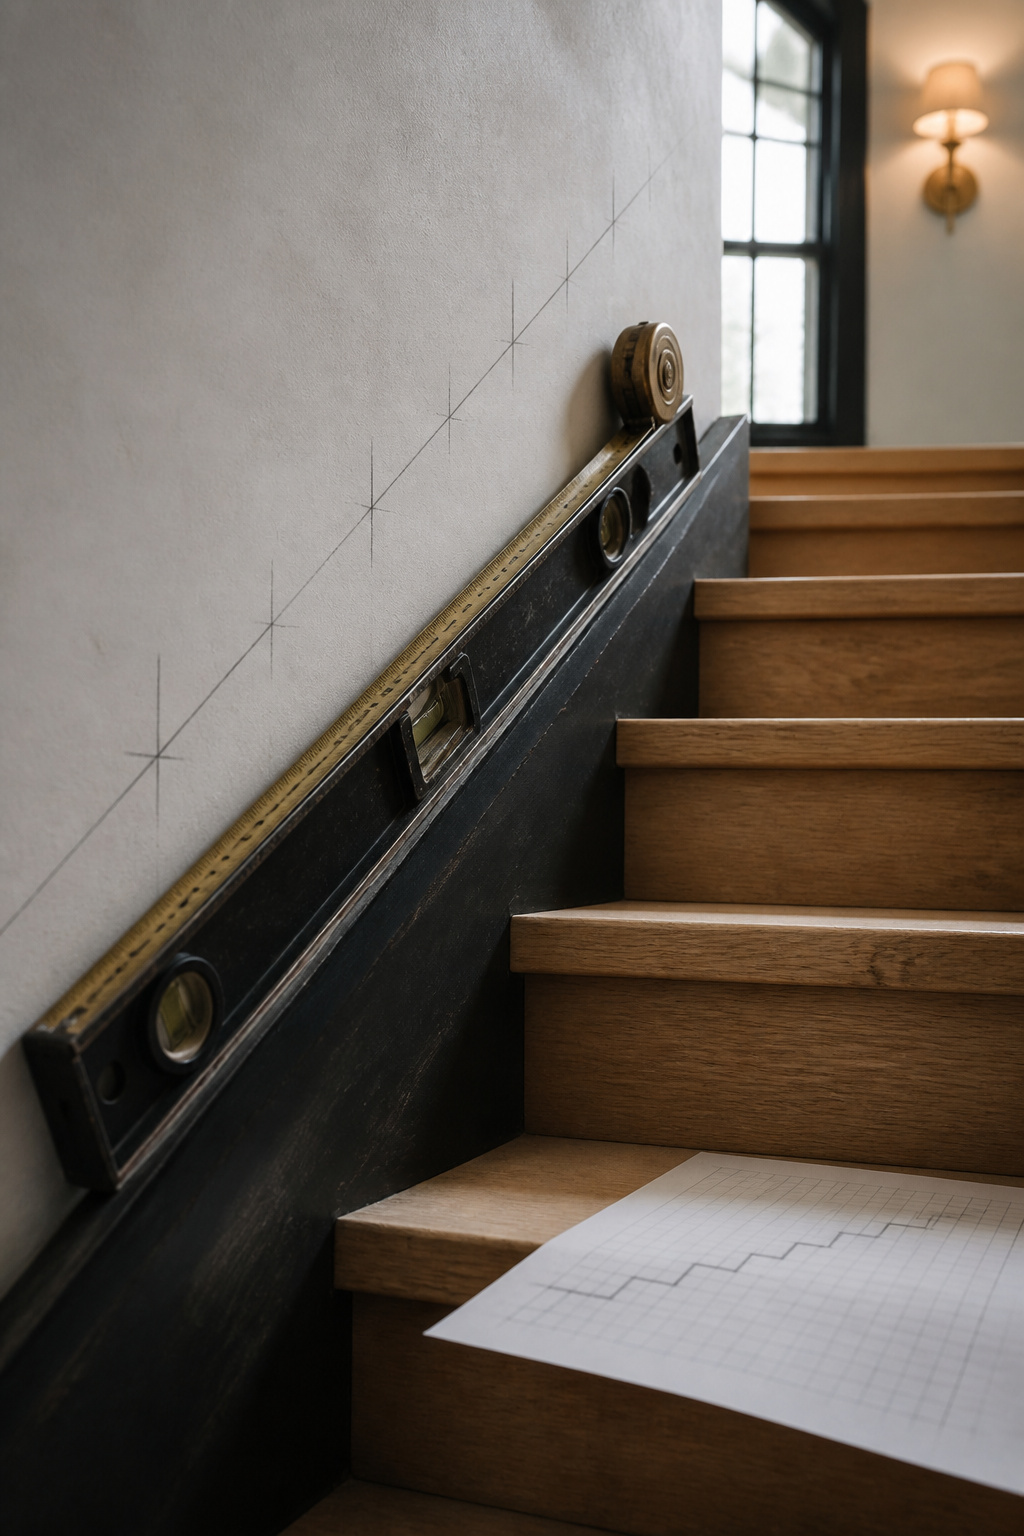
Every decision on this wall descends from one ratio, and a tape measure will find it in minutes.
Finding the rise-per-stringer number that drives every measurement
Measure vertically from the top of one step to the next for rise, then horizontally, front edge to front edge excluding the nosing overhang, for run. Divide rise by run. Most existing US stairs fall inside IRC R311.7.5: risers capped at 7-3/4 inches, treads at least 10 inches deep.
Adjusting rail heights and panel widths as the wall climbs
Set a dado or chair rail at a consistent 1 metre (about 39 inches) from the floor, following the incline rather than staying level; its slope matches the stair’s pitch exactly. Panel widths hold constant across the run; it’s each box’s vertical proportion that gets recalculated. Spacing is the rule you cannot fudge: 3-4 inches from baseboard, cap rail and neighbouring boxes.
The one measurement mistake that throws off an entire run
The dangerous point is where the rail leaves the flight’s angled plane for a landing’s level one. That transition takes an inverted cut, and getting it wrong throws off every box above. The angle is counter-intuitive: half the wall’s total pitch, so a 35-degree stair takes a 17.5-degree mitre. I have found that formula stated by one UK wall-panelling trade supplier rather than any carpentry standard, so test it on an offcut.
Picture-frame molding and panelling, step by step
The first cut on a stepped run doesn’t happen on the moulding. It happens on cardboard held flat against the wall.
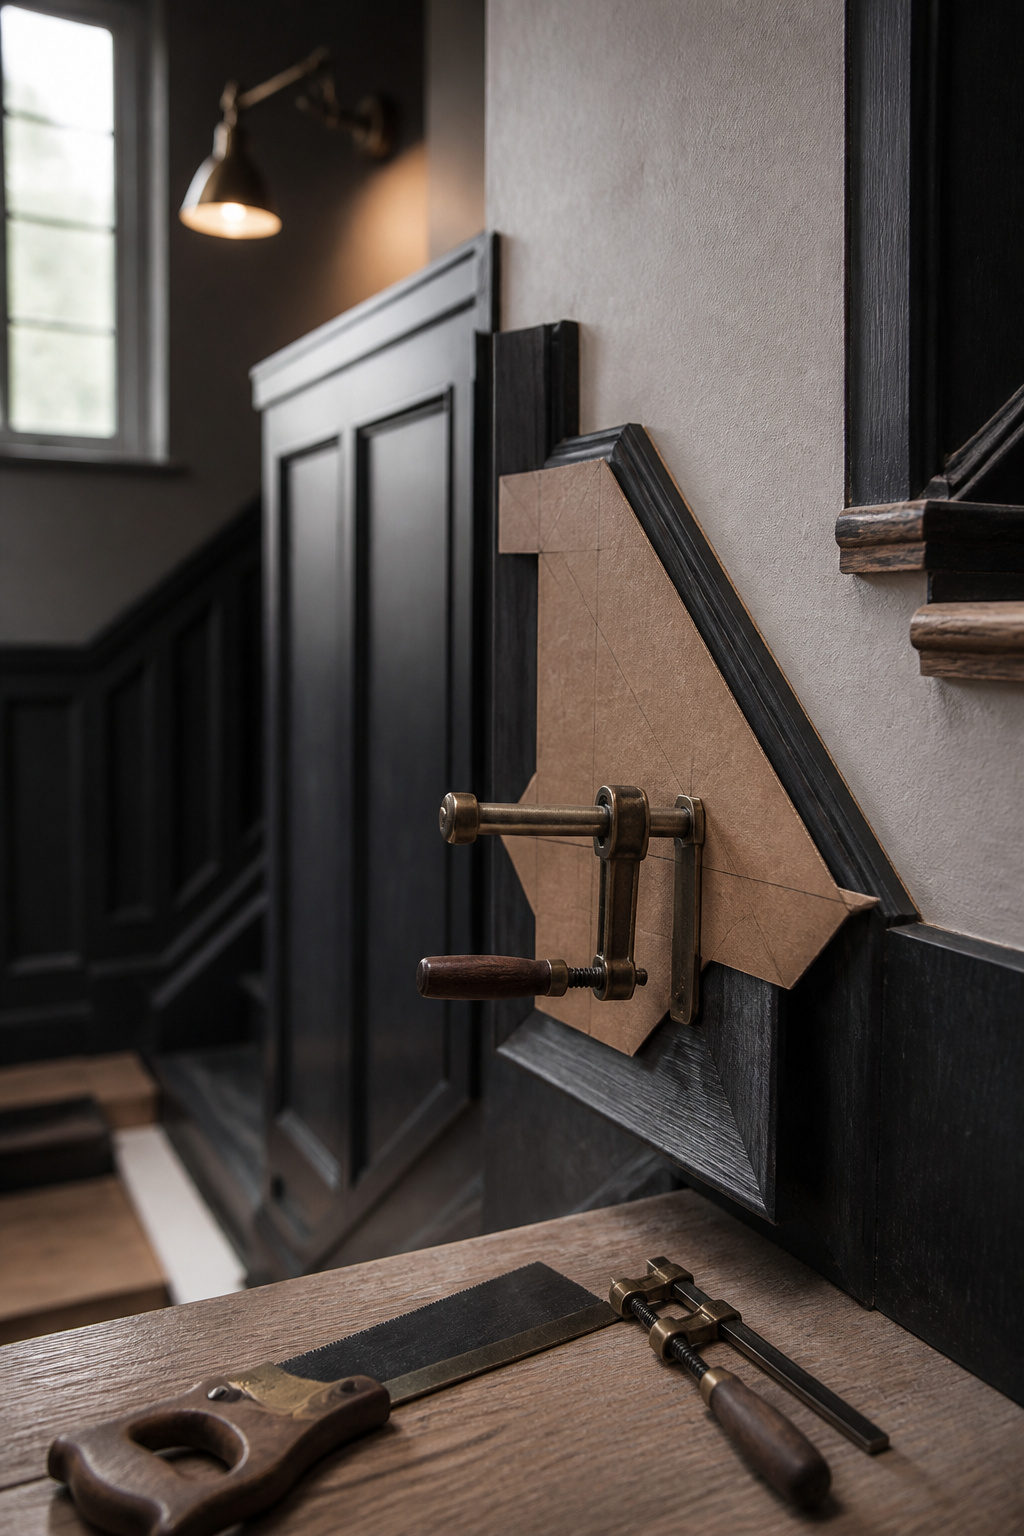
Marking and cutting angles for a stepped run
Claire Douglas, the UK DIY creator published in Woman & Home and Real Homes, documents a no-tools method: hold cardboard where a panel corner will sit, trace the moulding positions, cut out the corner, then cut its halfway point for two matching templates that clamp straight onto the moulding for cutting.
Installing bottom rail, then panels, then top rail
Pre-fabricate each box flat on a bench first. Raked mitres cut freehand on an installed rail compound their errors. Then work in this order:
- Fix the dado or chair rail at your consistent height, following the incline.
- Attach panels one at a time, starting with the bottom piece aligned to the tread below.
- Hold identical spacing between panels, rail and skirting the whole way up.
- Nail into studs where you can; elsewhere, angle the gun in alternating directions through the moulding.
Skip construction adhesive. It holds beautifully but turns removal into extensive drywall repair, a decision the next owner cannot undo. Nails plus caulk stay reversible.
Caulk, fill and paint order for a clean line
Roll the wall colour before the trim goes up, so you’re cutting in near edges rather than around every box. Afterwards, fill and caulk the holes and seams, wipe with a damp rag, and sand the filler. Paint two to three thin coats in satin, not flat. The first coat is diagnostic.
Hanging a gallery wall that steps with the stairs
So many stair gallery walls look nervous because the frames were arranged to imitate the staircase instead of following it.
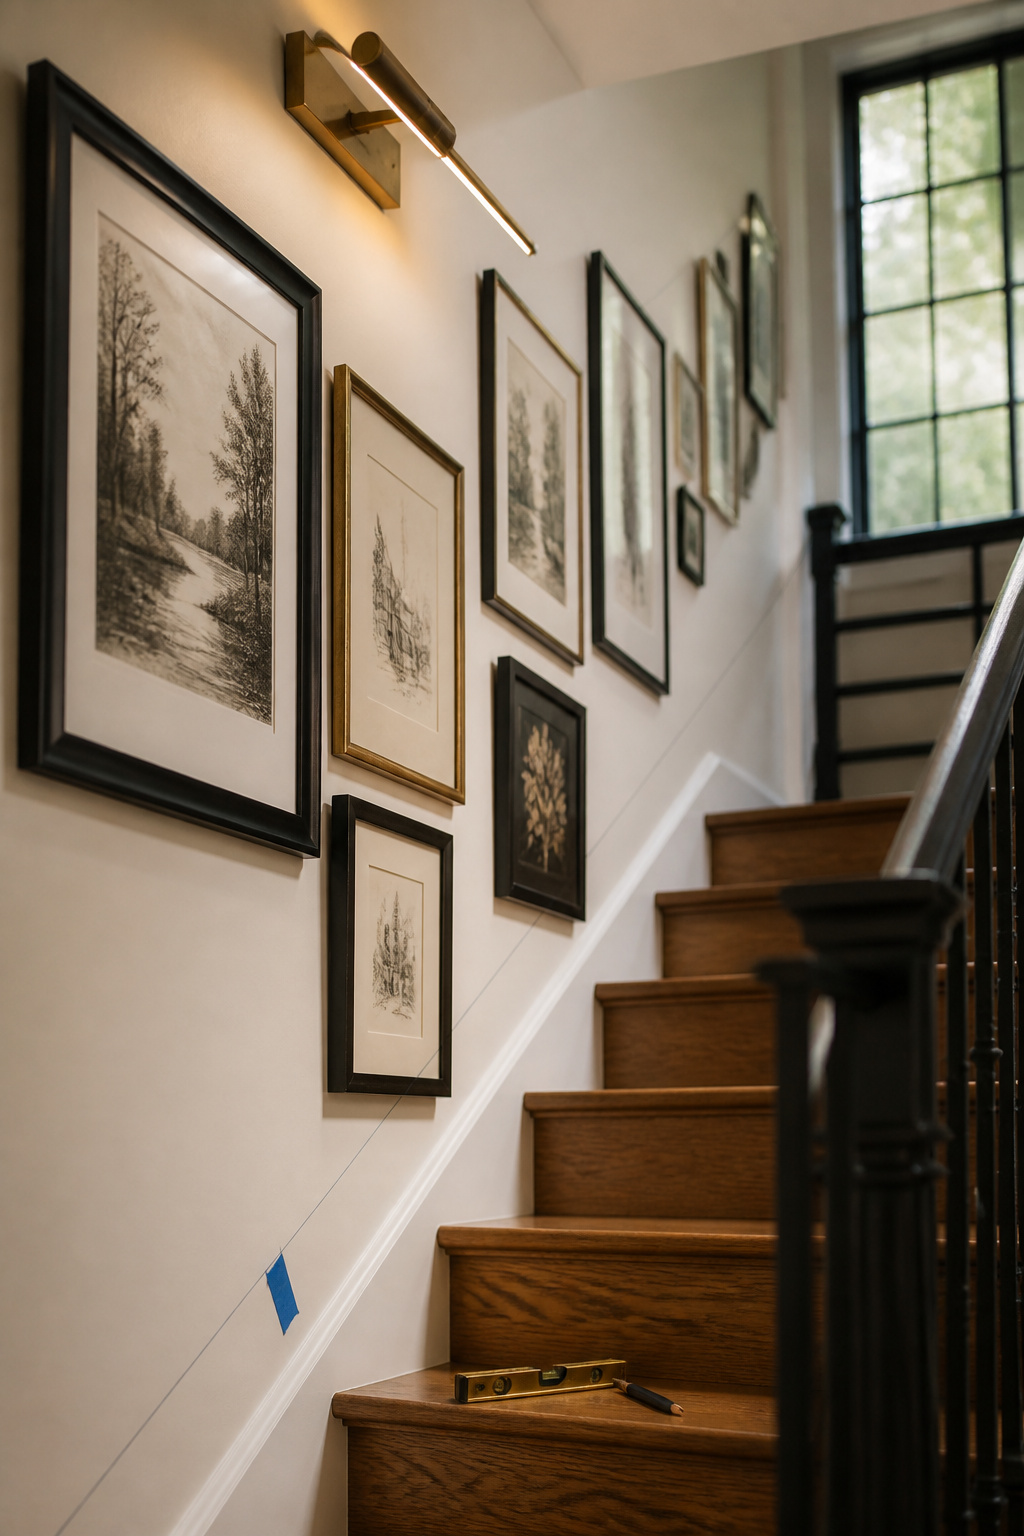
Using the stair angle as the hanging line, not a straight one
The same ratio governs art: apply it so frame centres climb the same vertical distance for every horizontal unit of wall, rather than stepping frames into a literal stair-step shape that mimics tread and riser geometry. For the low-tech version, run painter’s tape along the slope and hang to it.
Spacing frames so the eye reads the whole run walking up or down
2-3 inches between neighbouring frames is the professional standard: exactly 2 for a formal grid, 2-4 for a salon arrangement. Past 4-5 inches they read as separate objects. Height comes from the museum convention of centring the group at 57 inches; on a stair, that’s 57-60 inches above the tread below each frame. Annica Wallin of Desenio treats it as a starting mark, not a grid.
Mixed frame sizes vs a matched set on a pitch
A run this long punishes a matched set. The professional hierarchy uses one dominant anchor, medium pieces at 50-75 percent of it, and accents at 25-40 percent. Drop the medium tier and the composition fragments. Lauren of Bless’er House puts it plainly: better to err on oversized frames. Her own run mixed 11×14, 12×16, 16×20, 20×20.
Matching the treatment to your house: period profiles vs clean flat panels
An ornate Victorian-depth profile on a 2004 build fails this project while every mitre is technically perfect. The cuts were fine; the vocabulary was borrowed.
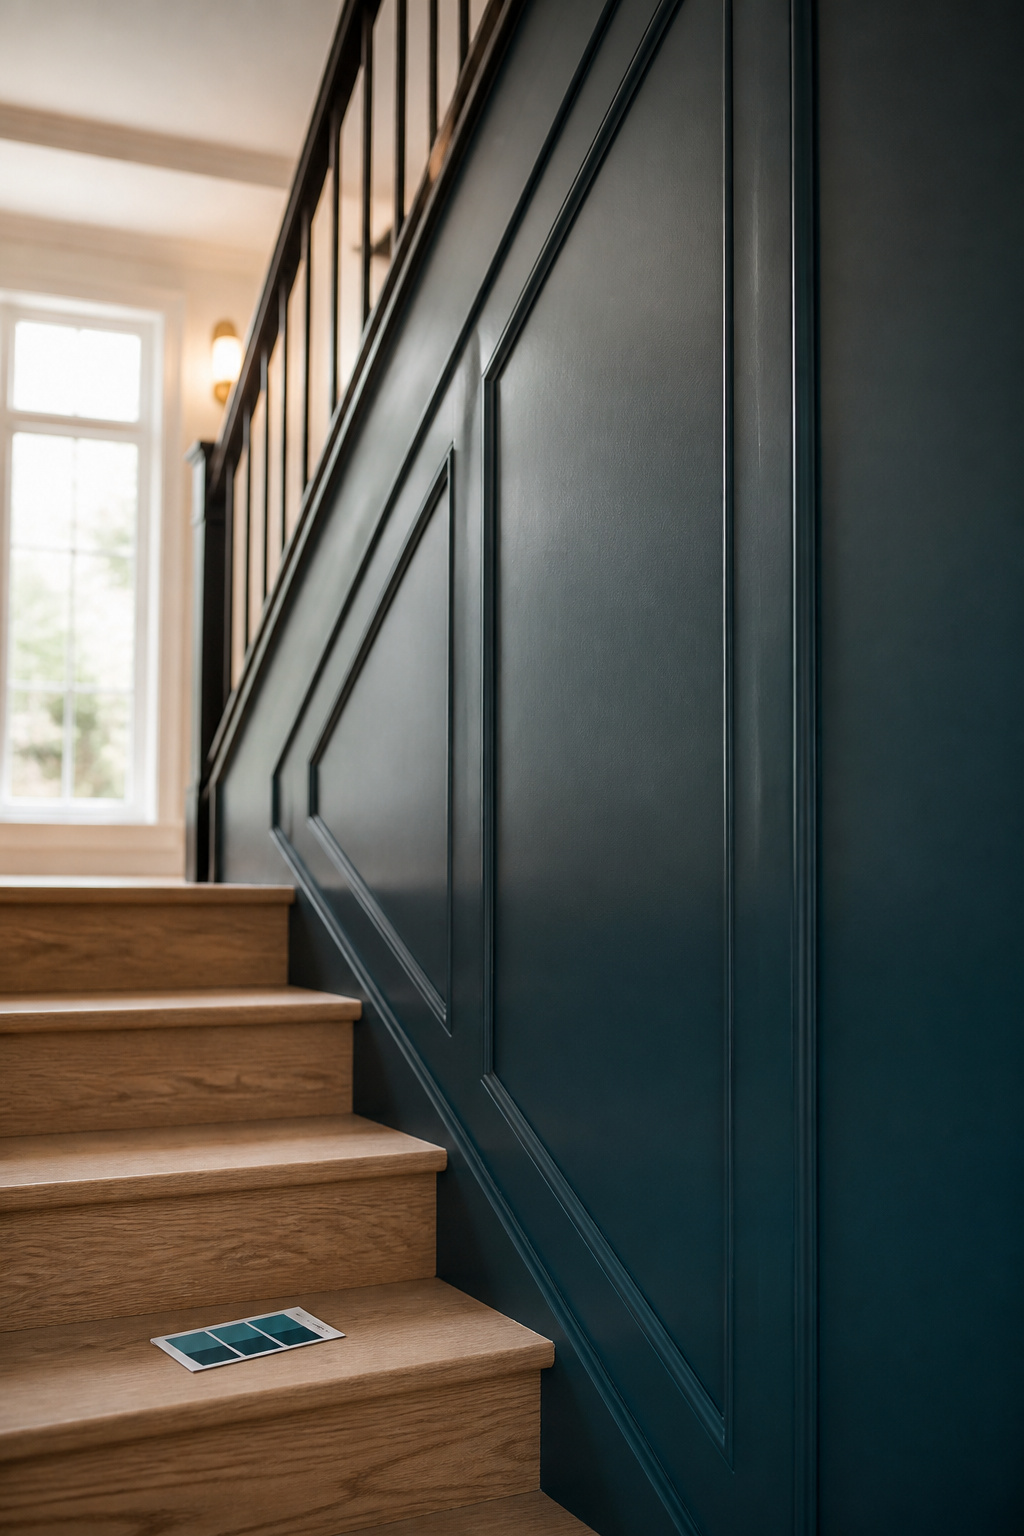
Reading your house’s era before choosing a molding profile
Molding profile tracked architectural period closely enough to date a room; conservation studio John Canning & Co. documents the sequence.
| Era | Tell-tale detail | What it means for your profile |
|---|---|---|
| Greek Revival, early 1800s | Temple entablature proportions, hand-carved until milling arrived around 1850 | Deep architectural profiles, heavier than instinct suggests |
| Victorian, late 1800s to early 1900s | Elaborate stylised work, floral carving, crown molding pulling the eye to a feature | Ornate is correct; restraint reads as a downgrade |
| Craftsman and modern, 1900s onward | Minimalism, geometric continuity, trim optional and sometimes omitted | The flat picture-frame panel descends from this |
Period-appropriate proportions for older homes
Eddie Maestri of Maestri Studio treats panelling as a design element that should align with the home’s style and period, not a generic upgrade. Diana Rose of Diana Rose Design uses it to mark a deliberate transition between levels, adding accent colour to pick out architecture already there.
Clean flat panels for newer builds
Newer builds have volume rather than detail, and flat panels answer volume honestly. Brad Ramsey of Brad Ramsey Interiors took flat panelling to chair-rail height, breaking up an oversized two-storey stairwell and absorbing a closet door into the plane. Rachael Stollar of Studio SFW matches sheens across wall and trim; Mark Lavender of M. Lavender Interiors gets a dimensional look from semi-gloss alone.
Finishing the frame: where walls meet the railing
The wall and the railing share every baluster, post and skirt line on this flight. Whichever one you finish second has to answer to the one already standing.
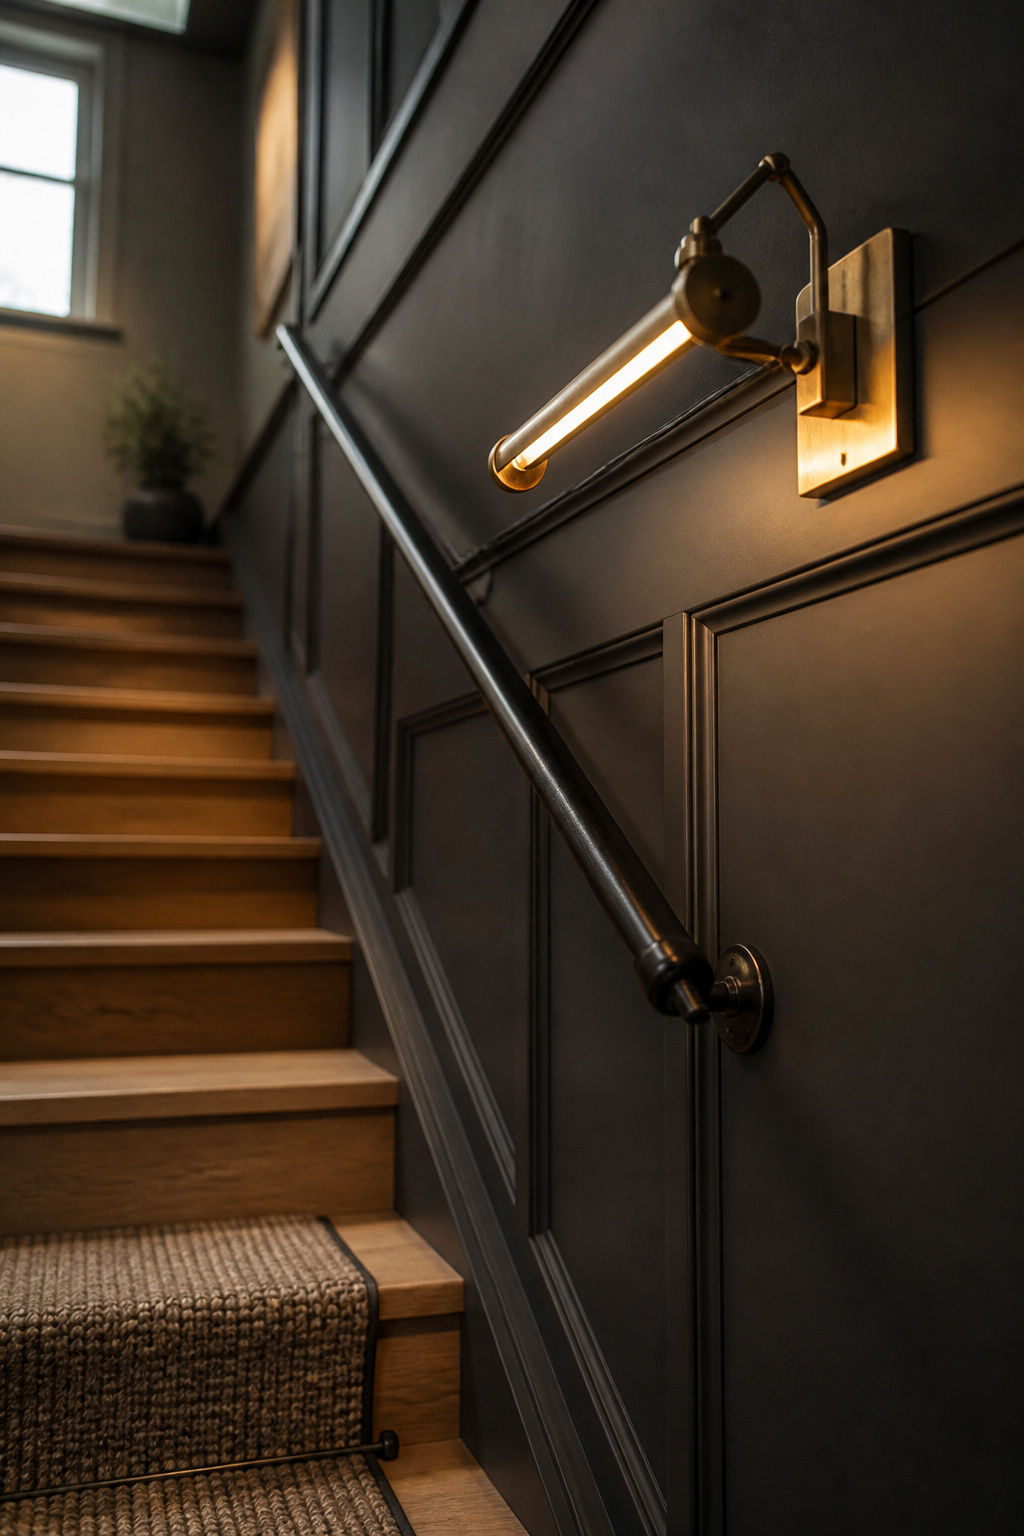
Coordinating panel or molding tone with the railing
The handrail band is fixed, and the wall treatment plans around it. IRC R311.7.8 requires a continuous handrail on any flight with four or more risers, 34-38 inches above the tread nosing. Refinishing versus replacing is mostly a cost call: $20-$60 per linear foot in wood, $50-$250 in metal. The full case for making the railing match sits in its own guide.
What the wall treatment means for lighting placement
Sconce height and spacing belong to the full fixture plan. See lighting the stairwell wall for those numbers. A gallery run has a separate need: picture lights, 8-12 inches above each frame’s top edge on a narrow beam.
Living with the finished stairwell
In that farmhouse, success came from the rebuilt built-in and the new panel run reading as one original decision, not a renovation layered on later. The wall’s tone should cue the two choices beside it. If the stairs themselves are next, whole-staircase makeover planning sequences the work.
Which staircase wall ideas to start with this weekend
Before a single frame or foot of moulding gets bought, take two measurements: one rise, one run. Divide the first by the second and pencil the number where the treatment begins. That number turns the diagonal into the instruction for every rail and frame. Painter’s tape and a dozen frames give you a gallery line by the weekend; cardboard templates and pre-fabricated boxes give you panelling over a few. Either way, look twice before stripping anything back to drywall: old houses have usually answered the proportion question already.
FAQ
What spacing do you use for a stair gallery wall?
Two to three inches between neighbouring frames. A formal grid holds exactly 2 inches, while a looser salon arrangement varies between 2 and 4. Past 4-5 inches, the frames stop reading as one grouping. On a stair, apply that spacing along the diagonal hanging line rather than on a level grid.
Can you install picture-frame molding on drywall alone?
Yes. Aim for studs wherever you can reach them, and where a nail cannot land on one, angle the gun in alternating directions through the moulding into the drywall for grip. Skip construction adhesive, though: it holds well, but removal later takes the drywall face with it. Nails plus caulk stay reversible.
Does staircase panelling need to match the rest of the house?
It should answer to the house’s period rather than to its other rooms. Eddie Maestri of Maestri Studio aligns panelling with a home’s architectural style instead of treating it as a generic upgrade. Where a newer build has no period detail to reference, a clean flat panel in a confident colour looks deliberate rather than borrowed.