
I spent my early landscape-design years in Portland, Oregon, where nine wet months a year teach you a hard order of operations: drainage before decoration, always. That order is exactly why most outdoor kitchen ideas fail before the first steak hits the grill. People start with the glossy photo — the stone island, the pizza oven, the string lights — and work backward toward a build. Then the counter cracks its second winter, the fridge cooks in afternoon sun, and the whole spread sits dark whenever the forecast turns.
The overwhelm is real. Layout shape, counter material, roof or none, propane or gas, small or sprawling, DIY or hired — every one of those looks equally plausible and equally easy to get wrong. This guide is the sifting done for you: enough to make each of those calls with confidence, then a hand-off to the deep dive for whichever decision is yours to sweat. By the last line you should be able to walk your own yard and name your build’s shape — your zones, your material, your cover, your budget tier, and the one article that matches your situation.
How to Think About Outdoor Kitchen Ideas Before You Spend Anything
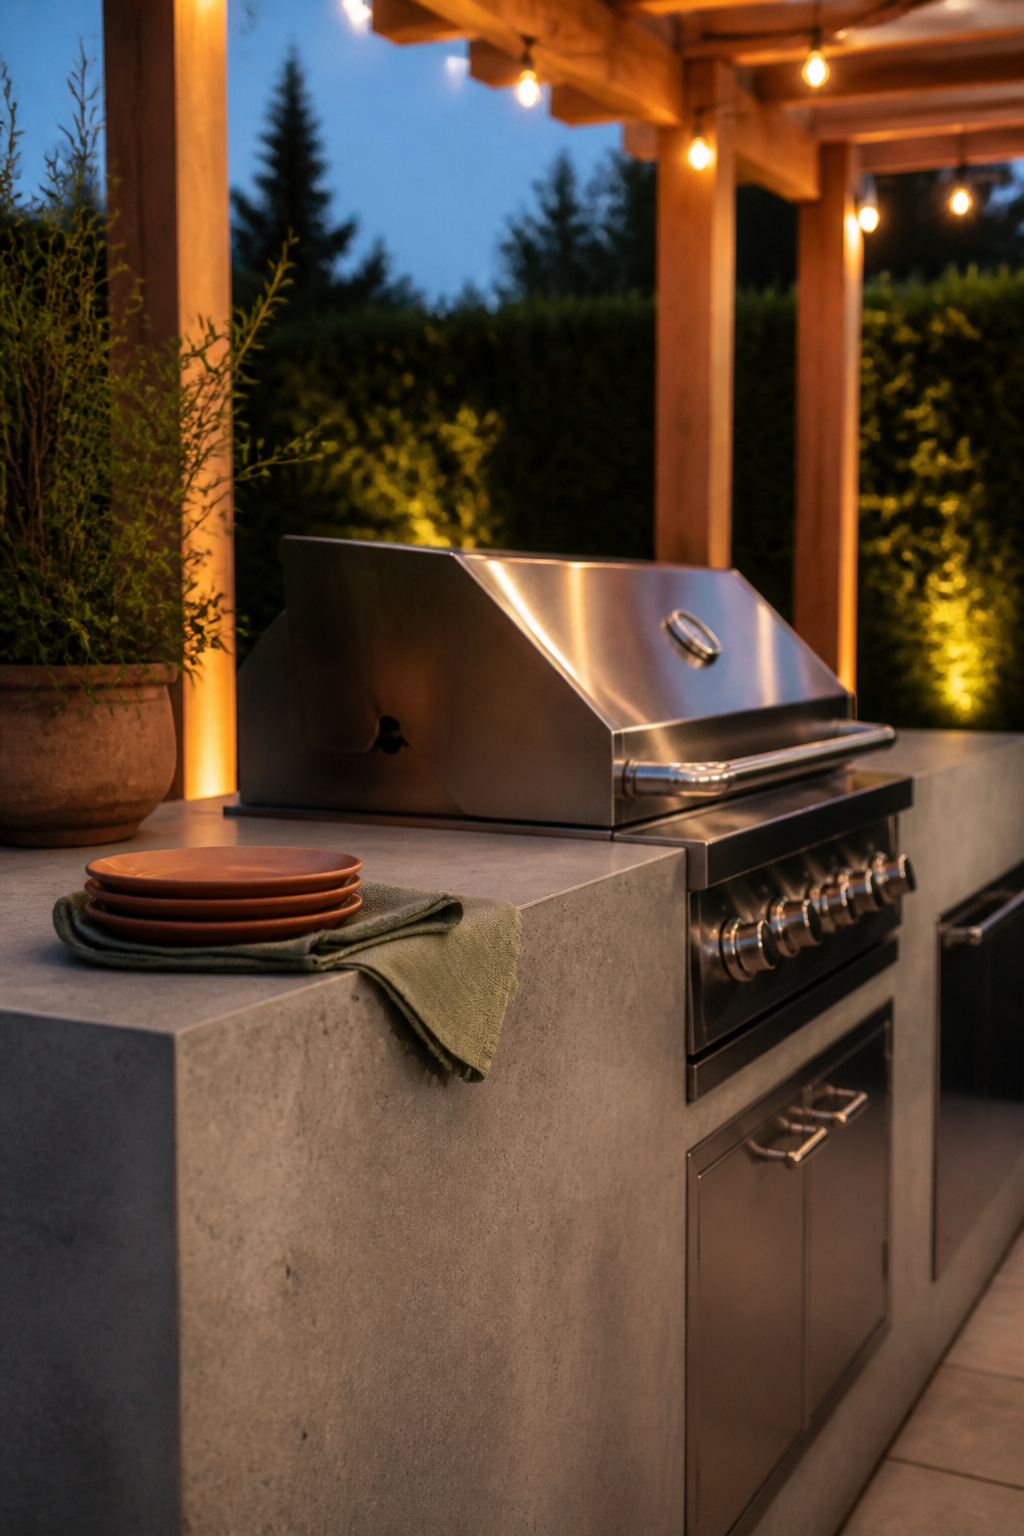
The most expensive mistake in this whole field costs nothing to avoid: choosing appliances and finishes before you’ve walked the yard. Start instead with a plain question — how will you actually use this space, day to day? A weeknight griller who wants burgers done fast needs a different kitchen than a host who feeds twelve on Saturdays. Designers are near-unanimous that usage pattern, not a shopping list, should drive every later choice.
Then read the site the way weather does. Walk out at six in the evening and see where the sun lands, because that glare decides whether people sit down or drift back indoors. Note which way the wind runs and where smoke will travel — you want it carried away from the house and the seating, not into a guest’s face. Site the cook zone slightly to the side of the main gathering spot rather than dead-center, and angle the grill so heat and smoke drift downwind. Low walls, raised planters and posts break gusts without walling you in. Where the house or a mature tree already throws afternoon shade, build toward it; that shade is free comfort you’d otherwise pay a structure to buy.
Underneath the ease, one number governs the rest: how many months a year will this space earn its keep? A four-month summer kitchen and a near-year-round one are different builds — different materials, different case for a cover, different budget. In a long-season climate the space shifts use by season, not just by event: winter grilling, spring hosting, shaded summer cooking. In a four-season one, freeze-thaw and storm exposure move to the front of every material decision. Answer the months question honestly and half your later choices make themselves.
Outdoor Kitchen Layouts: Zones, Shapes and Flow
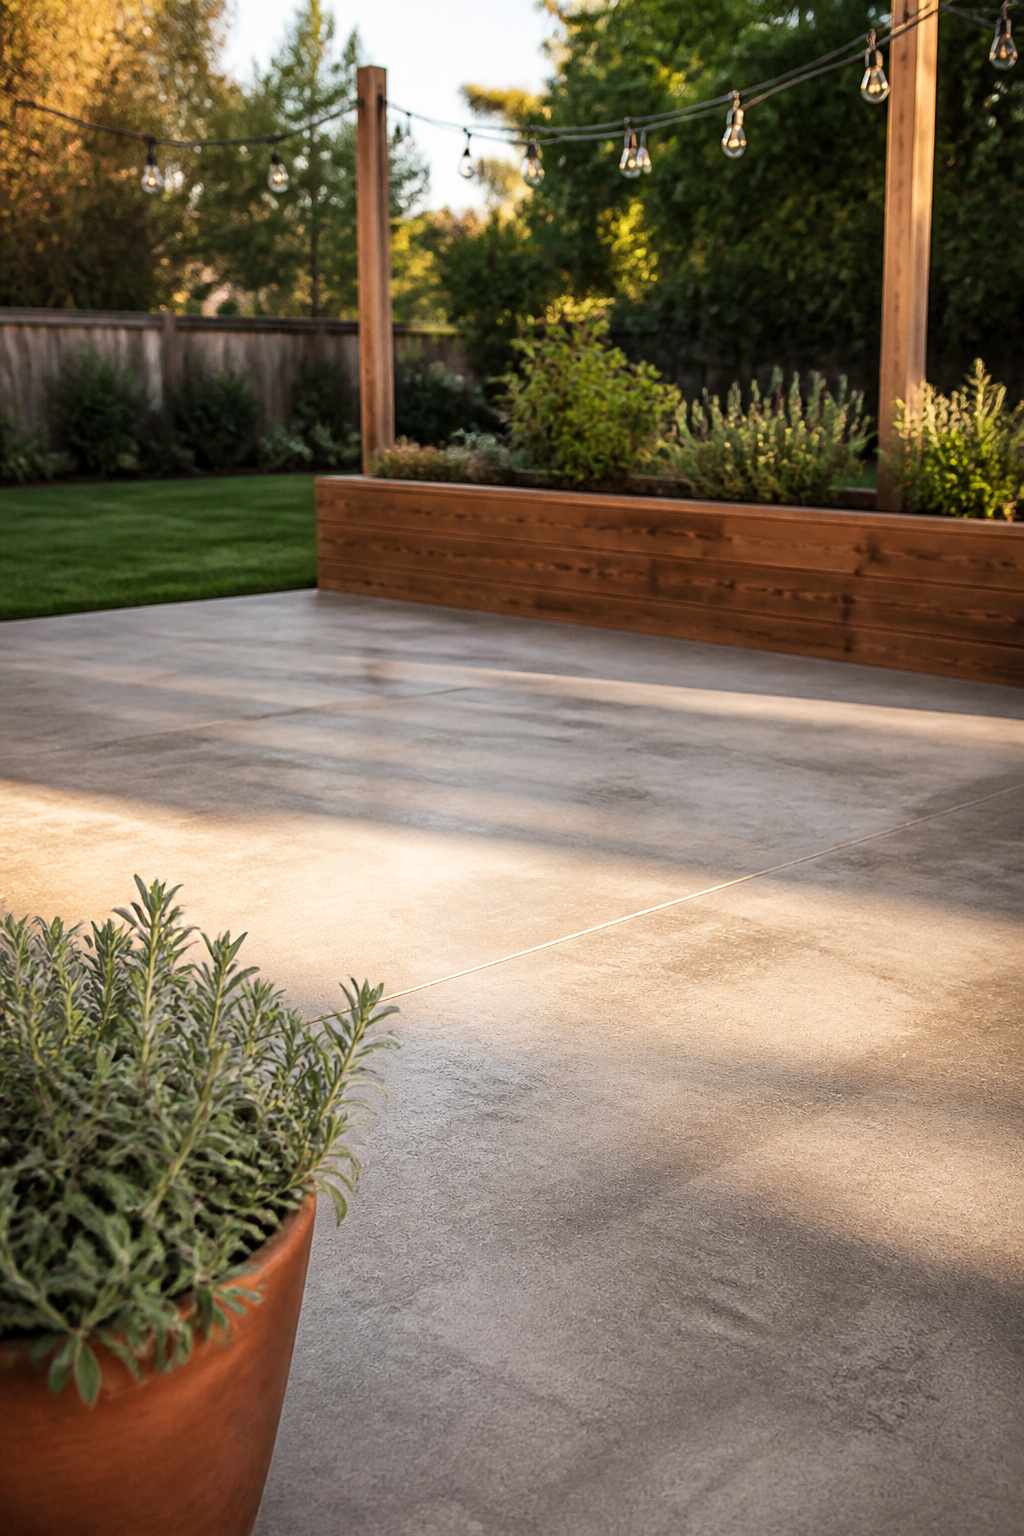
Forget the indoor work triangle out here. A functional outdoor kitchen runs on four zones, each earning its own footprint: prep (counter, sink, trash), cook (grill and ventilation), clean-up and plating, and entertain (bar, beverage fridge, ice maker). The reason to separate them is physical, not tidy — you don’t want the beverage fridge sweating next to a running grill, and you don’t want the cook reaching across a hot grate for a knife. Give the prep zone at least 36 inches of counter beside the sink, and keep the entertainment zone’s refrigeration clear of the heat.
Shape follows your yard’s width more than your taste. A straight, single-run layout puts grill, counter and storage along one line and suits tight patios. An L-shape adds a second run to peel the hot cook zone off prep and serving. A U-shape or island wraps three sides, which earns its space only when the footprint and the hosting volume justify it. The honest trade-off is aisle width: leave 42 inches minimum for one cook to work, 48 if two people will be in there at once.
Clearances are where good intentions meet the tape measure, so it helps to hold the real numbers in one place.
| Element | Minimum clearance | Preferred | Why it matters |
|---|---|---|---|
| Beside the grill | 12 in each side | 24 in one side | Safe handling and a spot to plate |
| Beside the sink | 18 in landing | 18 in both sides | Somewhere to set wet and dry items |
| Work aisle (one cook) | 42 in | 48 in for two | Movement without congestion |
| Prep counter run | 36 in | 36 in+ | Realistic chopping and marinating space |
Those figures are the survey version. For the full walk-through — choosing between straight, L, U and island for your specific footprint and sun path, and grouping hot, cold, wet and dry so nothing fights — plan your outdoor kitchen layout and zones in the dedicated guide.
Countertop Materials That Actually Survive Outside
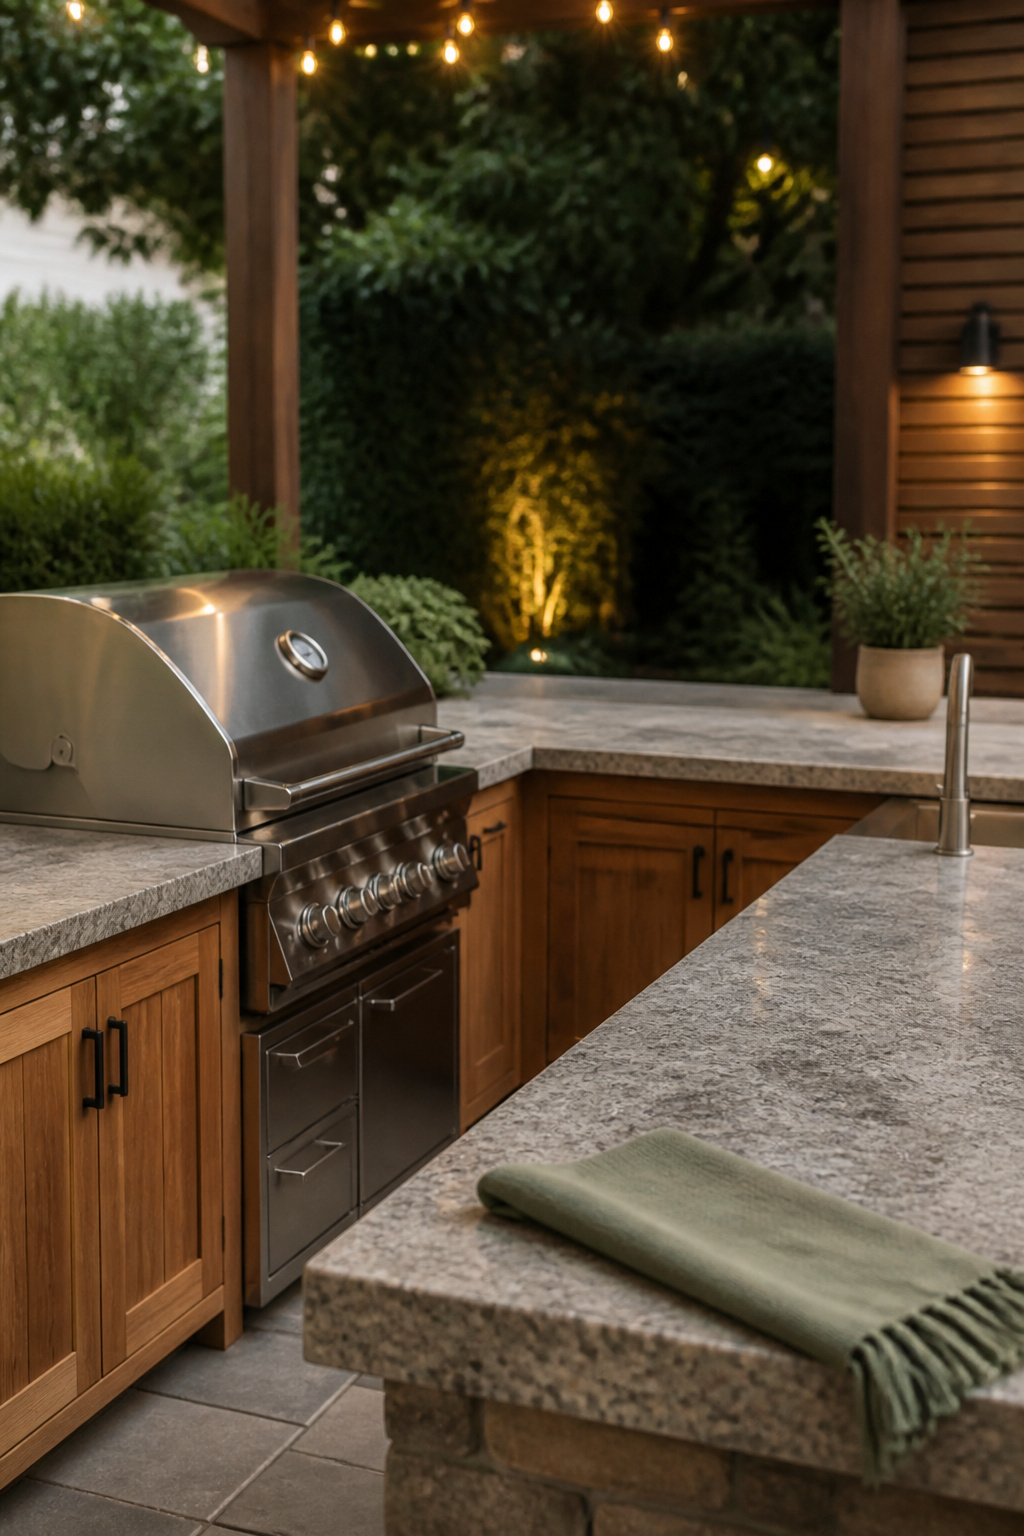
Here is the counterintuitive part that catches people out: the surfaces you trust most indoors are the two that fail fastest outdoors. Quartz’s resin binder degrades under sustained UV, so it yellows in the sun. Marble is porous and etches under acidic spills and weather. Both perform beautifully in a kitchen with a roof and get quietly marketed for patios anyway — the damage doesn’t reverse, and no sealer fixes it.
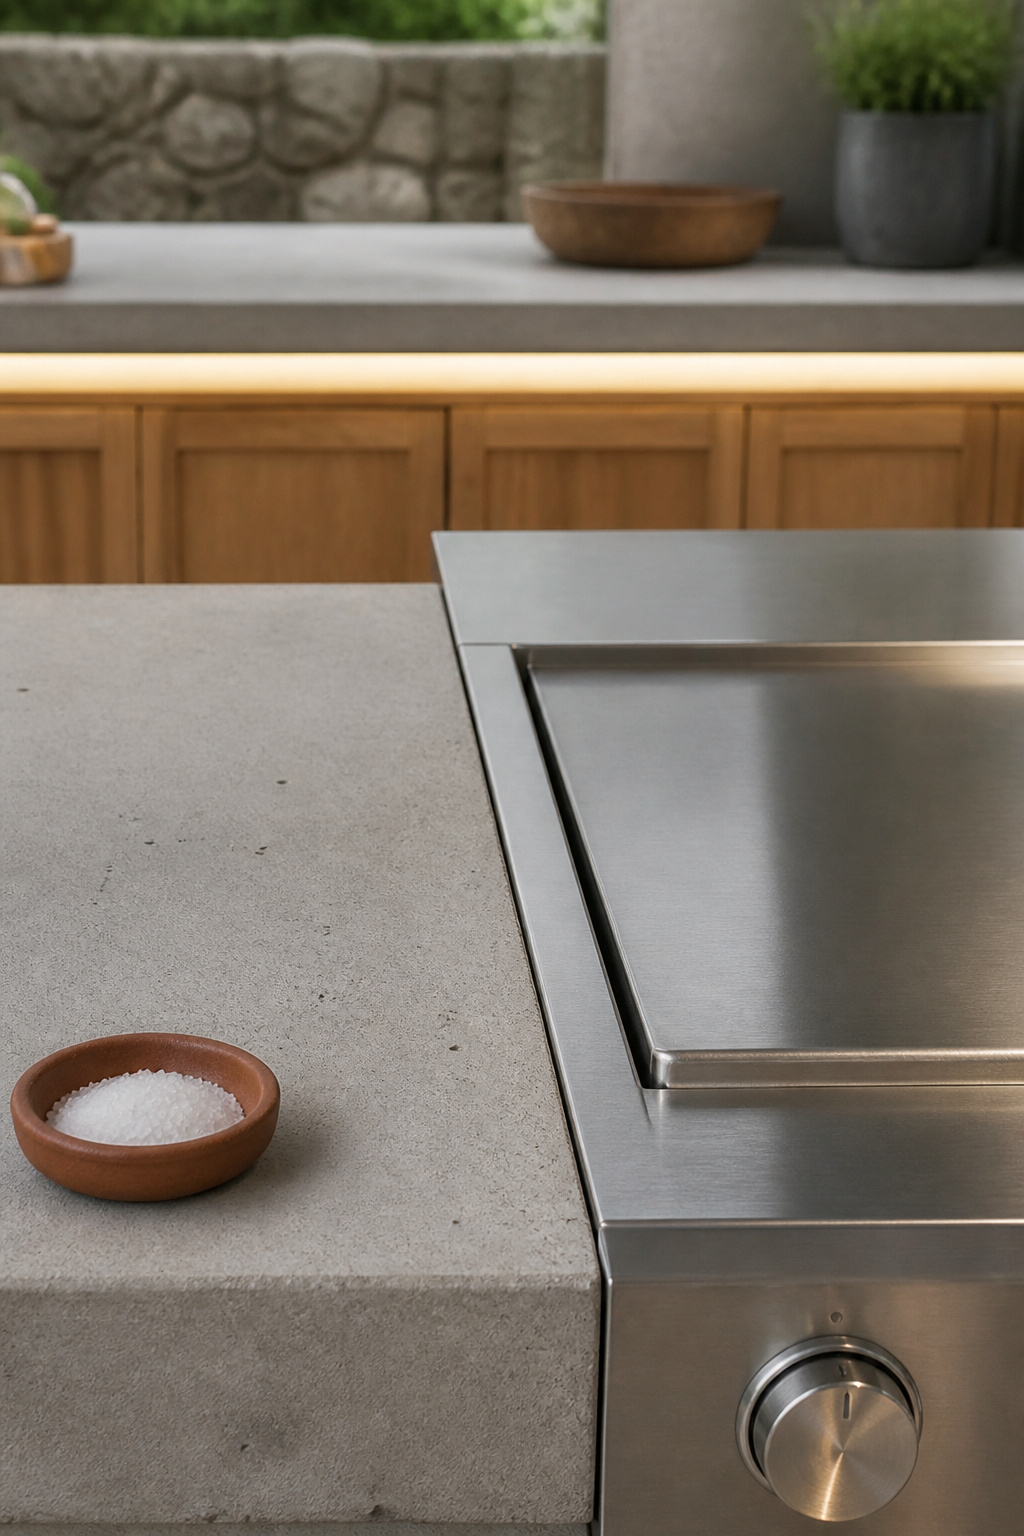
The materials that last are the plainer ones. Porcelain, granite, concrete, soapstone and stainless all shrug off sun, rain and heat. What separates them is maintenance and freeze risk. Porcelain, soapstone and stainless are non-porous, so they never need sealing and don’t crack when trapped moisture freezes. Granite and concrete are porous — both need re-sealing every 6 to 12 months, and if that sealing lapses in a cold climate, water can penetrate and crack the stone from the inside. That failure mode is a skipped chore, not a bad material.
- Porcelain — zero sealing, full weather resistance; the lowest-maintenance surface out there.
- Granite — tough and handsome, but reseal every 6 to 12 months and watch freeze-thaw if you skip it.
- Concrete — same 6-to-12-month sealing cycle; rewards you with a surface you can shape and tint to the space.
- Soapstone — non-porous so no sealing, but softer than granite, so it scratches more easily.
- Stainless — anti-rust, hygienic, near maintenance-free, and the natural choice right at the cook zone.
The rule I keep coming back to from those Oregon years: match the material to your climate’s worst month, not the showroom’s best light. A slab that dazzles under gallery spots tells you nothing about February. If you want the full material-by-material verdict — costs, sealing schedules, heat tolerance and the freeze-thaw specifics — the deep dive on weatherproof countertop materials is where surface selection gets settled.
Appliances Worth Including (and What to Skip)
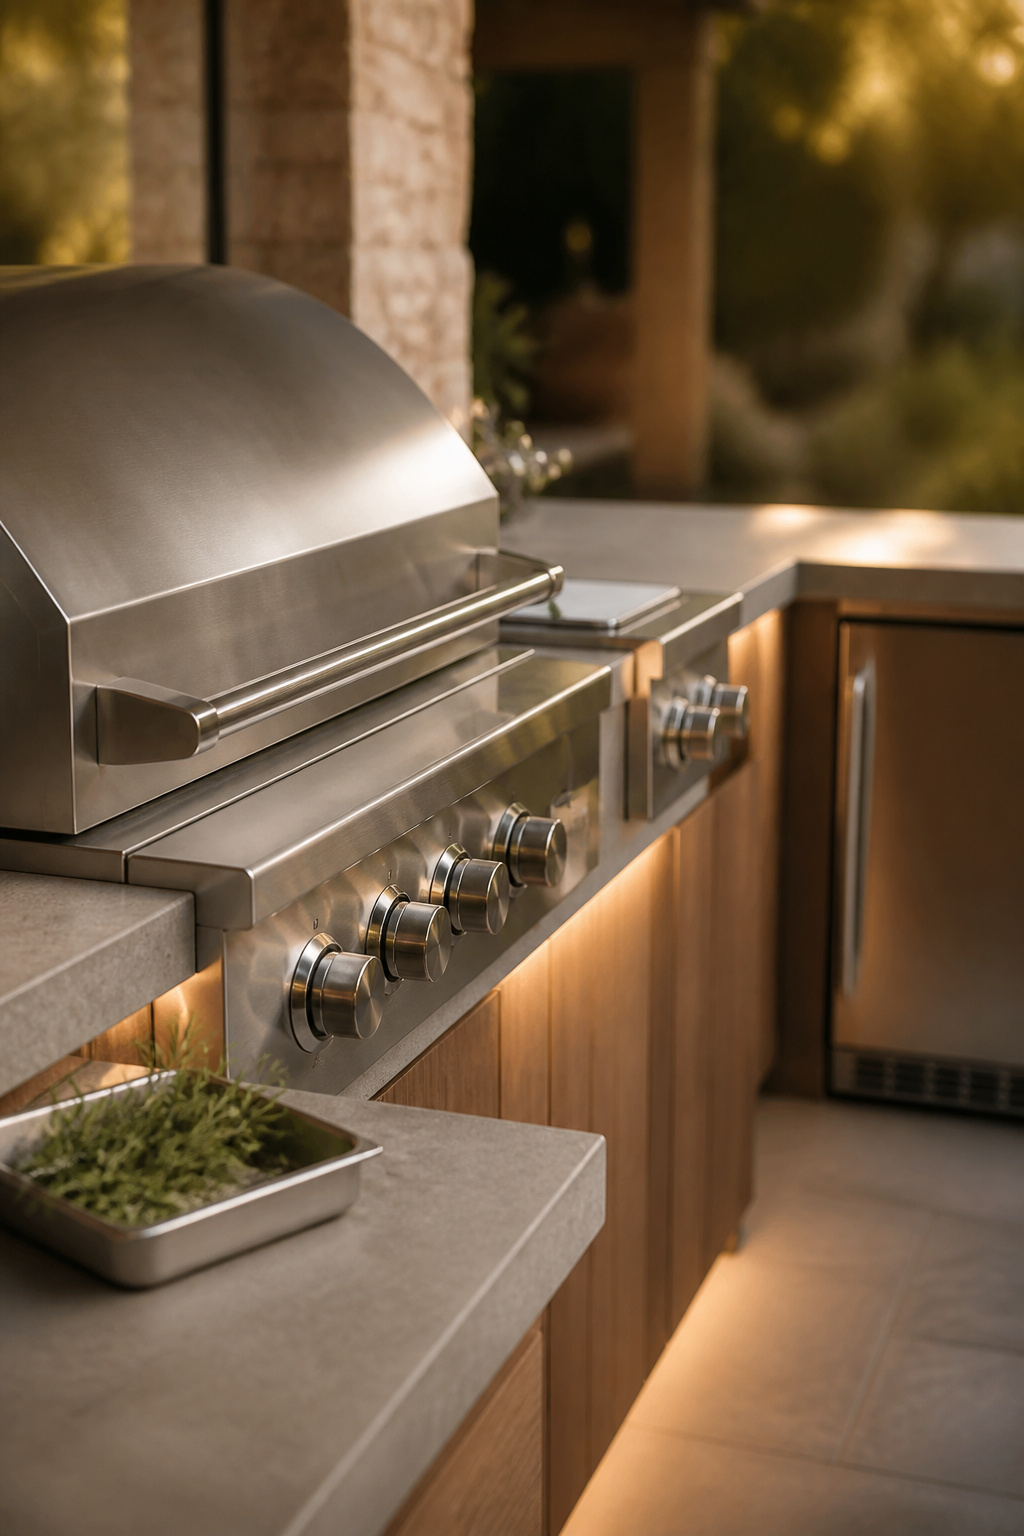
Appliances are where budgets quietly double, so it pays to know the core from the extras. Three pieces earn their counter space in almost every build: the grill, a side burner and an outdoor-rated fridge. The grill is the functional heart — invest in quality here first. A separate side burner lets you simmer a sauce or boil corn while the grill runs, with more power and better placement than a grill’s built-in one. And an outdoor-rated mini-fridge, with its weatherproof housing and thicker insulation, keeps meat, produce and drinks at the cook zone so you stop walking indoors mid-cook. Grill, fridge and sink is a genuinely reasonable minimum; everything else can phase in as your real use pattern justifies it.
The extras are where I watch people overspend on a fantasy of how often they’ll host. A pizza oven is a joy if you actually entertain regularly — pizza is a reliable crowd-pleaser — but it’s a true extra, not core equipment, for lighter hosting. The kegerator is the appliance most likely to disappoint: it wants regular refilling and cleaning that buyers consistently underestimate. Match the equipment to your honest hosting habits. Frequent large-group hosts justify the specialty gear; occasional cooks are better served starting minimal and adding later.
Then there’s the fuel decision, which is a real fork with a long tail. Running a natural gas line costs roughly $500 to $1,500 upfront — regional quotes stretch to $800–$2,500 — because it needs a licensed plumber and often some trenching. Propane skips all of that install cost. The catch is the operating gap: a natural gas grill runs about $0.15 to $0.75 an hour against roughly $1.25 for propane. For someone grilling three to five times a week, that’s around $15–$40 a month on gas versus $40–$100 on propane. Over ten years of regular use, natural gas’s fuel savings typically offset its higher install — so if a line is feasible to run, it’s usually the better long-term money. If you’re weighing this against a tight budget, the case for propane and other smart substitutions is laid out fully in build an outdoor kitchen on a budget.
Should You Cover It? Shade, Roofs and Weather Protection
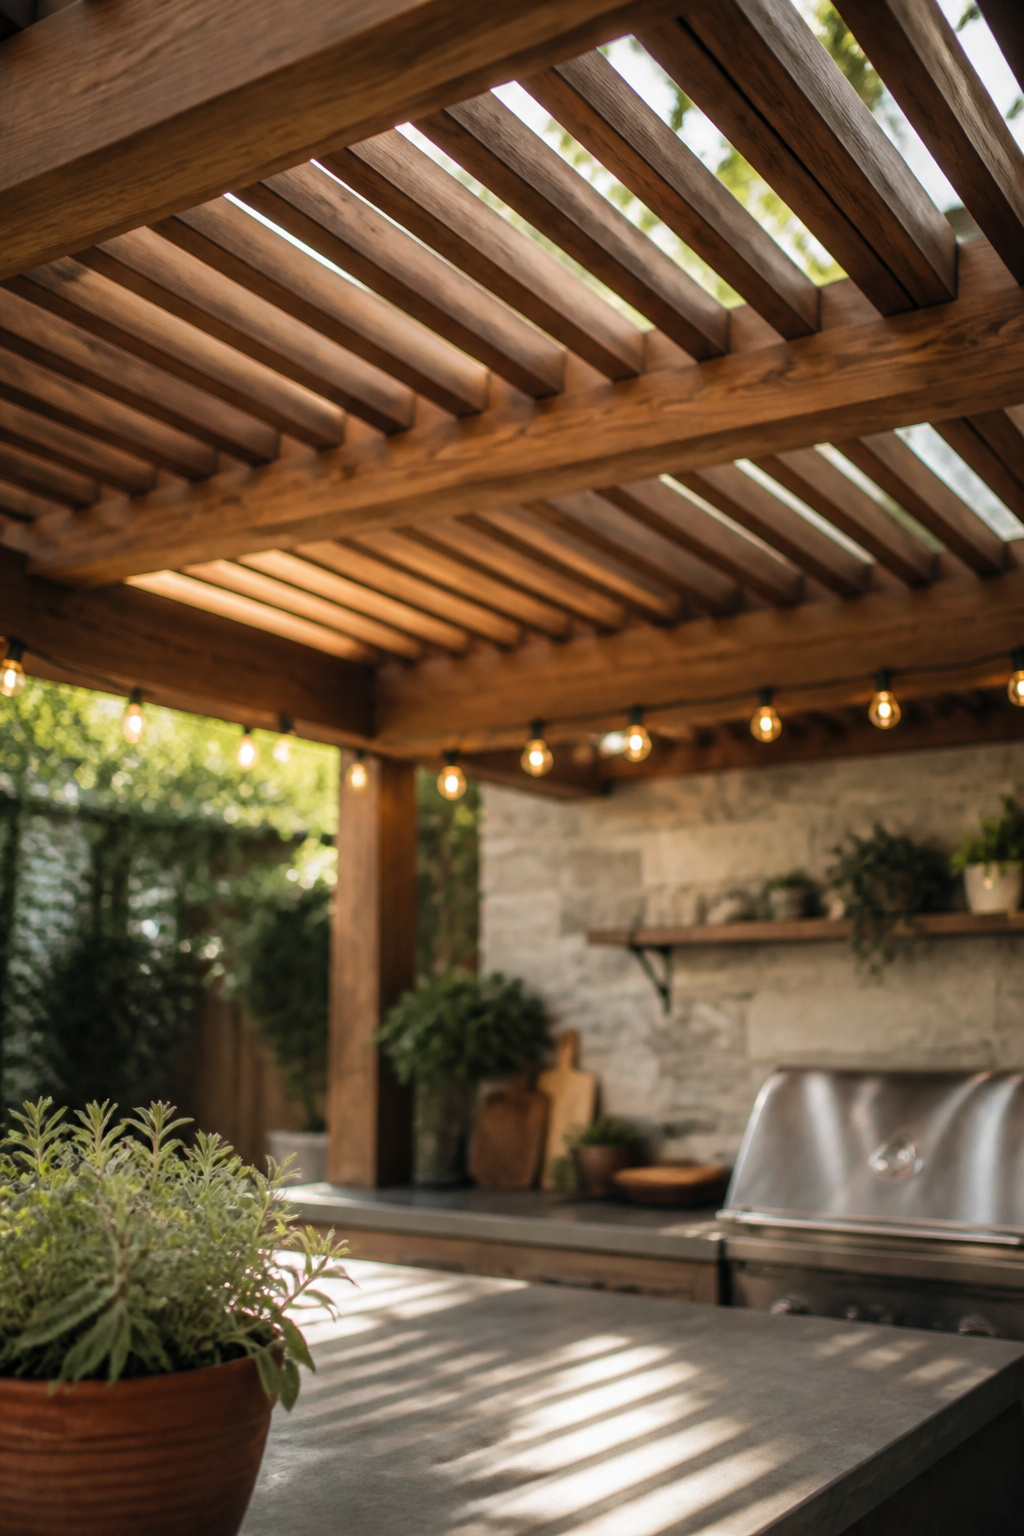
Ask what a cover actually buys you and the answer isn’t “shade” — it’s usable hours. A roof over the cook space turns a kitchen you use when the weather cooperates into one you use most nights across more of the year. It also protects the appliances: grill, fridge and cabinetry all last longer out of direct sun and rain. In a wet climate, that’s the difference between a space that earns its cost and one that sulks under a tarp half the season.
The four common answers photograph almost identically and behave nothing alike, so weigh the trade-offs honestly.
| Cover type | Shade | Rain protection | Airflow / smoke | Trade-off |
|---|---|---|---|---|
| Open pergola | Partial, adjustable with slats | None | Excellent | Cheapest overhead, but no wet-day cover |
| Louvered roof | Full when closed | Full when closed | Opens for cooking | Priciest, but the best of both worlds |
| Solid roof | Full | Full | Poor — traps heat and smoke | Needs added ventilation over a grill |
| Polycarbonate panels | Full | Full | Moderate | Sheds rain cheaply; can yellow over years |
A louvered roof is the one that does two jobs: closed, it shades and sheds rain like a solid roof; open, it vents smoke and heat like a bare pergola. A solid roof can’t open, so it reduces airflow and light and can build heat around a grill or pizza oven.
Whatever you choose, ventilation stops being a comfort question and becomes a safety one the moment a gas grill sits under it. Gas grills need at least two open sides and should never be fully enclosed. Overhead clearance from the grill surface to the lowest element should run at least 7 to 9 feet, depending on the structure, and a fixed roof over a grill wants a vented hood to make up for the airflow it can’t offer. The full structural comparison — framing, materials and the ventilation math — lives in the guide to covering the kitchen with shade or a roof.
What an Outdoor Kitchen Actually Costs
Before you fall for a Pinterest board, anchor to a real number. Costs split into three honest tiers, and the width of each tier is the point, not a flaw — a “basic” build spans prefab-kit territory all the way to a modest custom island, so treat these as scope bands, not a single sticker price. A basic build runs roughly $5,000 to $12,000, with a genuinely stripped-down version — prefab frame, standard appliances, budget materials — reachable near $3,000. The national average for a complete project runs about $13,000 to $17,000 (commonly cited around $16,500), with most jobs landing somewhere between about $6,300 and $27,000. And a high-end, fully-featured kitchen runs $45,000 to $60,000 and up, with the most elaborate luxury builds pushing toward $100,000. If those spans feel wide, that’s the honest picture — appliance count, utilities and labor rates swing the number far more than any single material choice.
Here’s the part the headline figures hide: the money isn’t in the counters. Quoted “average” costs usually cover only the structure and labor. The grill, refrigerator, pizza oven, countertops and — above all — the utility hookups (gas line, plumbing, electrical) get priced on top. Final cost is driven mostly by size, appliance selection and regional labor rates. Your counter material moves the number far less than whether you run a gas line and how many appliances you’re feeding. Budget for the structure alone and the appliance-and-utility bill is exactly the surprise that blows the project.
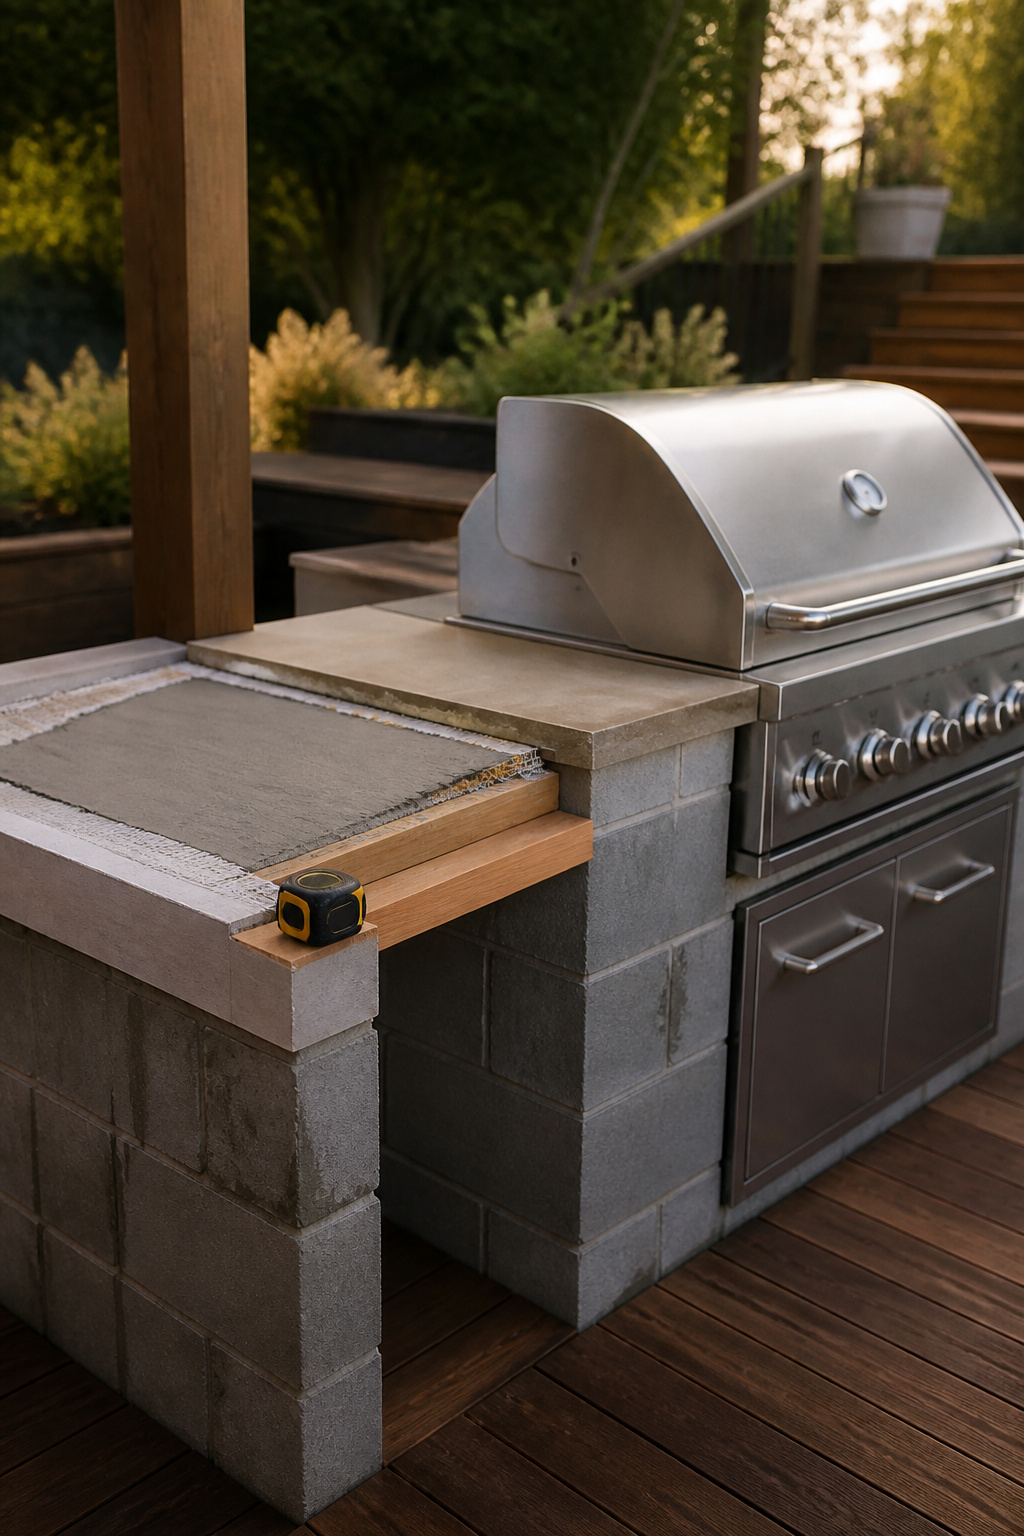
The way out of sticker shock is phasing. Build a usable grill-fridge-sink core now and leave room to add a pizza oven, kegerator or full bar zone as budget allows. One rule saves real money here: wait until an appliance is physically delivered before you cut its island opening, because you can’t measure equipment you don’t own yet, and a mis-sized cutout in masonry is expensive to fix. For the full money playbook — where to spend, where to skip, and how to sequence a build over seasons — read build an outdoor kitchen on a budget; if you want to drop the labor line entirely, a DIY outdoor kitchen island you can build in a weekend walks the whole build start to finish.
Small-Yard and Modern Approaches
Not every yard should host a four-zone kitchen, and forcing one into a footprint that can’t hold it is its own mistake. On a tight patio, a disciplined single run beats a shrunk-down full kitchen every time. Put grill, counter and storage along one straight line, keep at least 18 inches of landing space on each side of the grill and sink, and let the space do one job well. A single-run galley can work in as little as 6 to 7 feet of length with slim appliances; two parallel runs want roughly 8 feet to hold a 36-inch aisle. The constraint isn’t a compromise — it’s a clarifier.
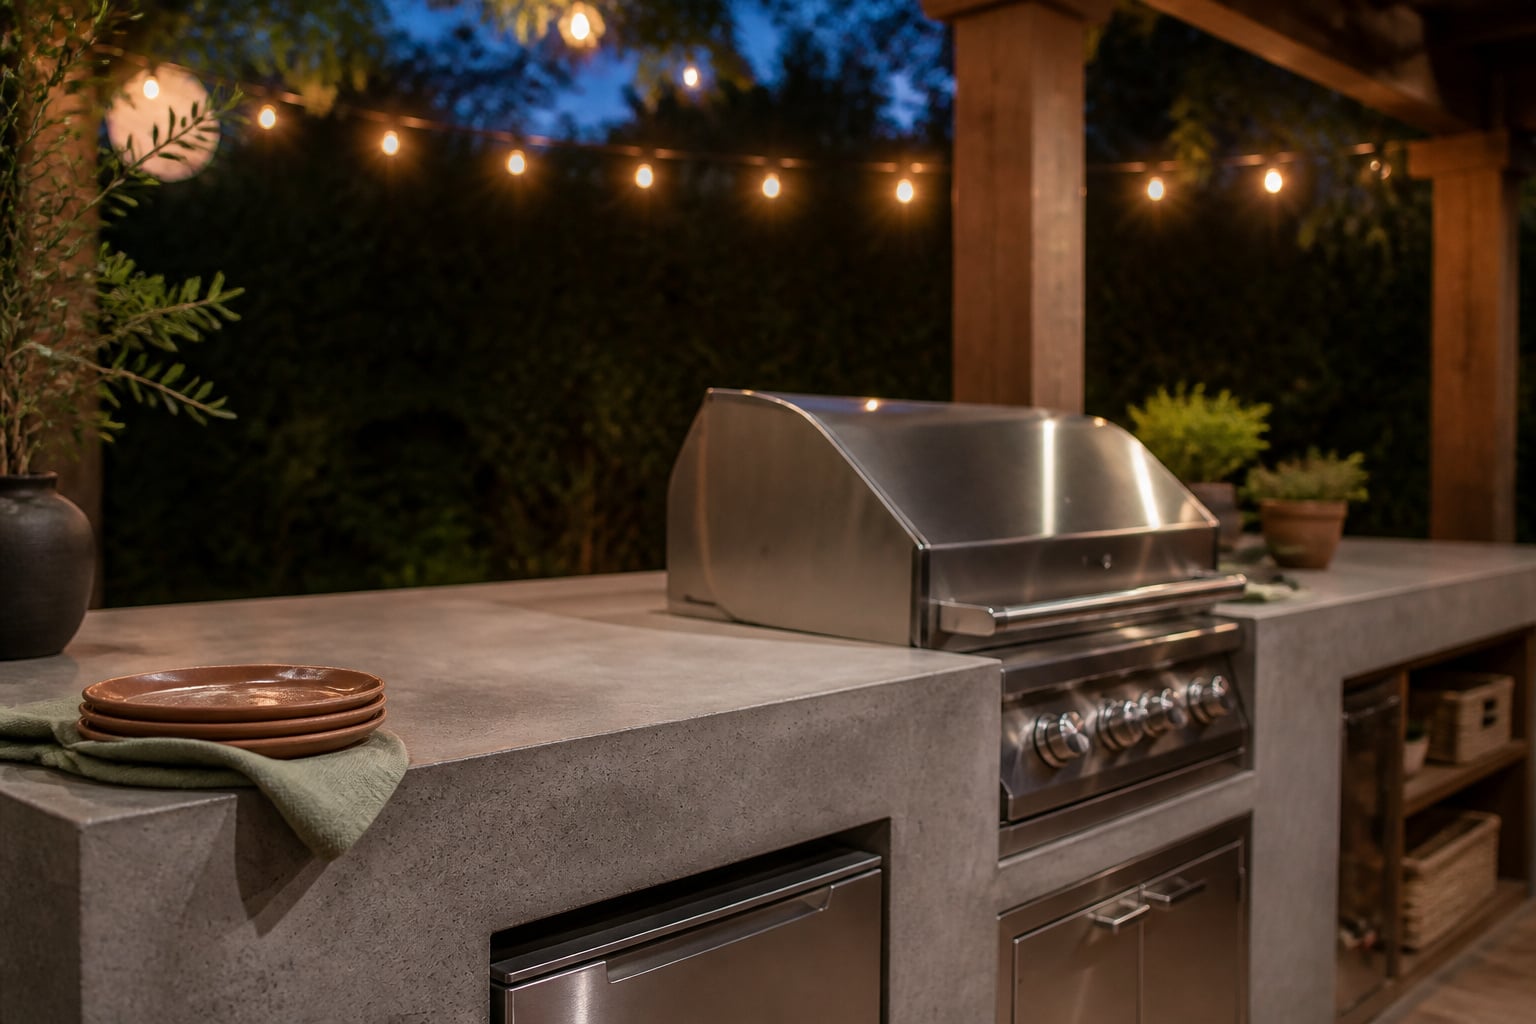
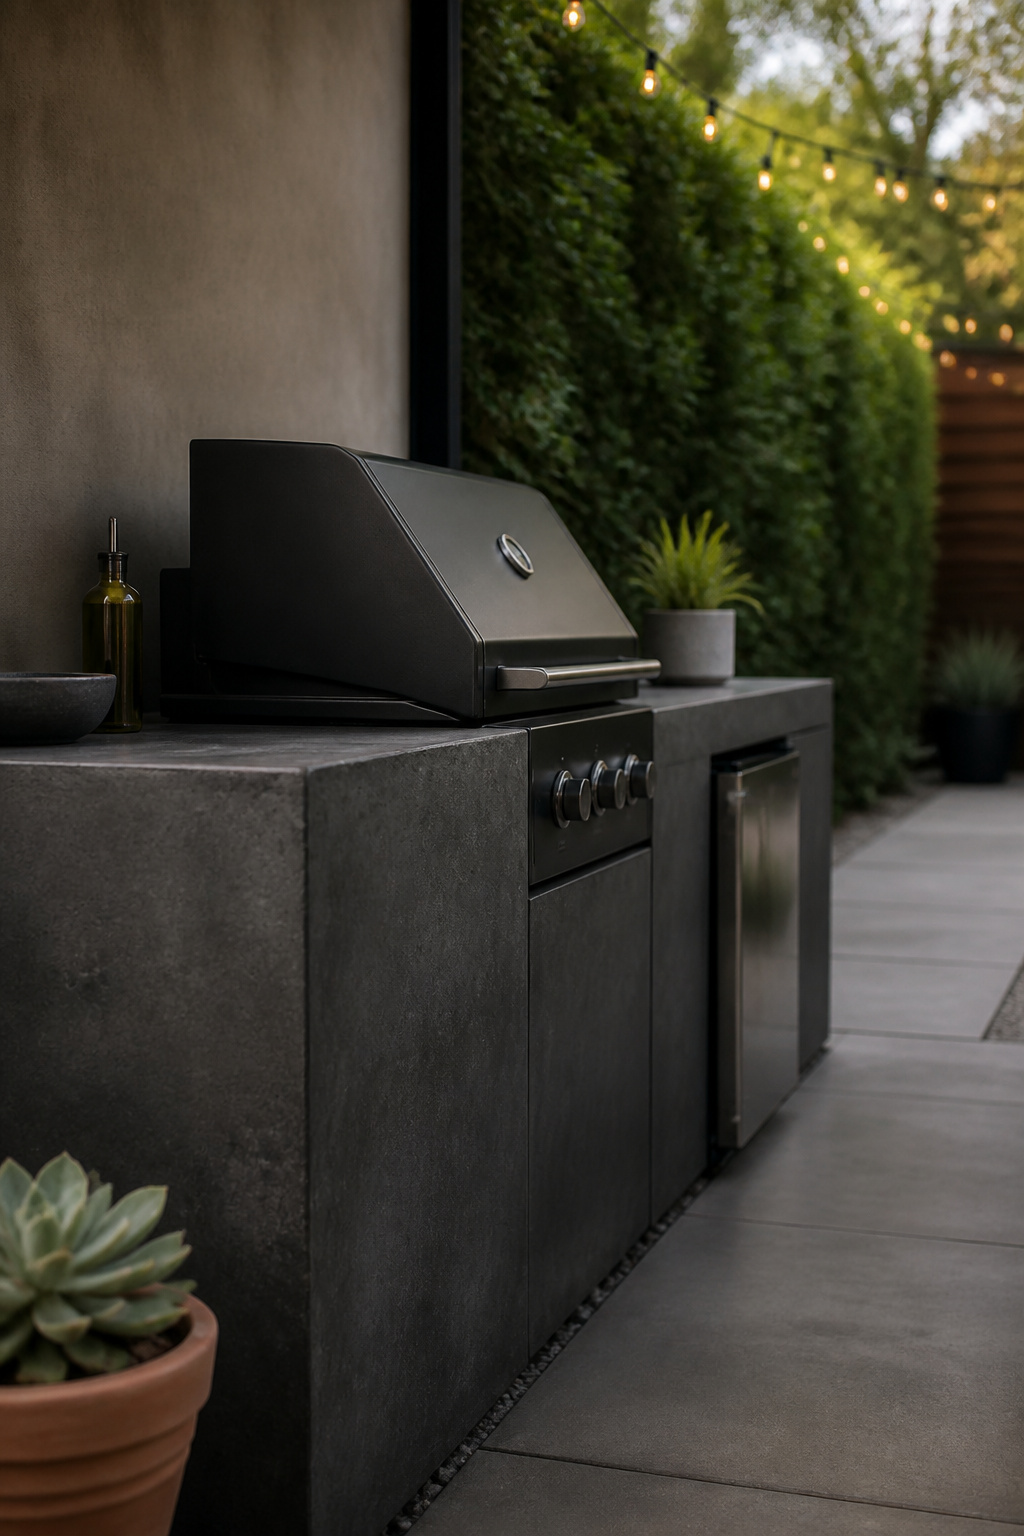
The modern, minimalist read arrives at the same discipline from the other direction. A contemporary outdoor kitchen isn’t a color scheme; it’s restraint made visible — fewer materials, cleaner lines, concealed storage. The palette leans on durable, low-maintenance surfaces (concrete, stainless, composite), often a monochromatic run of gray, black and white so a small footprint looks coherent rather than busy. Built-in bins, soft-close cabinets and hidden drawers keep clutter out of sight; compact integrated appliances preserve full cooking capability without eating the footprint. Notably, the L-shape and corner layouts recommended for small yards are the same ones that read as modern — the space discipline and the aesthetic are one decision.
Match your style ambition to the yard you actually have, not the one in the render. If your space is genuinely tight, the constraint-driven playbook — minimum dimensions, dual-purpose surfaces, vertical storage, balcony rules — is in small outdoor kitchen solutions for tight yards. And if the sleek, pared-back look is what you’re after, a modern, minimalist outdoor kitchen look unpacks the palette and the logic that produces it.
Common Outdoor Kitchen Mistakes to Avoid
After enough rescue calls, the failures start to rhyme. Three mistakes account for most of them, and all three are cheaper to avoid than to fix.
The first is building a showpiece nobody cooks in. Counter space is a precious resource — chopping, marinating and plating all need somewhere to happen, and a kitchen that photographs beautifully but leaves you nowhere to set a tray stops getting used. Before you finalize a layout, stand in the space and imagine actually cooking: how you’d move between grill, sink and fridge, where you’d put the raw platter and the clean one. Design to that movement, not to a look. A modest kitchen used four nights a week beats a showcase used twice a summer, every time.
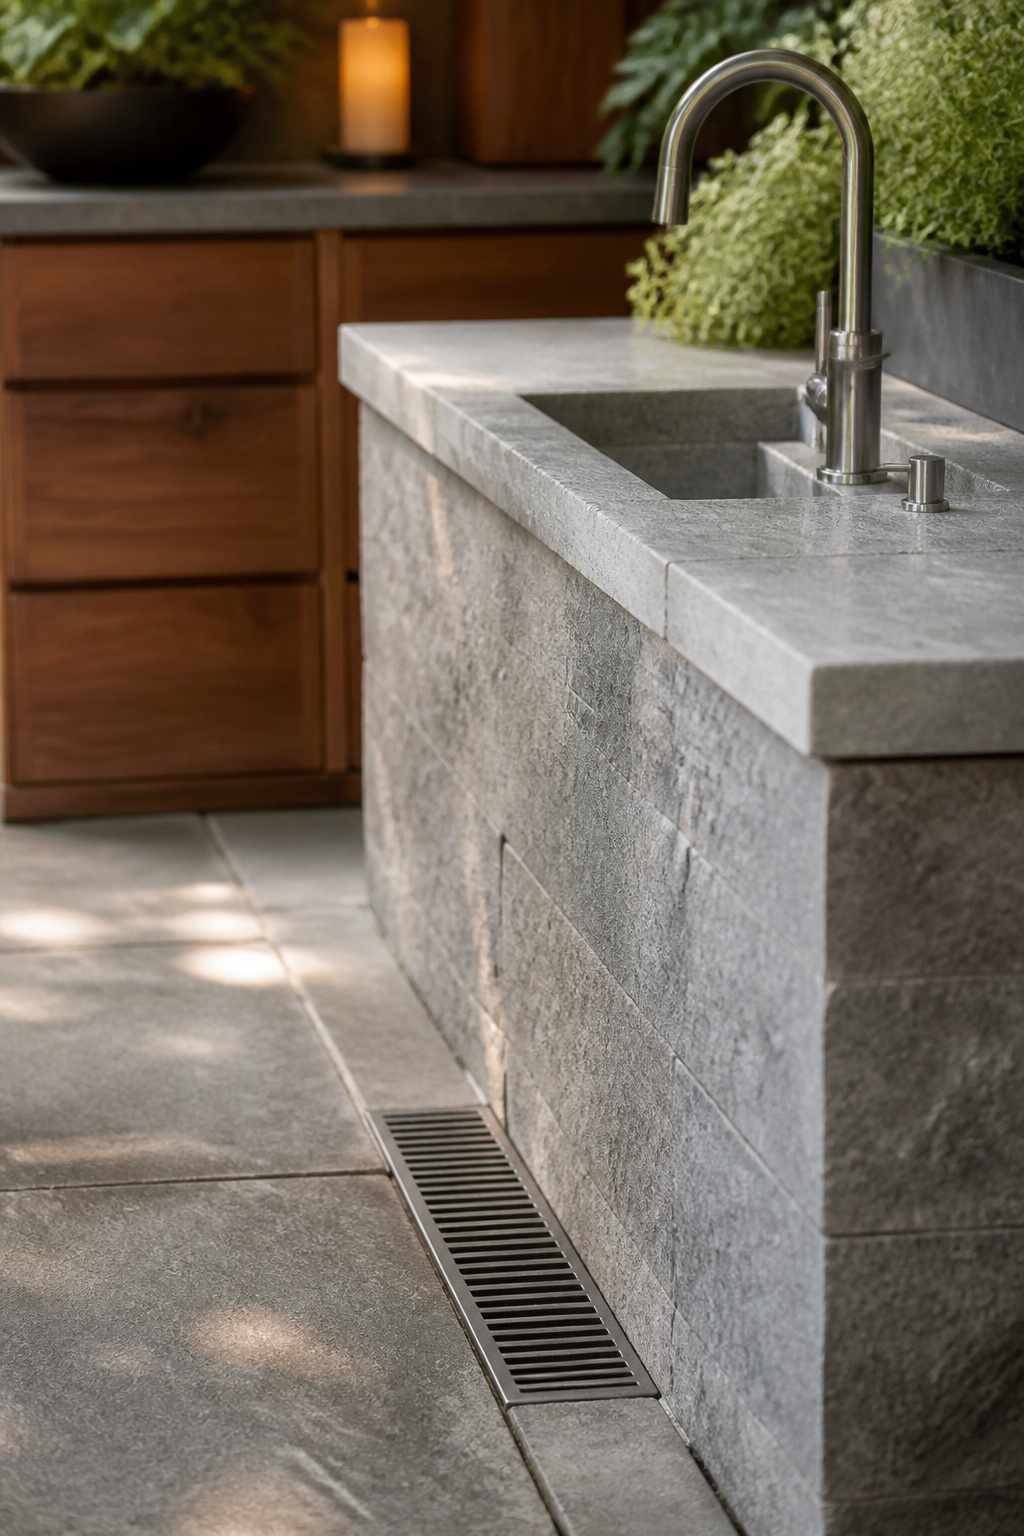
The second is skipping drainage and finish maintenance until the damage shows — and this is the one my Portland years hammered home. Without a real drainage system, wastewater from sinks and wet-zone appliances pools and brings odor, water damage and pests. Group the appliances that need drainage into one wet zone and plan that plumbing connection up front; retrofitting it later is costly rework. In cold climates, drain the sink’s water lines before the first freeze so they don’t split over winter. And use materials rated for outdoor exposure — indoor-rated products crack, fade and rust out here, no matter how good they looked in the showroom.
The third is sizing appliances before the layout is settled. It’s the same trap as the cutout mistake, one level up: people lock in dimensions and order equipment against a plan instead of the plan against the equipment. Draw the space to scale, place every appliance on that drawing, and map how the cook moves through it before anything gets cut or poured. Get the sequence right and the build has no expensive surprises left in it.
You now have the frame every good outdoor kitchen is built on. Run your use pattern and your months-per-year answer first; let those set your zones, your material, your cover and your budget tier before a single appliance is bought. Build for your climate’s worst month, not the catalog’s best photo — that one habit prevents most of the failures above. And when you’re ready to go deep on the decision that’s actually yours to make, whether that’s the layout, the counters, the cover, the money or the small-space plan, the linked guide for it is waiting. The reader who started this article with a vague wish should be able to walk the yard now and say, out loud, what their build is.