
The first thing I ever built was a workbench, at twenty-two, out of two sheets of plywood. It’s dented, not square, and still in my garage twenty years later holding a table saw — because I built it to work, not to photograph. That’s the lesson most drop zone ideas online skip past: a landing spot by your door has one job, surviving a Tuesday afternoon of wet boots and dropped bags, and “looks good in the listing photo” is not the same test.
If you’ve spent an evening scrolling drop zone inspiration, you know the real problem. It isn’t a shortage of ideas — it’s the opposite: furniture-only setups, garage builds, under-stairs conversions, wall-mounted command centers, custom mudroom lockers, all wearing the same name, none telling you what they cost or whether they fit the door you actually walk through. So you save a dozen pins and build nothing.
I’ve built most of these, over eight years running remodeling crews before I went out on my own. What a Pinterest board can’t give you is the sorting logic — the standard to judge every format against, the honest cost of each, and a straight route to the right build for your floor plan and budget. By the end you’ll know which one you’re building and which deeper guide to open next. No more saving pins. Let’s pick one.
What a Drop Zone Actually Is (and Isn’t)
Half the confusion comes from three words used as if they mean the same thing. They don’t, and picking the wrong one is how people end up surprised their pretty console table can’t handle a snowy boot.
Drop zone vs. mudroom vs. command center: the terms people mix up
A drop zone is the broad, informal category — any spot near the door where you shed keys, bags, shoes and daily-carry the second you walk in. A mudroom is one specific type of drop zone, built for wet and muddy conditions; the name comes from farmhouses where boots came off before the rest of the house, and it earns its extra cost in moisture-tolerant flooring, hampers and rags. A command center is a different animal: the paper-and-schedule layer — a calendar, mail sorting, a spot for keys — and it can live inside any drop zone, mudroom, or kitchen wall.
As the storage retailer My Custom Closet puts it, a mudroom is one large drop zone, but drop zones are the more general, less formal category. The practical read: if you’re in a dry climate without heavy outdoor-gear traffic, a plain drop zone is fine. If you’re in snow, mud, or a rural mess, budget for the mudroom version — the flooring and the hampers aren’t optional there.
The four jobs every drop zone has to do
Strip away the styling and every working drop zone, in any format, does exactly four jobs:
- A landing surface — a bench, shelf or table to set things on and to sit while you pull off shoes.
- Hooks and shoe storage — hooks for coats, hats and bags; cubbies or a rack for shoes off the floor.
- A catch-all — a small tray, bowl or drawer for keys, mail and sunglasses, kept deliberately small so it can’t quietly become a junk pile.
- Floor protection — a boot tray, mat or durable flooring that shrugs off wet shoes and grit.
That’s the whole checklist. Professional organizers say the same thing three different ways, but it comes down to give everything a home — a fixed spot for each category. A drop zone fails the moment one category has nowhere to go, because that’s the category that ends up on the floor.
Why ‘looks good on day one’ isn’t the bar
Here’s the mistake baked into most inspiration content: it’s photographed the day it was installed, empty, styled, before a single kid or muddy dog has touched it. That’s the showroom, not the test. Organizing pros are blunt about why setups fail, and it’s almost never a storage shortage — it’s that the system doesn’t match how the household actually lives. A catch-all that’s a room away from the door, a sorting scheme nobody follows, a bench too pretty to sit on wet: those all look great on day one and are a pile by week three. Build for the Tuesday, not the photo.
The Core Components Every Drop Zone Needs
Those four jobs each have a right size. Get the numbers wrong and even an expensive build is annoying to use, so here’s the reference to measure any approach against before you commit to a format. I keep these on a card at the cut counter.
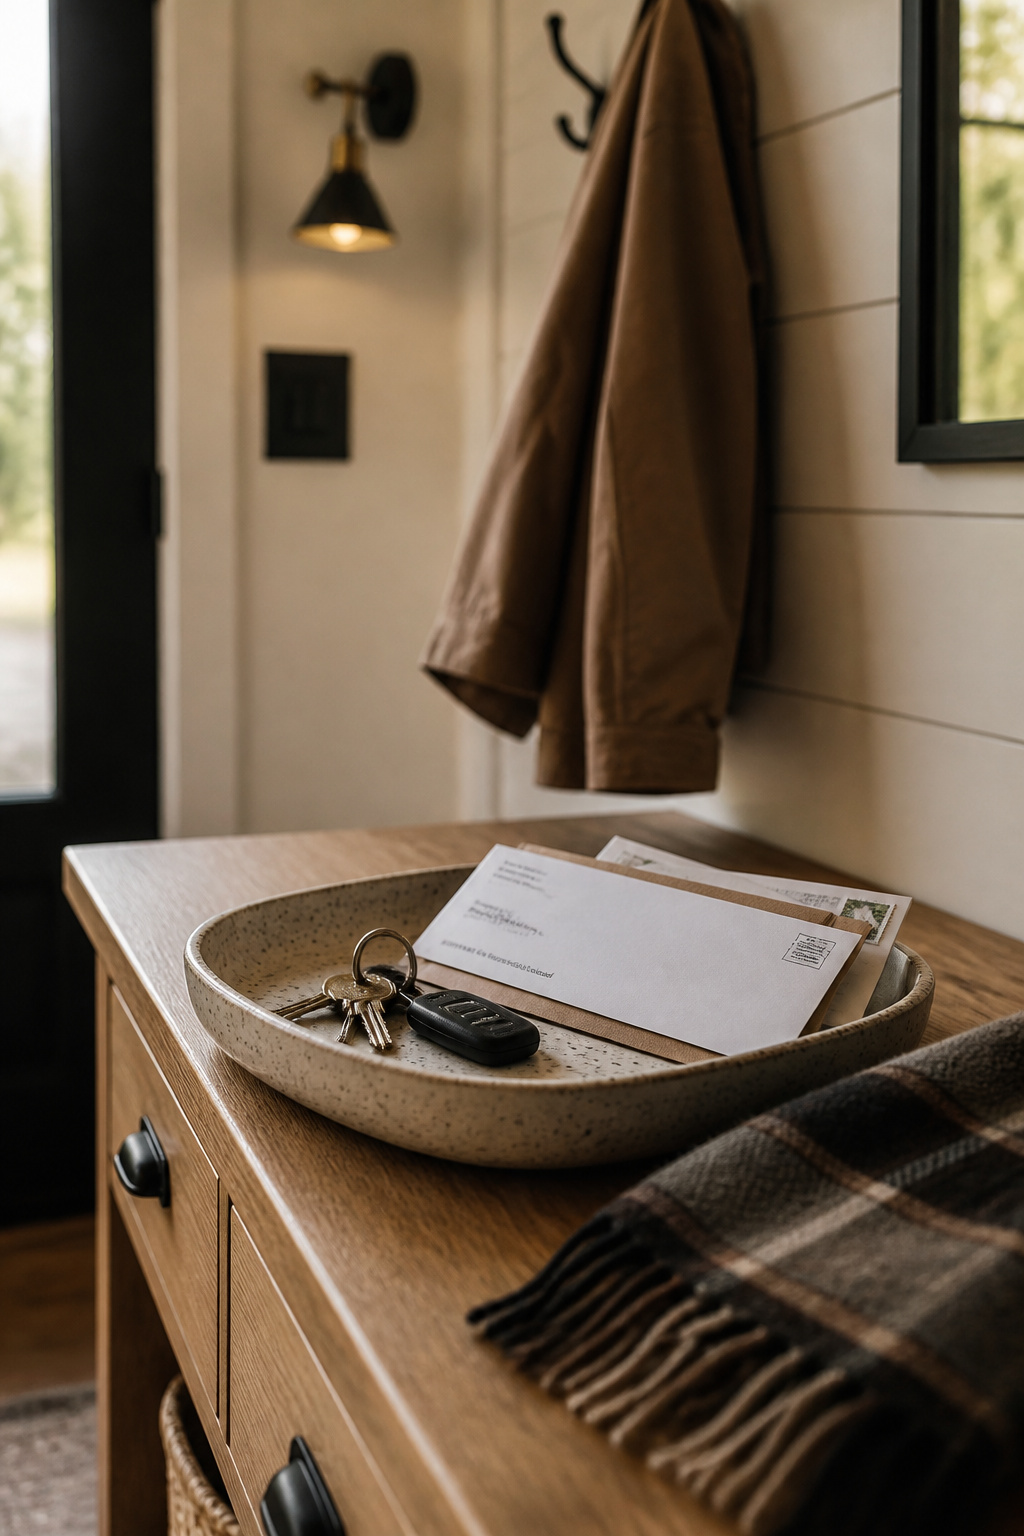
A landing surface (bench, shelf, or table)
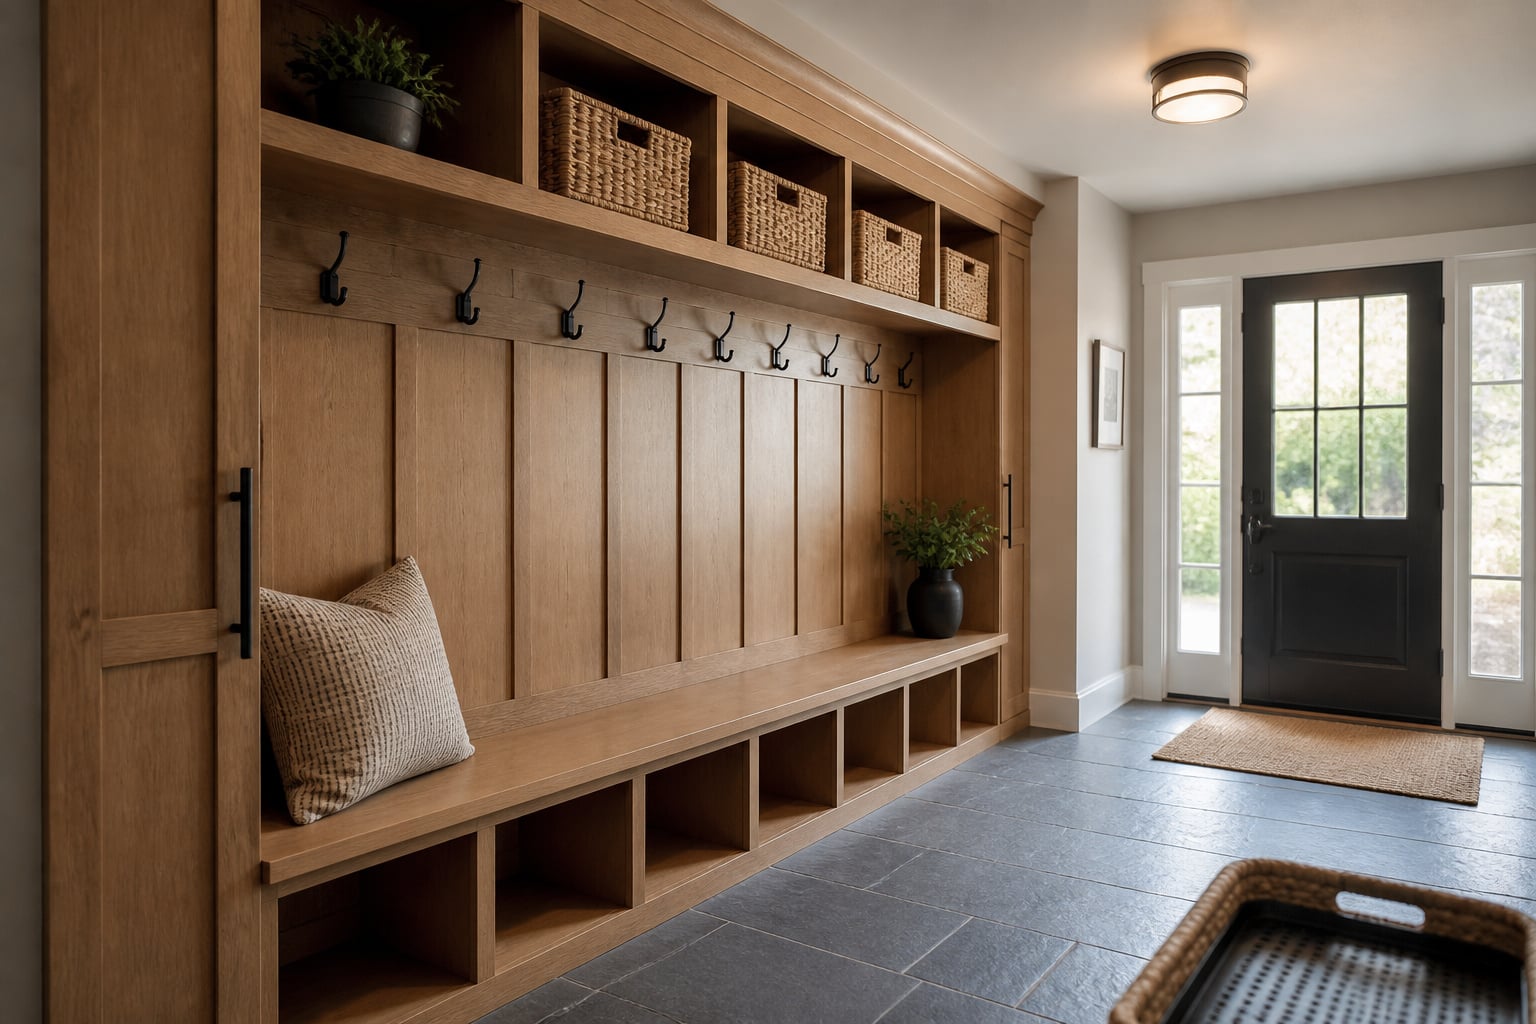
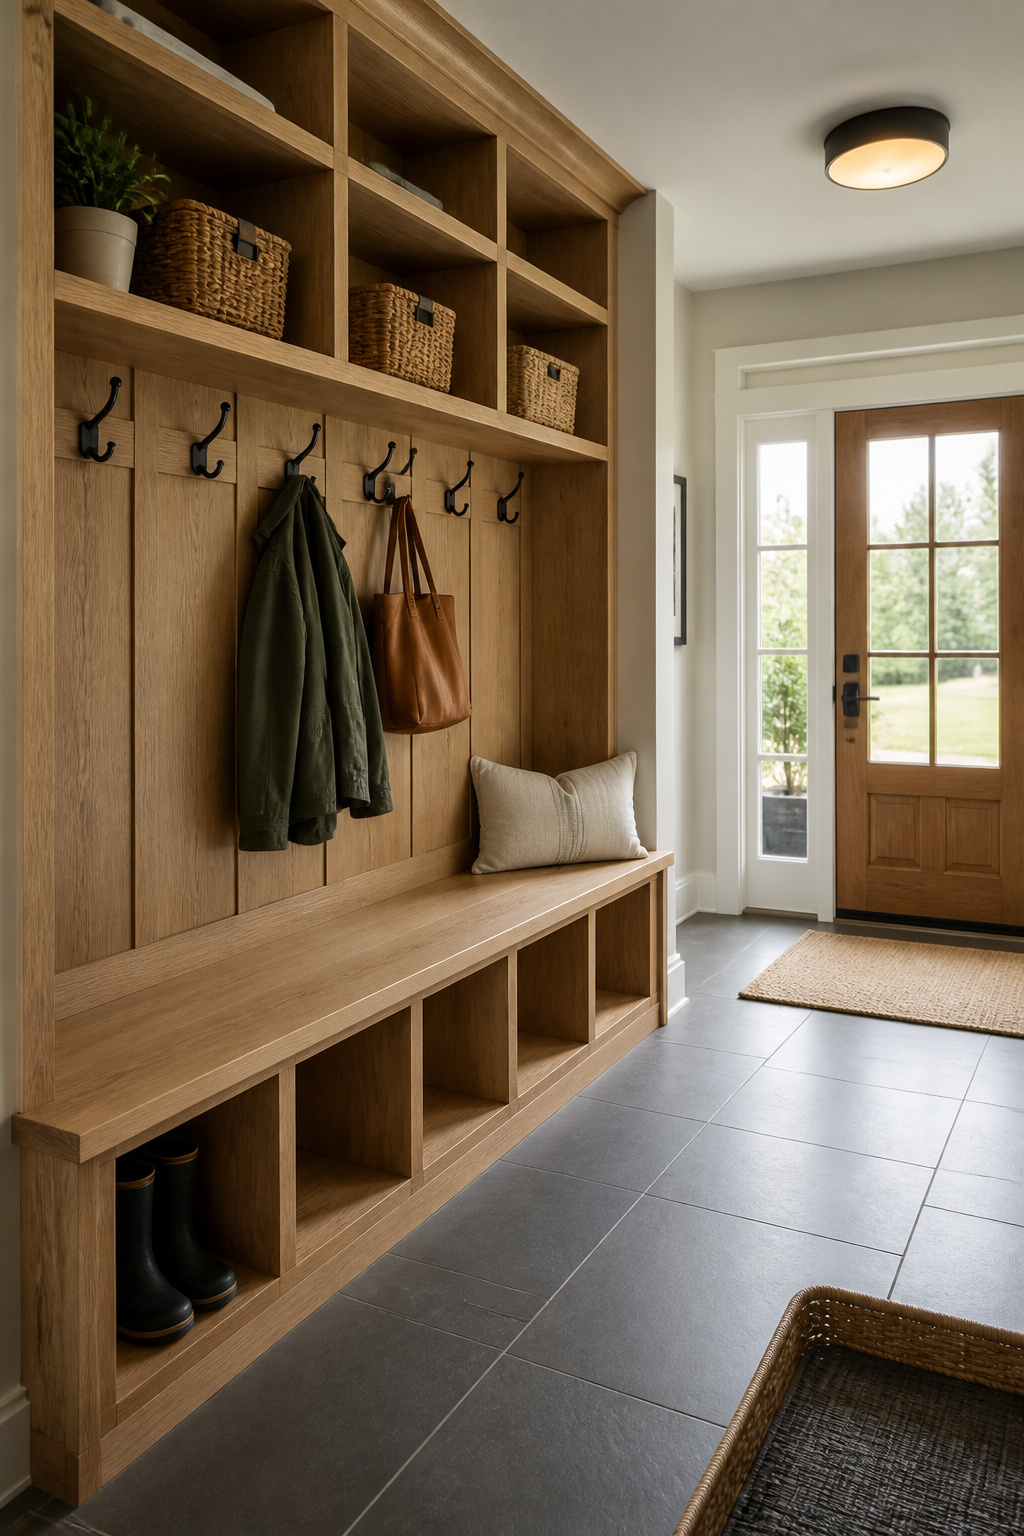
A bench earns its place by giving you somewhere to sit while wrestling off boots, with storage underneath for gloves and umbrellas. Build it to standard: seat height 17–19 inches (same as a dining chair), depth 14–18 inches (15–16 is the sweet spot for a hallway — deep enough to sit, shallow enough not to block traffic). Width scales with the household: 30–36 inches for one person, 36–48 for one or two, 48–60 for a family with two people getting ready at once. And leave 36 inches of clear floor in front of it — that’s the NKBA residential walkway standard, and it’s what keeps the bench from turning your hall into a squeeze.
No room for a bench? A console table does the landing-surface job. In a hall under 48 inches wide, cap the depth at 12–15 inches so you can still walk past; a wider 50–60-inch hall can take 14–16.
Hooks and shelving for coats, bags and shoes
Hook height is the single most-botched number in every entryway. Adult hooks go at 60–66 inches (66 is the builder default; drop to 60 if they sit above a bench). If kids use this door, add a second row at 36–42 inches — 42 is the common figure for ages four to ten — because one adult-height row is the top reason a kid never uses the system. Space hooks 10–12 inches apart for winter coats, 15 for bulky parkas; any tighter and coats overlap and shove each other off. Floating shelves run 6–8 inches deep, mounted 66–72 inches up. And per-person cubbies want 15–18 inches wide to fit a backpack and coat side by side (12–15 handles shoes only). If deciding between open shelves, closed cubbies, hooks and baskets is where you’re stuck, that’s a whole decision on its own — the deep version of it lives in the guide to choosing drop zone shelving and hooks.
A catch-all for keys, mail and small daily items
The catch-all is a tray, bowl or lidded jar on the bench or shelf — and the whole trick is keeping it small. A tray that’s too small to absorb overflow forces a decision: mail and keys have a home, but it physically can’t become a junk drawer. A console with a drawer works too. The rule organizers repeat: one fixed spot per category, and everyone in the house knows where it is. Undersize it on purpose.
Floor protection for wet or muddy gear
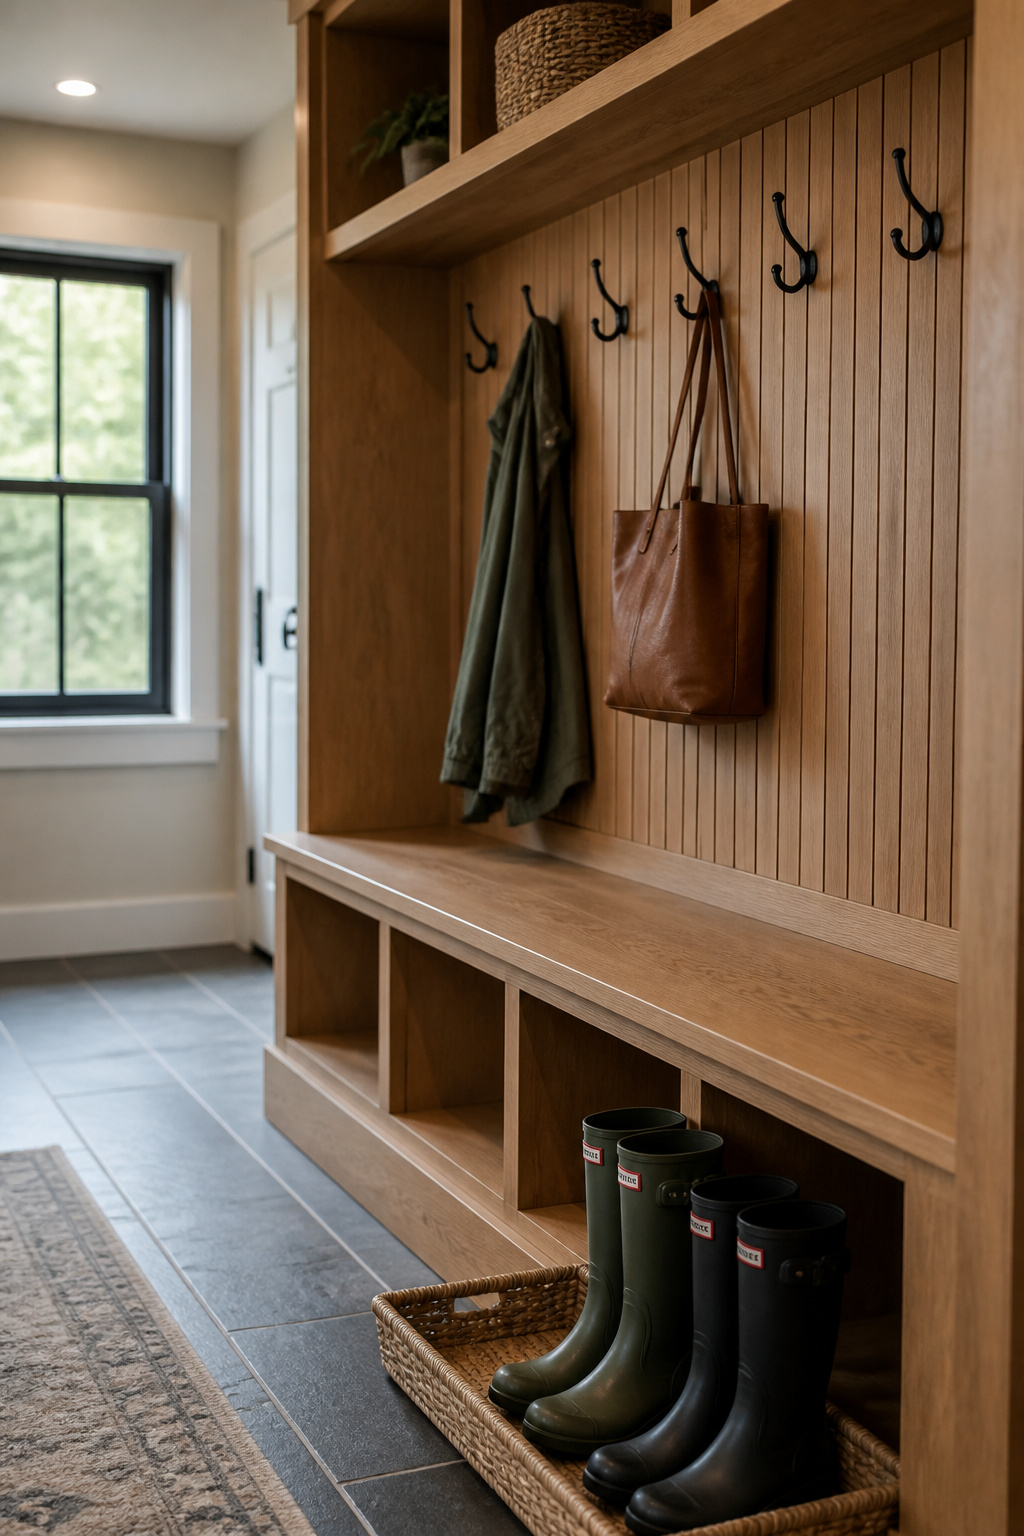
A doormat alone does not protect your floor — a wet boot sheds water past the mat onto whatever’s underneath. You need a dedicated tray. Rubber boot trays outlast PVC for daily use; PVC is cheaper but it’s for occasional duty. If you’re choosing flooring for the zone, entryway tile should carry a PEI wear rating of 4 minimum (PEI 5 if you’ve got big dogs), and luxury vinyl plank needs a 20-mil wear layer — 12-mil won’t survive entry grit. Skip this component and you’ll be sanding water stains out of hardwood by spring.
No Dedicated Mudroom? Start Here
Most homes don’t have a mudroom. They have a door, a wall, and a pile. If that’s you, this is the largest and easiest starting point — and it needs zero construction.
Console tables, wall shelves and armoires that need zero construction
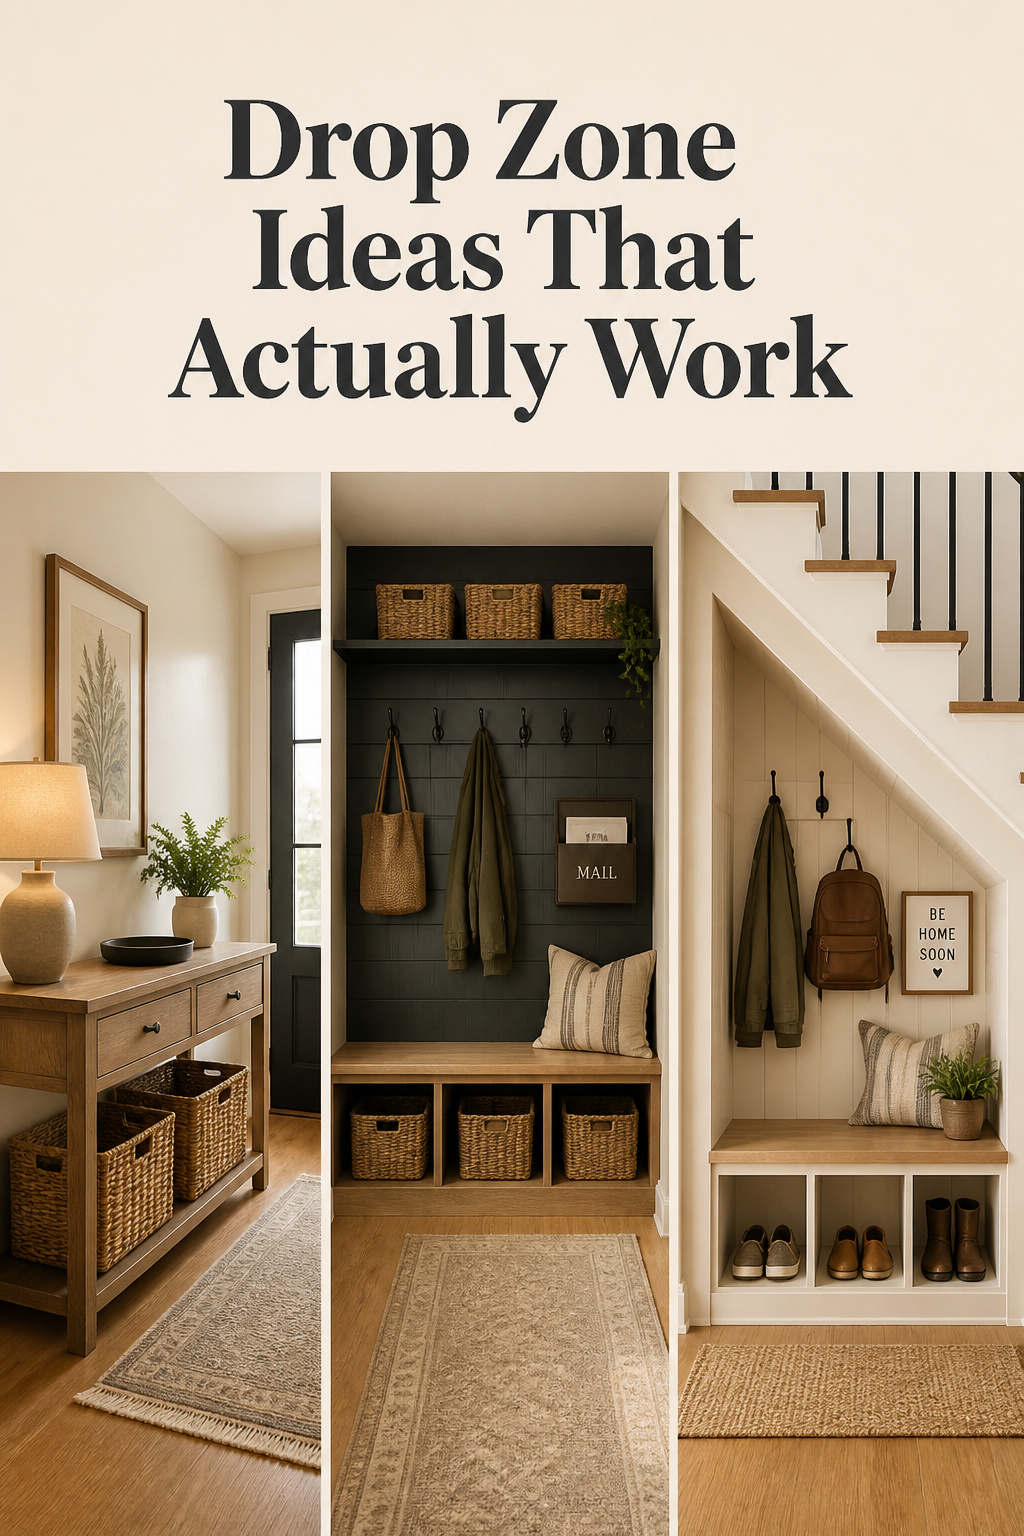
The anchor piece is usually a console table with an open lower shelf: landing surface on top, baskets below. Standard console height is 30–36 inches (go 30–32 for cottage-scale entries with lower ceilings). Add wall hooks and a slim floating shelf — those need only stud-mounting hardware, no carpentry, so they’re the fastest addition to any entry. Or repurpose a hall closet into an open or curtained mini-mudroom and hide shoes behind a door you already own. Homes & Gardens’ organizer roundup makes the same call: a console or side table plus a tray for keys solves the no-mudroom problem for most apartments and older homes without touching a saw.
What a $75–$150 furniture-only setup looks like
You can cover all four core jobs for well under $150, and I want to be honest about that number: it’s an estimate I’ve built up from component prices, not a single all-in total quoted from one store. Here’s how it stacks:
- A narrow console or table: roughly $60–$100 (entry-level MDF pieces with an open lower shelf are widely stocked under $150 at Wayfair, Home Depot and Walmart).
- A small set of wall hooks: $10–$20.
- One or two woven baskets for the shelf: $15–$30 each (seagrass tolerates entry moisture better than water hyacinth or rattan; figure one basket per 18 inches of shelf).
No single piece has to be expensive to finish the job. That’s the whole appeal of starting here.
When furniture stops being enough
Furniture-only has a hard ceiling, and it’s architectural. A 36-inch-wide hallway forces wall-mounted storage only — even a shallow console would eat your walking clearance. And once the household’s daily shoe rotation outgrows what a small tray or open floor can hold (a rough gauge: household members × 3 pairs in daily rotation), you’re into cubby or built-in territory. The next tier up is a hall tree (bench, cubbies and hooks in one) at $850–$1,500. If the no-mudroom constraint is your whole situation, the format-by-format comparison — real depths, clearances and costs — is worth reading before you buy: here’s creating a small entryway drop zone without a mudroom.
Building a Wall-Mounted Family Command Center
Everything so far handles gear — coats, shoes, bags. But there’s a second kind of entryway chaos that hooks and a bench do nothing for: paper. Mail, permission slips, the calendar nobody updated. That’s a command center’s job, and it’s a genuinely separate build.
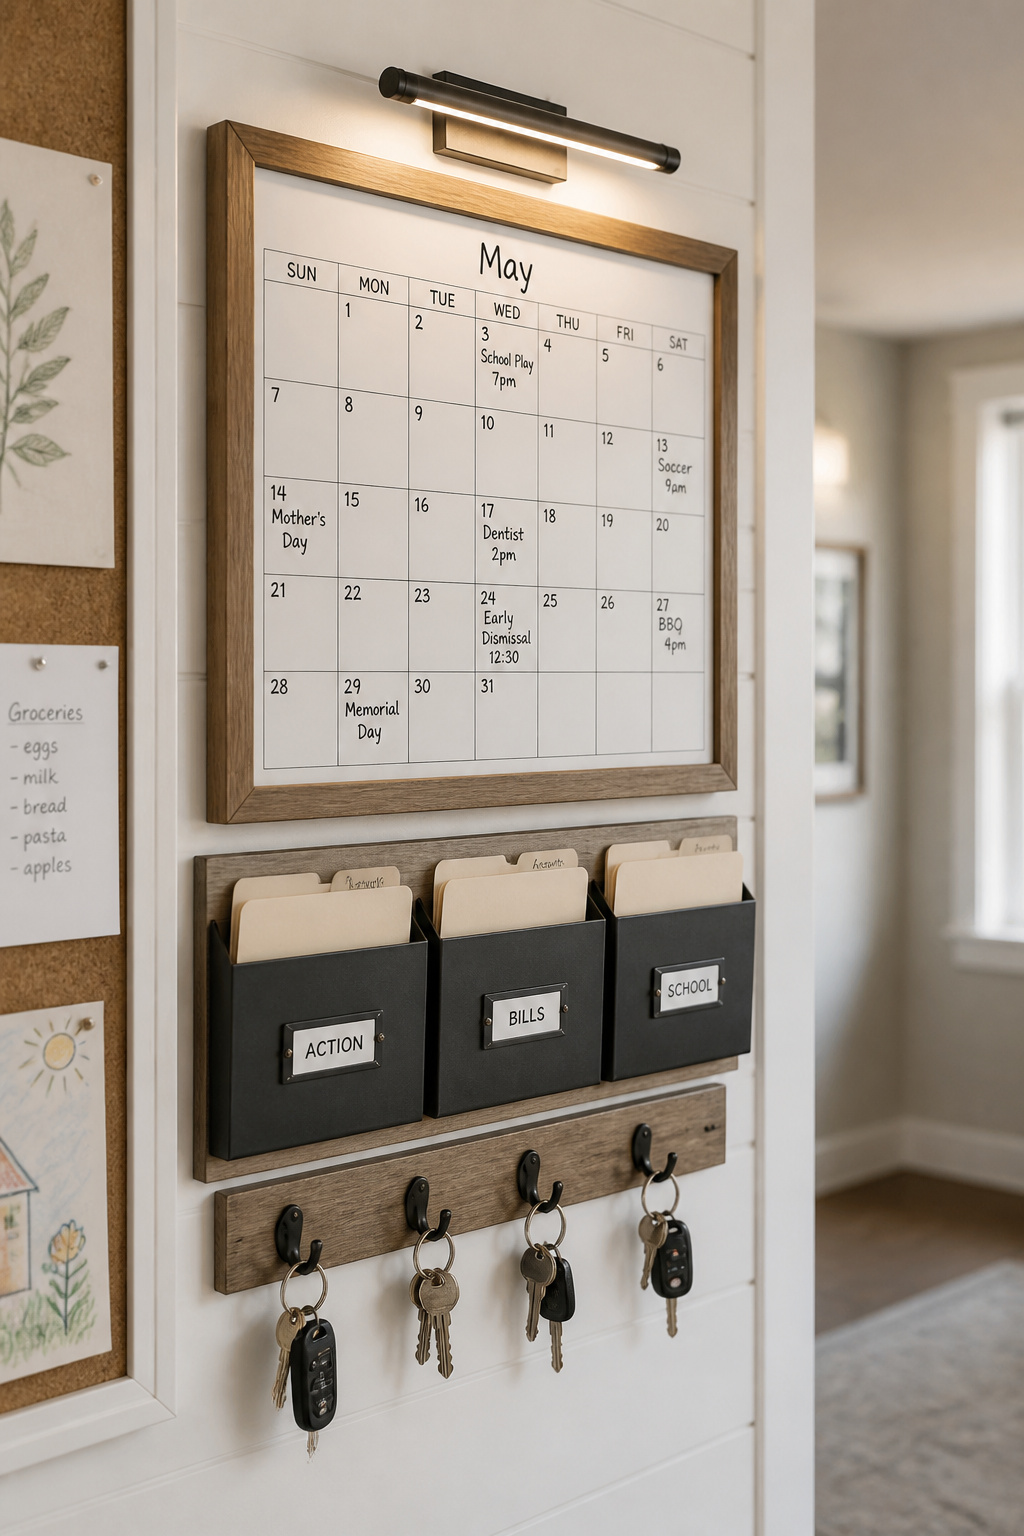
What it handles that hooks and a bench don’t: mail, keys, schedules
A command center’s core is three things: a shared calendar, a wall file organizer with a pocket per person or task, and a row of labeled key hooks. None of that comes with a bench-and-hooks setup. Wall-mounted clipboards — one per family member — are a cheap way to route incoming school papers to the right kid instead of a counter pile, and color-coding hooks, folders and baskets by person cuts morning decision-friction, especially with school-age kids. The command center fixes information chaos; the bench fixes gear chaos. They’re two problems that happen to share a wall.
Rough cost and time for a weekend build
This is a cheap, fast one. A basic setup — dry-erase calendar, wall file organizer, adhesive hooks, a small corkboard — comes in under $50 in materials and goes up in roughly an afternoon to a single weekend day, not a multi-weekend saga. Budget-stretchers are everywhere: an old picture frame with paper behind the glass becomes a dry-erase board; a fabric-wrapped cardboard panel becomes a pin board. The full step-by-step, including the stud-mounted panel version I prefer, is over in building a DIY family command center.
Who actually needs one vs. who just needs hooks
Here’s my read, and I’ll flag it as reasoning rather than a sourced rule: the trigger for a command center is paperwork volume, not square footage. A household juggling multiple kids’ schedules, permission slips and a shared calendar is the clear fit. A single person or couple with barely any paper mail and no scheduling conflicts usually gets full value from hooks, a tray and a bench alone — and here’s the catch nobody mentions: a command center is a maintenance obligation. You have to update the calendar and sort the pockets. If your paper volume doesn’t justify that chore, you’ll build a beautiful board and stop looking at it in a month. Don’t build the thing you won’t feed.
Location-Specific Builds: Garage and Under-Stairs
Two floor plans call for their own build entirely, because the location itself sets demands a generic entryway can’t meet. If you’ve got either, the format’s already half-decided for you.
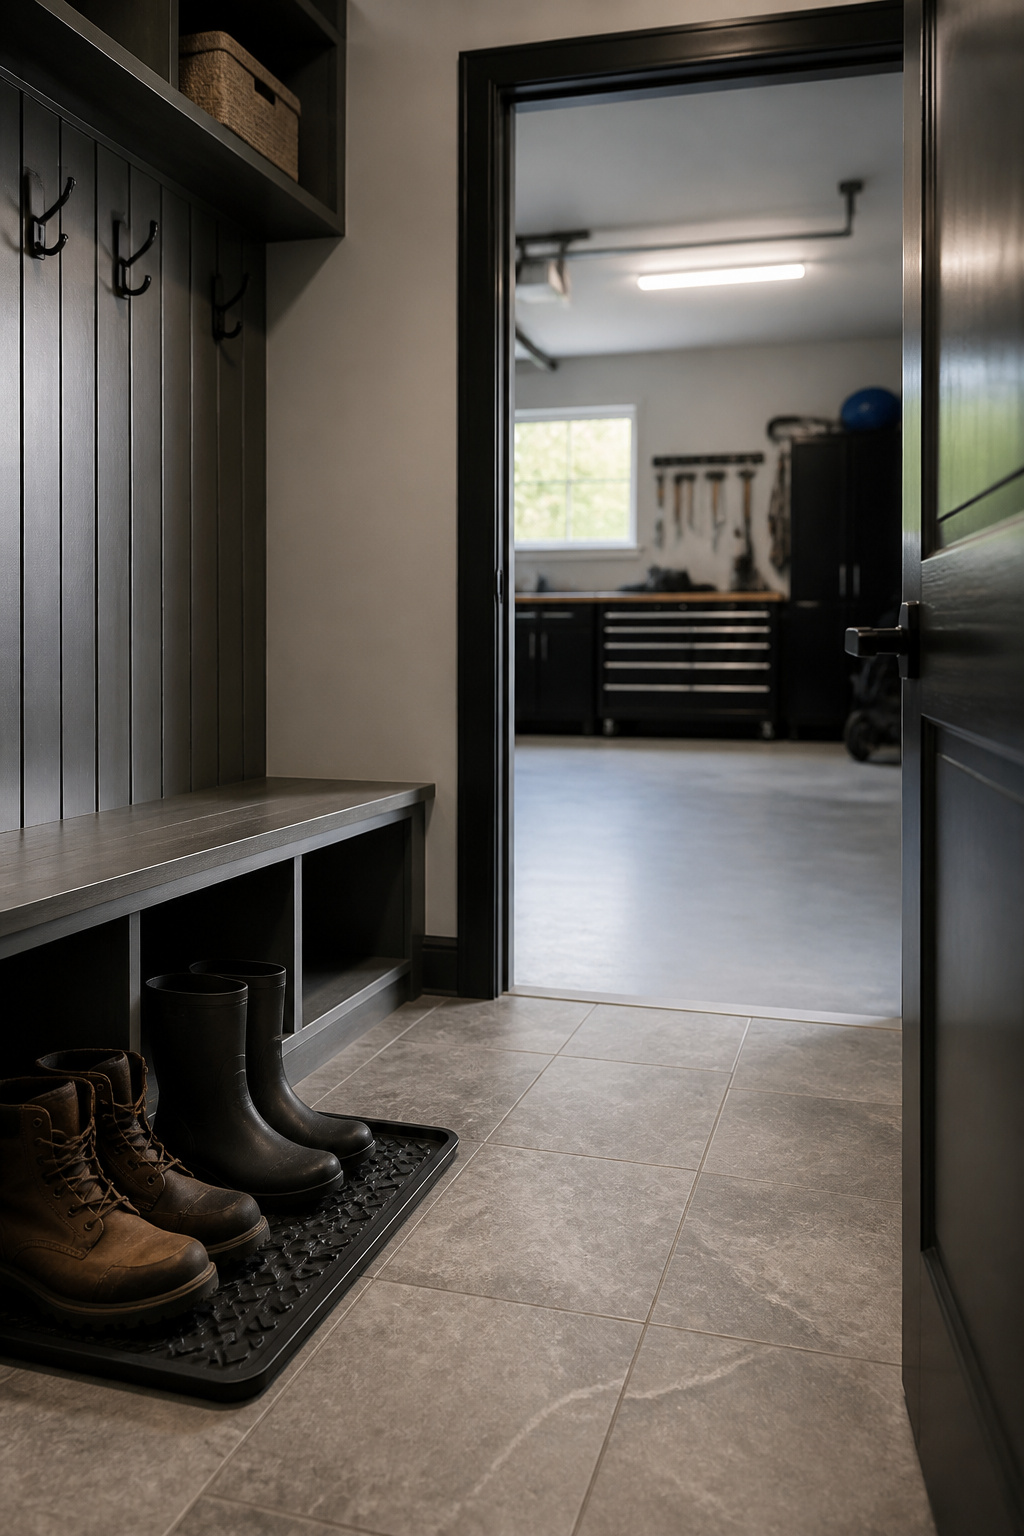
Garage entry: durability and weather demands a coat hook can’t solve
The garage-to-house door is the wettest, dirtiest one you own — tire runoff, boot mud, road salt, and no front-porch mat to catch any of it. That means the fight is as much about flooring and the transition as about storage. Porcelain tile is the preferred surface for its low water absorption and high wear rating; LVP with a waterproof core is the warmer-underfoot alternative. Spec PEI 4 minimum for a mudroom/garage entry, with DCOF slip resistance of at least 0.42 (ANSI A326.3) where floors get wet — R10–R11 for regularly wet areas. And per the Building Performance Association, put at least one step up from garage to living space so melt-water and vehicle runoff don’t migrate indoors; a small sealed vestibule adds a second barrier. Weatherstrip the garage door and seal the entry door while you’re at it. The full weatherproof build — flooring, rust-proof hooks, boot-tray sizing, and the order to do it in — is setting up a garage entryway drop zone.
Under-stairs: turning dead triangular space into storage
If you’ve got a staircase, the triangle under it is 30-plus square feet of storage you’re currently wasting on a vacuum and some boxes. Under-stairs drop zones fit hooks, cubbies and baskets straight into that void — ideal for homes with no separate entryway at all. One number worth flagging on cost: a DIY cubby-and-bench build runs roughly $115–$260 in US-market materials (full materials build-up in the spoke below), against $2,000–$10,000 for a custom pro job — and separately, bespoke UK-market figures run around £1,000–£2,500 for a three-cupboard system, two to three days to install. The UK figure isn’t directly comparable to the US materials number (different market, different currency, different scope), so treat it as its own reference point. One build note that matters: under-stair spaces run dark and can trap odors, so plan LED strip lighting and ventilation if you’ll store shoes or damp gear there. The carpentry-forward walkthrough is converting under-stairs space into a drop zone.
How to tell which location you actually have
The diagnostic is architectural, not aesthetic. A garage build needs an attached garage with direct interior access. An under-stairs build needs a staircase with genuinely unused void space beside or beneath it — not a load-bearing wall or a run of plumbing. Check before you dream up cubbies. And assign the space one clear purpose before you build: an under-stairs nook that’s just “wherever things go” becomes overflow, not a drop zone.
Designing a Drop Zone That Works for Kids
If there are kids in the house, one detail overrides your whole format choice: height. Get it wrong and you’ve built a system your children physically can’t use, which means you’re still the one hanging their coats.
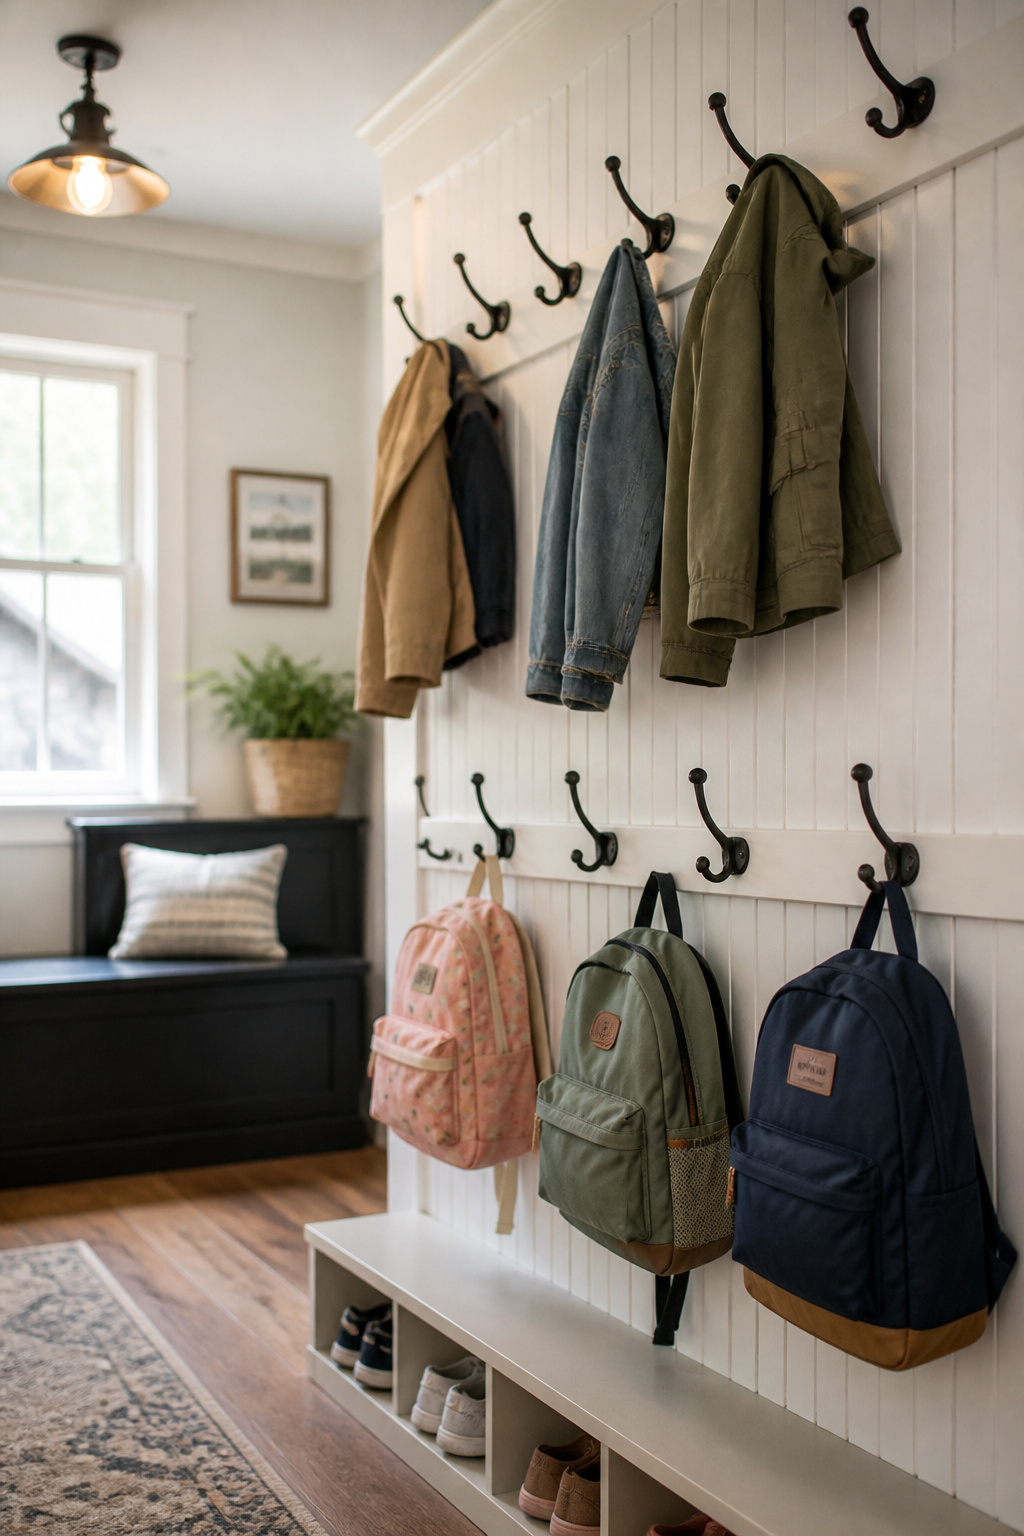
Why adult-height hooks fail with kids
It’s not defiance, it’s reach. Per ADA children’s anthropometric data, a child’s high reach runs about 33 inches at ages 2–4, 41 inches at 5–8, and 44 inches at 9–12 — all well below the standard 60–66-inch adult hook. Mount one row at adult height and a seven-year-old is looking at a hook a foot and a half over their head. So the fix isn’t a hook, it’s a tiered system: under-tens at 36–42 inches, middle-schoolers around 48–54, adults at 60–66. Different heights for different reaches.
What changes when backpacks and small shoes are the daily traffic
Kid traffic is backpacks and small shoes, and both need their own handling. Staggered hooks at varying heights let a kid and an adult hang gear in the same zone without anyone reaching or stooping. Give each child an assigned cubby near their coat and shoes — a per-kid “launch station,” not a shared bin — and color-code the hooks and baskets so every kid has a clear boundary; it’s cited over and over as the thing that cuts morning chaos in multi-kid homes. A rail with S-hooks is a cheap, expandable way to add backpack capacity without remounting hardware every time the family grows.
A quick gut-check for family households
Simple test: any kids under about ten? Then a single adult-height hook row is the most common reason a drop zone gets ignored and falls back on the parents. A two-tier height system is the standard fix, full stop. The complete kid-height build — bins, picture labels, backpack stations, and how it changes as they grow — is building a kid-friendly drop zone.
What a Drop Zone Costs, By Approach
This is the part inspiration content never gives you, and it’s the axis your decision actually turns on. Here’s the honest spread across the three main approaches, cheapest to most involved.
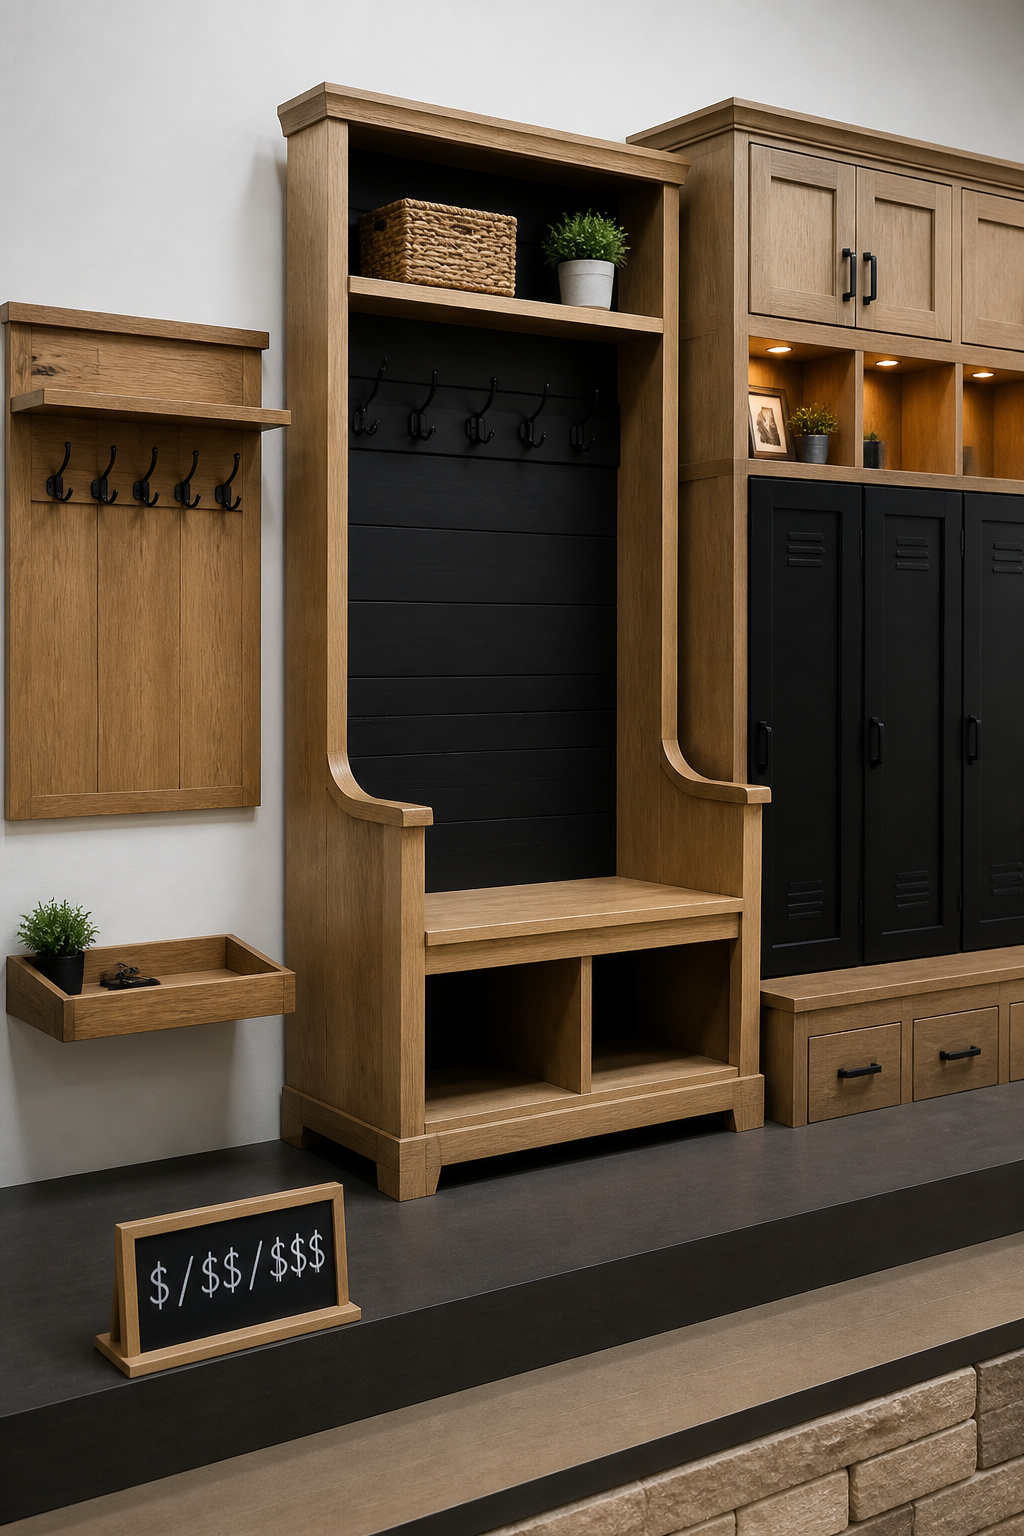
Furniture-only vs. wall-mounted vs. built-in cost ranges
The three tiers are genuinely far apart:
| Approach | Typical cost | What you get | Construction |
|---|---|---|---|
| Furniture-only | $75–$150 (materials) | Console, hooks, baskets | None |
| Prefab hall tree | $850–$1,500 | Bench, cubbies, hooks in one | Assembly only |
| Semi-custom (IKEA-based) | $500–$1,500 | Modular cabinetry system | Moderate |
| Full custom built-in | $3,000–$5,000+ | Fitted cabinetry, same footprint | Full |
| Full mudroom remodel | $6,000–$20,000 (avg ~$15,000) | Everything, including labor | Full, pro |
Built-in additions run $100–$300 per square foot — $80–$150 mid-range, up to $300 for premium hardwood. Most full mudrooms land between $6,000 and $20,000 all in, averaging around $15,000 with labor. The gap between top and bottom of that table is enormous, and it’s almost entirely about how much cabinetry and labor you’re buying, not how well the thing works day to day.
Where the money actually goes (hardware vs. lumber vs. flooring)
Cabinetry is the whole story on a built-in. Custom mudroom cabinetry runs $500–$1,200 per linear foot — roughly $100/ft for stock, $200–$300 for semi-custom, north of $500 for fully custom — and that single line dwarfs everything else. Labor on a full remodel is $3,500–$6,000, which per Complete Closet Design can be more than half the total; doing your own framing cuts that roughly in half (leave gas, structural and panel-level electrical to a licensed pro — I mean that). Flooring is comparatively cheap: a 40–60-square-foot porcelain-tile entry runs $800–$1,200 installed. The takeaway: the money is in cabinets and labor, so that’s where DIY savings actually live — not in the lumber.
The cheapest upgrade that fixes the most complaints
If you do exactly one thing, get shoes off the floor — into any cubby, rack or tray. Across every source I read, that’s the single change most often cited as fixing both the look and the function of a cluttered entry. Second is adding a dedicated tray for keys and mail, at near-zero cost. Neither is a measured study — it’s practitioner consensus — but it’s remarkably consistent, and it matches what I’ve seen on every build I’ve walked into. A $20 tray and a shoe rack fix more daily complaints than a $6,000 remodel fixes if the remodel skips the habits.
Why Most Drop Zones Fall Apart Within a Month
Back to the workbench for a second: the reason mine’s still standing isn’t that it’s pretty (it isn’t) — it’s that it does its job with zero maintenance. Drop zones fail the opposite way. They photograph beautifully and collapse in three weeks, and the reason is almost never the storage.
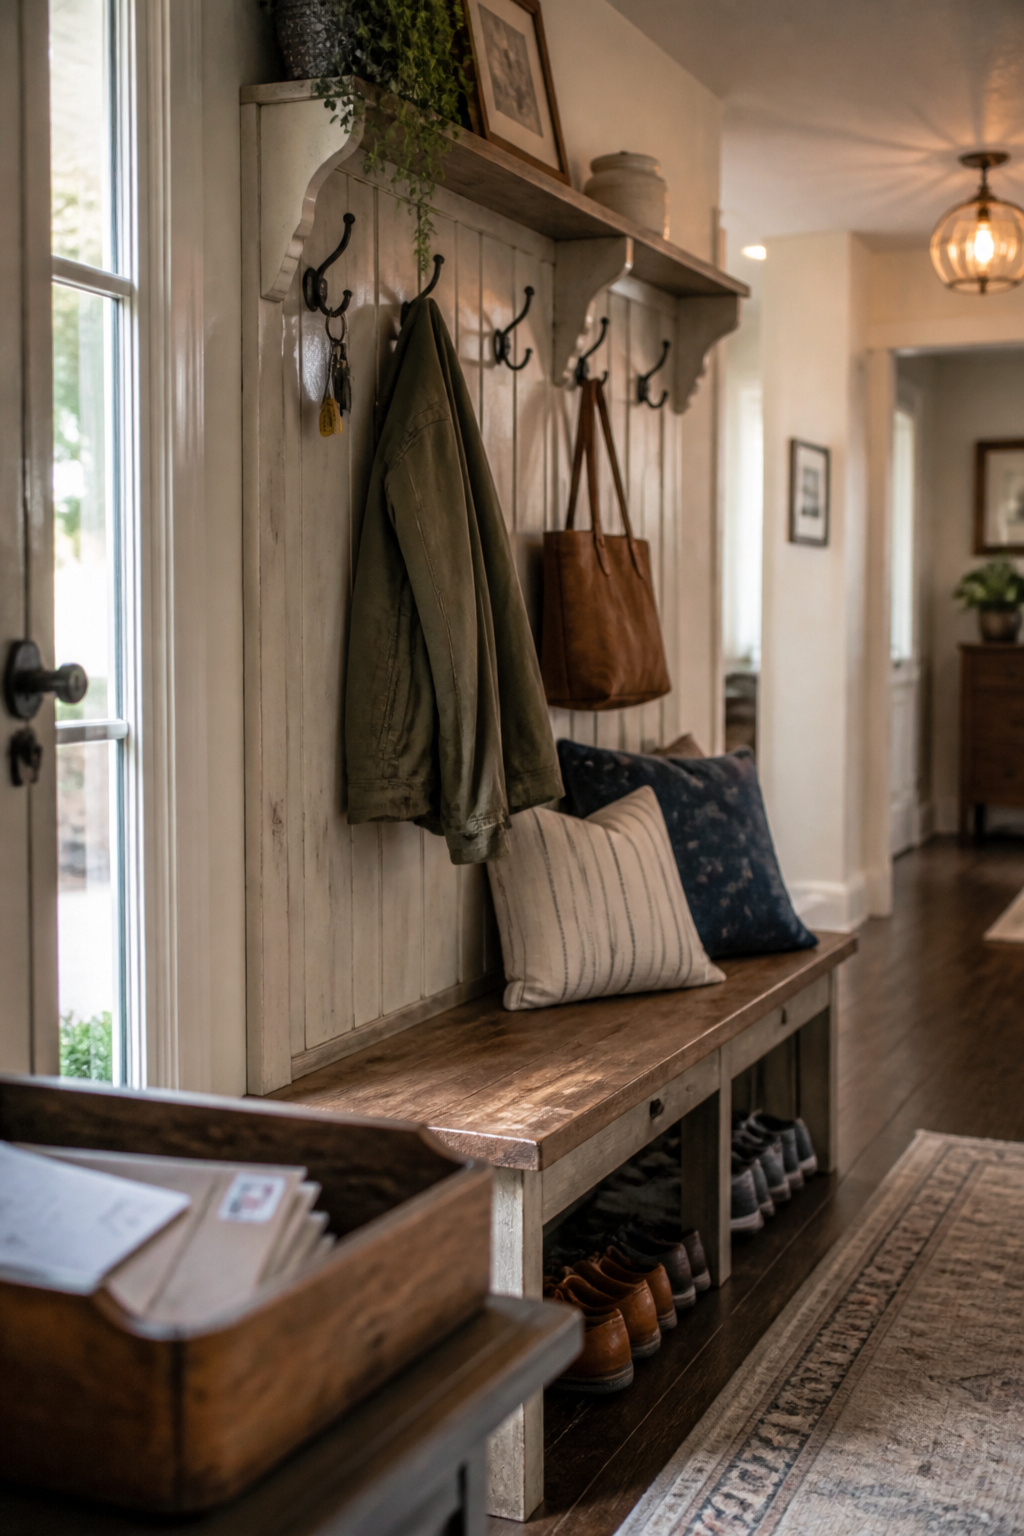
The gap between ‘set up’ and ‘stays organized’
The recurring failure has three causes, and organizers name them consistently. First, overcomplication — an intricate multi-step sorting system is the most-cited reason a setup gets abandoned, because complexity itself kills daily use. Second, mismatch — the system doesn’t fit how the household actually lives day to day, only an aspirational version of it. Third, skipped decluttering — as Bonafide Organizing puts it, you can’t organize excess, you can only rearrange it; install a drop zone on top of existing overflow and it re-clutters within weeks. None of those are fixed by buying more bins.
The habits that make a system survive real life
A system survives when it’s easier than the mess. The catch-all has to sit right at the point of entry — if filing something means a walk to another room, the habit breaks within days. The daily upkeep has to be small and reinforced, because unreinforced habits are forgotten fast. And the system has to flex as life changes — a new baby, a kid starting school, a new dog — or it stops working even if it started strong. This is exactly the trap a command center falls into, which is why the maintenance question deserves its own read: keeping a drop zone organized long-term.
A one-question test for whether your plan will hold up
It comes down to one question: does the system sit exactly where the behavior already happens, or does it ask your household to change its path to use it? Build for who your family actually is — tired, in a hurry, coming in the same door every day — not the version of them that files mail on arrival. If the answer is “they’d have to go out of their way,” the plan won’t hold, and no amount of nice hardware saves it.
How to Choose Your Drop Zone Build
Here’s the payoff — the sorting logic I promised at the top. Answer three questions about your actual home and the right build falls out, along with which guide to open next.
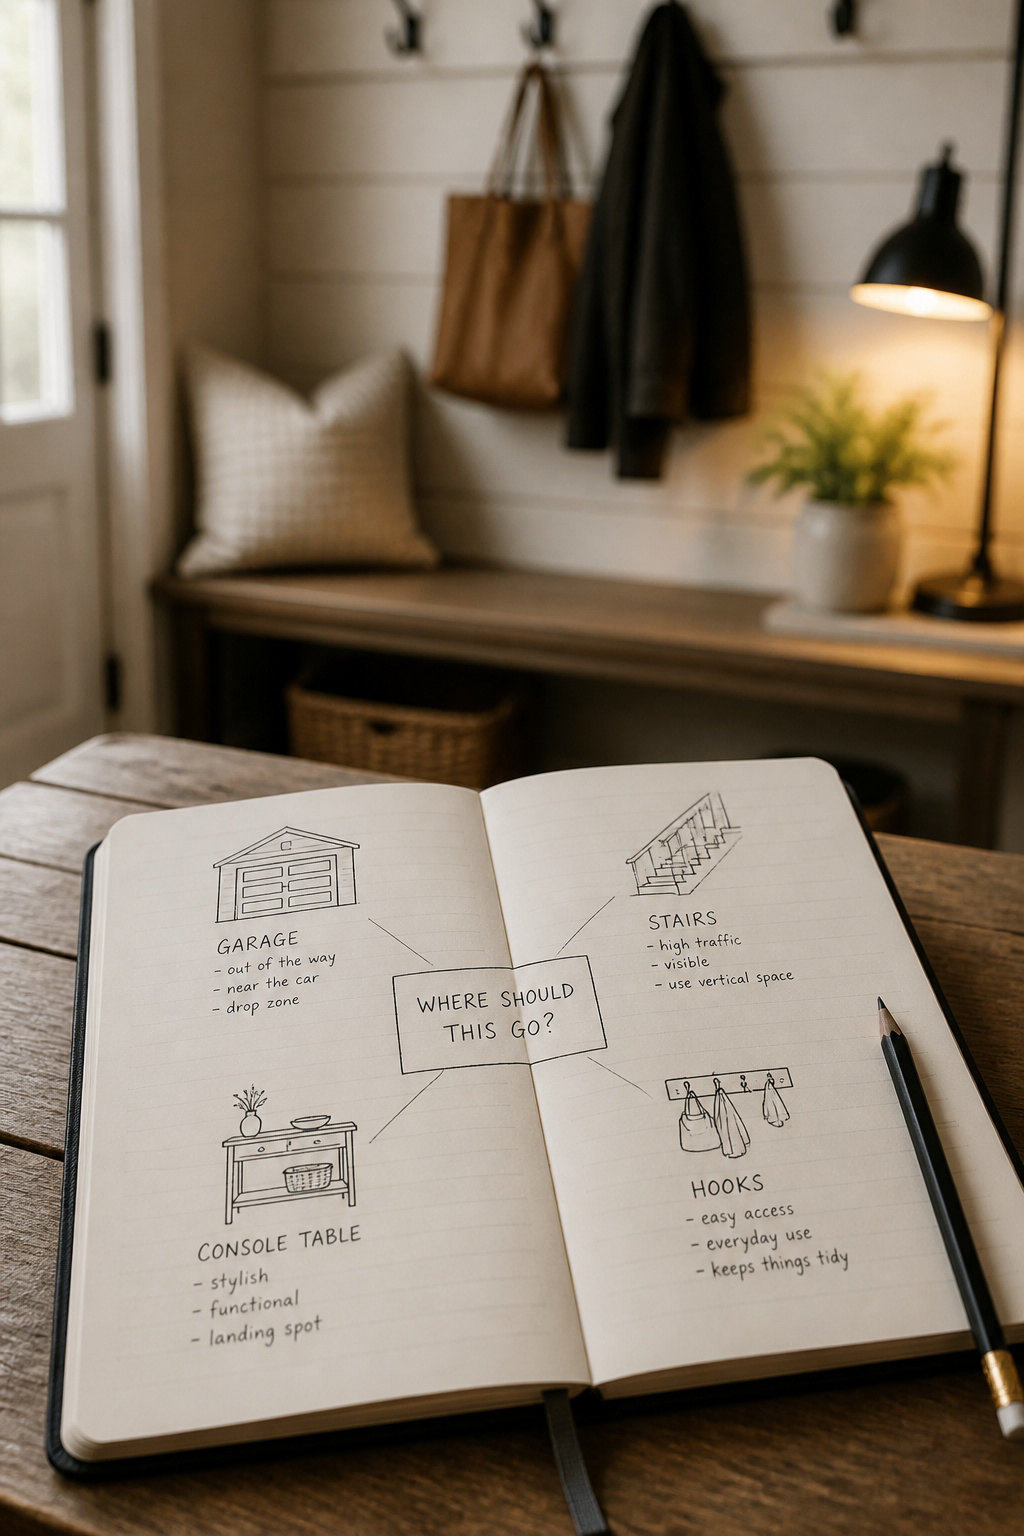
Match your floor plan and budget to a starting point
Run down this and stop at the first row that’s you:
| Your situation | Start here | Rough budget |
|---|---|---|
| No dedicated entry, tight budget | Furniture-only (console, hooks, baskets) | $75–$150 |
| Attached garage, direct house access | Garage-entry build (PEI-4+ floor, sealed transition, then storage) | Varies; floor first |
| Staircase with unused void | Under-stairs conversion | $115–$260 DIY |
| Heavy paperwork, multi-kid schedules | Add a wall command center to whatever fits your floor | Under $50 |
| Kids under ~10 in the house | Two-tier hooks (36–42 low, 60–66 high) on any build | Add-on |
These stack. Most real homes are a floor-plan row plus one or both of the last two add-ons — a small furniture setup with a two-tier hook rail, say, or a garage build with a command center beside it.
The one mistake to avoid regardless of approach
Whatever you build, declutter and fit the system to your habits first. Skipping that step is the single most consistent reason a drop zone fails within a month, independent of how much you spent. A $15,000 mudroom built on top of clutter and around behavior nobody actually has will be a pile by spring, same as a $40 shelf. And don’t try to solve every job — gear, paper, kids, weather — with one format; layer the right pieces instead.
Where to go next based on what you have
You came in with a dozen saved pins and no way to choose. You leave with a build. Here’s your route by situation:
- Family paperwork chaos → building a DIY family command center
- Garage floor plan → setting up a garage entryway drop zone
- Staircase void → converting under-stairs space into a drop zone
- No mudroom, tight footprint → creating a small entryway drop zone without a mudroom
- Stuck on hardware → choosing drop zone shelving and hooks
- Worried it won’t last → keeping a drop zone organized long-term
- Kids in the house → building a kid-friendly drop zone
Pick your row, open the matching guide, and build the one that fits your Tuesday. Ugly-strong beats pretty-weak every time — my twenty-year-old workbench is still proving it.