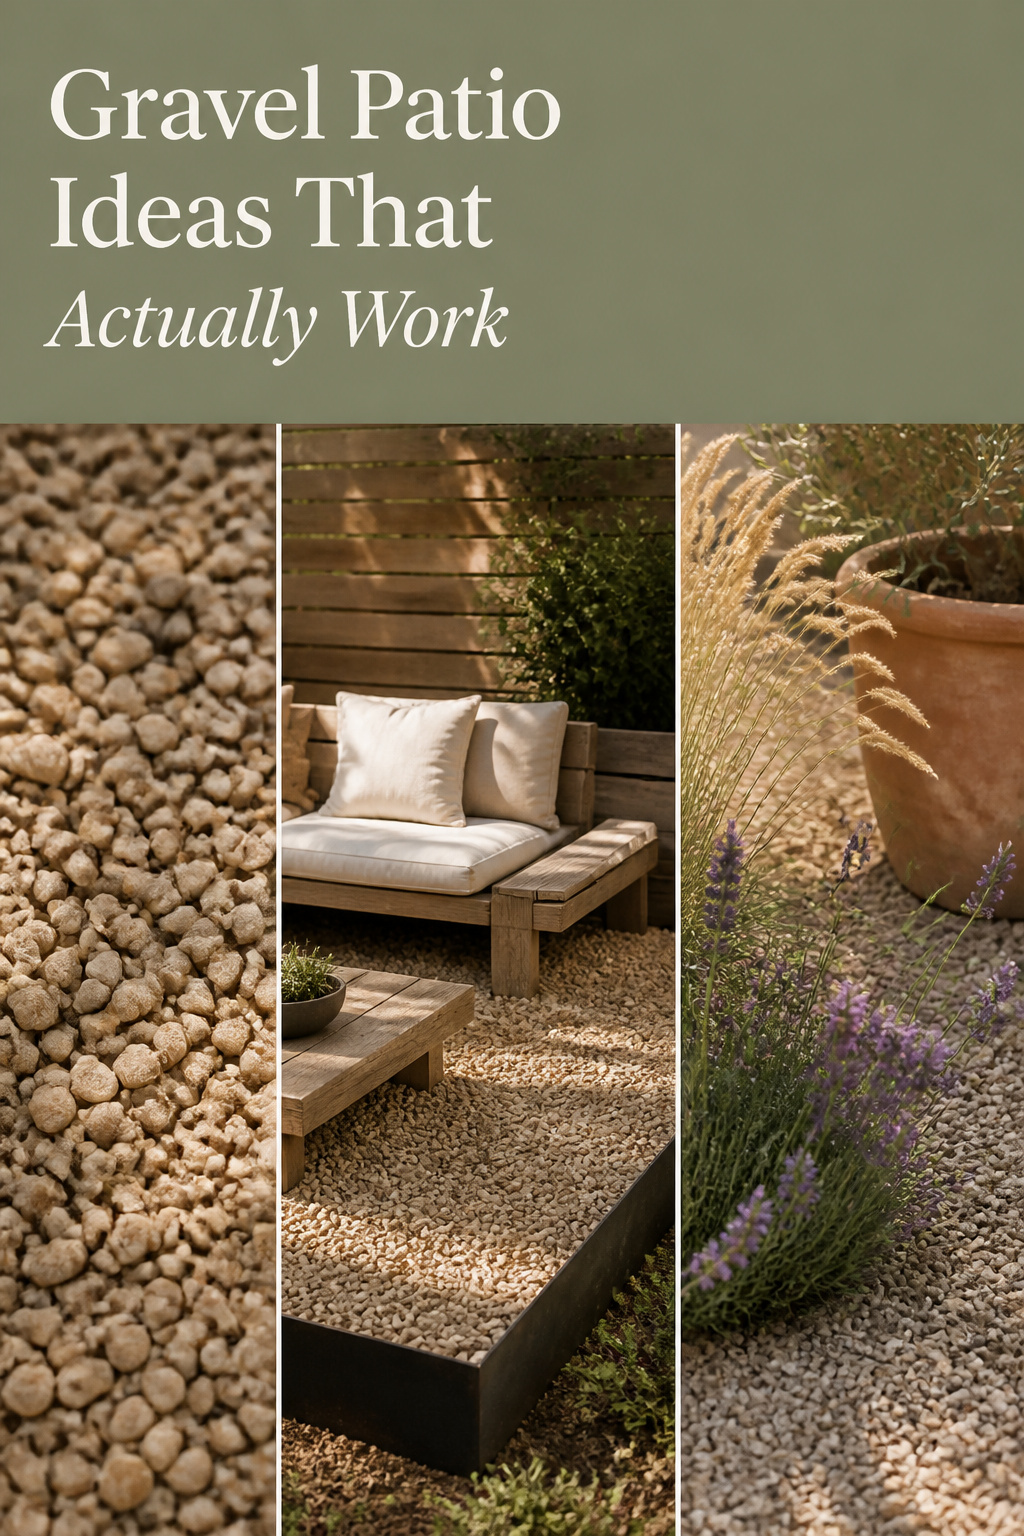
Search “gravel patio ideas” and you’ll drown in photographs before you’ve made a single decision. Buff pea gravel under a bistro table. A fire corner ringed in steel. Lavender spilling over a courtyard edge. Every one is lovely, and not one of them tells you whether gravel is right for your yard, which stone to order, or what the space will ask of you next spring. That gap — beautiful pictures with no decision logic underneath — is what leaves most people stuck.
I design outdoor rooms for a living, and the same three questions sort nearly every gravel patio I plan. How does the yard drain? Who actually uses the space, and how? And how much upkeep will the household really keep up with? Answer those, and the photographs stop competing. This one suits you; that one doesn’t. So this guide walks the whole decision at survey depth — material, cost, the build, edging, a fire corner, small yards, planting, and the handful of mistakes that undo any of it. Where a choice earns a deep dive, I’ll point you to the specialist piece that takes it all the way down.
Why Gravel Patio Ideas Start With the Yard, Not the Photo
The best gravel patio ideas begin with your ground, not your Pinterest board. Before you fall for a look, it helps to know what gravel is actually good at — and where it will cost you.
What gravel does that pavers and concrete don’t
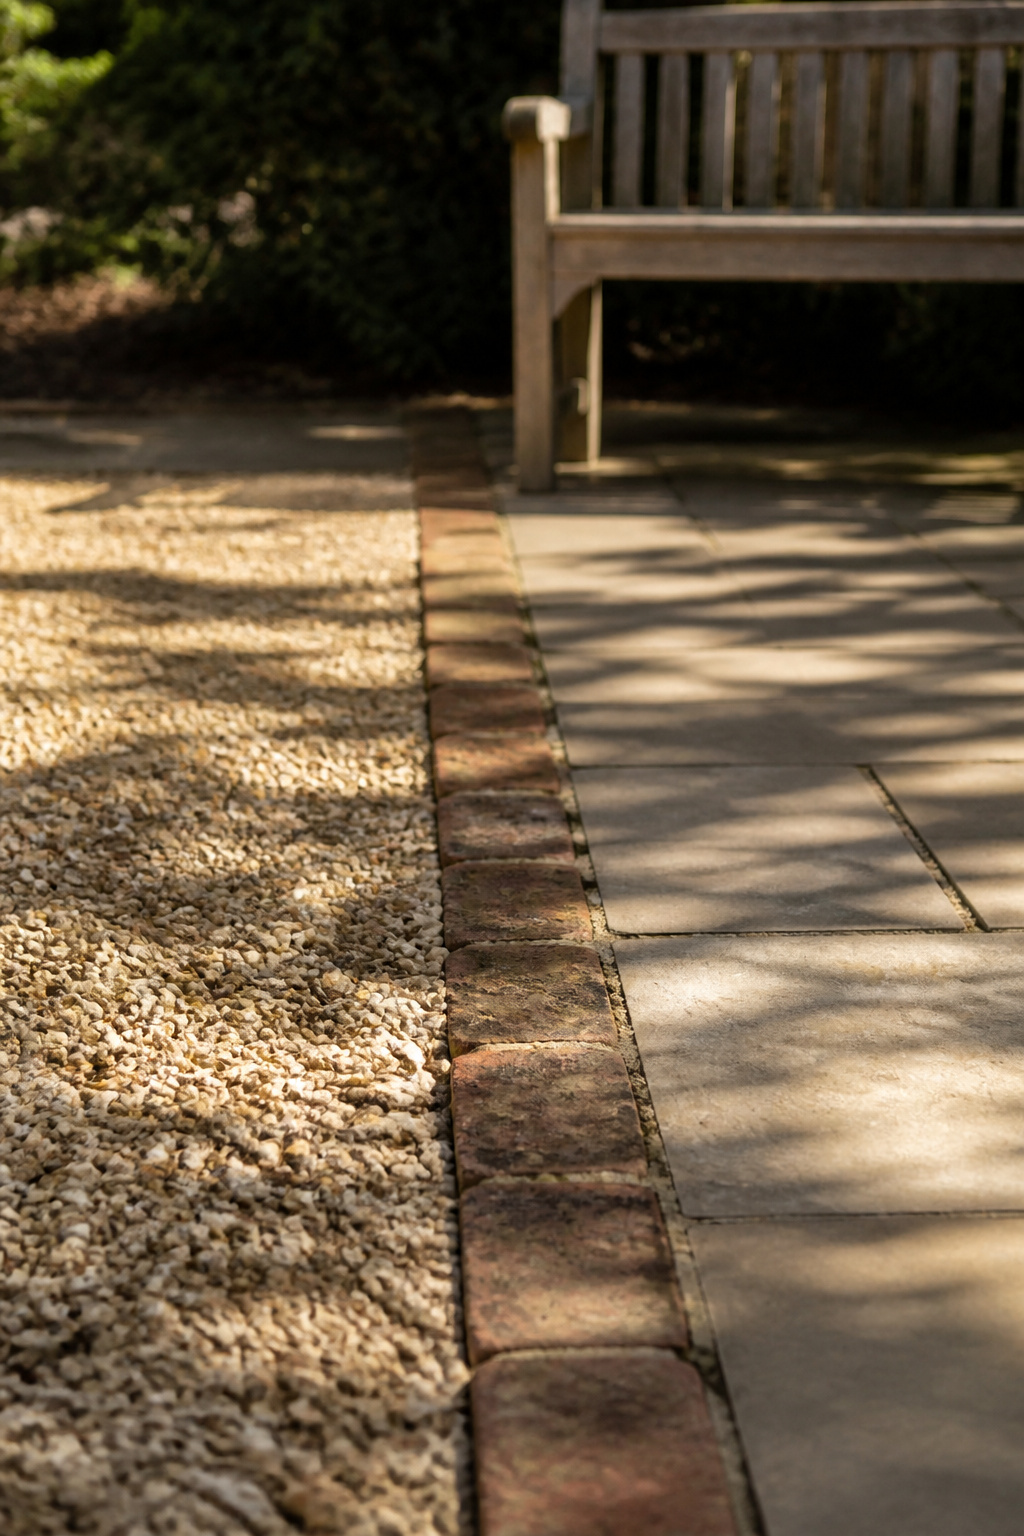
Gravel drains through the gaps between stones instead of shedding off a sealed, pitched slab. As a result, it pools less and controls erosion better than poured concrete. It’s also the cheapest patio surface by a wide margin: a basic loose gravel patio installs for around $1 to $3 per square foot, against $10 to $17 for pavers and $4 to $12 for concrete. It won’t stain, and there’s no finish coat to protect from a snow shovel over winter. Best of all for a weekend builder, there are no forms, no mixing, and no interlocking pattern to learn — just base, fabric, edge and stone.
The trade-offs before you commit
Now the honest half. Loose stone scatters under foot traffic, wind and rain, so it needs edging plus a rake and a top-up now and then to stay sharp. Skip the fabric and base, and weeds overtake a gravel surface within about a year. Wheels struggle, too — mowers, strollers and wheelchairs all sink and drag, as Houzz’s Jenny Peterson points out. And over a full decade, loose, non-stabilized gravel can actually total more than pavers or concrete once you count the repeated top-dressing.
None of that makes gravel high-maintenance. It makes it honestly maintained. I built a cedar deck with my uncle the summer I turned sixteen, and I’ve re-oiled it every spring since — thirty-odd springs now. It was never a chore I resented; it was the standing appointment that kept the thing alive, and it taught me that upkeep you’ll actually do is a design input, not an afterthought. Gravel rewards the same relationship. Choose the version you’ll tend, not the one that photographs best empty.
Who a gravel patio suits (and who it doesn’t)
So gravel fits a budget-conscious build, a yard where drainage matters, and a household comfortable with a DIY weekend and a little seasonal fussing. It’s a poor call for a main path used daily by wheels, or for anyone who wants a fully hands-off surface. Comfort underfoot depends on the stone: rounded pea gravel is kind to bare feet, while coarse decomposed granite and angular crushed stone are not.
Choosing the Best Gravel for a Patio
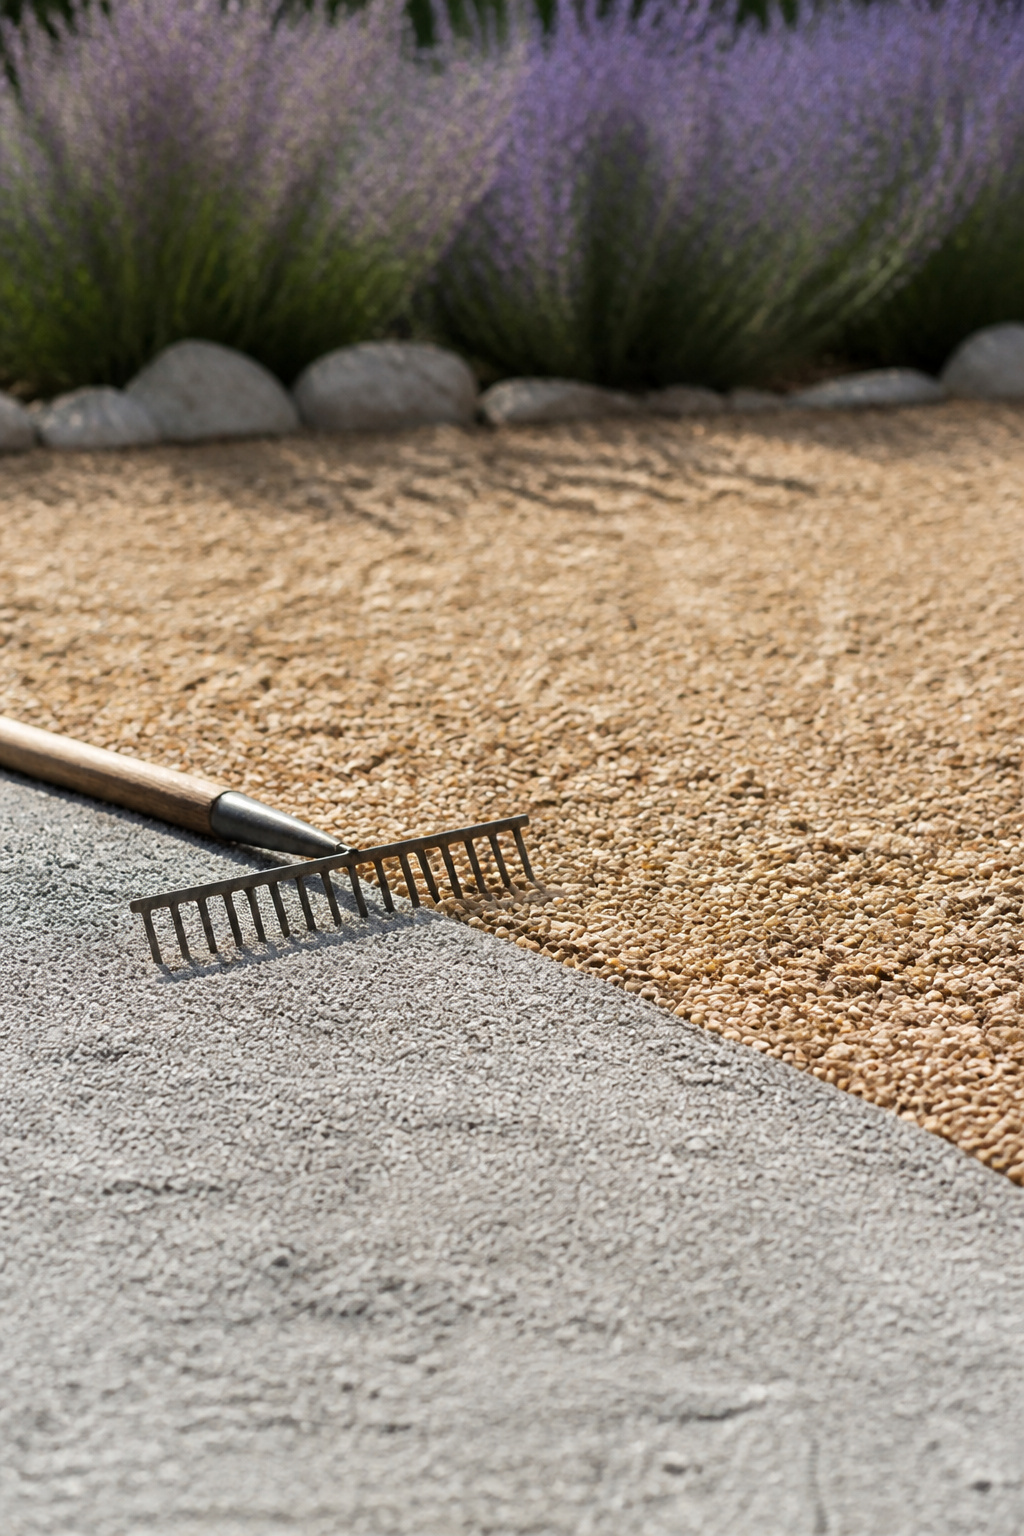
Three stones do almost all the work on a patio, and they behave nothing alike. Here’s how they sort at a glance.
| Stone | Rough price | Underfoot | Holds furniture | Best for |
|---|---|---|---|---|
| Pea gravel | $30–$35/cu yd | Soft, rounded | Poorly — legs sink | Casual, barefoot, wet yards |
| Decomposed granite | $40–$50/cu yd | Firm, gritty | Well, once compacted | Dry, sunny patios |
| Crushed stone (½–⅝ in) | $15–$75/cu yd | Sharp, angular | Best — locks tight | Dining zones, heavy rain |
Read the furniture column first: a table set on the wrong stone sinks a little further every month.
Pea gravel vs decomposed granite vs crushed stone at a glance
Pea gravel is rounded, roughly a quarter to five-eighths of an inch, needs no compaction, and feels best barefoot. Decomposed granite is coarser and grittier; it wants a plate compactor and a light misting to lock into a firm surface, trading barefoot comfort for stability. Angular crushed stone in the half- to five-eighths-inch range interlocks tightly and holds furniture better than any of them. River rock and Mexican beach pebbles cost far more — $100 to $700-plus per ton — and belong in borders and dry creek beds, not underfoot.
Matching stone to climate and how the space gets used
Weather narrows the field fast. Decomposed granite is a dry-climate stone; without a stabilizer it turns dusty in drought and sticky in the rain. A dining or seating zone that carries weight all season wants angular crushed stone, because it resists rutting under chair legs. Save the pricier accent stone for a low-traffic garden edge, where settling barely matters.
When to get this decision fully right before ordering
Lock the stone in before the build starts, not during it. Your choice sets the compaction method — a compactor for decomposed granite, none for pea gravel — and the finish depth you’ll order to. Buy in bulk by the cubic yard rather than the bag; it’s meaningfully cheaper, and Jenny Peterson’s rule is a good one: always confirm the delivery fee before you order. For the full comparison on drainage, comfort and furniture hold, work through choosing the best gravel for a patio.
What a Gravel Patio Actually Costs
Gravel is the cheapest patio to install, and that’s the number everyone shops on. It’s also the least complete one.
Rough cost per square foot
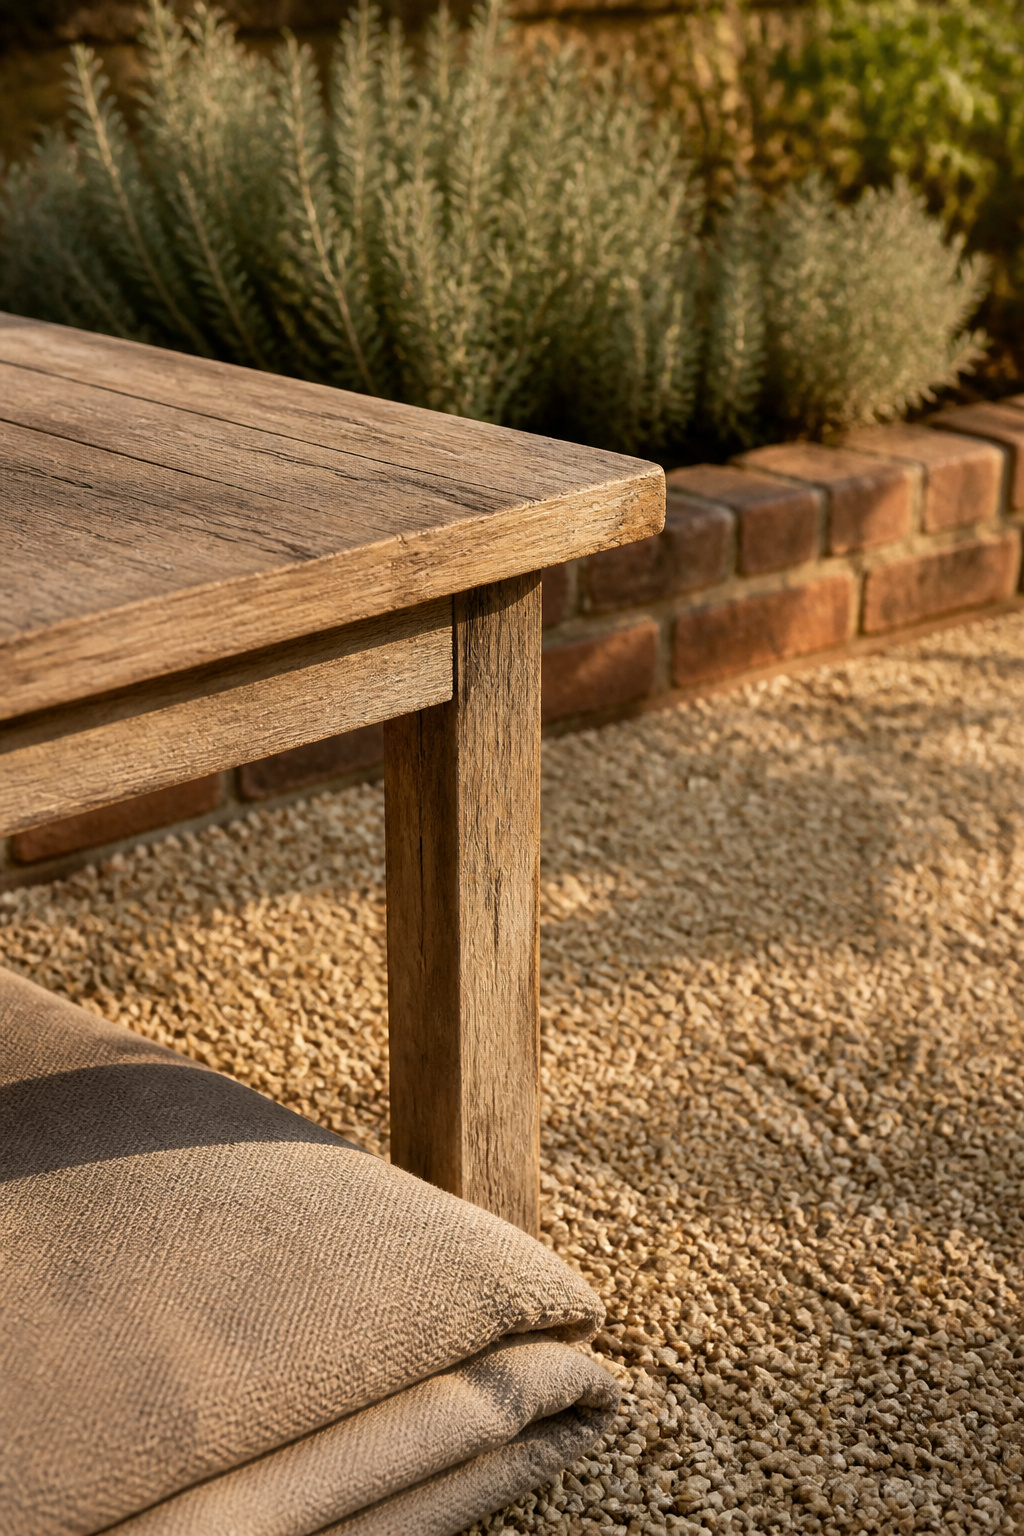
A basic loose gravel patio — two to three inches of stone over a prepped base — runs $1 to $3 per square foot installed. Pea gravel material alone runs $25 to $80 per cubic yard, a wider range than the ballpark above since sourcing and delivery vary by region. A geocell-stabilized base costs more up front, $3.23 to $4.79 per square foot, but it skips most of the repeat top-dressing that loose gravel demands.
How it stacks up against pavers and poured concrete
Here’s the fact worth sitting with: over ten years, a loose gravel patio can cost more than pavers or poured concrete once you add up the top-dressing and re-leveling — and a stabilized base flips that math straight back in gravel’s favor. The sticker price and the ten-year price are two different decisions.
| Surface | Installed cost/sq ft | Ten-year outlook |
|---|---|---|
| Loose gravel | $1–$3 | Cheapest install; top-dressing adds up |
| Stabilized gravel | $3.23–$4.79 | More up front, far less upkeep |
| Pavers | $10–$17 | Costliest install, low upkeep |
| Poured concrete | $4–$12 | Mid install; can crack or stain |
Where the DIY savings really come from
Labor, not stone, is the big lever. Installing a patio yourself instead of hiring a crew saves roughly $4 to $18 per square foot — the single largest swing on the whole job. Expect a simple patio to take two to four weekends, where a crew finishes in a day. Gravel compounds the saving, because pea gravel needs no compaction gear and there’s no curing to get wrong. Tess Carver runs the full per-square-foot and ten-year breakdown against pavers and concrete in what a gravel patio actually costs.
Building a Gravel Patio Step by Step
You don’t need to build it yourself to plan well, but you should be able to picture the sequence. It’s five stages, and they only work in order.
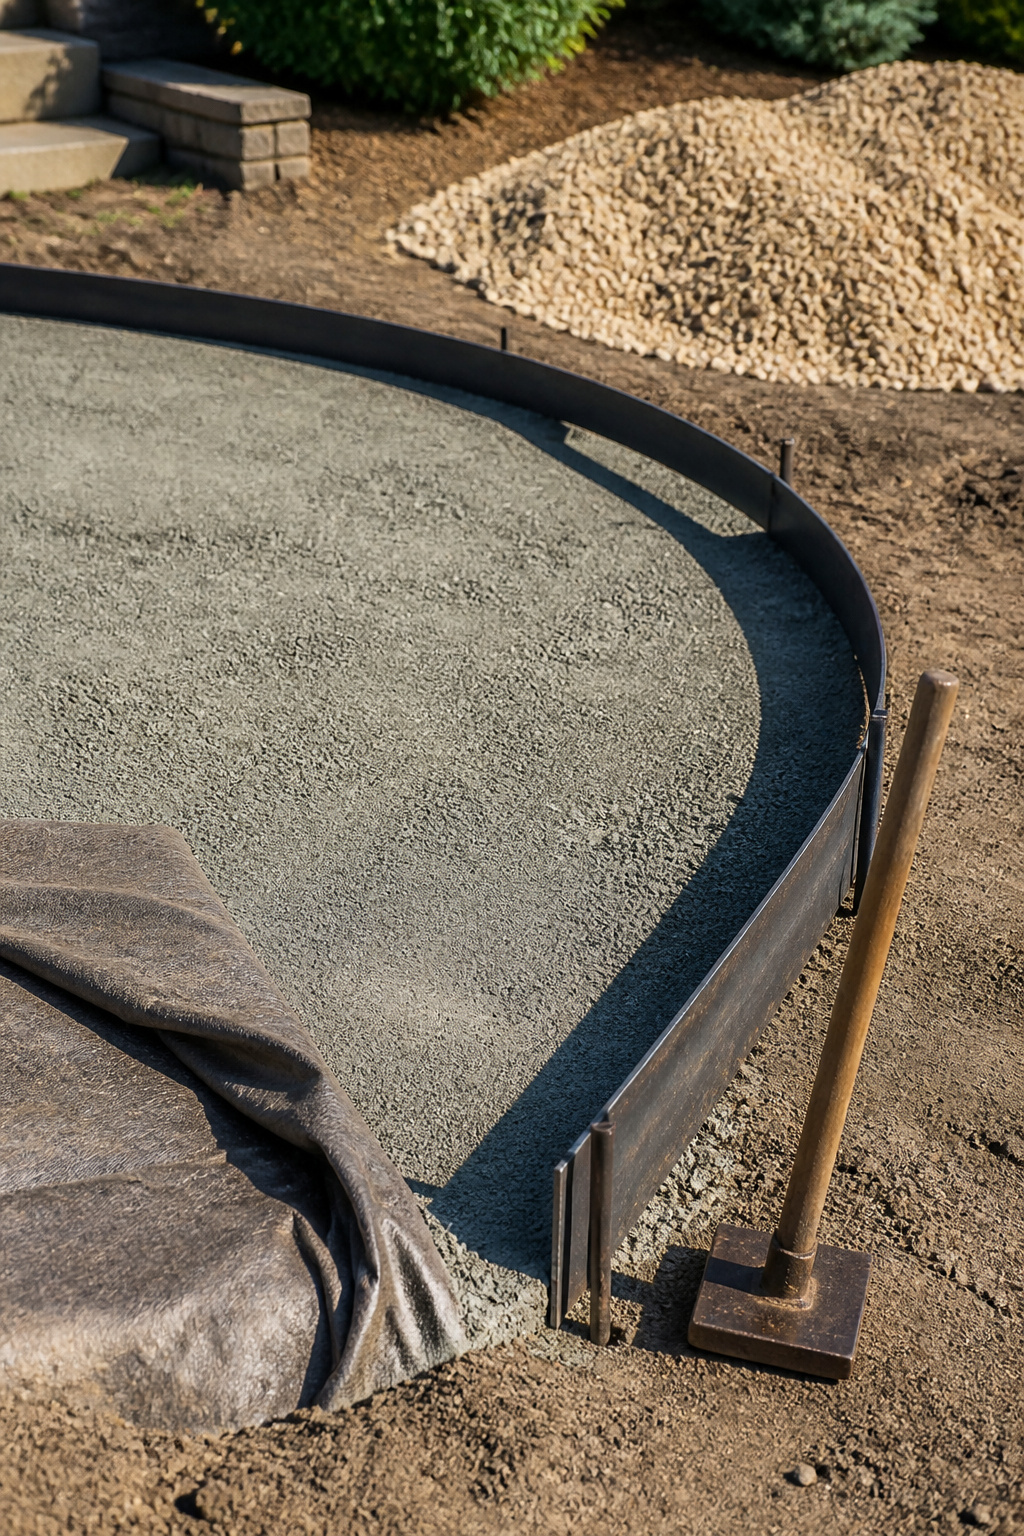
- Excavate at least 5 inches deep — more in cold-winter ground — to fit both the base and the finish stone.
- Lay and compact a 3-to-4-inch sub-base of crushed stone or decomposed granite for stability and drainage.
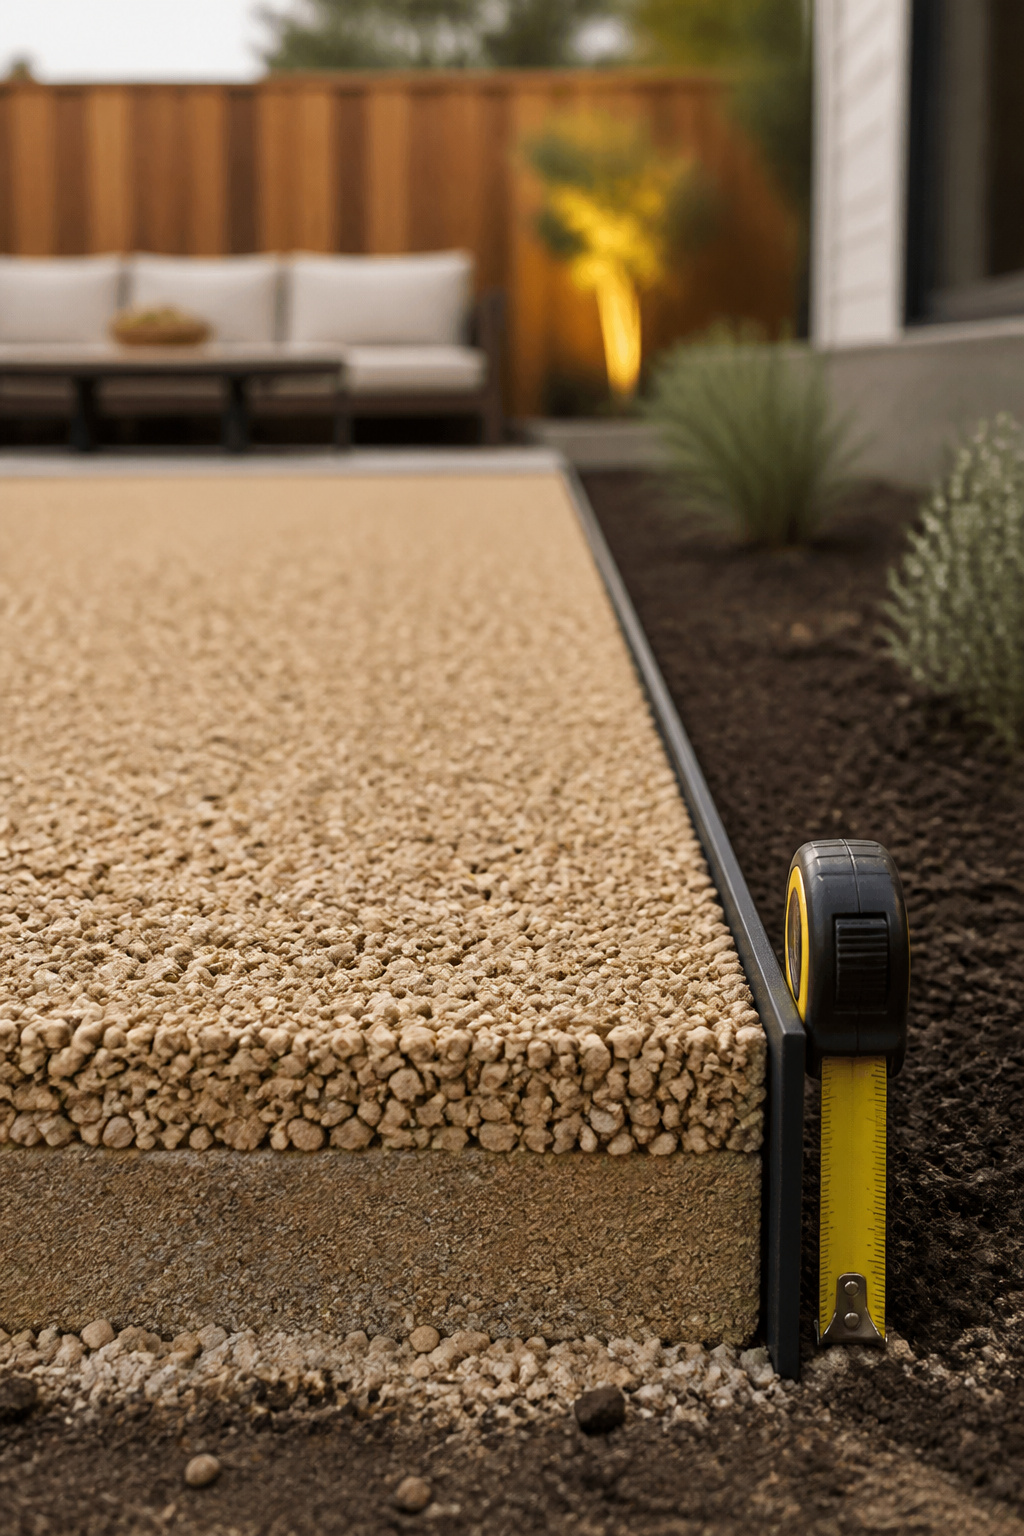
- Set the edging, staked in, before anything loose goes down.
- Roll out landscape fabric, overlap the seams at least 6 inches, and pin it flat.
- Spread 2 to 3 inches of finish gravel and rake it level.
In freeze country — USDA Zone 5 and colder — that compacted base should run 8 to 10 inches to sit below the frost line, or winter will heave it.
Tools and time a weekend build actually takes
A 12-by-12-foot patio is roughly one focused weekend: excavation, base and fabric on day one; gravel, compacting and edging on day two. The tool list is short — a spade or turf cutter, a hand tamper or rented plate compactor, fabric and pins, edging stakes, and a rake for leveling.
Where most first-time builds go wrong
Nearly every failure I’m called to trace back to a skipped step underground. Lay gravel straight on bare soil and you get an uneven, sinking, weedy surface that drains badly. Skip the fabric and weeding becomes a permanent chore. Grade the base dead flat and water pools instead of running off. Tess Carver walks the whole job, dig to done, with the mistake-recovery notes, in how to build a gravel patio step by step.
Edging That Keeps the Gravel in Place
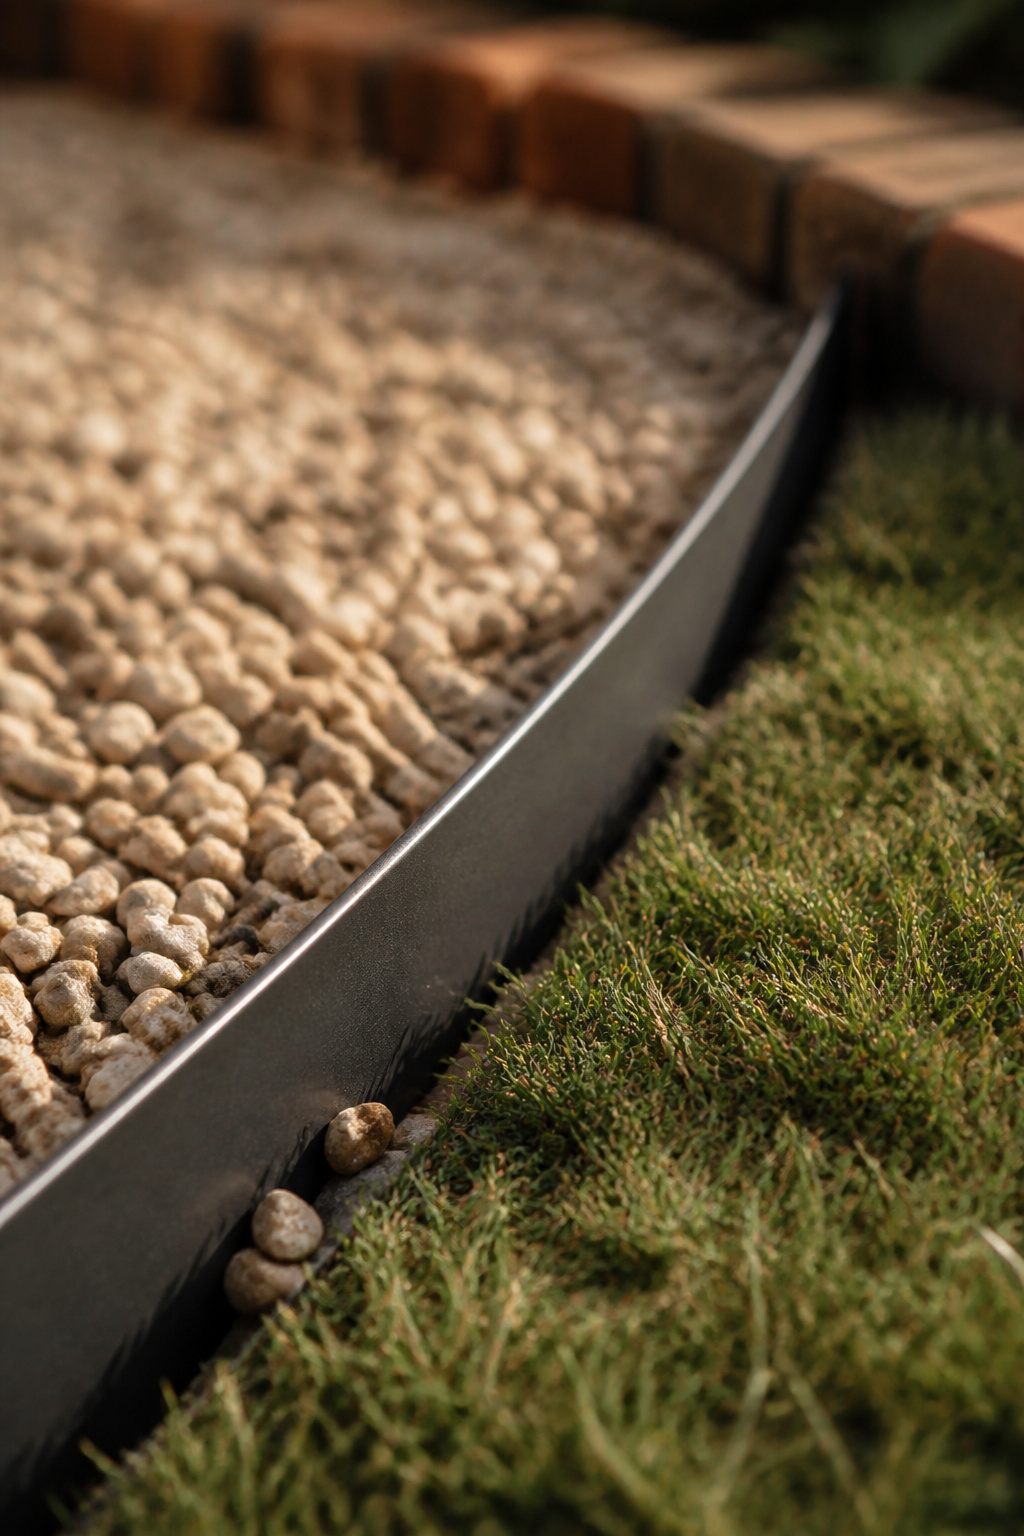
Every gravel patio migrates without a border. The only real questions are which material fits your budget and look, and how it’s set against the finished stone.
Why unedged gravel always migrates
Left unbordered, loose stone spreads into the lawn and beds and needs constant re-raking to hold its shape. Rain and foot traffic push it toward the lowest, softest ground nearby — usually the lawn edge — faster than most people expect. Depth and containment are one decision, not two: a 2-to-3-inch finish layer travels more the deeper it is, so the edge has to keep pace.
Steel, brick, timber and paver options at a glance
Four materials cover most patios, and each trades cost against look and upkeep:
- Steel — a sleek, near-invisible line with minimal upkeep, staked in for hold.
- Brick — laid flat, on edge or patterned; recycled brick is cheap and warmly traditional.
- Timber — the least expensive and easiest to install, but treat it or it rots.
- Paver — a clean, modern edge with the widest range of color and pattern.
Picking an edge that matches your style
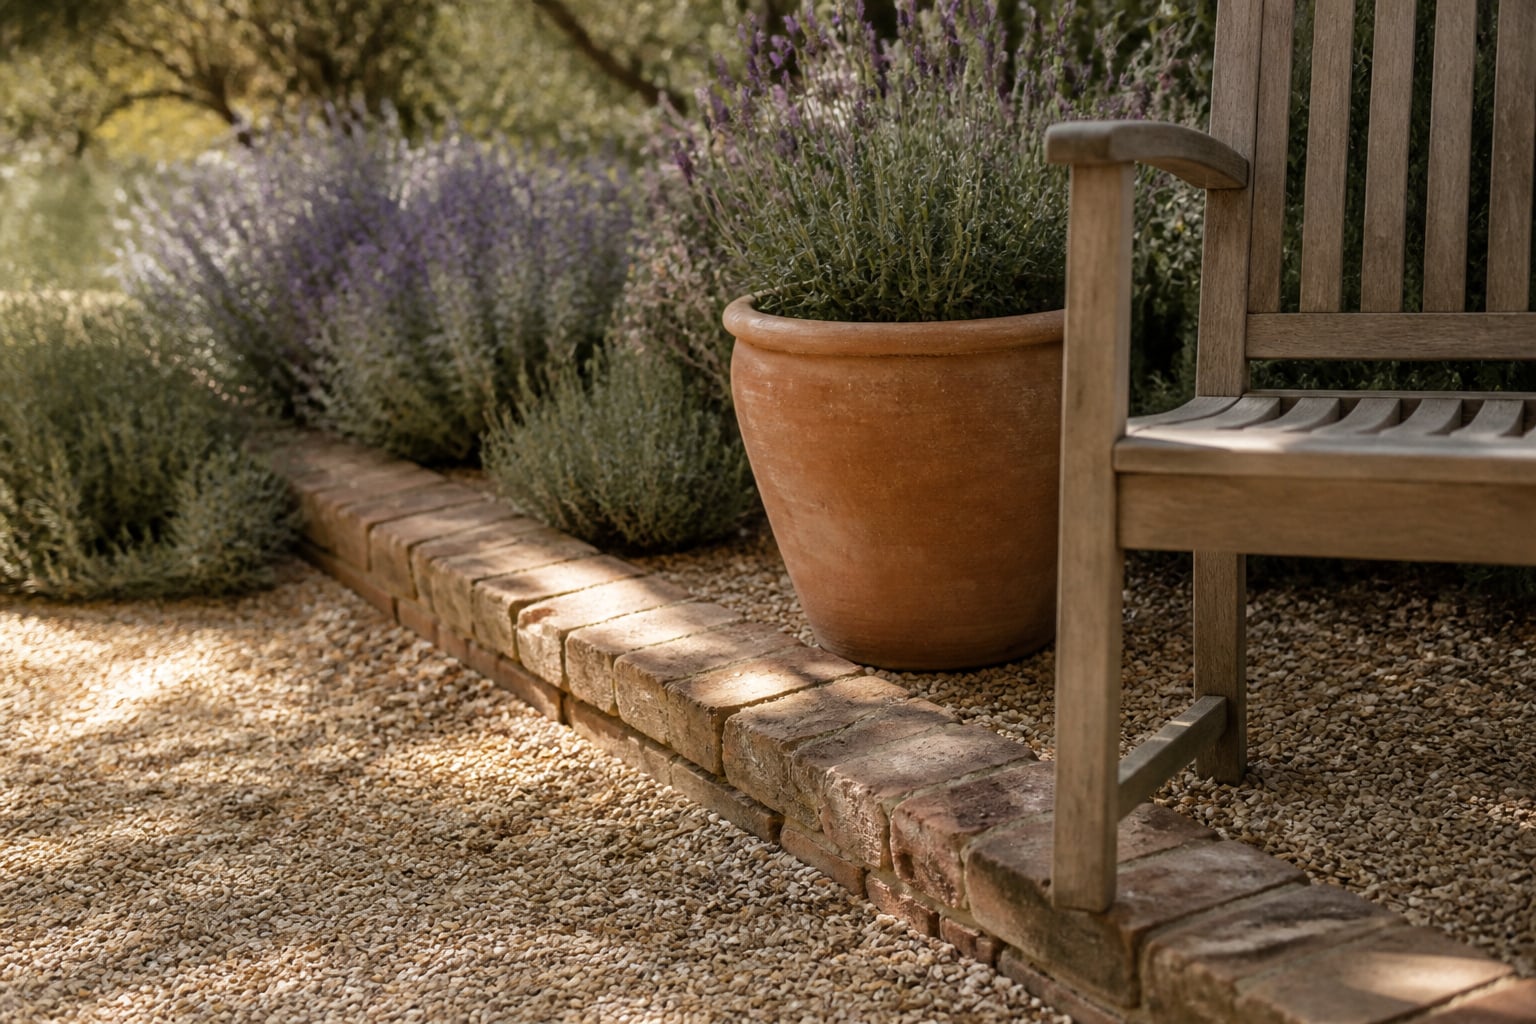
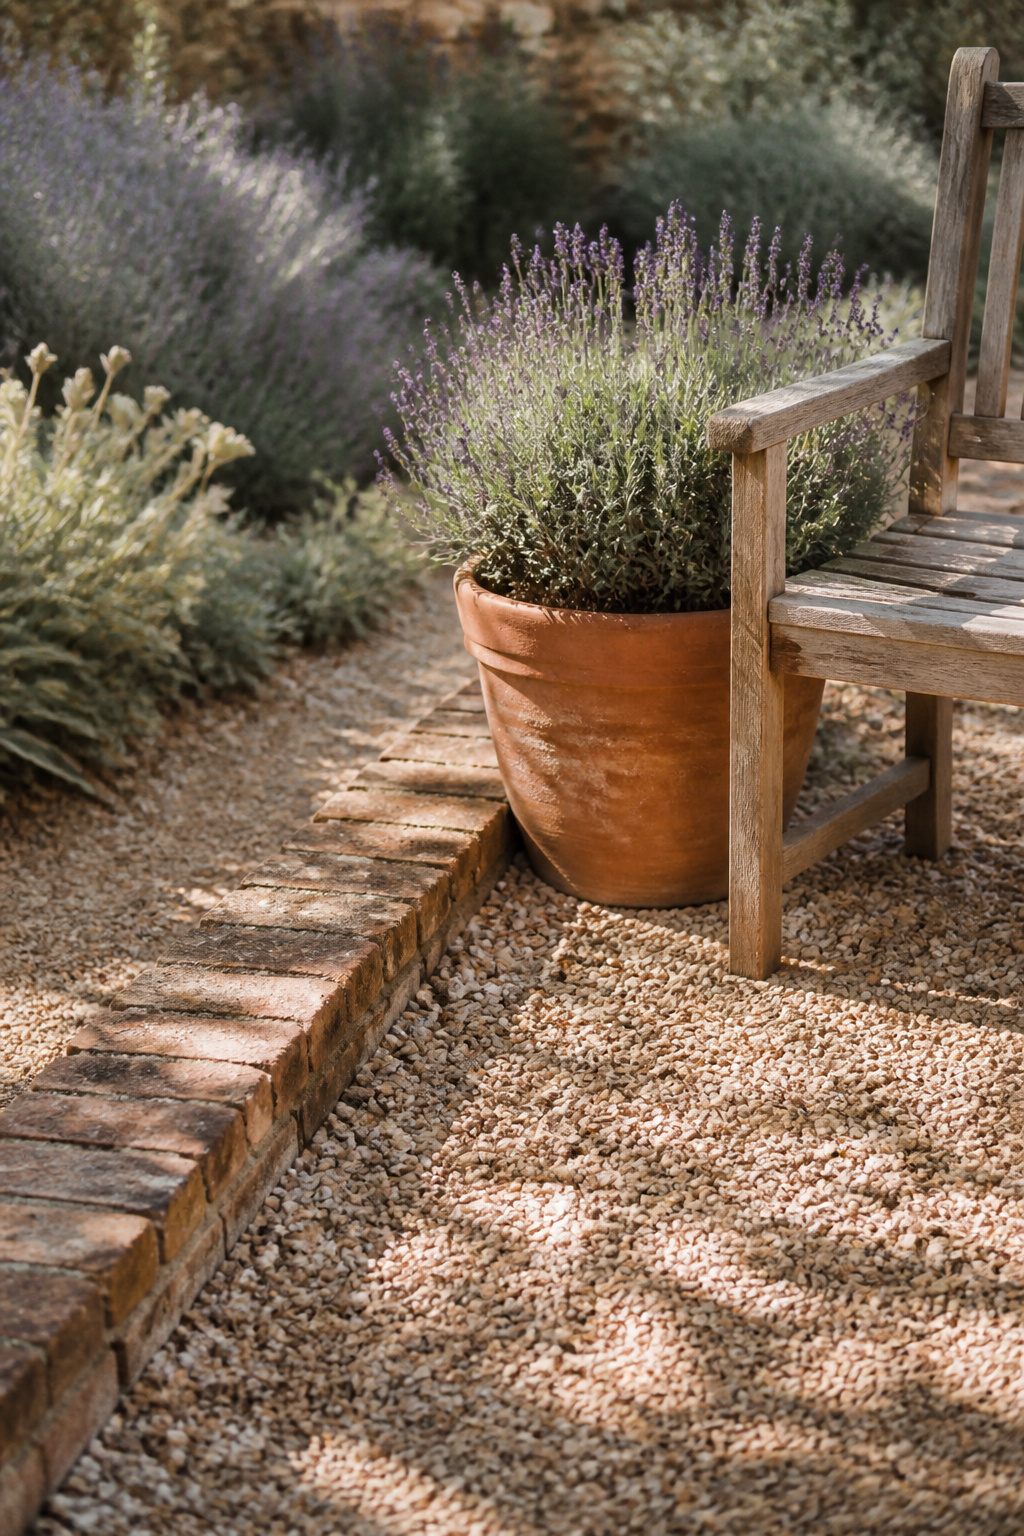
Match the border to the mood you’re after. Blackened steel or corten reads contemporary and all but disappears, which suits a minimalist gravel-and-planting look. Aged brick pairs naturally with terracotta pots for a warmer courtyard feel. Whatever you choose, set the edge slightly proud of the finished gravel — flush or low, and stone rolls right over the top. Tess Carver compares every border material and how to anchor each one in edging that keeps the gravel in place.
Building a Gravel Fire Pit Patio
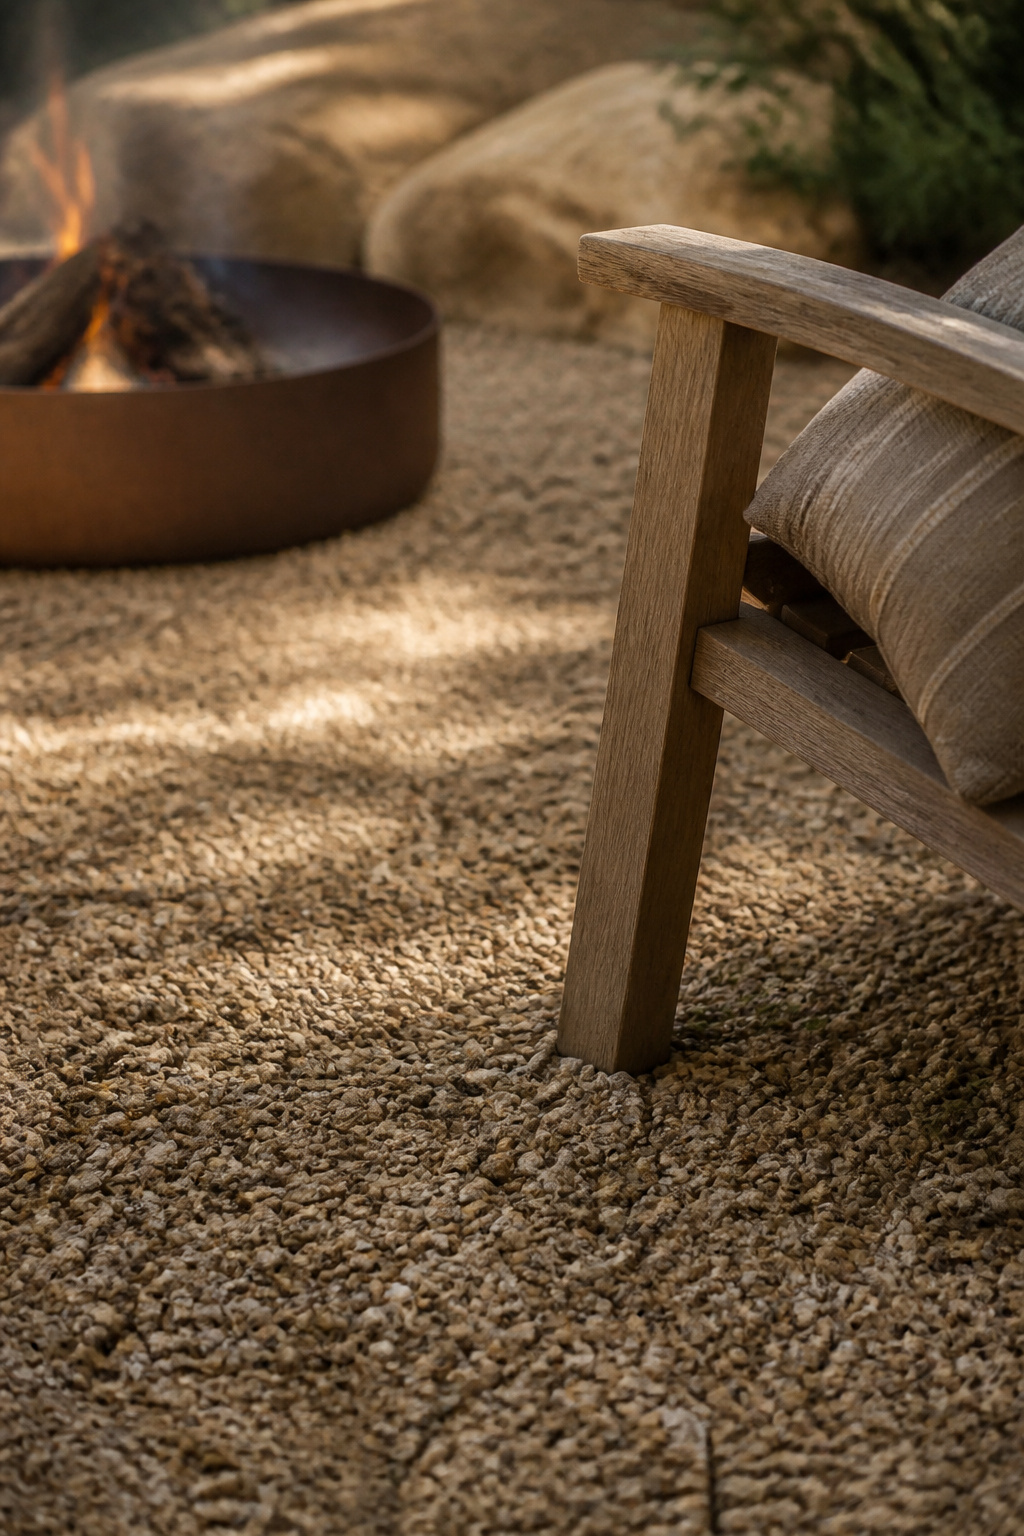
A fire corner is where gravel quietly earns its keep, because loose stone is already the non-combustible buffer that fire safety asks for. The design work isn’t whether gravel belongs — it’s sizing the gathering zone and getting the clearances right.
Why gravel and a fire corner pair naturally
Fire guidance wants the ground within three to four feet of the ring kept to gravel or paving only, with plants held back eight to ten feet. A gravel patio hands you that buffer for free. Around the pit, run pea gravel two to three inches deep over a three-to-four-inch compacted base — deeper and the seating starts to feel unstable underfoot.
Clearances and safety at a glance
Fuel type sets the distances. A wood-burning pit needs at least three feet between its edge and any seat; gas needs about two; and on a windy evening, push every seat back to seven feet whatever the fuel. From the house, an open wood fire wants far more room than a certified gas unit’s 36 inches — often 10 to 25 feet depending on the jurisdiction. Wood simply throws sparks and heat that gas doesn’t, which is why it asks for roughly half again the clearance.
Sizing the gathering zone
Keep the pit and its safe zone to no more than a third of the patio. On a 12-by-12-foot space, that caps the pit itself around 36 to 44 inches across. Built-in benches work best at a 16-to-18-inch seat height with the inner edge 18 to 24 inches off the coping. Get the numbers right before you buy the bowl; building a gravel fire pit patio takes the clearances and seating layout all the way down.
Gravel Patios for Small Backyards
Small and awkward yards are where gravel outshines a slab, because it bends to the space instead of fighting it. But a tight footprint punishes sizing mistakes fast.
Why gravel works especially well in tight spaces
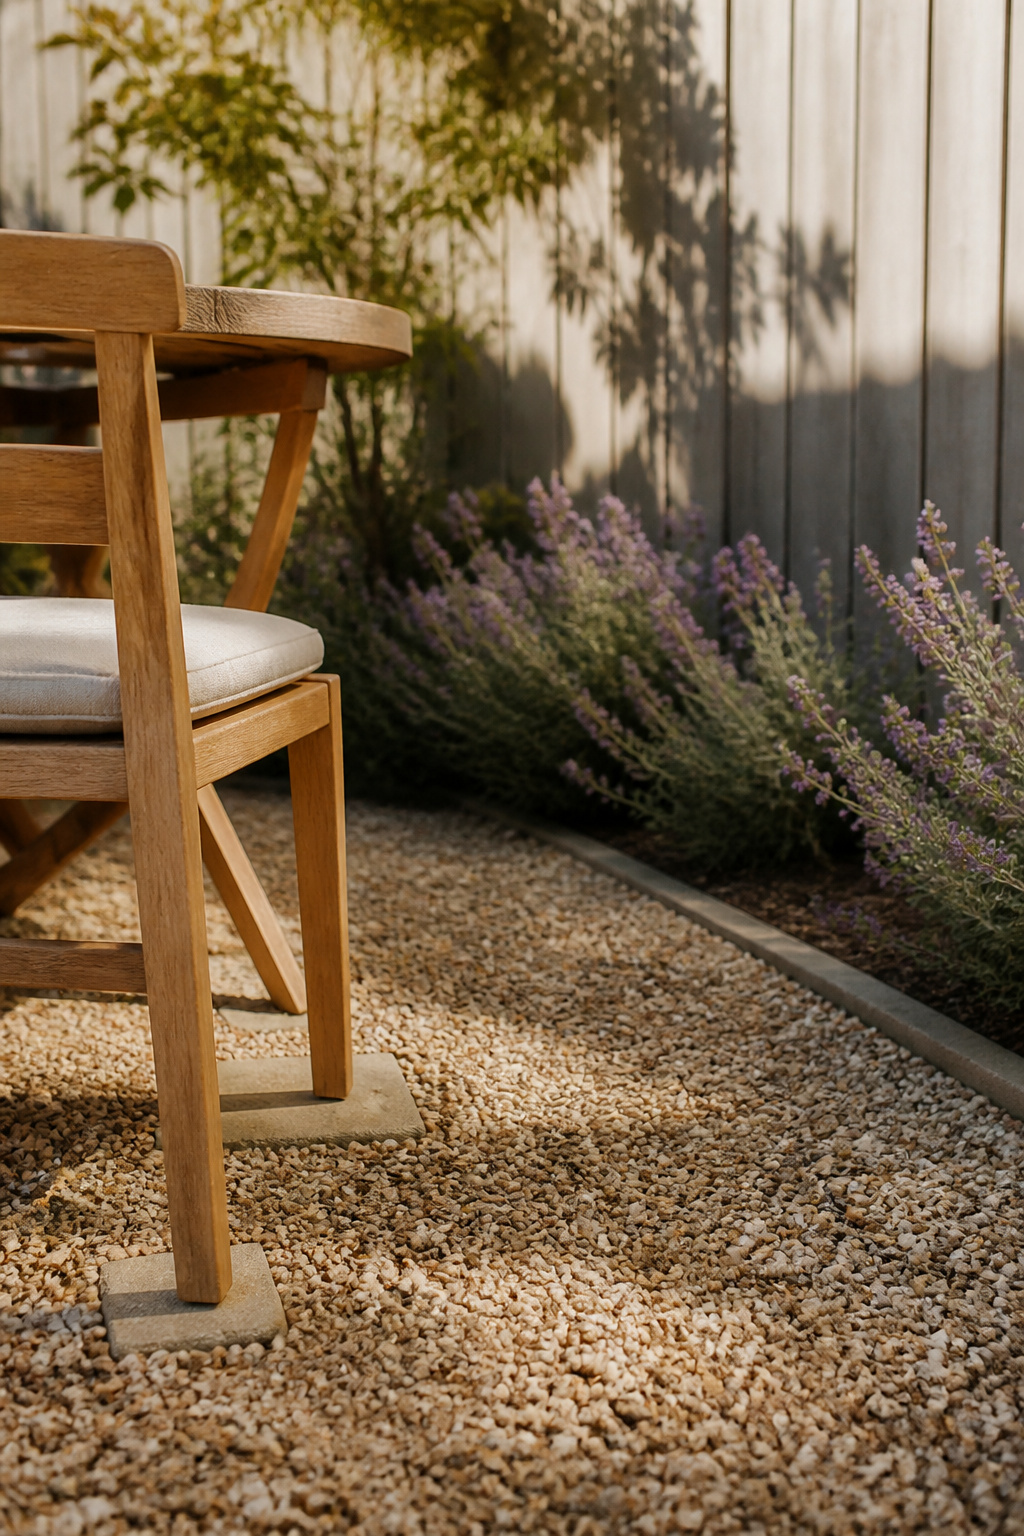
Gravel’s loose, informal texture softens the hard boundaries a rigid paver grid only emphasizes in a small yard. It’s also one of the few surfaces that follows an irregular footprint — a dogleg side return, a narrow strip along a fence — without any cutting. A bistro-scale gravel corner suits exactly the spots a poured slab would look oversized in.
Sizing a footprint that still feels usable
A two-chair bistro setup needs about 7 by 7 feet, or 49 square feet, as a floor. A four-to-six-person dining table wants at least 10 feet 6 inches of clear space, and 12 to 14 is more comfortable — a useful ceiling even if you’re starting small. Whatever the furniture, add two to three feet of gravel beyond it on every side for walking room.
Furniture that won’t sink in a small area
Furniture legs are the usual complaint, and there’s a sound rule of thumb: fill the gravel to about twice the stone’s own size — roughly 40mm of depth for 20mm stone. Shallower shows bare patches; deeper lets chairs rock. Better still, set a paver or slab pad under each leg, or under a small table, and let the gravel run up to it — you keep the loose look and lose the wobble. Wide, flat-footed pieces spread their weight far better than narrow spikes. The full small-space playbook is in gravel patios for small backyards.
Plants That Soften a Gravel Patio
Finish a gravel patio without planting and it reads as a construction pad rather than a room. Softscape is the signal that the space was designed, not just laid. And the plants that thrive here are the ones that ask least.
Why bare gravel reads as unfinished
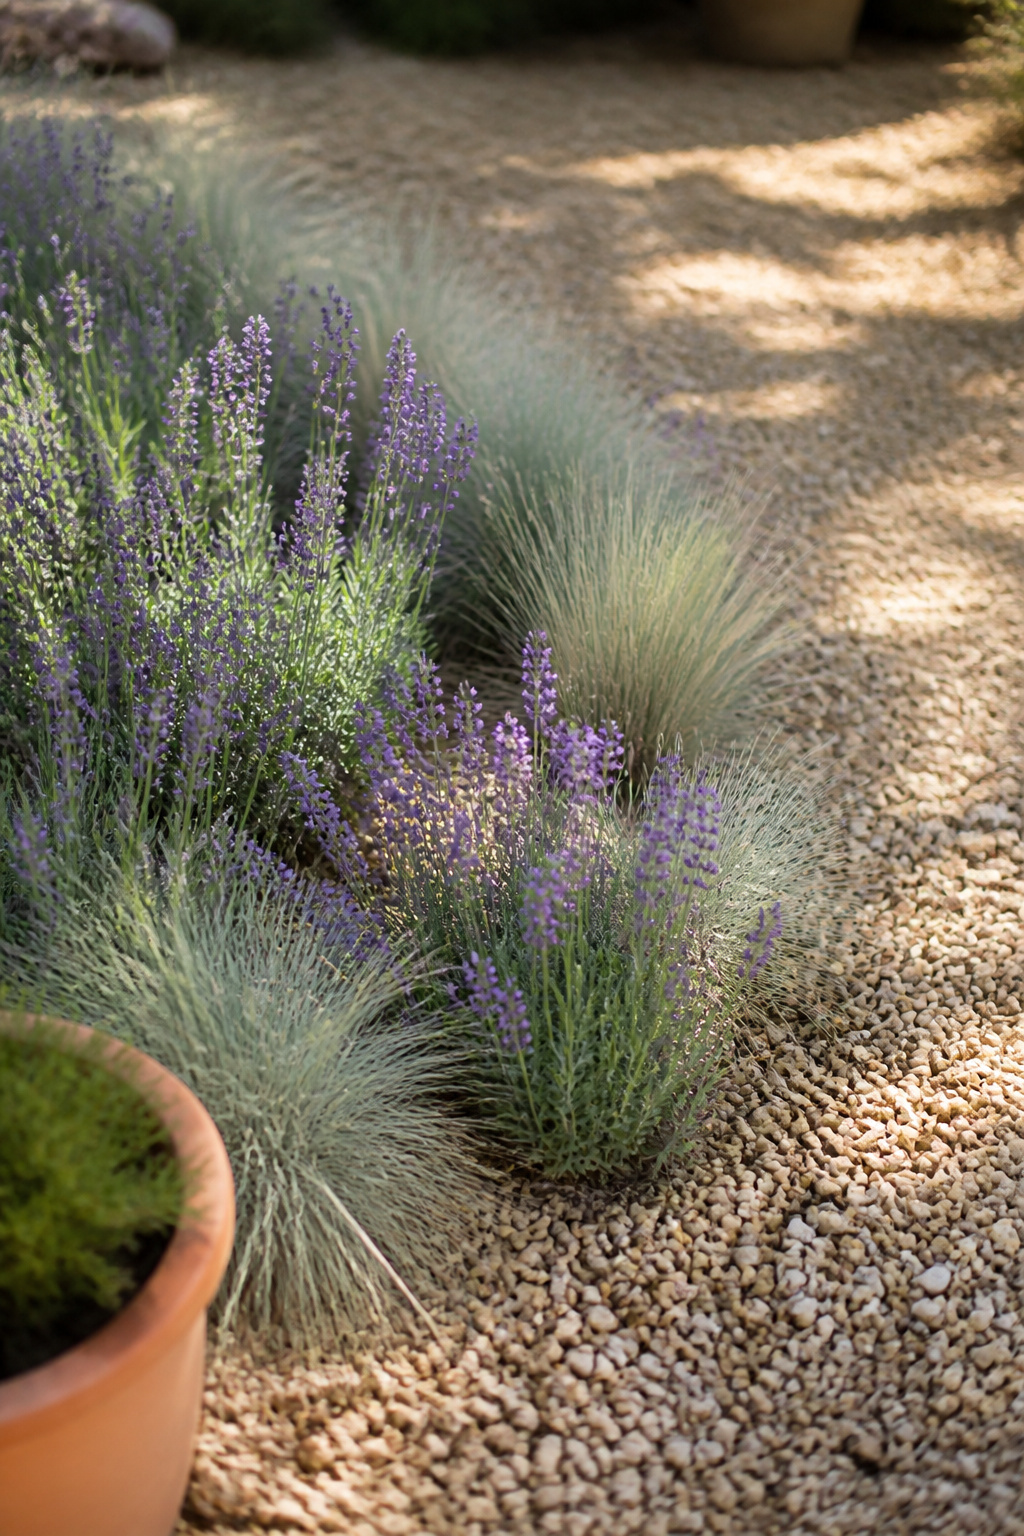
Bare stone has no height, no movement and nothing living, so the eye takes it for leftover hardscape. Treat the gravel as a planting medium, not just a finish — the best gravel gardens are deliberate compositions of stone and drought-tolerant plants, not a slab with pots parked on it.
Drought-tolerant, scented options that thrive in stone
Lean Mediterranean. Lavender genuinely thrives in dry, stony spots — compact varieties like ‘Blue Cushion’ or ‘Nana Alba’ for borders, larger ‘Grosso’ to fill space. Rosemary and santolina keep it company as low-water shrubs, and catmint such as Nepeta ‘Six Hills Giant’ spreads fast for early color. For texture and movement, ornamental grasses like Stipa gigantea and Stipa tenuissima catch the light and the wind. Planted as one palette rather than scattered singles, they read as intended.
Where planting pays off most
Spend your plants at the edges and sightlines, not the middle. A border of lavender and grasses along the gravel’s edge, or set back around a fire pit’s safe perimeter, softens the transition without breaking the non-combustible buffer. And a single anchor shrub — something architectural like Phlomis fruticosa — at the corner your eye lands on does more work than a dozen small plants spread thin. Aisha Patel, who designs for scent and calm, covers the full sensory palette in plants that soften a gravel patio.
The Gravel Patio Mistakes Worth Avoiding
Nearly every gravel patio problem I’m asked to fix comes down to one of three shortcuts. Get these right and most of the rest looks after itself.
Skipping the base and fabric
Laying gravel straight on unprepared soil is the classic. It gives you an uneven, sinking, weedy surface that drains poorly, and the fix is never cosmetic — it’s a compacted crushed-stone base several inches down, put in from the start. Skip the fabric and the trouble is slower but sure: weeds push up, and the stone works its way down into the soil over a season or two, thinning the layer you paid for.
Choosing the wrong stone for the use
Rounded pea gravel looks the part but shifts underfoot in a dining zone, where angular crushed stone in the half- to five-eighths-inch range holds a stable surface. And decomposed granite without a stabilizer struggles anywhere wet, going dusty in drought and sticky in rain. Match the stone to how the spot is used and the weather it takes, not to the prettiest sample in the yard.
Under-building the edge
A weak or missing border lets the whole patio spread and lose its shape — the edging holds the line, not the gravel. Just as often, the edge is there but set too low: flush with or below the gravel depth, so stone migrates over the top. It needs to sit slightly above the finished line to do its job.
Come back to those three questions — drainage, use, upkeep — and the whole guide collapses into a decision you can actually make. Pick your stone for how the space gets used and the weather it takes: pea gravel where feet go bare, angular crushed stone where furniture and rain land hard, decomposed granite for a dry, sunny run. Contain it with an edge set slightly proud of the fill, build the base before the beauty, and let planting soften the result. Above all, choose the version you’ll tend. Like that cedar deck and its yearly coat of oil, a gravel patio gives back the seasons you’re willing to give it — a rake and a bag of stone each spring, and it stays the corner you drift out to. Start this weekend with the two questions that actually decide it: watch where a hard rain runs off that spot, and notice whether you’d genuinely carry a coffee out there on an ordinary Tuesday. Answer both, and the rest of this guide is just execution.