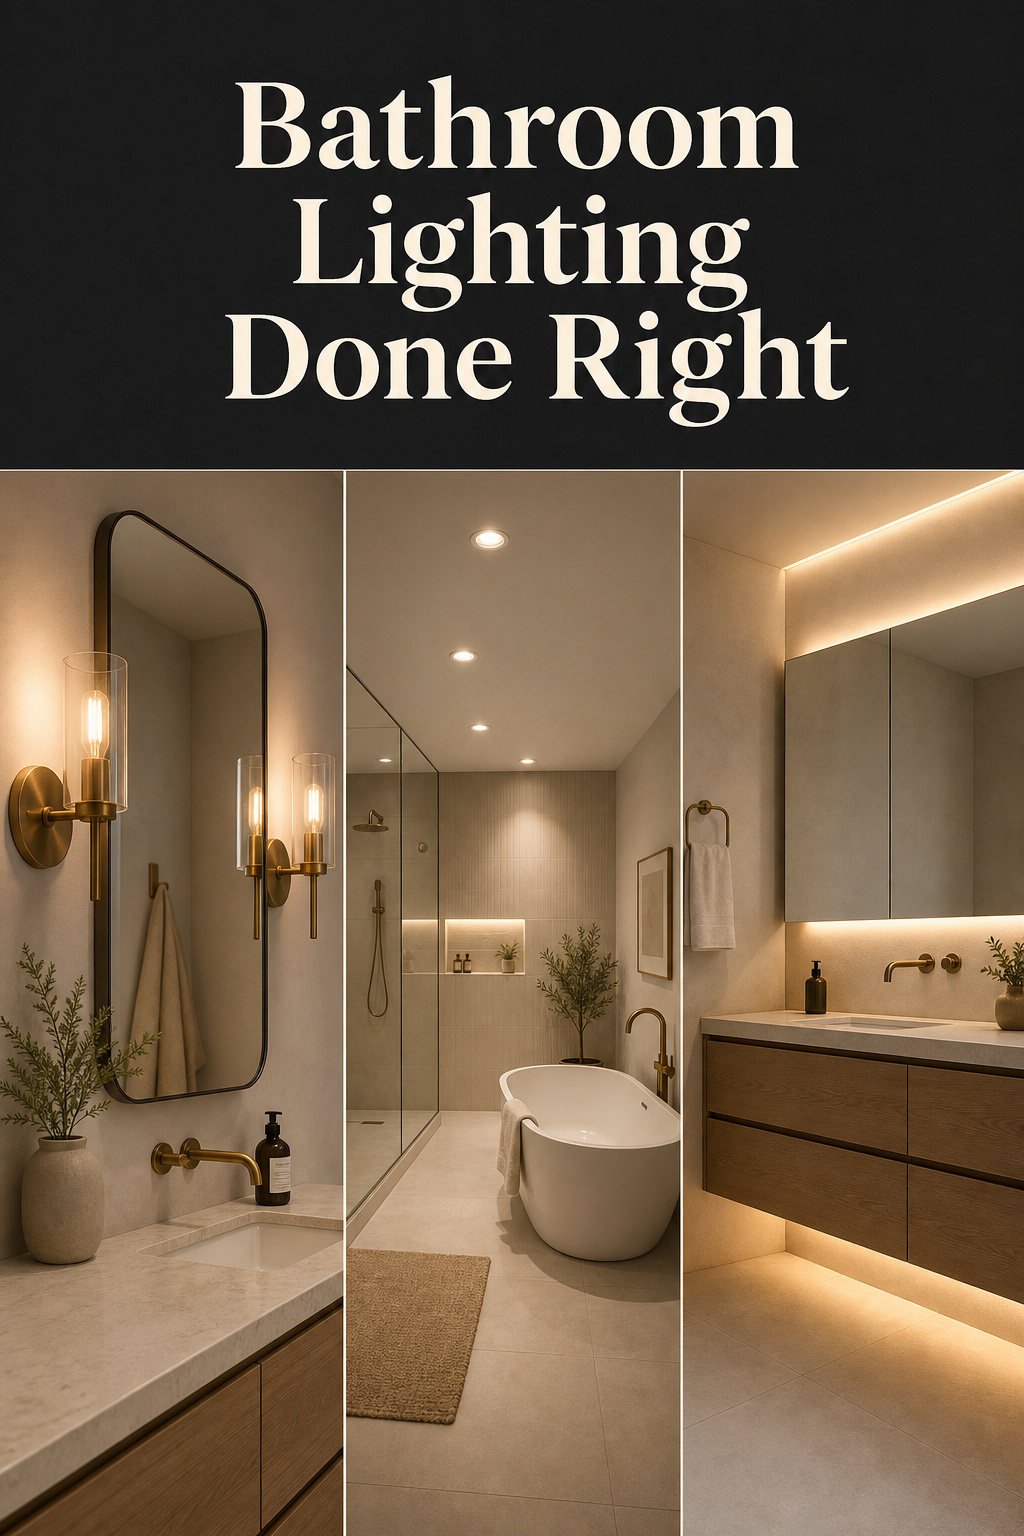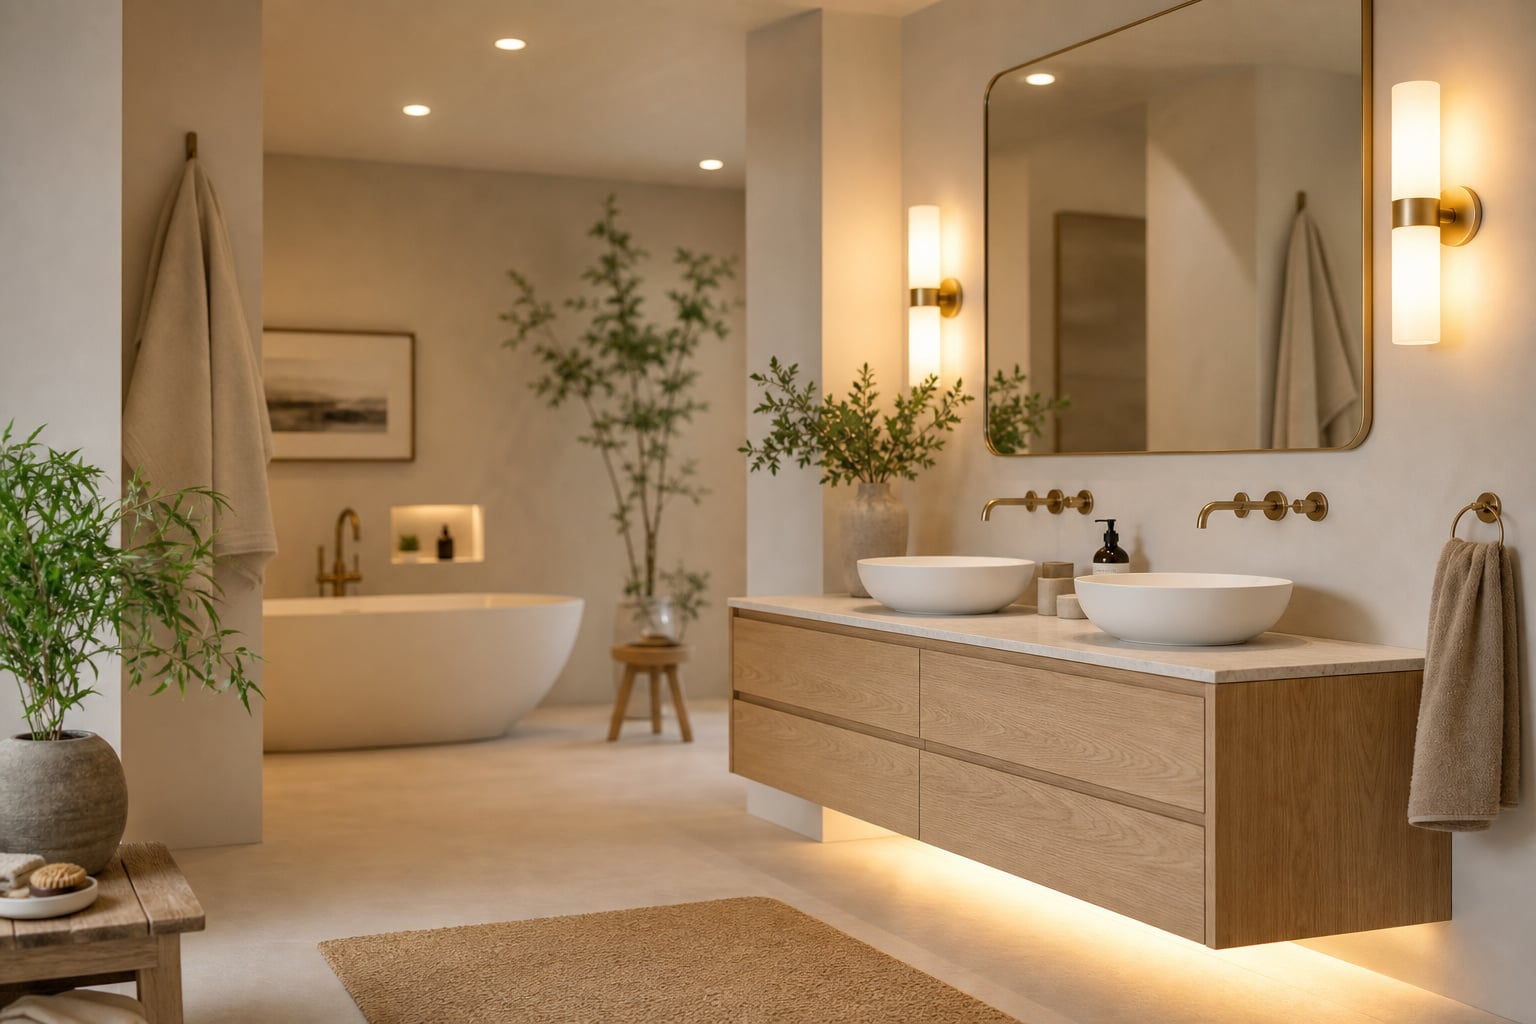

Light is the first material of any room, and the best bathroom lighting ideas start from that fact rather than from a fixture catalogue. In a winter country you learn it early, or you live badly: for much of December, the daylight reaching a Nordic window lasts fewer than seven hours, so everything you understand about a space — its warmth, its proportion, whether you want to be in it — arrives by artificial light. Scandinavian design never treats lighting as a finishing touch. It is the first decision, made before tile, before colour, before a fixture is chosen for how it looks.
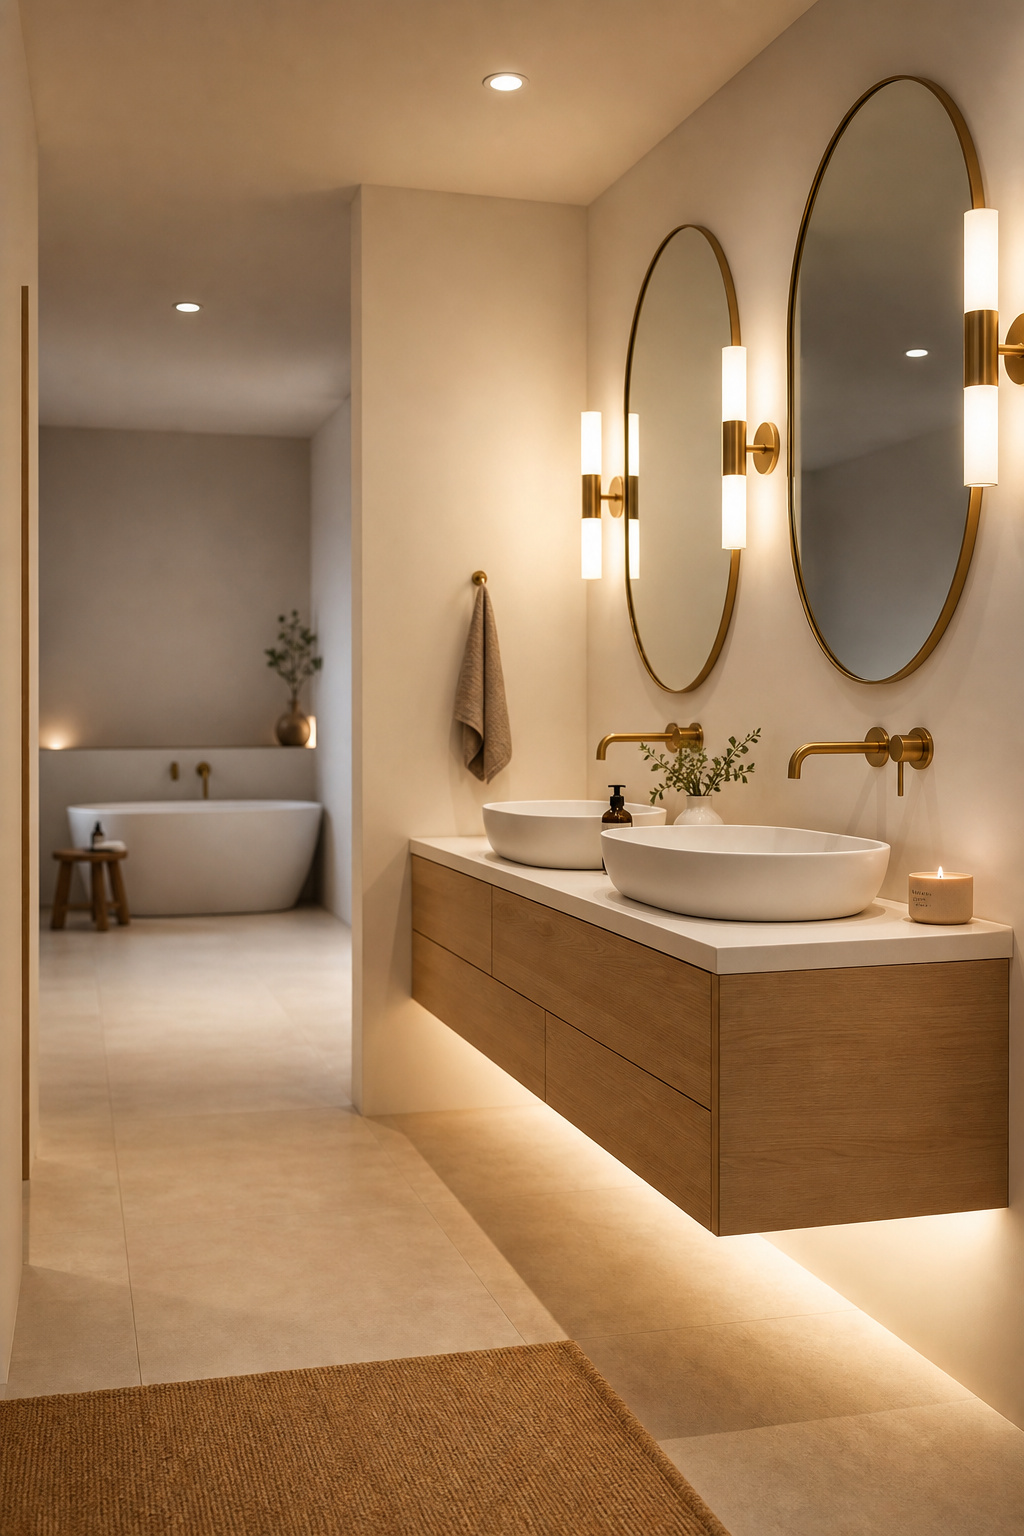
The bathroom is where this matters most and where it is handled worst. Almost always lit by one switch flicking one fixture, it can never shift from utility to rest. Good lighting here is a way of thinking: decide what each layer has to do, give each its own control, and the room will serve a 6am shave and a 10pm soak. This guide walks the whole scheme — layers, the numbers at the mirror, colour temperature, fixtures, wet-zone safety, small dark rooms, and evening mood — pointing you to the detailed guide for each.
Why Light Is the First Decision in Any Bathroom
A bathroom asks light to do things no other room demands in a tight space: read your own face accurately at the mirror, navigate wet tile safely, and unwind in the same four walls hours later. Choose lighting last, after the suite and tile are in, and the wiring has already decided what is possible. Choose it first, and the room can change character through the day.
The Nordic lesson: rooms designed for short winter days
Scandinavian interiors built their lighting philosophy around scarcity. When usable daylight is brief, artificial light stops being decorative and becomes the tool that governs how a room feels. The Nordic answer is layered, warm, controllable light — warm LEDs around 2700K, dimmable, never a single bright source doing everything. A second habit is worth borrowing: pale tile, white walls and light wood count as part of the lighting plan, because reflective surfaces multiply every fixture and let you reach a bright room with fewer lights. It is simply what you do when you cannot rely on the sun.
Why most bathrooms fail at the same moment — the single overhead switch
Walk into almost any standard bathroom and you find one fixture on one switch at the centre of the ceiling. That is the single most common lighting mistake, and it fails predictably. A downlight directly above the mirror casts light straight down, throwing hard shadows under the brow, nose and chin — exactly where you need to see for shaving or makeup. The same harsh wash is the only setting at 10pm, so the room can never shift from utility to rest. A brighter bulb does not solve this. The problem is not too little light; it is one source asked to do several incompatible jobs.
The three jobs light must do, and why one source cannot do all three
Lighting a bathroom well means recognising three separate tasks. Ambient light fills the whole room for safe movement. Task light serves the face at the mirror and must arrive from the side, not overhead, to erase shadows. Accent light adds depth and low-level warmth — the layer that lets a room feel considered after dark. These jobs want different brightness levels, different colour temperatures, and different moments of the day. One switch cannot calibrate them independently, which is why a single fixture cannot deliver good bathroom lighting, however good it is.
The Layered Approach: Ambient, Task and Accent on Separate Controls
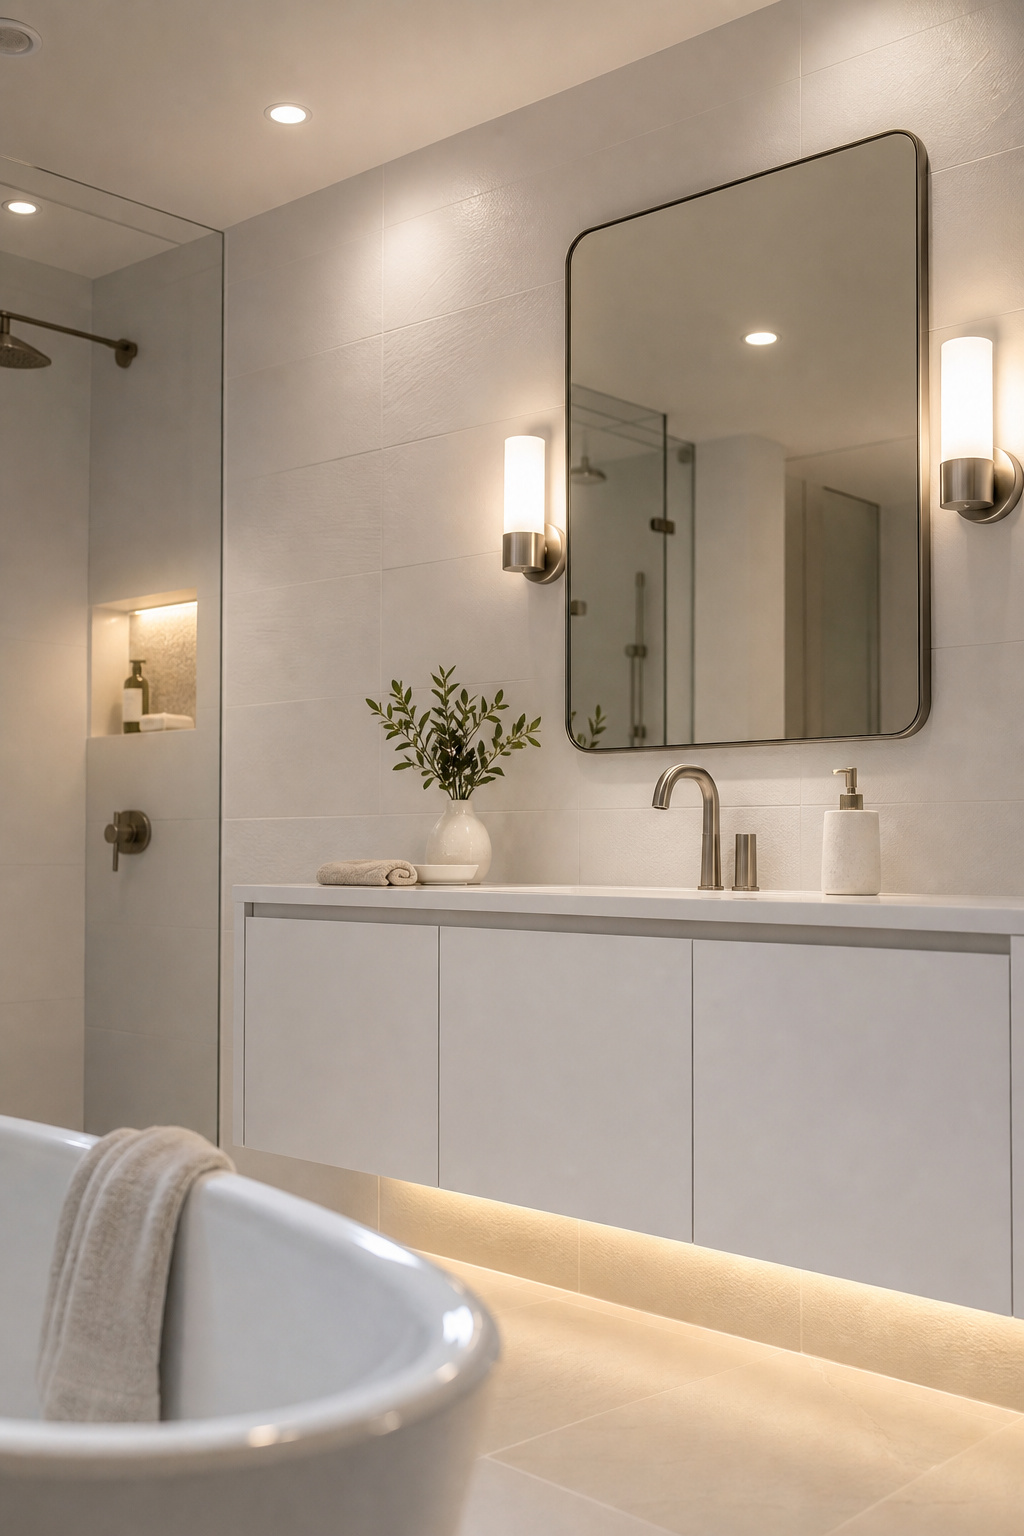
The layered scheme is the spine of every bathroom lighting idea worth having. Rather than one fixture trying to do everything, you assign each job to its own source and its own control. The point is not more fixtures — it is each fixture doing one thing well. For the full layout-and-wiring treatment, that is where to build it in layers in depth. Here is the scheme at a glance.
| Layer | Source type | Control | Job it does |
|---|---|---|---|
| Ambient | Recessed downlights or flush mount | Dimmer | General room fill for safe movement |
| Task | Flanking sconces or vanity bar at the mirror | Own switch | Shadow-free light on the face |
| Accent | LED strip, cove or directional spot | Own switch or dimmer | Depth and warm evening glow |
The row that earns its keep first is the task layer. Get that wrong and no amount of ambient light rescues the mirror; get it right and the room is already most of the way there.
Ambient light: ceiling and recessed sources for the whole room
Ambient light is the foundation, delivered by recessed downlights or a flush ceiling mount and aimed at even fill rather than brightness on any one surface. The working target is 70 to 80 lumens per square foot, so a 60-square-foot bathroom wants roughly 4,200 to 4,800 total lumens across all sources. For recessed spacing, a simple rule holds: divide the ceiling height in feet by two for the maximum gap. On a standard 8-foot ceiling, that means downlights about 4 feet apart. Where ceiling depth is too shallow for a housing, a damp-rated flush mount does the same job.
Task light: the face-level layer for the mirror and grooming
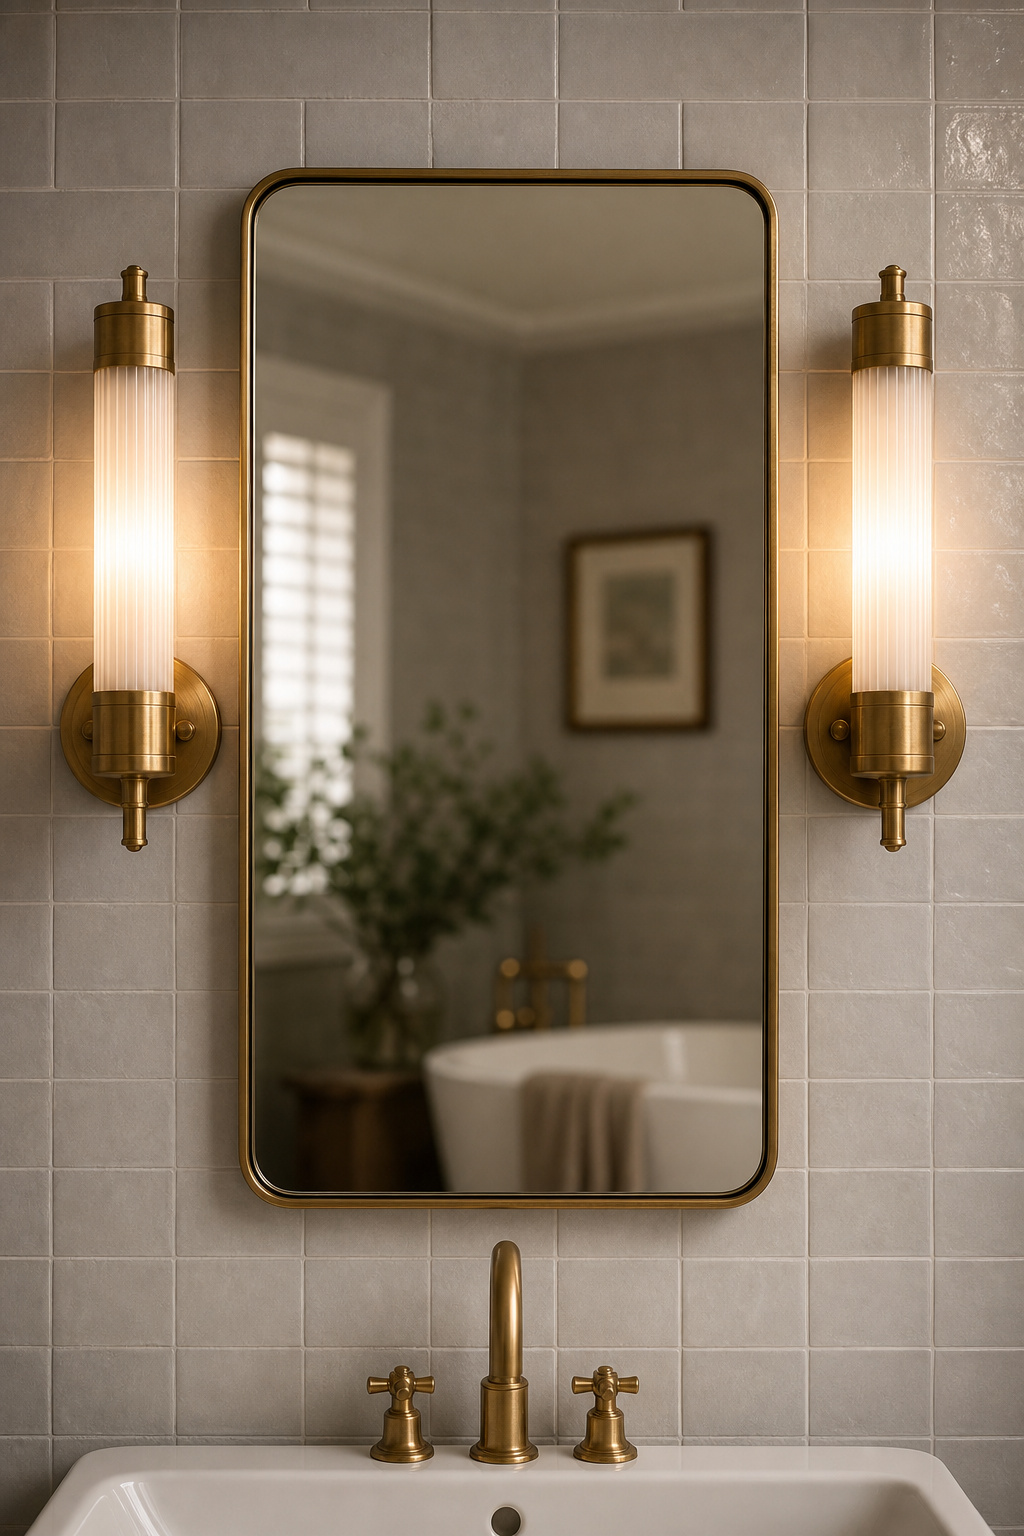
Task light decides whether the face in the mirror is one you can trust. It has to reach the face from the side. A pair of sconces flanking the mirror lights both sides at once and erases the under-brow and under-chin shadows a ceiling source creates, which is why designers favour flanking placement over anything mounted above. Mount the sconce centres around eye level — the NKBA range is 60 to 70 inches from the floor, 60 to 66 the sweet spot — and space them 36 to 40 inches apart, tightening to 28 to 30 inches where the wall is narrow.
Accent light: depth and warmth that ambient cannot reach
Accent is the layer most often left out and the one that most changes how a room feels after sunset. A warm LED strip under a floating vanity, a spot grazing a tile wall, a small light by a freestanding bath — none of it is meant to illuminate a task. Its job is depth and a low glow; without it, a bathroom reads flat once the overhead is off. Keep accent warm, around 2700K, so it never competes with the cooler light at the mirror.
Why each layer needs its own switch — not a single dimmer
Separate controls turn three fixtures into one flexible room: task light alone for a focused morning routine, ambient and accent without the task layer for an evening bath, all three up for cleaning. A single dimmer on a shared circuit cannot do this, because it moves every light together. Of all the controls, a dimmer on the ambient layer returns the most — it turns a fixed bright ceiling into an adjustable mood tool without changing a fixture. In a rewire, the clean solution is a stacked switch plate at the door: each layer on its own line, all reachable from one spot.
Getting the Vanity and Mirror Lit Right
If you fix only one thing in a bathroom, fix the light at the mirror. It is the source you stand under every day with a razor or a brush, and it carries the most concrete numbers in all of bathroom lighting. Full placement and install detail — boxes, wiring, double-sink layouts — lives in the guide to get the vanity and mirror lighting right. The rules below are consistent wherever bathrooms are planned.
Side sconces versus an over-mirror bar: what each does to shadows
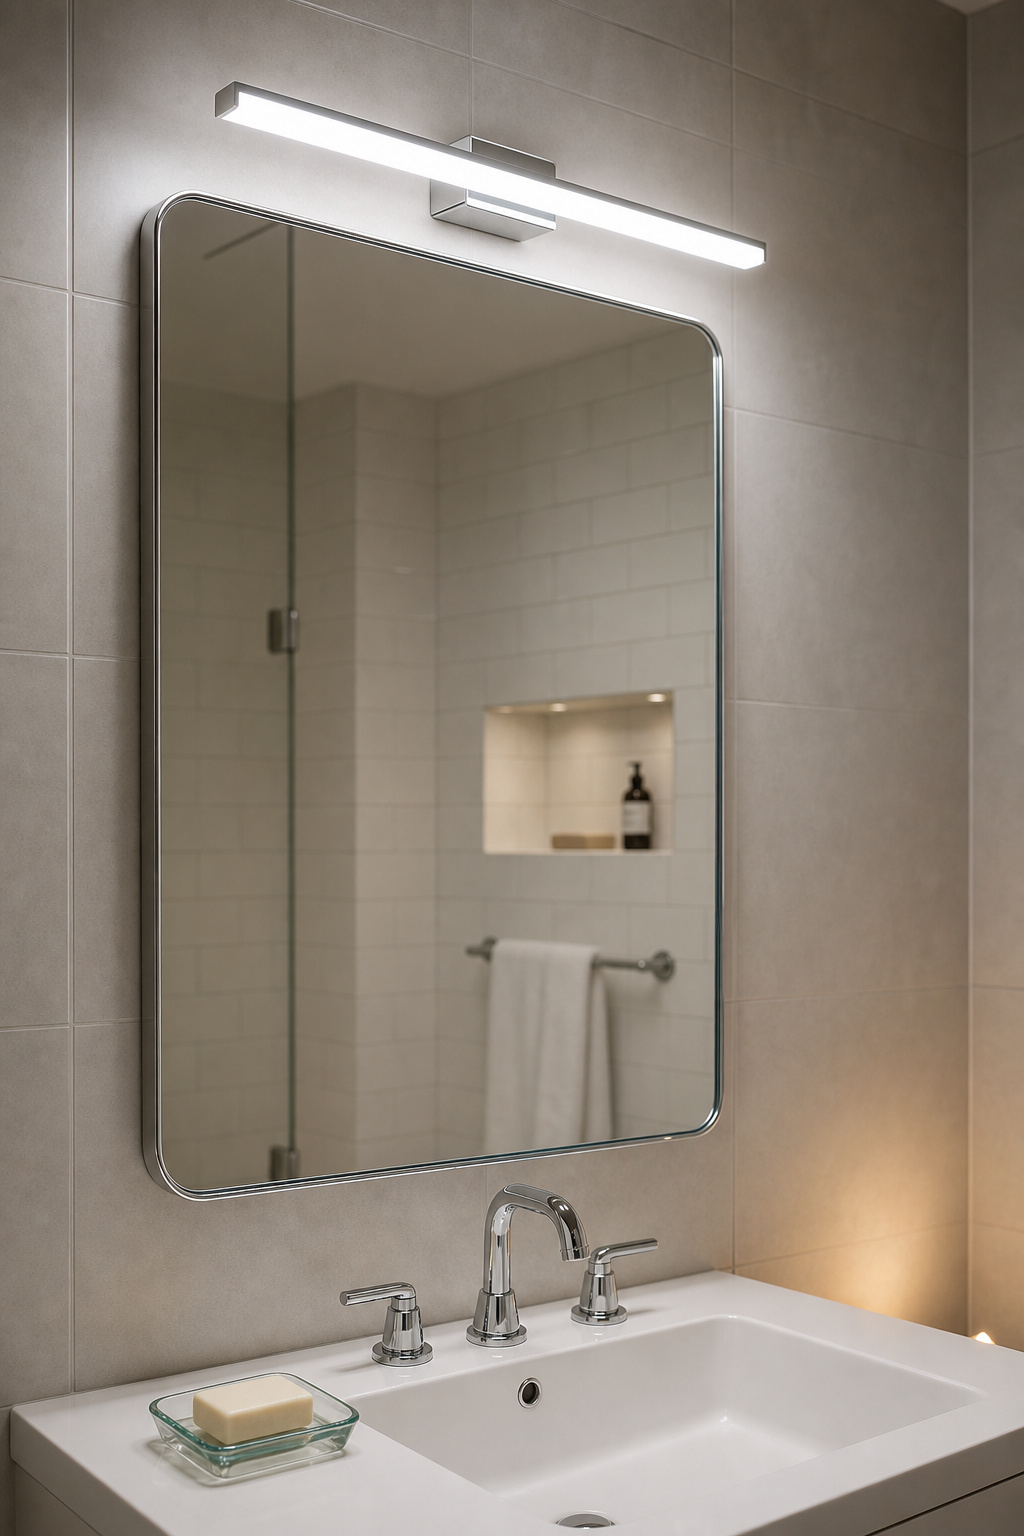
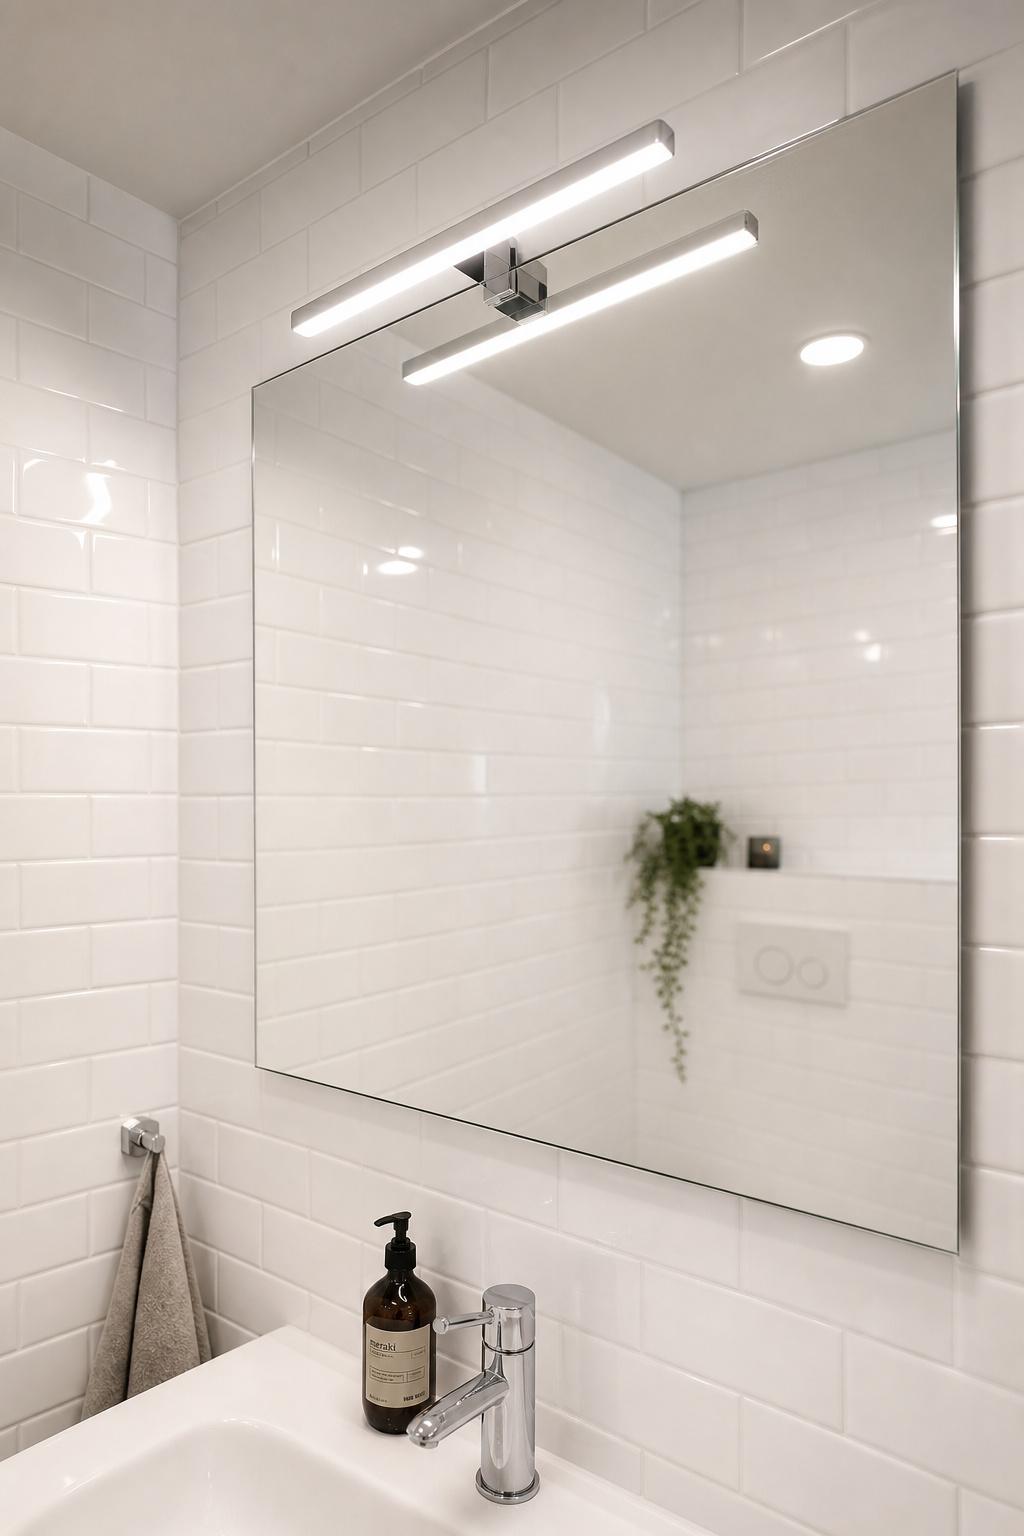
Flanking sconces win on grooming, every time. Lighting the face from both sides at once removes the shadows under the eyes, nose and chin that any single source casts. An over-mirror bar is the sensible alternative where there is no wall room beside the mirror; it throws slightly more downward shadow but sits in the same horizontal plane as the face, far better than a ceiling fixture alone. The one arrangement to avoid is a single sconce on one side, which simply shifts the shadow to the other half of the face.
Height and spacing at a glance: the numbers that matter
The numbers are worth committing to memory because they rarely change. Sconce centres go 60 to 70 inches off the finished floor, with 60 to 66 inches the NKBA sweet spot for eye-level light — roughly 24 to 30 inches above the counter. Space flanking sconces 36 to 40 inches apart, or 28 to 30 inches in a tight space, and size each to about 25 to 30 percent of the mirror width. An over-mirror bar mounts higher, at 75 to 80 inches from the floor, sized to about 75 percent of the mirror width and never wider than the mirror itself.
Why the vanity is the most important light in the room
The vanity light is where lighting quality is felt immediately: it decides whether makeup matches in daylight, whether shaving is safe, whether the reflected face looks like the one the world will see. A correctly placed sconce at the wrong colour temperature still gets it wrong — light with a low colour rendering index makes skin read off and foundation read as the wrong shade. Placement and colour both have to be right, which leads to the next decision.
Choosing Colour Temperature and CRI for the Real Work
Brightness is only half of a light’s quality. The other half is colour: the warmth of the light, measured in Kelvin, and how truthfully it renders the colours it falls on, measured as CRI. The full guide to choosing colour temperature and CRI goes deeper on reading a bulb box and matching Kelvin to materials. At survey level, it comes down to two regimes.
| Use | Colour temperature | CRI | Where it belongs |
|---|---|---|---|
| Ambiance and evenings | 2700–3000K (warm) | Any | Ceiling ambient, accent, bath zone |
| Grooming and makeup | 4000–5000K (neutral-cool) | 90+ | Task light at the mirror |
The mistake to avoid is using one warm temperature everywhere and then wondering why makeup looks different outdoors.
2700–3000 K: warm ambiance for evenings and long soaks
Warm white in the 2700 to 3000K range is the amber-leaning light of old incandescent bulbs, and it belongs on the ambient and accent layers. It flatters skin, animates warm materials like timber and stone, and suits the bath zone, where it suppresses very little melatonin before sleep. Its limitation is grooming: the yellow bias makes it hard to tell navy from black and can make makeup read heavier than it is. So warm light earns the room, not the mirror.
4000–5000 K with CRI 90+: what accurate grooming and makeup actually need
For the mirror, you want a neutral-cool 4000 to 5000K source with a CRI of 90 or above. Kelvin sets the tone; CRI sets the truth. CRI measures how faithfully a light reveals colour against natural daylight, and below 80 it distorts skin tone enough to cause visible mismatches once you step outside. The galleries that light fine objects treat 90 as a minimum and 95 as best practice — and at the vanity the object being rendered accurately is your own face. Of the two task temperatures, 5000K is the most accurate but can feel clinical alone; 4000K is the practical compromise, clean and bright without the blue sterility.
Mixing warm ambient with crisp task light in the same room
The professional move is to mix temperatures by zone, not within a fixture: warm ambient and accent overhead, neutral-cool task at the mirror. Never put two different Kelvin bulbs in the same bar — the result is jarring. The mixing happens between positions, not inside a fixture. If you would rather not run two regimes, tunable-white fixtures and backlit mirrors now let a single unit shift from warm evening to cool morning on a dimmer.
Fixture Types: What Each One Is Actually For
A fixture earns its place by doing a job before it earns it by looking good. Full buying detail lives in the guide to choosing modern light fixtures. This is the short version: what each type is for, sorted by the layer it serves.
Recessed downlights and flush mounts for ambient
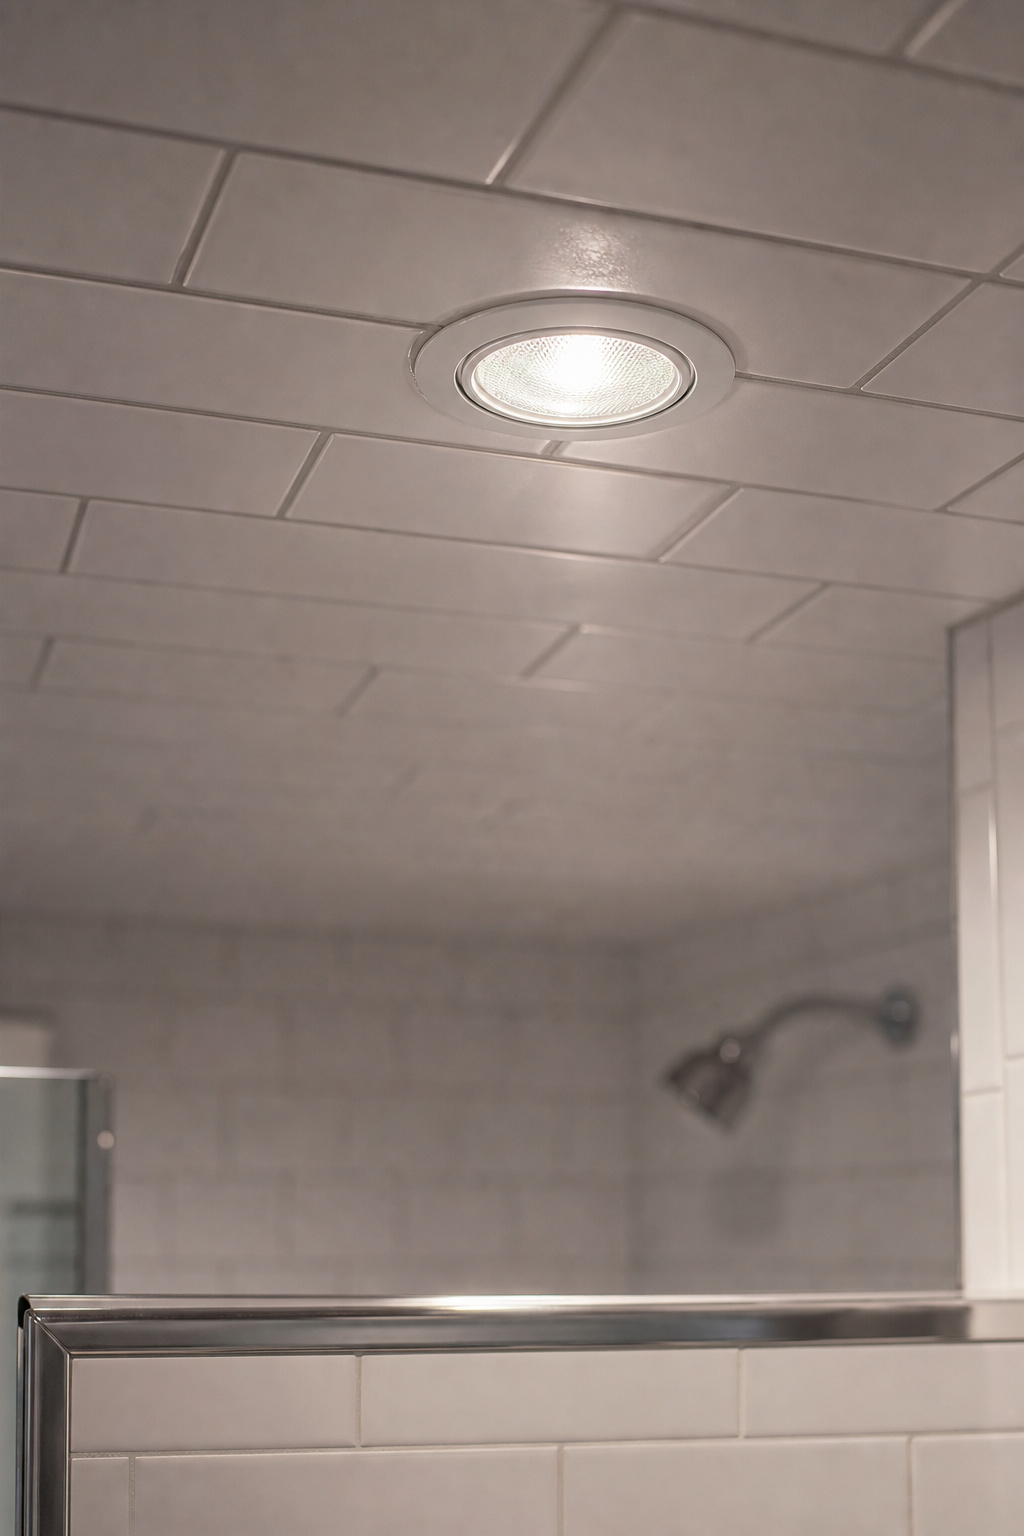
Recessed downlights are the default ambient fixture in modern bathrooms: they sit flush, resist moisture, and spread even light across the floor. Canless integrated LEDs — driver and module in one unit, fitted straight into drywall — have become the standard format because they need little ceiling depth. Where there is none, a damp-rated flush mount does the same work. One restriction: the NEC requires at least 8 feet of clearance between the top of the tub walls and the lowest point of any hanging fixture, which rules out a pendant over the bath in most rooms.
Sconces, vanity bars and pendant drops for task and accent
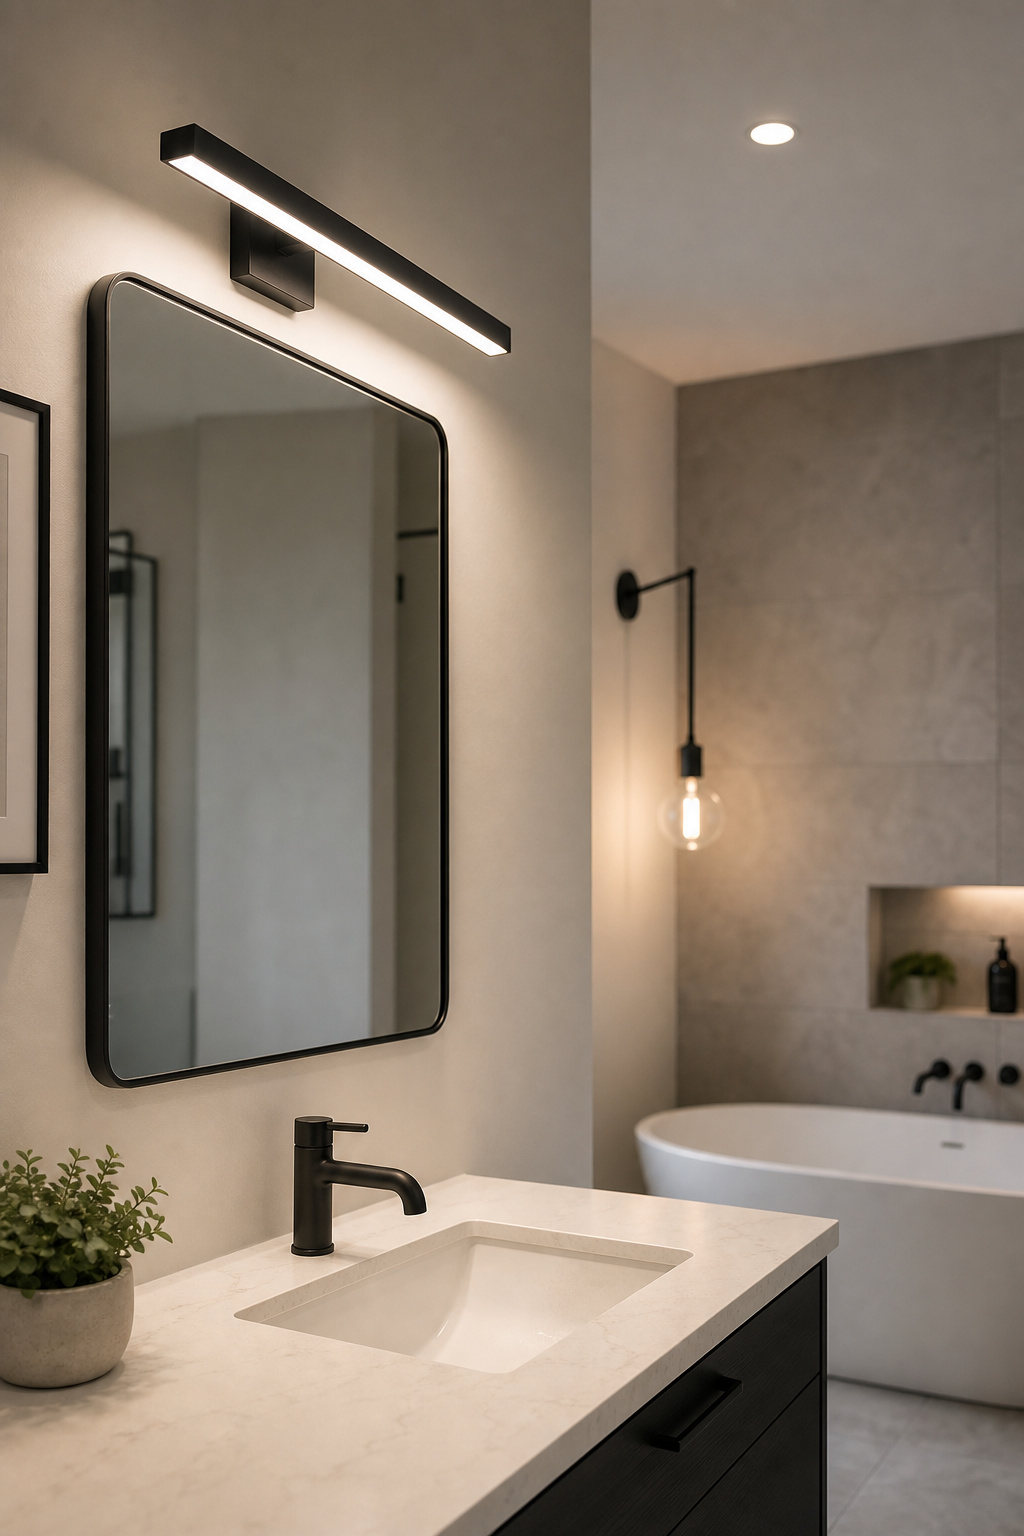
The task and accent layers are where sconces, bars and pendants live. A vanity bar above the mirror is the most common task fixture — about 75 percent of the mirror width, mounted at 75 to 80 inches. Flanking wall sconces at 60 to 66 inches beat it for most faces, sitting level with the face rather than above it. A pendant can serve both task and accent in the right room — a single drop in a powder room, or a pair beside a freestanding mirror. Used for accent, a sconce can sit lower, around 48 to 52 inches, to graze a tub surround with warmth instead of lighting a face.
Matching finish and form to the room without visual noise
Finish is where bathrooms most often go cluttered. The contemporary range runs to brushed brass for warmth, matte black for graphic contrast, and brushed nickel as a cool neutral, with chrome quietly declining. Mixing two finishes can work, but one must dominate — roughly 60 to 70 percent of the metalwork — and the other accent it; three or more read as noise. Because most people redo a bathroom every five to ten years, choose form over fashion: a quiet fixture that still looks right in a decade beats this year’s focal piece you will tire of in two.
Wet-Rated, Damp-Rated and Why the Zone You’re In Decides
Where a fixture goes decides what it has to be. A bathroom is not one location but several, defined by how much water reaches them — and matching a fixture’s rating to its zone is a safety requirement, not a preference. The full code-and-shower treatment is in the guide to wet-rated fixtures and shower safety. Treat the basics below as the reason to read it.
The three moisture zones in a bathroom — what each allows
Think of the room in three bands. A dry location is the standard indoor rating, never acceptable anywhere in a bathroom. A damp location covers most of the ceiling outside the shower and tub — areas that see condensation and indirect moisture but no direct spray, where fixtures must be marked “Suitable for Damp Locations.” A wet location is anywhere water lands directly, inside the shower enclosure and directly over an unscreened tub, where only fully sealed, gasketed fixtures marked “Suitable for Wet Locations” belong. UK readers will know the same idea as the BS 7671 numbered zones; the principle is identical even if the labels differ.
IP44 near the sink, IP65 in the shower: the basics
As an industry rule of thumb, IP44 is the working minimum for the damp parts of a bathroom — the vanity and general ceiling — protecting against splashes from any direction. Inside the shower, the practice steps up to IP65, dust-tight and sealed against water jets. A useful safety habit: a wet-rated fixture can always stand in for a damp-rated one, never the reverse, so when a boundary is uncertain, choose the higher rating. These IP figures are industry shorthand for matching a fixture to its zone, not a code citation.
GFCI protection: the code requirement that saves more than the fixture
One rule covers all bathroom receptacles. Under NEC 210.8, every bathroom outlet must be GFCI-protected — the mandate is for receptacles, not hardwired light fixtures directly, though a GFCI breaker at the panel covers everything on the circuit, fixtures included. That is the clean solution when wiring a new lighting circuit: one GFCI breaker, one point of protection. The NEC also prohibits cord-connected, chain- or cable-hung fixtures, lighting track and ceiling fans within 3 feet horizontally and 8 feet above a tub or shower, even when the fixture is wet-rated. That is a code line, not a style opinion — and a good reason to read the full safety guide before wiring near the water.
Lighting a Small or Windowless Bathroom Without Making It Worse
A small or windowless bathroom fails in a specific way, and the instinct most people reach for makes it worse. The full set of fixes is in the spoke on lighting a small or windowless bath. The principle is short: distribute the light, do not concentrate it.
The single-harsh-overhead mistake and how it shrinks a room
One bright fixture in the centre of a small ceiling produces high contrast: bright in the middle, shadowed at the edges and corners. The eye reads those dark corners as the boundary of the room, so the space feels smaller, not brighter. A window would soften this by midday; a windowless room has no such relief. Adding a more powerful bulb only deepens the contrast. The fix is to spread the same light across two or three smaller sources so it reaches the corners.
Layering in a tight footprint: compact solutions that still separate the jobs
The three-layer scheme works in 40 square feet, just in miniature: one recessed ambient downlight, a compact vanity bar or a pair of sconces, and a single LED strip for accent — three jobs, three controls. For a windowless bathroom, a cooler daylight-range ambient can help counter the cave-like quality of a room with no sun, paired with warmer task light at the mirror. Treat that suggestion as directional rather than a fixed spec; the right temperature depends on the room. Where there is no wall for flanking sconces, a backlit mirror serves task and accent from one position.
One large mirror and reflective surfaces as multipliers
The cheapest brightness in a small bathroom adds no watts at all. One large mirror beats several small ones, because a single surface bounces light across the full width of the room; placed opposite the main light source, it throws that light back into the space. Glossy tile, clear glass shower doors rather than frosted, polished fixtures and pale paint with a light reflectance value above 70 all multiply what each fixture gives you. In a windowless room, paint colour is a lighting decision as much as a design one.
Setting a Spa Mood: Dimmers, Warm Light and Evening Ritual
The same bathroom that grooms you in the morning can settle you at night. The difference is mostly control. The full wellbeing treatment — glow, candle layers, lighting the tub zone — is in the guide to set a spa-like mood. Here are the two moves that matter most.
Why a dimmer is the highest-return upgrade in a bathroom
A dimmer on the ambient circuit is consistently named the single most cost-effective lighting upgrade in a bathroom, and it changes nothing about the fixtures. At full output the ambient layer handles morning navigation; dimmed to 20 to 30 percent, the same ceiling light becomes an evening wash that lets the task layer carry the useful light. One switch, two different rooms. In a rewire, putting both the ambient and the bath-zone light on their own dimmers gives three adjustments for three times of day.
Warm low light for evenings: the temperature and lumen targets
For an evening atmosphere, drop the ambient to the warm 2700 to 3000K range and bring total output low — roughly 200 to 400 lumens across the room, enough to move safely but low enough to genuinely relax. Treat that lumen figure as a directional target rather than a published standard; the right level depends on the room and the eye. Warm light here is a wellbeing choice as much as an aesthetic one, since it suppresses little melatonin in the hour before sleep. Dim-to-warm LEDs, which shift toward 2200K as they dim, mimic an incandescent bulb fading down.
Backlit mirrors and concealed LED as a soft-glow alternative
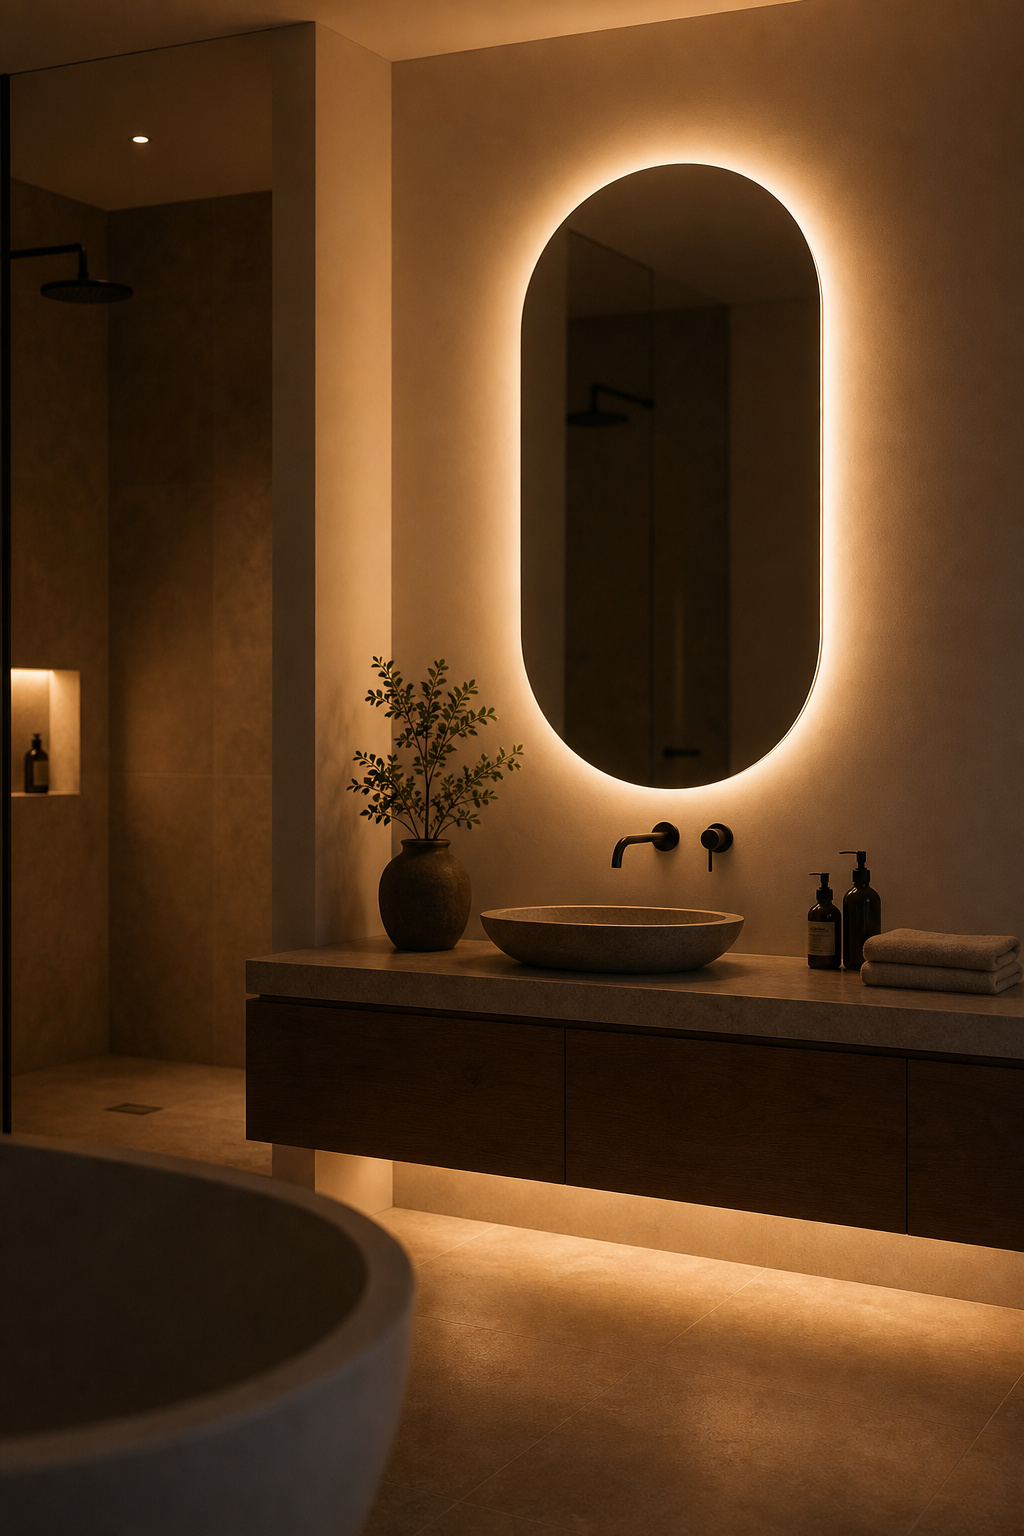
Where you would rather not run a separate accent fixture, a backlit mirror does the work of two layers — a soft halo that serves both basic evening tasks and a warm glow in the room. For real use rather than decoration, aim for at least 800 lumens. Concealed LED strip under a floating vanity or in a ceiling cove gives the same indirect, sourceless glow that reads as high-end, with no visible lamp in the sightline to create glare.
A Bathroom Lighting Plan That Lasts Ten Years
Everything above becomes a plan when you settle four decisions in the right order — before buying a fixture, not after. The order matters because wiring, once buried behind tile, fixes what is possible for the decade. Settle the scheme, then shop.
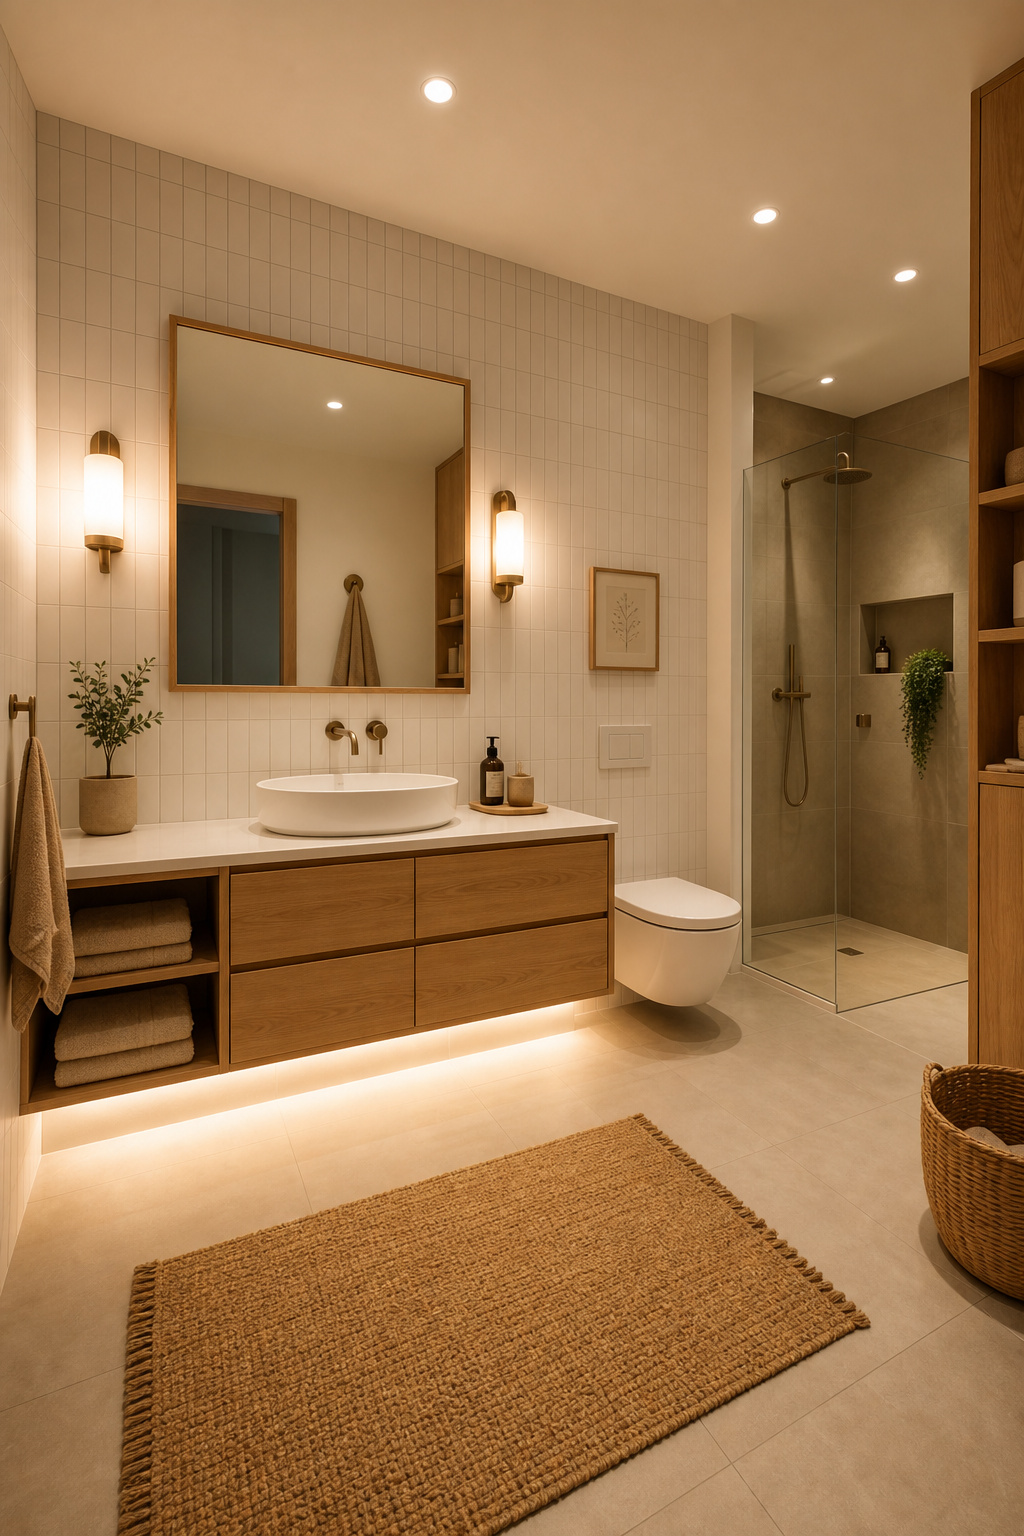
- Zone layout — where ambient, task and accent sit, mapped against the wet and damp zones so every fixture’s rating matches its position.
- Control strategy — which layers get dimmers (ambient and bath zone at minimum), decided before rough-in so wiring serves the scheme.
- Colour temperature — warm ambient at 2700 to 3000K, neutral-cool task at 4000K with CRI 90+, confirmed before buying, since many integrated fixtures cannot be changed later.
- Finish and scale — one primary metal finish, each fixture sized to the mirror and the room.
What to prioritise when budget is limited
When the money is short, the order is clear. Fix the task light at the vanity first; poor face light has the most daily impact and nothing compensates for it. Next, add a dimmer to the ambient circuit — under $30, and the highest return of any single upgrade. And if the walls are open for any reason, spend on the wiring: separate circuits and GFCI protection cost far less at rough-in than a rewire later, and they decide what the room can do for ten years.
The one number that tells you if a scheme will work: the dimmer test
One test tells you whether a scheme has the range it needs. Dim the ambient layer to 20 to 30 percent while the task lights stay bright. If the room reads as a soft, comfortable glow, the scheme works — it serves both morning and evening from the same fixtures. If the room feels unpleasantly dark even with task lights on, the ambient is under-powered; add lumens rather than removing the dimmer. If the ambient cannot come down without the room feeling poorly lit, the task layer is not bright or well-placed enough to carry it — reposition before accepting the limitation. Pass that test, and the room works under a razor at dawn and in candlelight at night.