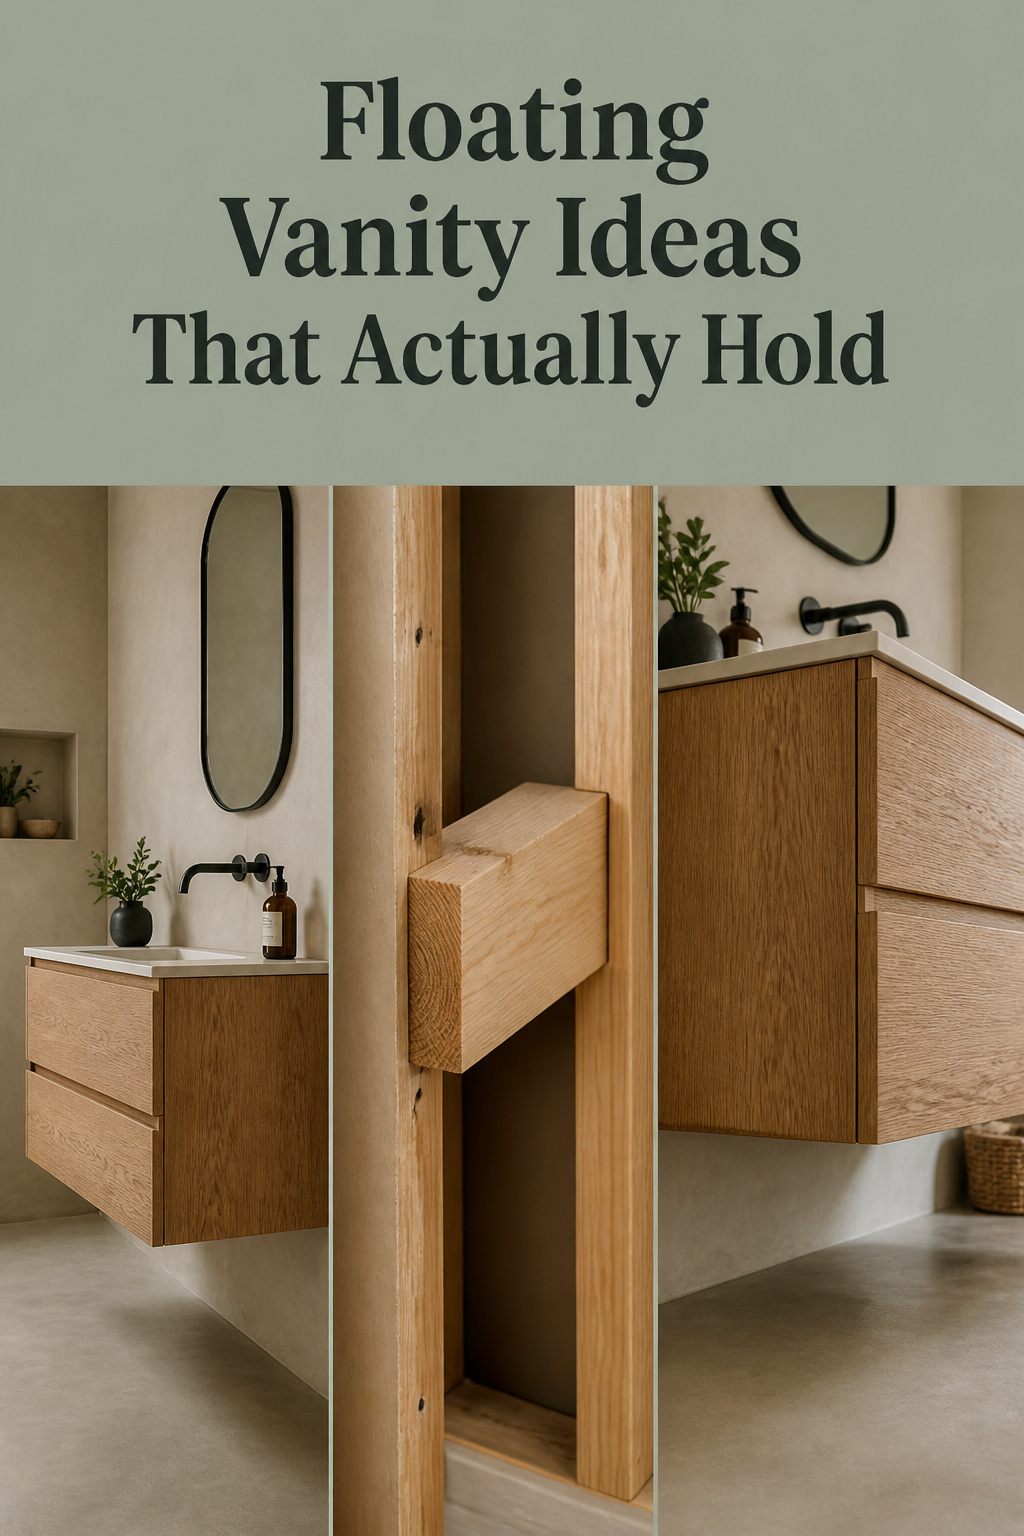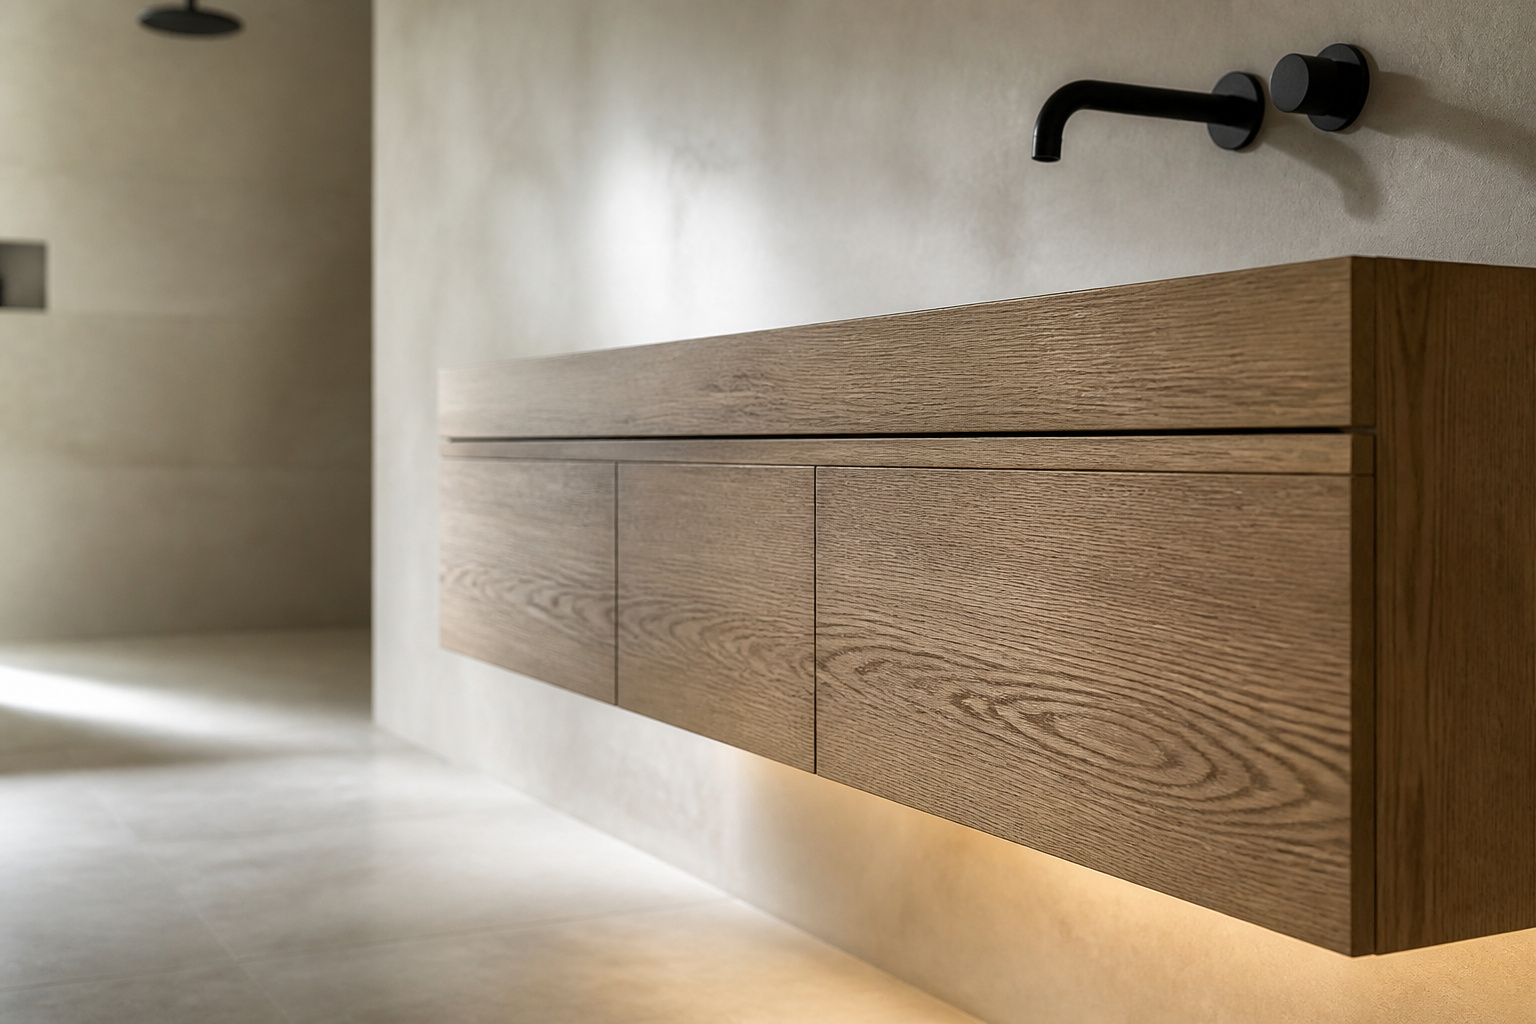

The belief I hear constantly about floating vanity ideas is that a wall-hung cabinet is either a gimmick that will sag by spring, or a job that means opening the whole wall. Neither is true. Hanging one is a structural install, and what holds it up is a piece of lumber you never see again once the plaster goes back.
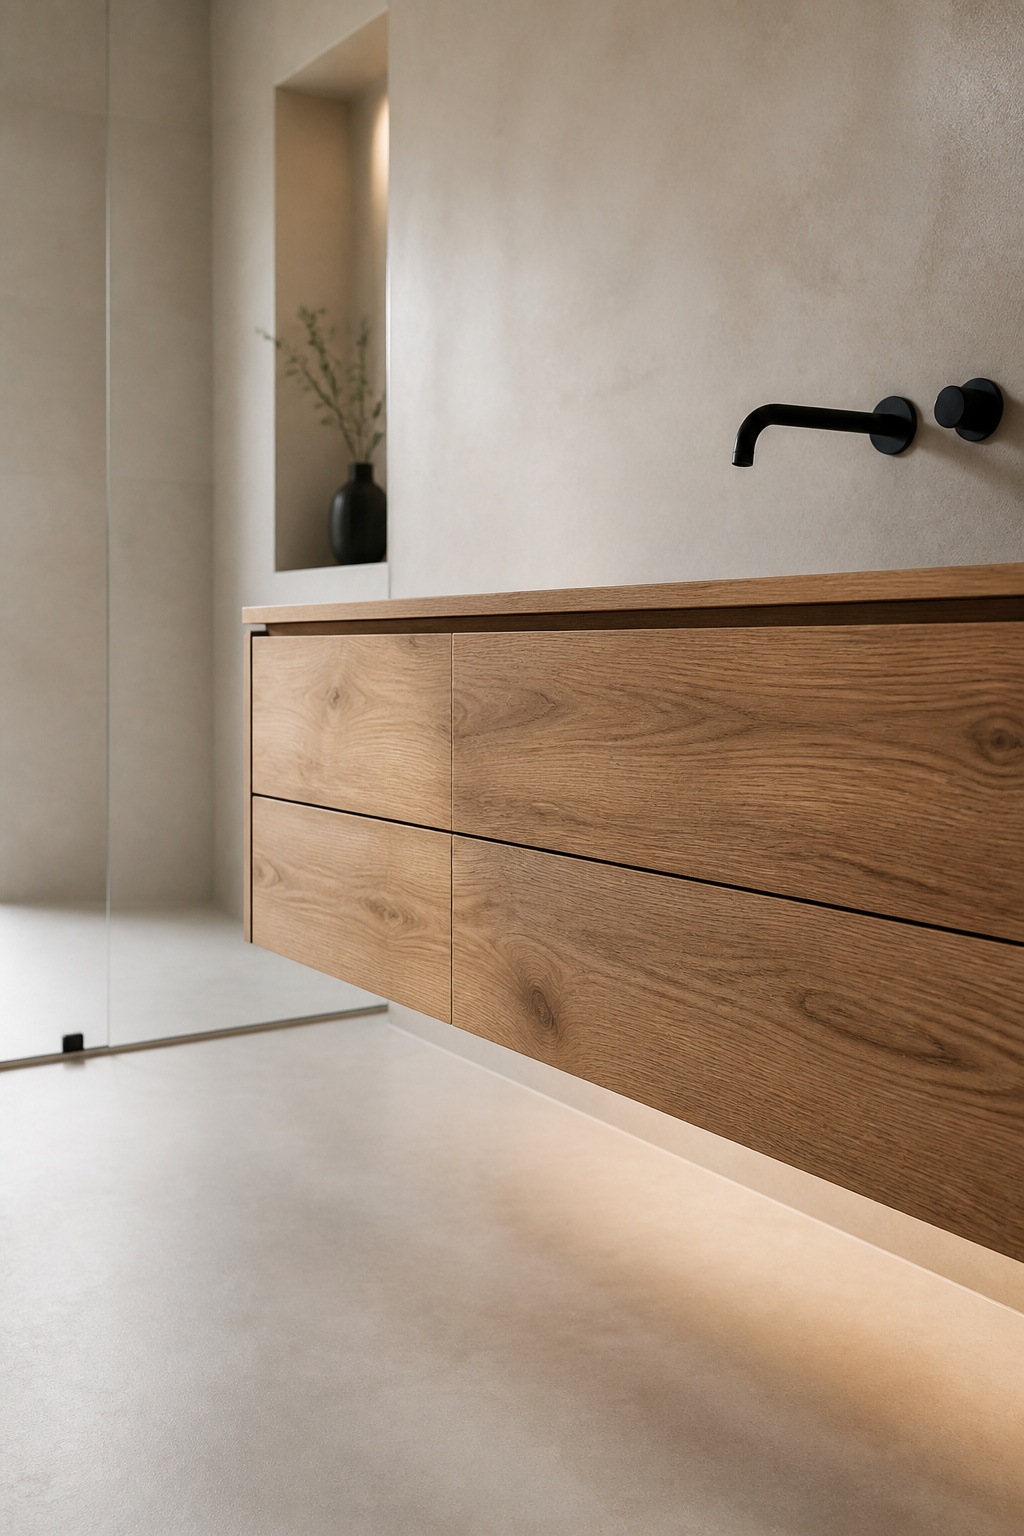
TL;DR
- Blocking is the install: 2×6 or 2×8 lumber fixed horizontally between studs at the exact mounting height, into two studs minimum, three at 48 inches and wider.
- Published capacities run from a cautious “up to 220 lb” to one manufacturer’s 450–500+ lb for its widest units. None is code-backed, so build for twice the loaded weight.
- Blocking retrofits through a small access opening with the rest of the wall left intact, and the wall’s condition decides the scope of the job far more than the cabinet you buy.
What holds a floating vanity to the wall
A vanity hangs on the frame inside the wall, whatever the surface in front of it looks like.
Blocking and stud work, explained plainly
Studs in a load-bearing wall sit 16 inches on centre, and non-load-bearing partitions may run 24 inches on centre under IRC R602.3.1. That spacing is why a cabinet’s mounting points so rarely land on framing.
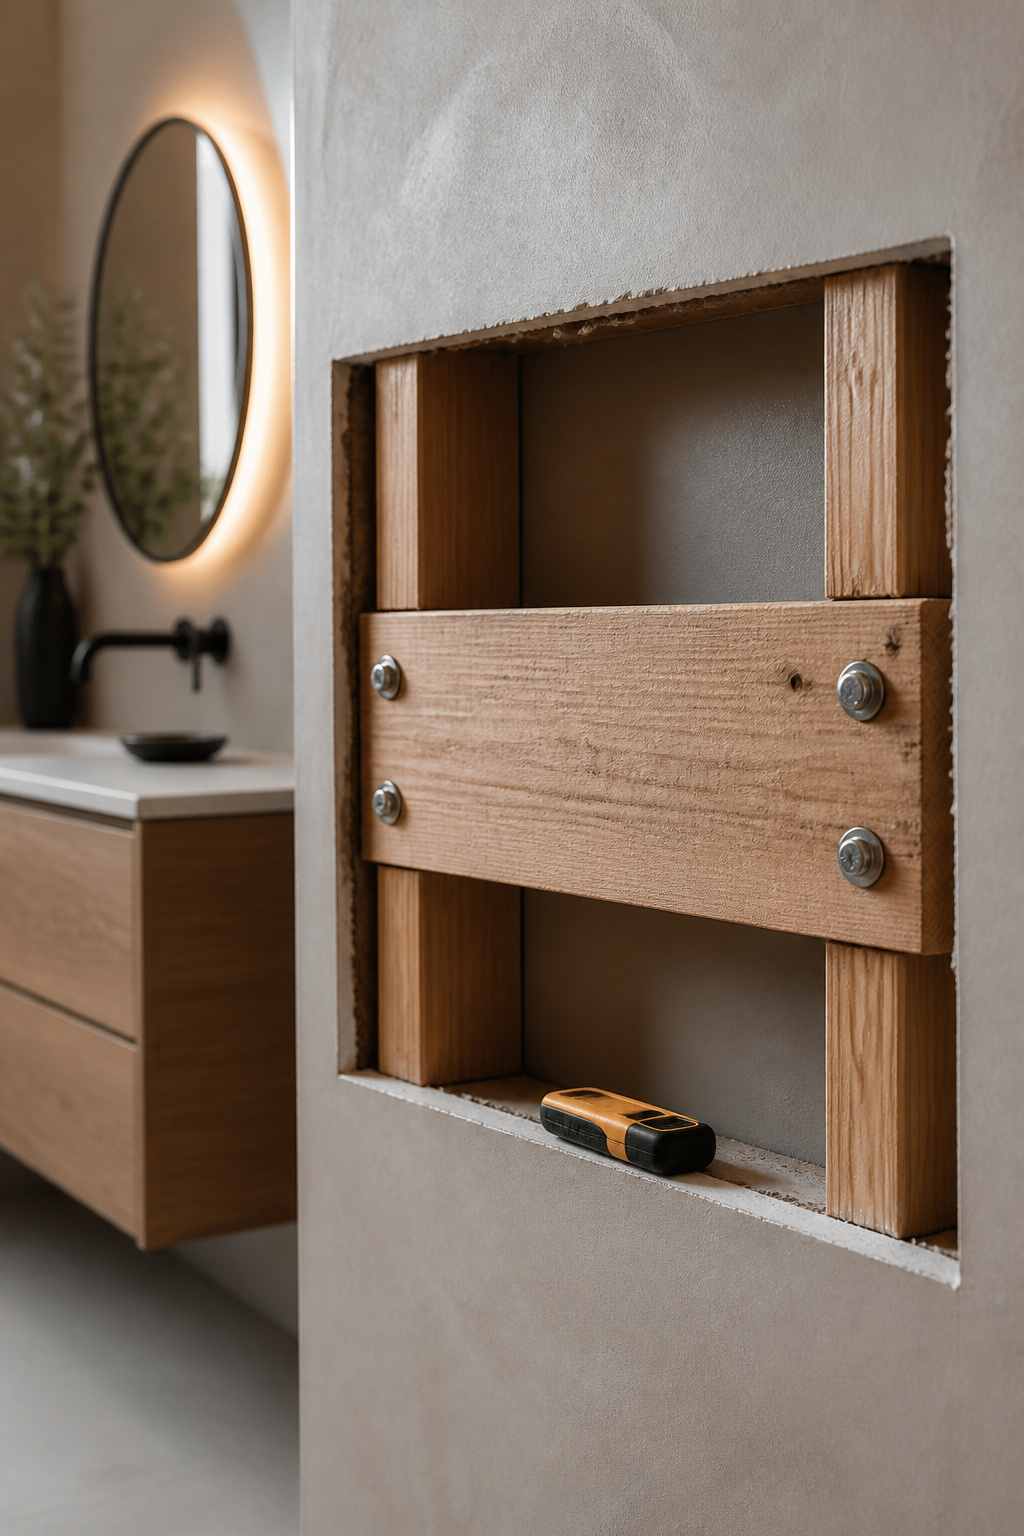
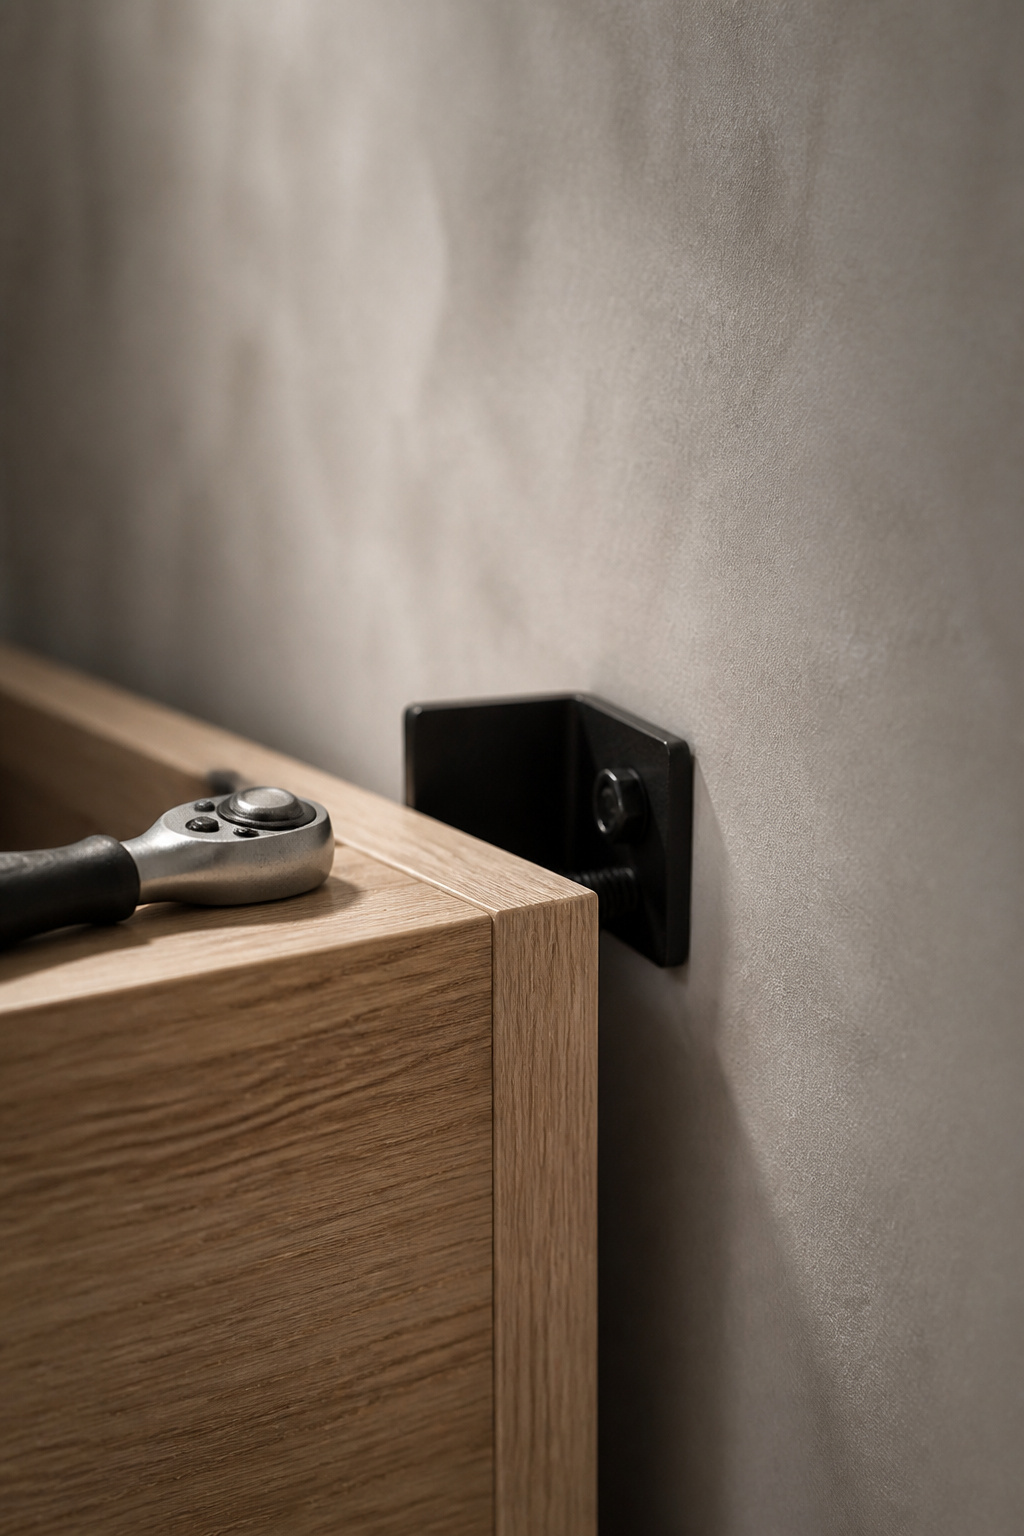
The fix is blocking: 2×6 or 2×8 lumber fitted horizontally between the studs at the cabinet’s precise mounting height, which gives you one continuous anchor zone instead of two lucky points. Tie into two studs minimum, and use three or continuous blocking at 48 inches and wider.
For fixing, the professional forums land on six 1/4-inch by 4-inch lag bolts with fender washers into 5/8 to 3/4-inch marine-grade plywood backing. (The 5mm board in a flat-pack carcass doesn’t count.)
Why drywall anchors alone aren’t enough
These figures are for a sense of scale and are not cabinet ratings. A hook in bare drywall holds roughly 15–30 lb; in a stud, 50–80 lb. Shelf hardware runs 45–50 lb per stud connection, dropping to 20–25 lb on drywall-only toggles. Nobody publishes a per-stud figure for cabinets, but the same physics decides what your wall can take.
Mounting to plain drywall is the most common and most avoidable mistake in this work, and it fails slowly: the cabinet pitches forward within about six months, cracking wall tile as the fasteners work loose. The uglier version shears off and takes the flooring and the plumbing with it.
My bigger complaint comes earlier, at the stud finder. People trust its edge marks and drill on the first beep. Run it twice from both directions, mark both edges, aim for the middle, and confirm with a pilot hole. Grey dust means plaster; pale dust means wood.
Real load limits and how to not find them the hard way
The first thing I built alone, at twenty-two, was a bench from two sheets of plywood. It is still in my garage, dented and scarred and still load-bearing. It holds because the load runs down the legs into the floor; nothing hangs. A floating vanity has no legs to send the load down, so the wall has to carry all of it.
What a typical blocked wall can hold
Capacity scales with width and with what the cabinet is anchored to. Wider units simply ask more of the wall, and the published numbers don’t fully agree on how much.
| Source | Claimed capacity | Assumes |
|---|---|---|
| One vanity manufacturer’s install guide | ~250 lb at 24–36 in; 300–450 lb at 42–60 in; 450–500+ lb at 72 in and wider | Anchored into studs or reinforced backing |
| A trade installation guide | 330–440 lb static | Commercial-grade steel brackets, not budget hardware |
| A consumer home-services source | Up to 220 lb | No breakdown by width |
The top row needs care. One manufacturer rates its widest cabinets at 450–500+ lb, but that is its own figure for a 72-inch unit, and nobody certifies it as a standard. Nothing here is code-backed: the range runs from a marketing ceiling at one end to a cautious contractor estimate at the other.
So work from the other direction. A 36 to 48-inch vanity with a stone top and basin carries 110–180 lb of dead load before anyone leans on it. Build for double that, since humidity erodes wood backing over the years. Once the blocking is right, the rating on the box stops mattering.
Finding the right floating vanity height for the people who’ll use it
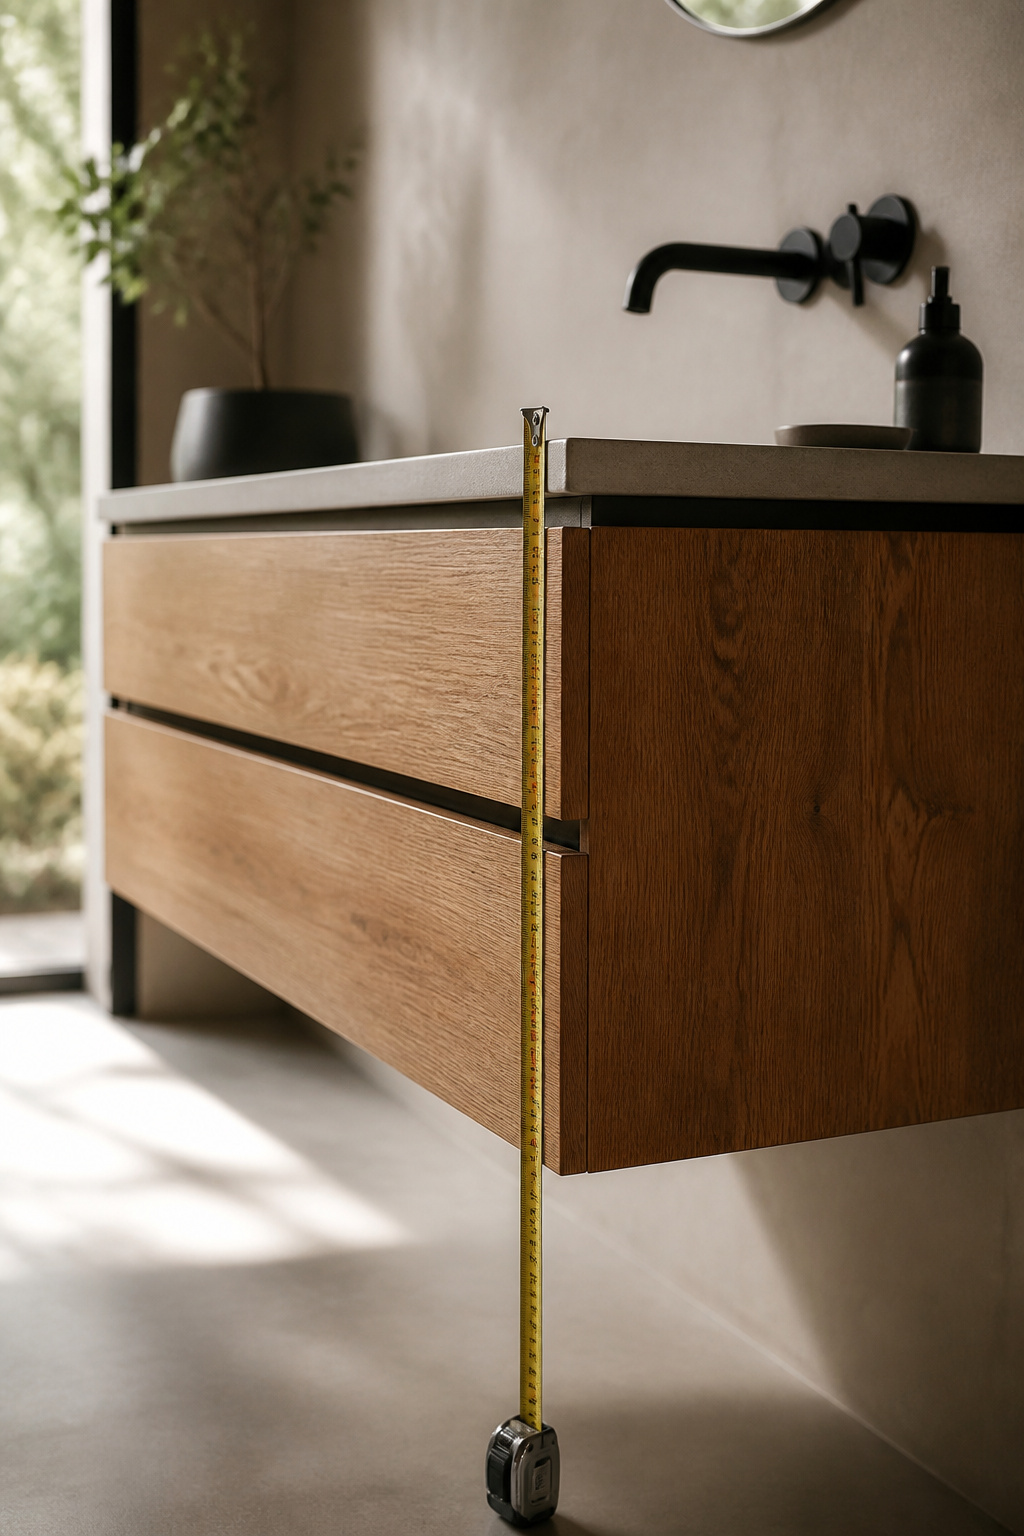
Thirty to thirty-two inches was the American standard for most of the last century, and it is the wrong number for most adults now. Because a wall-hung cabinet never touches the floor, height is a free choice, and outside ADA-designated bathrooms, no code specifies one.
Standard height vs. comfort height
| Height band | Inches | Who it suits |
|---|---|---|
| Traditional standard | 30–32 | Children’s bathrooms |
| NKBA adult recommendation | 34–36 | Adult primary bathrooms |
| Comfort height | 35–36 | Most adult households; matches kitchen counters |
| ADA maximum | 34 max, 27 min knee clearance | Accessible bathrooms |
| Vessel sink base | 29–31 | Puts the finished bowl rim at 35–36 |
In the ADA row, 34 inches with 27 inches of clear knee space underneath is a combination only a wall-hung or open-legged cabinet delivers cleanly. Otherwise, do not copy a showroom photo. Hold a tape at 32, 34 and 36 against the wall, and let the shortest daily user decide.
Adding blocking without gutting the wall
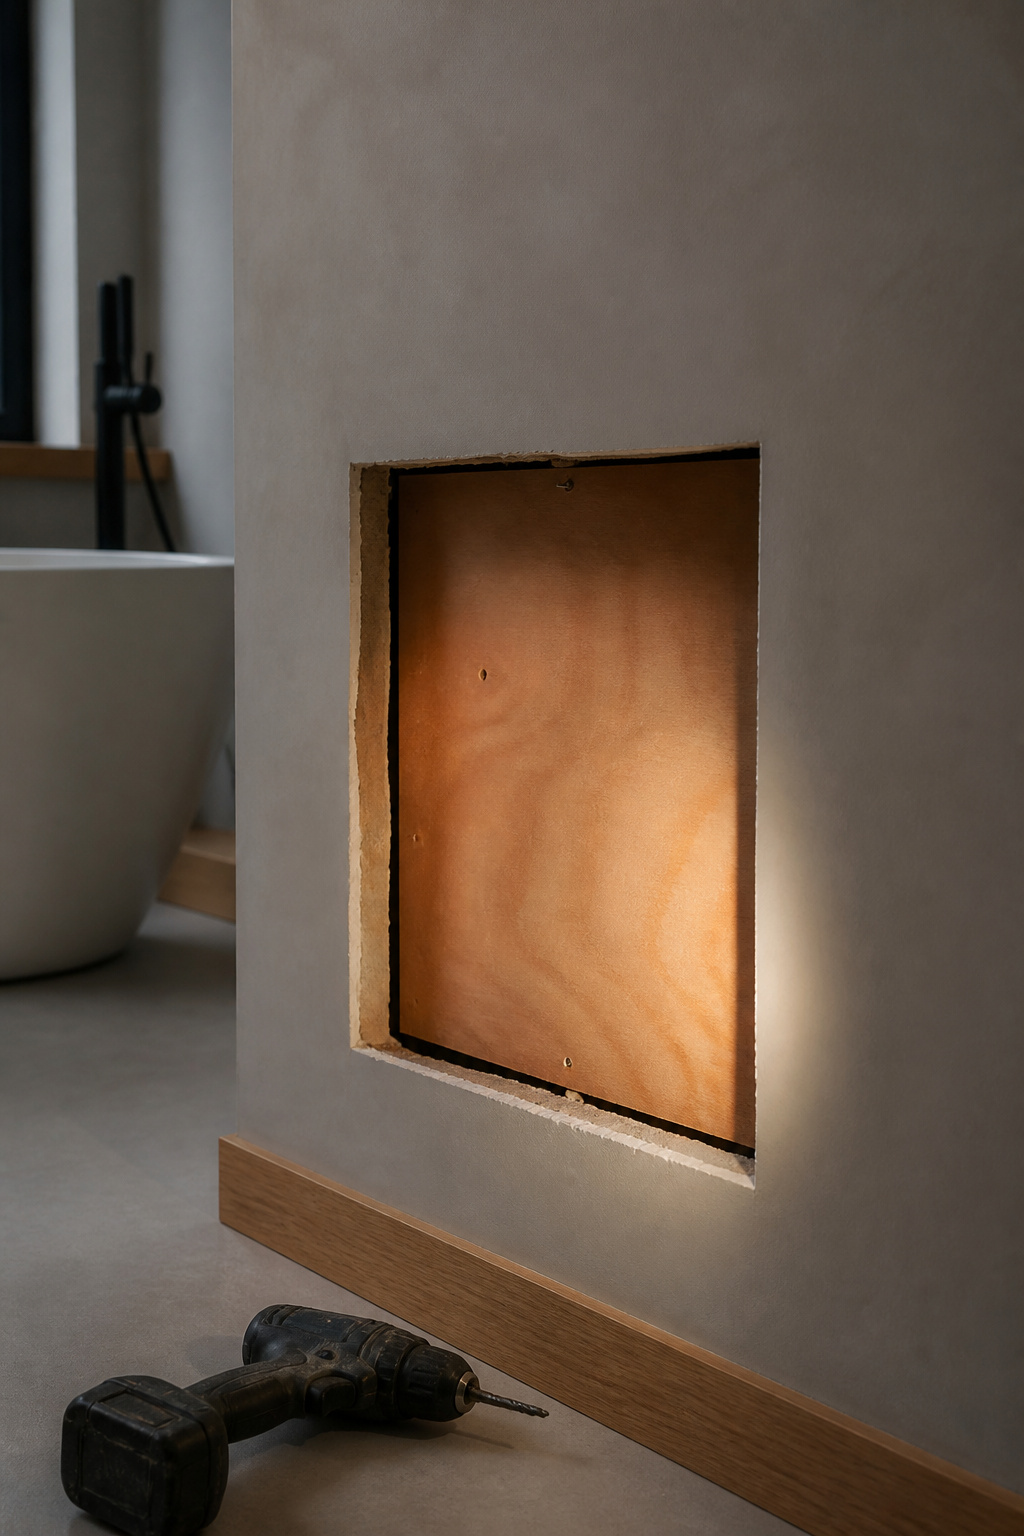
A bathroom that is already finished and tiled can still get framing added behind the drywall without demolition.
The access-panel route
Three ways in, cheapest first:
- A pre-made plumbing access panel, a hardware-store item in roughly the 9 to 22-inch range, sized so a hand and a drill reach the blocking.
- A built-to-be-removable panel of 1/4-inch AC plywood held with five countersunk screws, so it lifts out like a drawer instead of a patch you re-mud every visit.
- Glue-and-clamp backing, bonded to the back of the existing drywall through the hole and clamped while it cures. March Coover described it in Fine Homebuilding #278, for walls where driving screws blind risks a pipe or cable.
Size the opening for the drill, not the hand. Make it too small and you cannot swing the driver at the right angle, so you end up enlarging the same hole. A tight opening suits someone who has handled a repair like it before; if not, the removable panel is the more forgiving route.
When you have to open drywall anyway
Sometimes studs do not fall where the brackets do. The fix is the one used in a full renovation: 2×4 blocking between studs at the exact mounting height, upgraded to 2×6 or 2×8 for a heavier unit. A targeted cut changes the patching, not the framing.
On a quote, the retrofit blocking moves the number more than the cabinet does. A vanity that lands on solid studs is a straightforward hang; one that needs an access opening, new blocking and a drywall patch is a different job entirely, and that work is the line item a contractor is pricing when a floating-vanity quote runs high. Ask what the wall needed before you compare two bids on the cabinet alone.
When a leg or a plinth is the smarter answer
Plenty of people assume wall-mounting is the only route to the look, and it isn’t. A plinth-supported vanity is a floor-standing cabinet with the legs and kickboard replaced by a recessed base, often tiled to match the floor, so it sits over a shadow gap. You keep the full storage volume and the easy plumbing access, and the wall carries nothing.
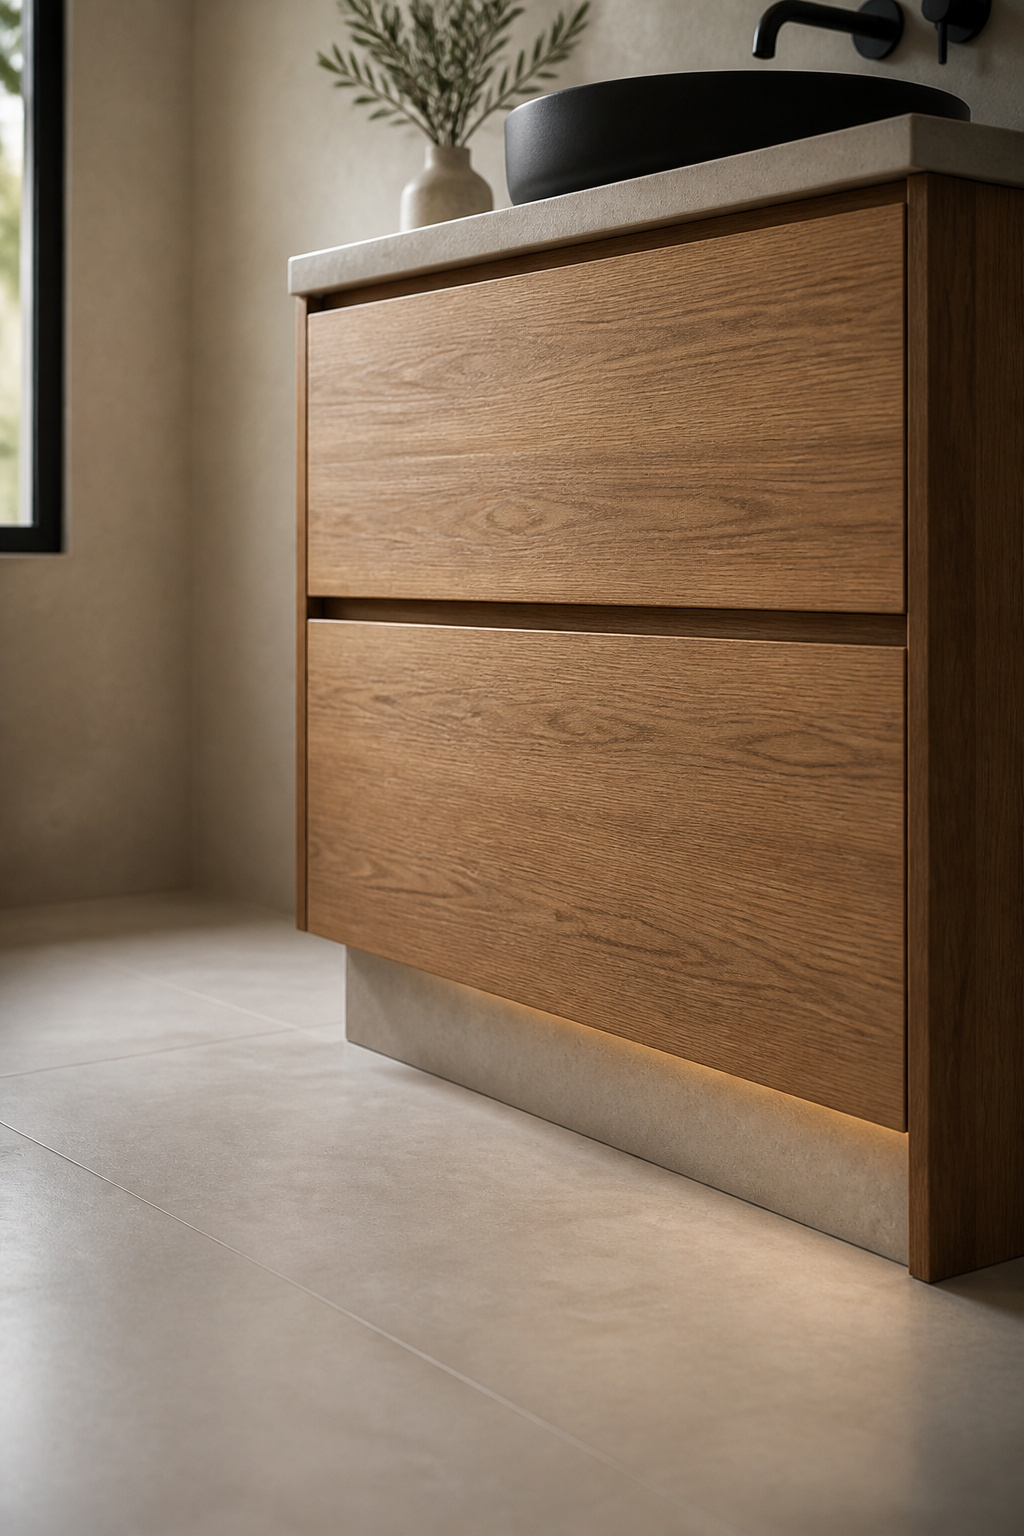
Money usually decides it: a floating install typically costs about twice a comparable floor-standing one to fit, and wall complexity stretches that gap further.
Here I will go further than my sources, on the strength of my own practice: if the wall is crowded with pipe and cable, or the blocking retrofit quotes higher than the cabinet, build the plinth. Nobody has ever walked into a bathroom and judged a shadow gap insufficiently structural.
The storage trade-off: what you give up for floor space
The floor you gain is real, and so is the cabinet volume you pay for it. A floating unit gives up roughly 25–30% of what a floor-standing equivalent of the same footprint holds. Treat that as approximate and typical: there is no breakdown by width, and a compact single is not the same trade as a wide double.
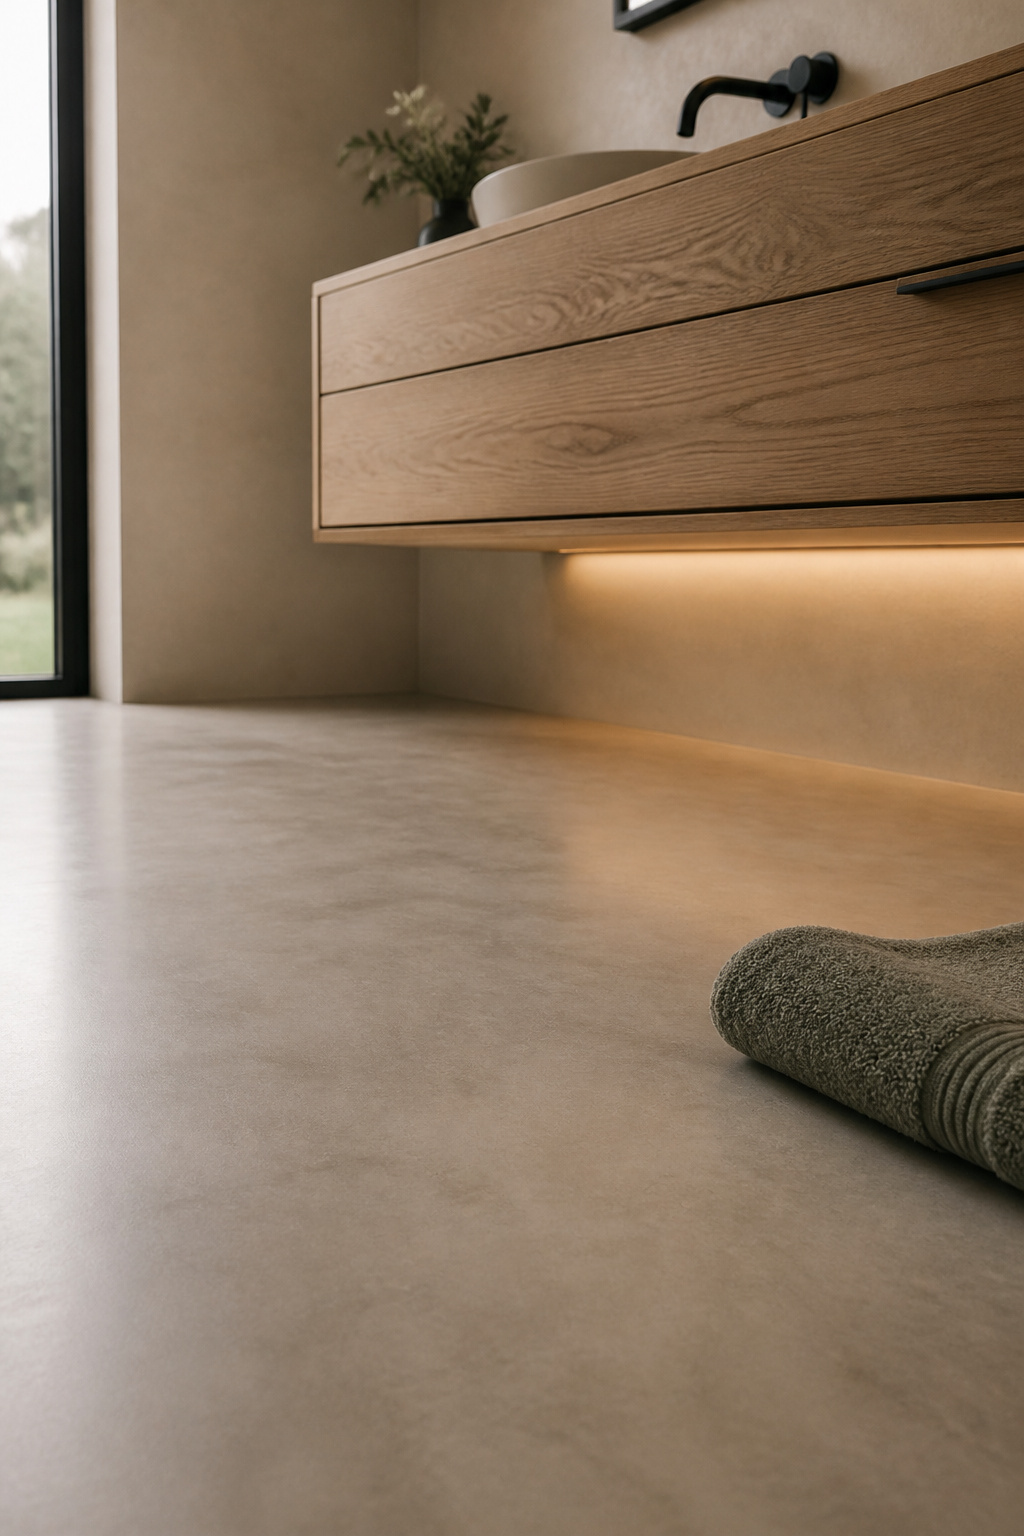
The cleaning argument, meanwhile, gets oversold. Mopping straight underneath instead of around cabinet legs saves roughly thirty seconds a clean, or about five minutes a year. Larger households are likeliest to find the lost volume limiting, so decide it before the cabinet is ordered, ideally alongside doing it without moving plumbing if the swap is going back onto existing pipework.
The plinth is an honest fallback that stands up on its own merits. Take it if the wall is crowded with pipe and cable, or if a blocking retrofit quotes more than the plinth would cost. If the wall checks out instead (solid studs or clean blocking, load built to double what you will ever set on it), the floating vanity earns the floor space it promises. Either way, start the decision with a stud finder before you look at showroom photos. The rest is finishing work, including choosing the tap finish to go with it, and where the vanity sits in the full modern bathroom planning guide.
FAQ
Can you install a floating vanity over an existing tile floor?
Yes, and it is one of the less obvious advantages. Because the cabinet mounts entirely to the wall, installers note it avoids cutting floor tile, disturbing waterproofing, or levelling. The wall still needs studs or blocking behind the mounting points, so wall condition is the limiting factor, not the floor.
Do floating vanities cause mold or mildew problems underneath?
Generally the opposite. A floating design has no sealed cabinet base on the floor, which removes the trapped moisture and dust buildup that create mold risk under a floor-standing unit. That advantage still depends on normal ventilation: the exposed floor and wall need the same attention as any wet room.
How do you know if a wall can actually support a floating vanity?
Check the framing first. A stud finder tells you whether the mounting points land on existing studs or need blocking added behind the wall, and that is what decides whether the install is a straightforward hang or needs an access opening first. Wall condition sets the scope of the job more than the floor or the cabinet you choose does.