A showroom shows you four farmhouse sinks under perfect light and none of the decisions hiding behind them. A farmhouse kitchen sink is really two purchases in one — a thing you buy and a job you sign up for — and the apron face that sold you is exactly what makes the install harder than a normal swap. I’ve priced these sinks, set them, and cleaned them, and the version that matters tells you what each choice costs in dollars, hours, and upkeep before you order.
So this guide does the sifting. It walks every decision a buyer faces — material, bowl layout, sizing and cabinet fit, the install most videos skip, keeping a white one white, and how it all looks in your kitchen. Each topic gets a full treatment in its own linked guide; here, the map.
What Makes a Sink a Farmhouse Sink (And Why It Matters to Your Cabinet)
Strip away the styling and a farmhouse sink is defined by one feature: the exposed apron face. That front panel projects to the front edge of the base cabinet, replacing the cabinet door and false-drawer front beneath the countertop. Every other difference — depth, weight, install headache — follows from that one choice. The format isn’t new: the apron front goes back to 17th-century Britain, where the Belfast sink (a large basin with a Weir overflow) and the smaller London sink were built deep for households hauling water by hand. Removing the counter lip let people stand closer and lean less — an ergonomic fix that still pays off.
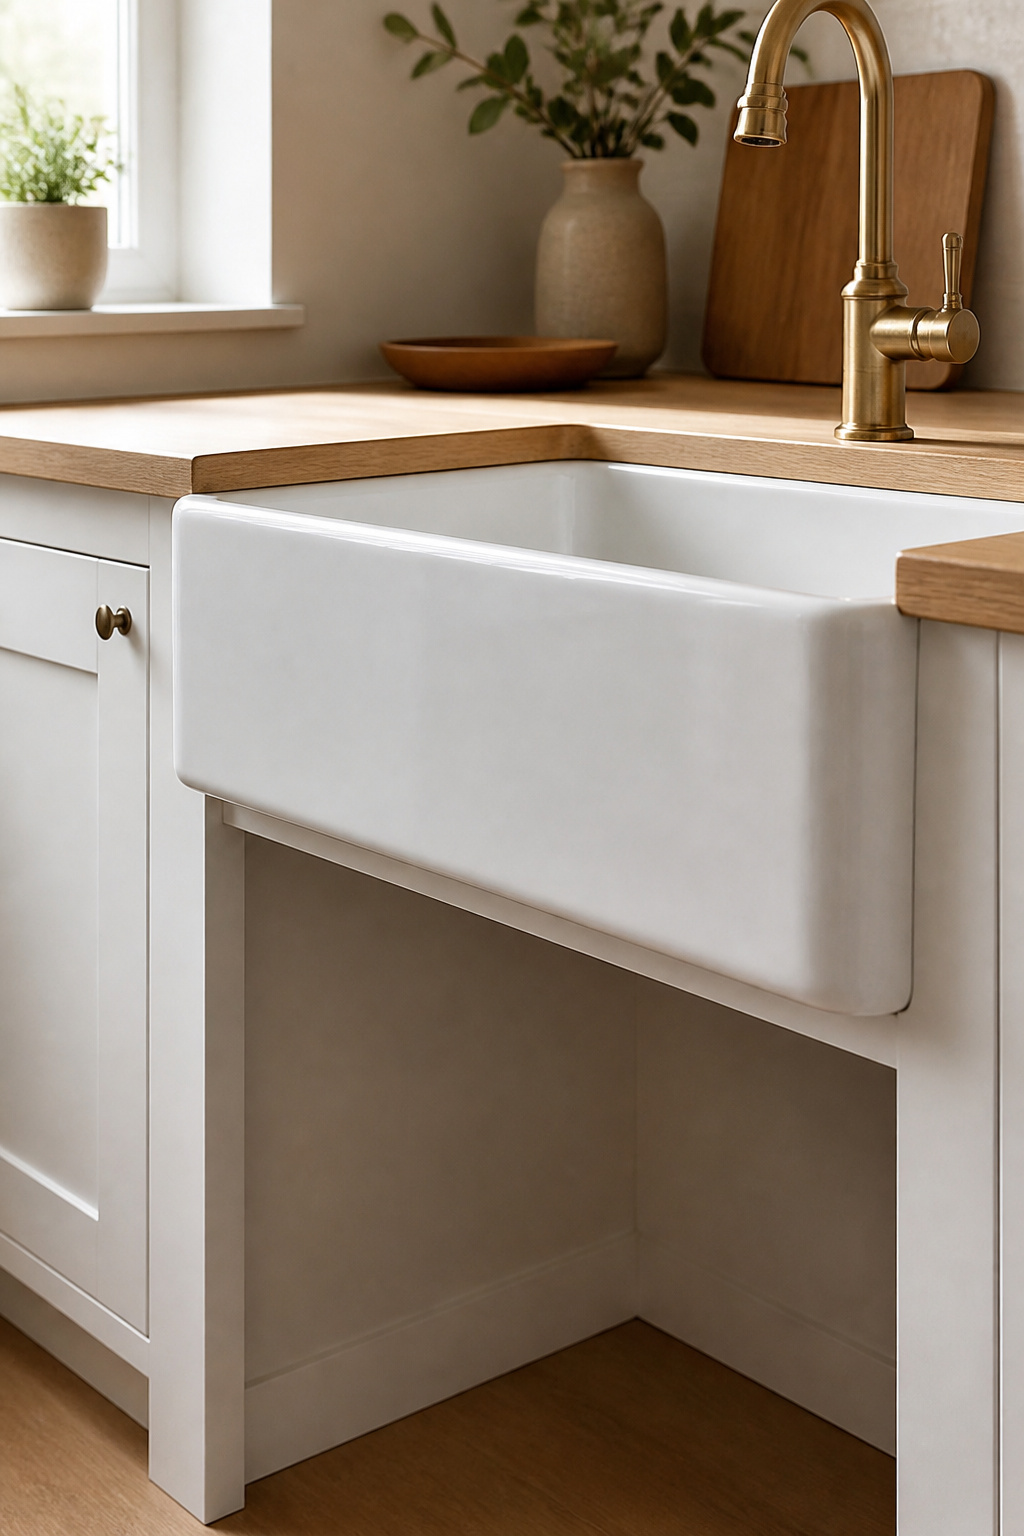
Apron-front vs undermount: the one structural difference that changes everything
An undermount sink sits entirely below the countertop, held by clips and sealant, with no change to the cabinet face. A farmhouse sink’s apron takes the place of that face. So the false drawer panel beneath the counter opening has to come out completely, and that panel often ties into the face frame rather than popping off like a trim piece. This is the detail that catches most buyers flat: an apron sink is not a like-for-like replacement for the drop-in you have now. Even purpose-built retrofit models reduce the work rather than remove it.
Standard farmhouse sink dimensions at a glance
Most residential farmhouse sinks land in a narrow band of sizes, even though the catalog range looks wide. Here is the shape of it:
| Dimension | Typical range | Why it matters |
|---|---|---|
| Width | 30, 33, 36 in (overall 20–60 in) | Sets the base cabinet you need |
| Interior basin depth | 9–10 in (some specialty 12 in) | 1–2 in deeper than a standard undermount; affects reach |
| Front-to-back depth | 20–22 in | Fits a standard 24-in base cabinet |
| Apron projection | 1–2 in beyond the cabinet face | The characteristic overhang you see |
A 33-inch sink — the most common size — needs at least a 36-inch base cabinet. The exact numbers, including how the marketed size differs from the real one, get the full treatment in what size sink and cabinet you need.
Why most apron sinks are not a drop-in swap
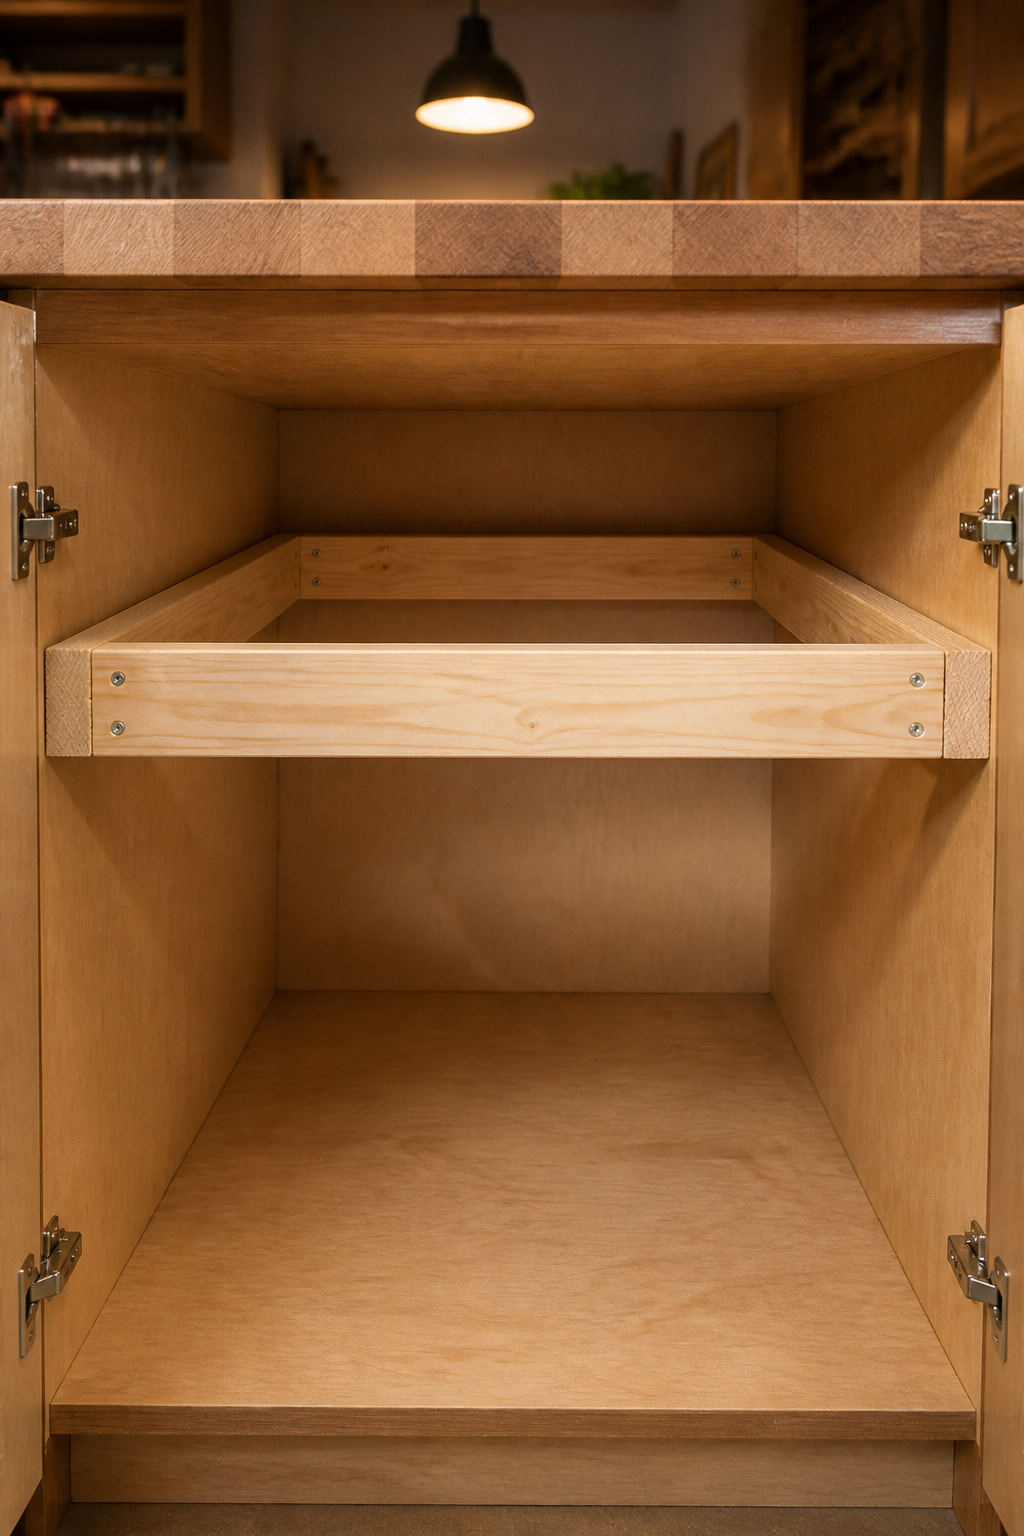
Here’s the honest version before you fall for the photo. A true retrofit means, at minimum: removing the false drawer panel, notching the cabinet face frame to the apron height, and building a 2×4 or plywood ledger frame inside the cabinet to carry the load. That load is real — fireclay, cast iron, and concrete apron sinks run 80 to 200-plus pounds, and a standard cabinet isn’t built to hold that without reinforcement. Many installs also need the countertop cut or replaced, since the apron sits forward of where the counter’s front edge normally ends. None of it is beyond a capable DIYer, but it’s work the brochure doesn’t mention. How to install an apron sink yourself covers the build step by step.
Fireclay vs Cast Iron vs Copper vs Stainless: Materials at a Glance
This is the decision most buyers spend longest on, and rightly — material drives price, weight, maintenance, and how the sink fails when hit. Four materials cover the farmhouse market, and they look closer in the showroom than they behave at the sink. Here’s the whole field on one screen:
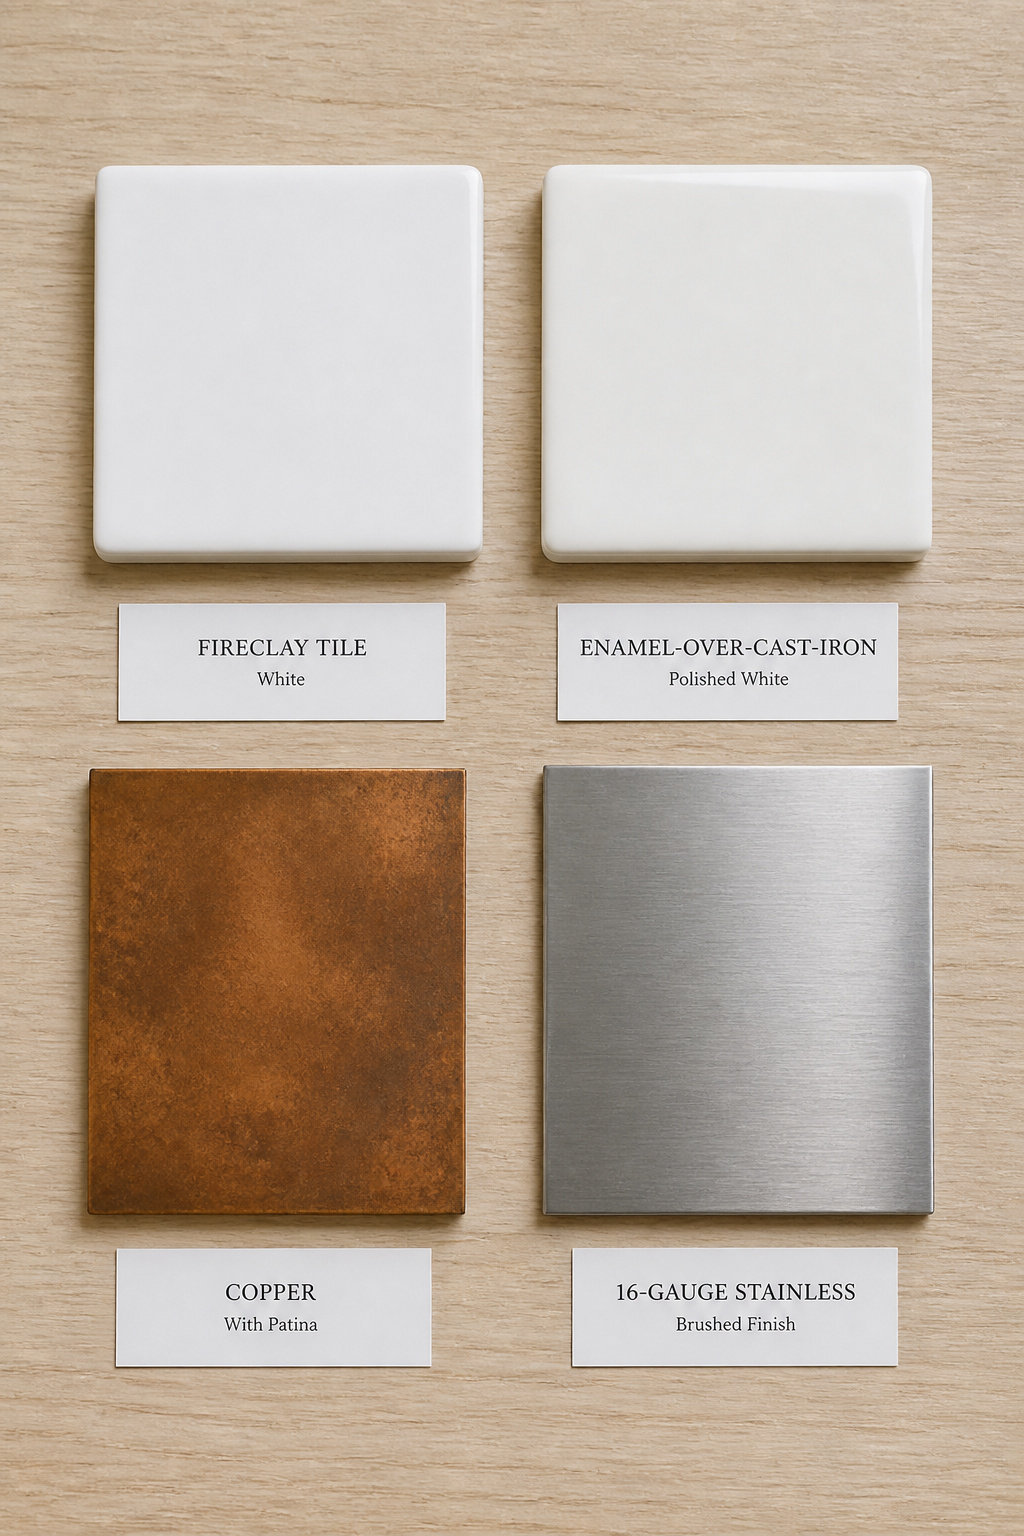
| Material | Price (unit) | Weight (33-in) | Chip / stain / rust behaviour | Maintenance |
|---|---|---|---|---|
| Fireclay | $600–$1,400 (entry ~$400) | 80–120 lbs | Chips to white ceramic, never rusts; stains wipe off | Low daily |
| Cast iron | $500–$3,000 | 150+ lbs | Chip exposes iron that rusts; gloss enamel resists stains | Low, plus rust vigilance |
| Copper | $1,000–$3,500 | 30–60 lbs | Patinas by design; antimicrobial; no rust | Patina-aware |
| Stainless | $200–$1,500 | 25–45 lbs (16-ga) | Scratches but hides it; no rust or stain | Lowest, shows water spots |
Fireclay: the farmhouse standard and why it earned that title
Fireclay became the default for a reason. It’s molded from refined white clay, glazed in layers, and fired above 2,100°F until clay and glaze vitrify into one dense, non-porous body harder than ordinary ceramic. That makes it bright white, heat-resistant, and forgiving on stains — coffee, wine, and tomato wipe off with dish soap. Its one weak point is chips: the glaze resists knocks, but a dropped cast-iron pan can chip it permanently. The upside is that the chip shows white ceramic, not metal — it never rusts. For the head-to-head against its closest rival, see fireclay vs cast iron, compared.
Cast iron: the heavier classic with one weak point
Cast iron is an iron core under porcelain enamel, and that enamel is harder and less porous than fireclay’s glaze — so in daily use it resists stains a touch better. The catch defines the material: any chip that breaks the enamel exposes raw iron, and that iron rusts, creeping under the surrounding enamel if you don’t patch it fast. Cast iron is also the heavyweight — full 33-inch models often pass 150 pounds, big double bowls top 200 — so reinforcement is never optional, and the unforgiving surface breaks dropped glassware more readily than softer materials.
Copper and stainless: the metal alternatives with opposite personalities
The two metals sit at opposite ends of the same shelf. Copper is the warm one — it develops a living patina over time, which is the whole point of owning it, and it’s genuinely antimicrobial (research in Letters in Applied Microbiology found copper surfaces eliminate 99.9% of bacteria within hours). It asks for patina-aware care: acidic foods darken it unevenly if you don’t rinse, and bleach strips the finish. Stainless is the modern, budget one, and its quality lives almost entirely in the gauge — 16-gauge is the farmhouse minimum, 18-gauge runs thinner, louder, and flexier under heavy pots. Good stainless bonds sound-dampening pads underneath; cheap stainless sounds like a drum. Explore each in copper farmhouse sink ideas and the stainless steel option.
Which material fits your real-life kitchen
Match the material to how you cook, not the lighting you saw it under. Fireclay suits the buyer who wants classic bright white, uses the sink with reasonable care, and prefers low maintenance to no maintenance. Cast iron suits someone who wants glossier enamel, is replacing an existing cast-iron sink (structural work done), or finds a Kohler or American Standard model below comparable fireclay. Copper is for buyers who actively want the material to age — if you want it unchanged in ten years, it’s the wrong choice. Stainless suits modern-farmhouse and industrial kitchens, budgets under $500, and households where durability and scratch-acceptance outrank the look. One trade rule: as Sink Boutique notes, a stainless listing that doesn’t state its gauge is a red flag — gauge is where quality hides.
Single Bowl or Double Bowl: How the Decision Really Works
Bowl configuration reads like an aesthetic choice and is really a function-and-space one. Single bowls dominate the apron category because the deep, uninterrupted basin swallows oversized pots, sheet pans, and roasting trays whole. Double bowls split that basin, trading capacity for two-tasks-at-once, and demand a wider cabinet. Here’s the quick version:
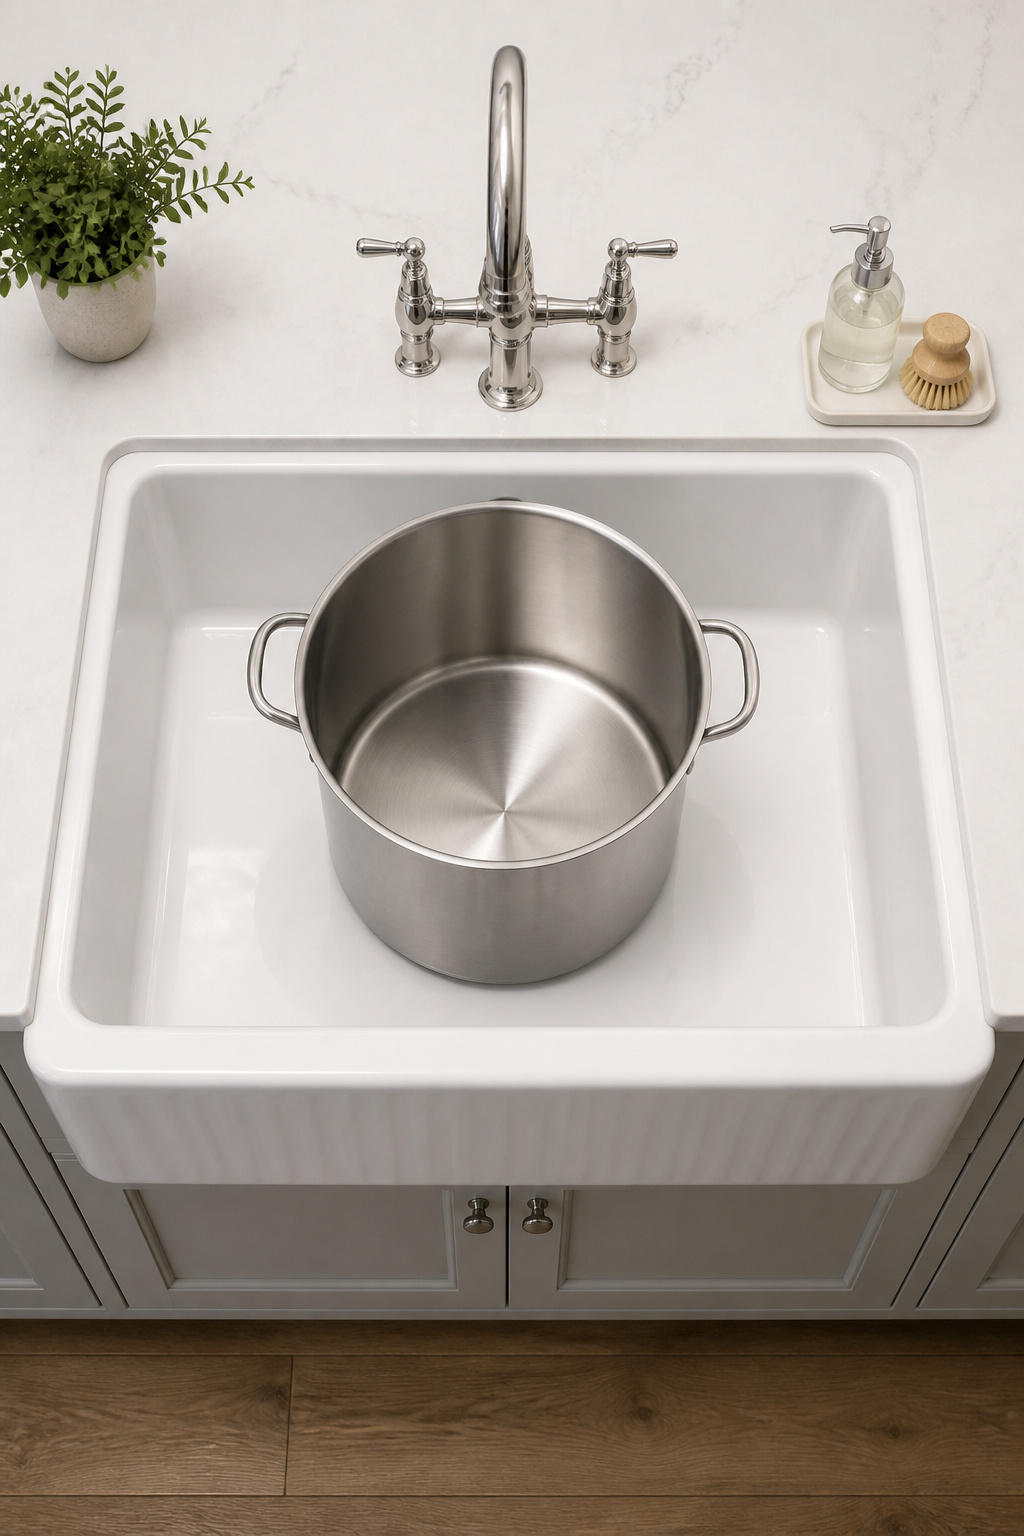
| Config | Min base cabinet | Best for |
|---|---|---|
| Single bowl | 30–36 in | Big cookware, soaking, narrow cabinets, dishwasher households |
| Double bowl | 36–42 in (40 in to stay usable) | Simultaneous wash-and-rinse, separating prep tasks |
What each configuration is actually good for
A single bowl earns its keep if you cook large-format meals or want one unobstructed soaking zone. A double bowl earns its keep if you wash on one side and rinse on the other, separate meat from vegetable prep, or want one side free for a drying rack. The underrated catch with doubles: neither basin is usually big enough for a full sheet pan (18 by 26 inches) or a 12-inch stock pot with its handle — the divider wall blocks them.
Cabinet width and the numbers that decide it
The cabinet is the hard constraint. A 30-to-33-inch single bowl drops into a standard 36-inch base, the three-inch gap per side covering the mounting ledge and clearance. A double bowl wants a 36-to-42-inch cabinet, and most need at least 40 inches to keep both basins usable. The smallest common size, a 30-inch single, fits a 33-inch minimum cabinet — often the only apron option for a kitchen built around a narrow 30-inch base. Because bowl choice drives cabinet width, settle it before you size anything; the full breakdown is in single or double bowl.
The big-pan trade-off in plain terms
The single bowl’s whole advantage is submerging large cookware — a 33-inch single takes virtually any residential pot or pan. Split that same 33 inches into a double and you get two roughly 16-inch basins (approximate; per-bowl widths vary by model), each too narrow for anything wider than a 12-inch skillet. One factor flips the math for many people: a dishwasher. If you have one, you rarely need the rinse side of a double bowl — that second basin solves a rinsing problem your dishwasher already handles, making the single bowl the logical pick even for multitaskers.
Sizing and Cabinet Fit: The Numbers You Need Before You Buy
Getting size right before you click order prevents the most common farmhouse sink mistake — buying a sink the cabinet can’t hold or can’t fit. Three numbers carry the decision: width (matched to the cabinet interior), basin depth (an ergonomic trade-off), and weight (a structural one). Pull all three from the spec sheet, not the marketing label.
| Sink width | Base cabinet (min) | Common bowl config | Weight range by material |
|---|---|---|---|
| 30 in | 33 in | Single | Stainless 25–45 / fireclay 80–120 / cast iron 150+ lbs |
| 33 in | 36 in | Single or double | Copper 30–60 / fireclay 80–120 / cast iron 150+ lbs |
| 36 in | 39–42 in | Double | Heavier across every material |
Standard sink widths and their base-cabinet matches
The governing rule: the sink’s exterior width should run 2 to 3 inches narrower than the cabinet’s interior opening, leaving room for the mounting ledge and clearance each side. The trap is the label. As Sinkology puts it, a “33-inch sink” is nominal — the real exterior might be 32.5 or 33.25 inches, and the cabinet’s interior is always smaller than its exterior badge. Measure the spec sheet, not the product name. While you’re at it, check the window sill above the sink: a tall bridge faucet over a deep basin needs clearance to rise, and a sill set too low will fight it.
Depth and reach: the ergonomic trade-off
Farmhouse basins run 9 to 10 inches deep inside, against 7 to 8 for a standard undermount. That extra depth lets big pots fill without splashing the rim, but it means more forward bending — a real factor for shorter users. The apron design offsets some of this by bringing the basin to the cabinet edge, so you stand closer instead of leaning over a counter strip. Still, a shallower 9-inch basin reduces back strain for shorter cooks without giving up much capacity.
Weight, support, and what your existing cabinet can take
Weight decides how much cabinet work you’re in for. Fireclay 33-inch sinks run 80 to 120 pounds, cast iron equivalents commonly exceed 150, copper is lighter at 30 to 60, and 16-gauge stainless sits at 25 to 45. Standard cabinets aren’t built for 100-pound-plus point loads, so any fireclay or cast iron apron sink needs a 2×4 or 3/4-inch plywood support ledger inside the cabinet before the sink goes in — a shelf that carries the dead weight plus the dynamic load of a basin full of water. Skipping it because the sink “looks stable” during a dry fit is how the countertop joint cracks later. The full planning math lives in what size sink and cabinet you need.
Installation Reality: What the DIY Videos Leave Out
The glamour shots skip this part, so I’ll be blunt: a farmhouse sink is not a standard plumbing swap. Between the face-frame notch, the support frame, the plumbing rough-in, the countertop cut, and the dry-fits, it’s a half-day to full-day job for an experienced DIYer. Most tutorials start filming after the four hours of cabinet carpentry are done. Here’s what the install actually requires:
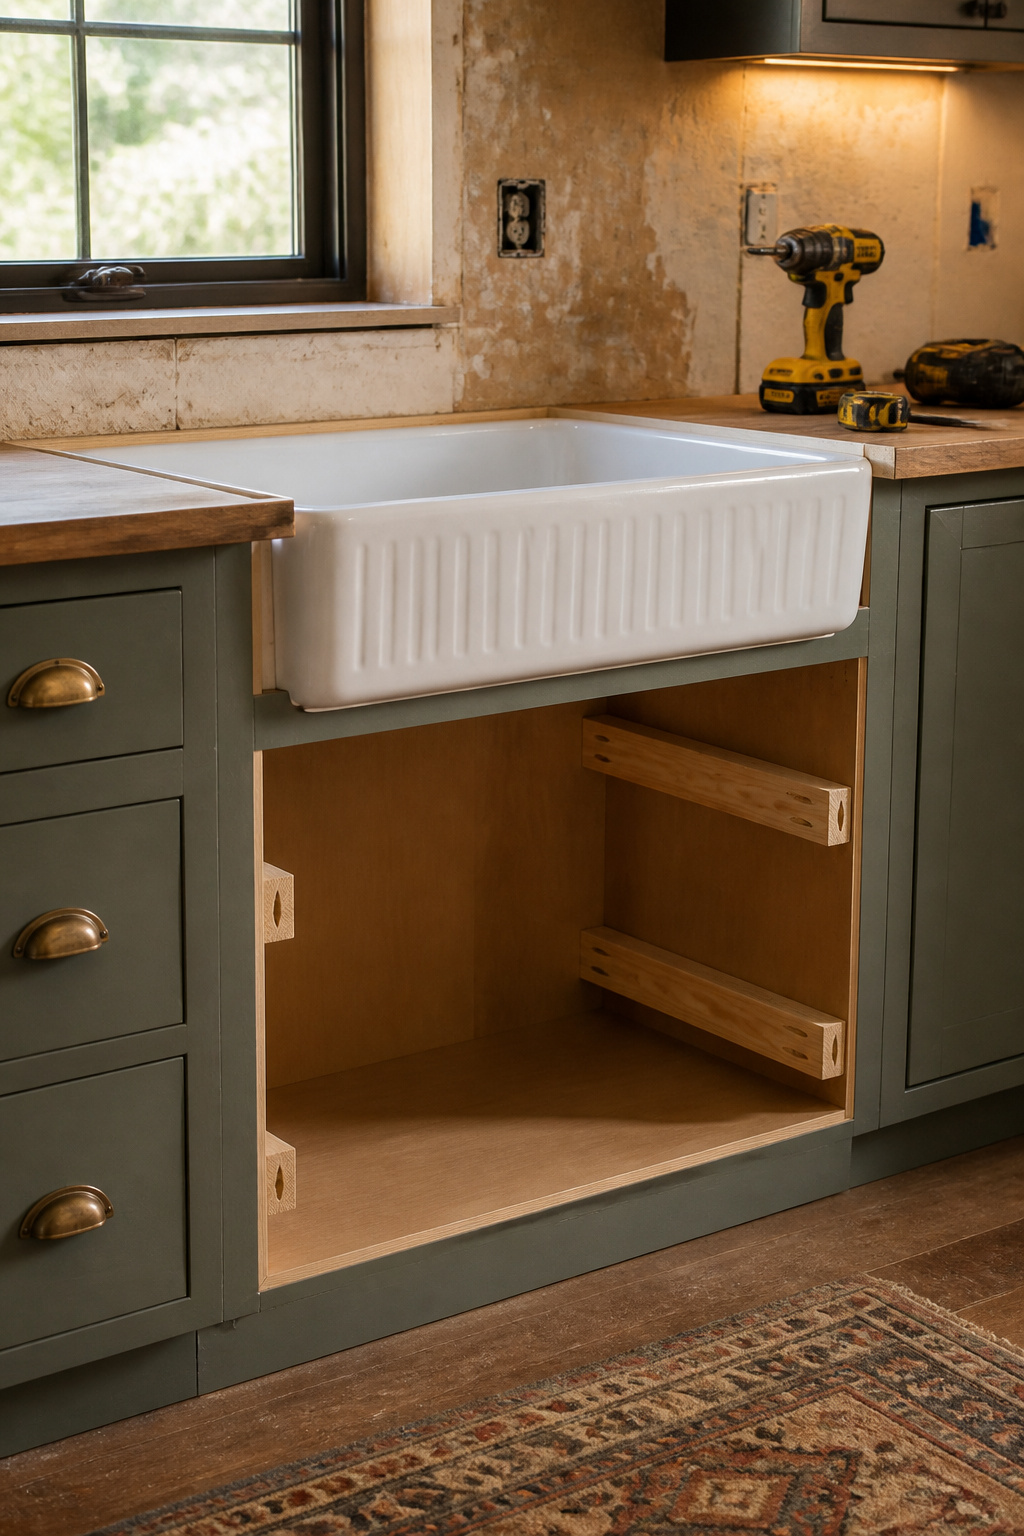
- Removing the false drawer panel and notching the cabinet face frame to the apron height
- Building and leveling a 2×4 support ledger inside the cabinet
- Cutting or replacing the countertop so the rear deck sits level
- Roughing in or adjusting the drain and supply lines
- Multiple dry-fits, then silicone caulk, then a full leak test
The face-frame notch and 2×4 support frame in plain English
The notch is a rectangular cutout in the cabinet’s front face rail, sized to the apron height and cut with a jigsaw after the false panel comes out. The 2×4 frame is two level horizontal ledgers, front and rear, fastened with structural screws before the sink is set — the only thing keeping a 100-pound fireclay sink from settling unevenly. A sink that heavy needs two people to set; lifting it alone risks dropping the unit or cracking the apron. The full step-by-step is in how to install an apron sink yourself.
Skill level, cost estimate, and realistic hours
Real numbers. Total installed cost runs $500 to $5,000 — $200 to $3,500 for the sink, $300 to $1,500 for professional labor, with plumbers charging $75 to $150 an hour. A pro completes a standard swap in about two hours; a DIYer with average carpentry and plumbing skills should budget 4 to 6, before the trip back to the store for the ledger board or jigsaw blade you didn’t know you needed. The skill set is specific but learnable: a jigsaw for the face cut, a drill for the ledger, P-trap and supply lines, and a clean bead of silicone.
When to call a plumber and when not to bother
Call a pro if the plumbing needs relocating (drain or supply lines aren’t centered under the cabinet), the countertop is natural stone (cutting granite or quartz without a wet saw risks cracking it), or the sink tops 120 pounds. DIY is viable if the plumbing is centered, the countertop is butcher block or laminate (both cuttable at home), the sink is stainless or lightweight copper under 60 pounds, and the face frame is reachable without pulling other cabinetry. There’s a sensible middle path: do the carpentry yourself, then hire a plumber for the final connection. That keeps labor under $300 and the supply and drain work code-compliant.
Keeping a White Sink White: The Maintenance Reality Check
If you’re drawn to a bright white apron, know what you’re committing to — not to scare you off, but so you’re not surprised three weeks in. White sinks, whether fireclay or enamel-over-cast-iron, stay white through small daily habits, not occasional deep cleans. And the two materials stay white differently, which is worth understanding before you buy.
Why fireclay and white enamel stain differently
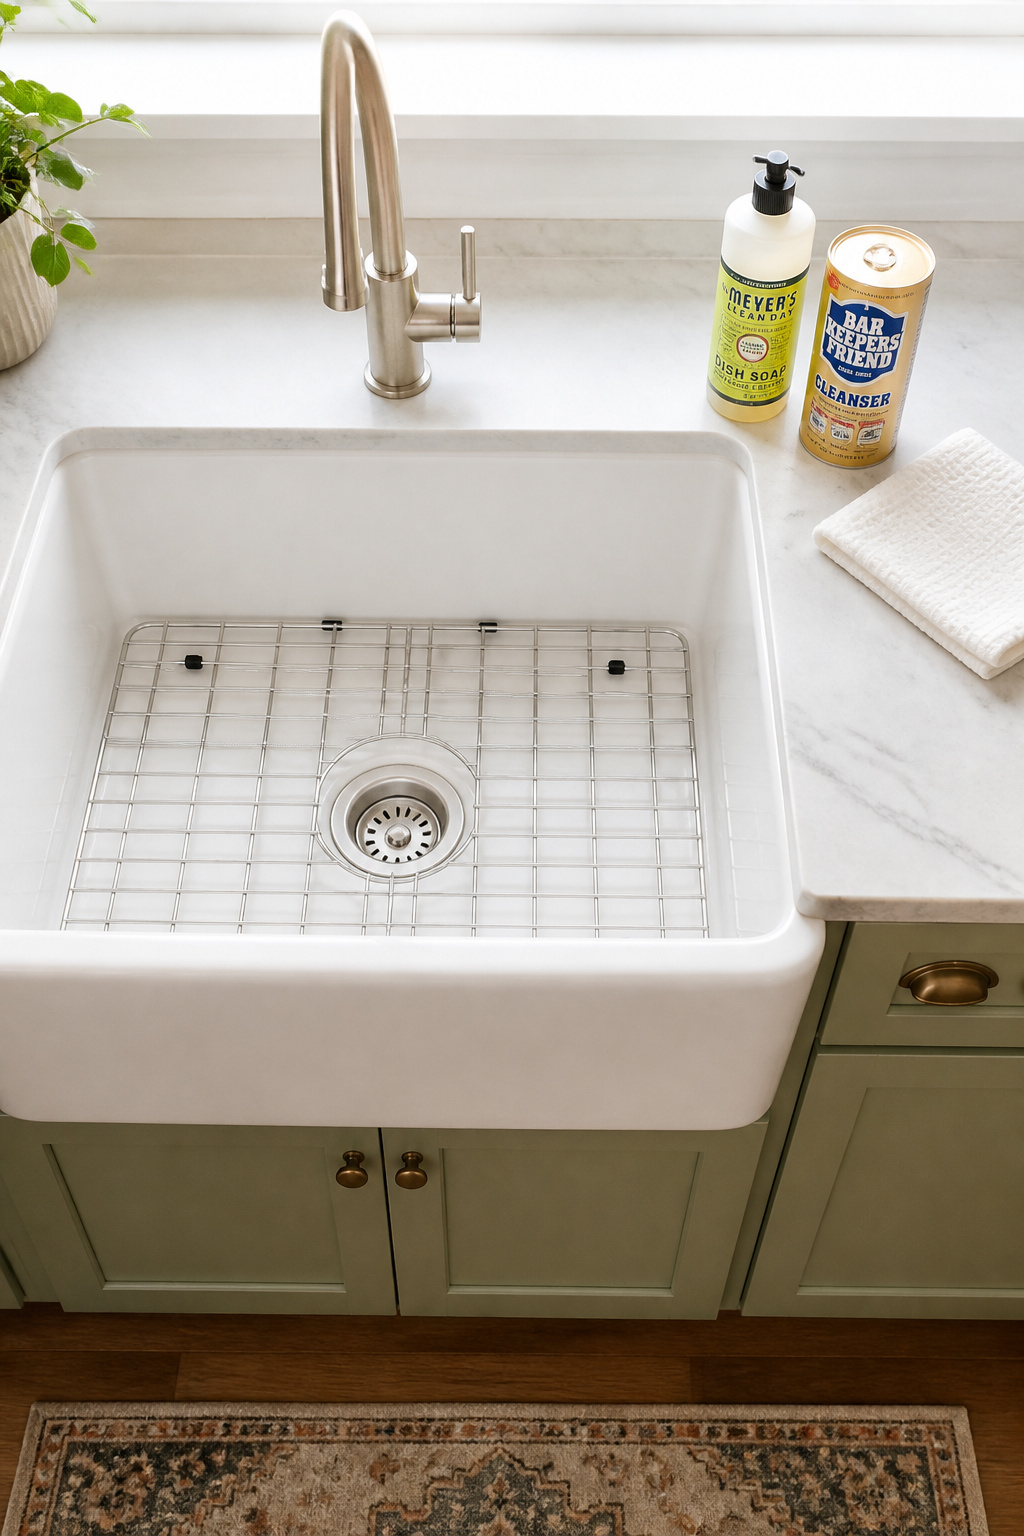
Fireclay’s glaze is non-porous but slightly more permeable than cast iron’s enamel. So surface stains — coffee, wine, tomato — can film on top of fireclay if left to dry, but they don’t penetrate, and a baking soda paste removes most within minutes. Cast iron’s harder enamel resists daily staining a little better, but it carries the rust risk fireclay doesn’t: once the enamel chips, the exposed iron oxidizes and the rust spreads beneath the surrounding surface. One reassuring fact: what looks like a scratch on a white fireclay sink is almost always metal residue from a pot sliding across the glaze, not damage to the ceramic. It polishes off with Bar Keepers Friend in about a minute.
Daily habits that prevent most problems
The single habit that prevents most trouble is rinsing and wiping the basin dry after use — standing water leaves mineral deposits and spots. Rinse acidic foods (citrus, vinegar, tomato sauce) promptly, since acids left in contact dull the glaze over time. Use a sink grid or bottom mat so metal cookware never drags directly across the surface — that’s where most marks come from. For weekly cleaning, mild dish soap on a soft cloth handles the build-up; skip the steel wool, powder cleansers, and abrasive pads that scratch the glaze.
When a stain is permanent and when it isn’t
Most “stains” on fireclay aren’t permanent at all. Coffee, tea, wine, tomato, and hard-water marks all yield to a baking soda paste or Bar Keepers Friend. What is permanent is a deep chip through the glaze into the clay body — a repair kit minimizes it but won’t erase it. On cast iron, any chip exposing dark iron is permanent and progressive: it needs sanding back and an enamel touch-up within days, before the rust grows. One rule for both — never use bleach; it can yellow the glaze, and hydrogen peroxide is the safer brightener. The full routine, including the product ladder and chip repair, is in keeping a white sink white.
Farmhouse Kitchen Sink Ideas: Styling the Apron Front
The apron face is the loudest visual element in a farmhouse kitchen — it draws the eye before the backsplash, the island, or the lighting. So its material and finish set the tone, and the cabinets, hardware, and counter arrange themselves around it. The pairings below are curation, not rules — combinations that reliably read as designed rather than accidental. Three work dependably:
- White shaker + white fireclay (or enamel): a tonal, classic palette where the countertop carries the contrast — butcher block on white cabinets for warmth, white quartz to stay crisp.
- Natural wood + copper or hammered stainless: honey oak, walnut, or natural maple cabinets where the metal’s warmth bridges the wood tones instead of competing.
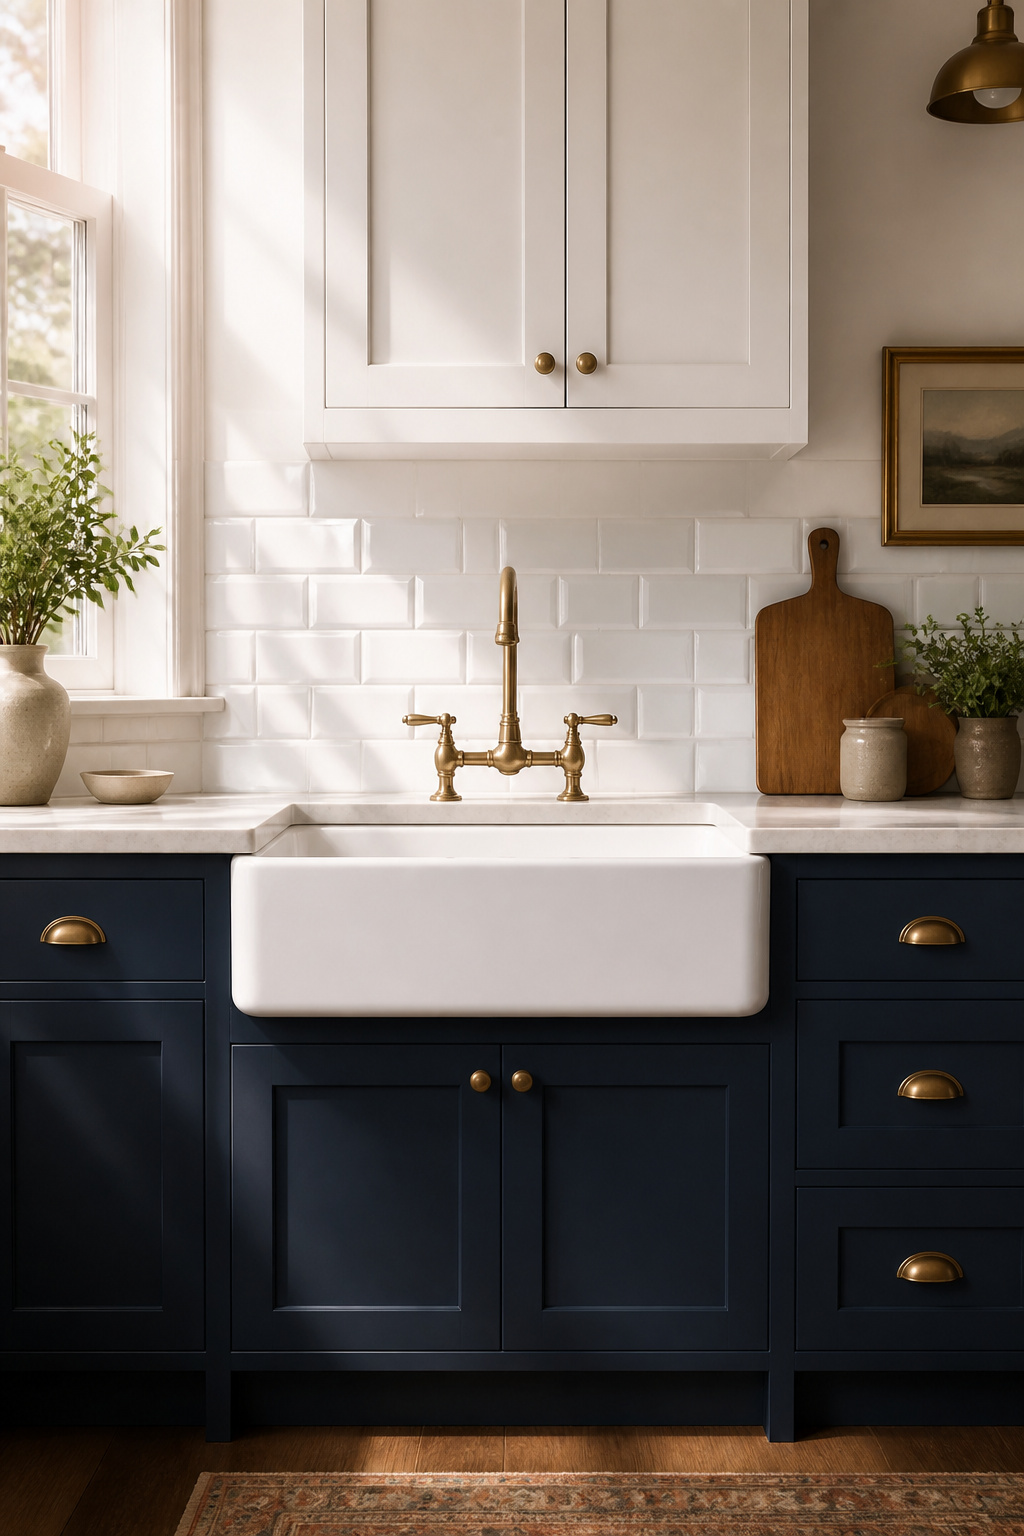
- Two-tone + brushed stainless or matte fireclay: light uppers with navy, forest green, or charcoal lowers, where the sink’s neutral tone connects the two cabinet colors.
Pairing with cabinet finishes: white shaker, natural wood, two-tone
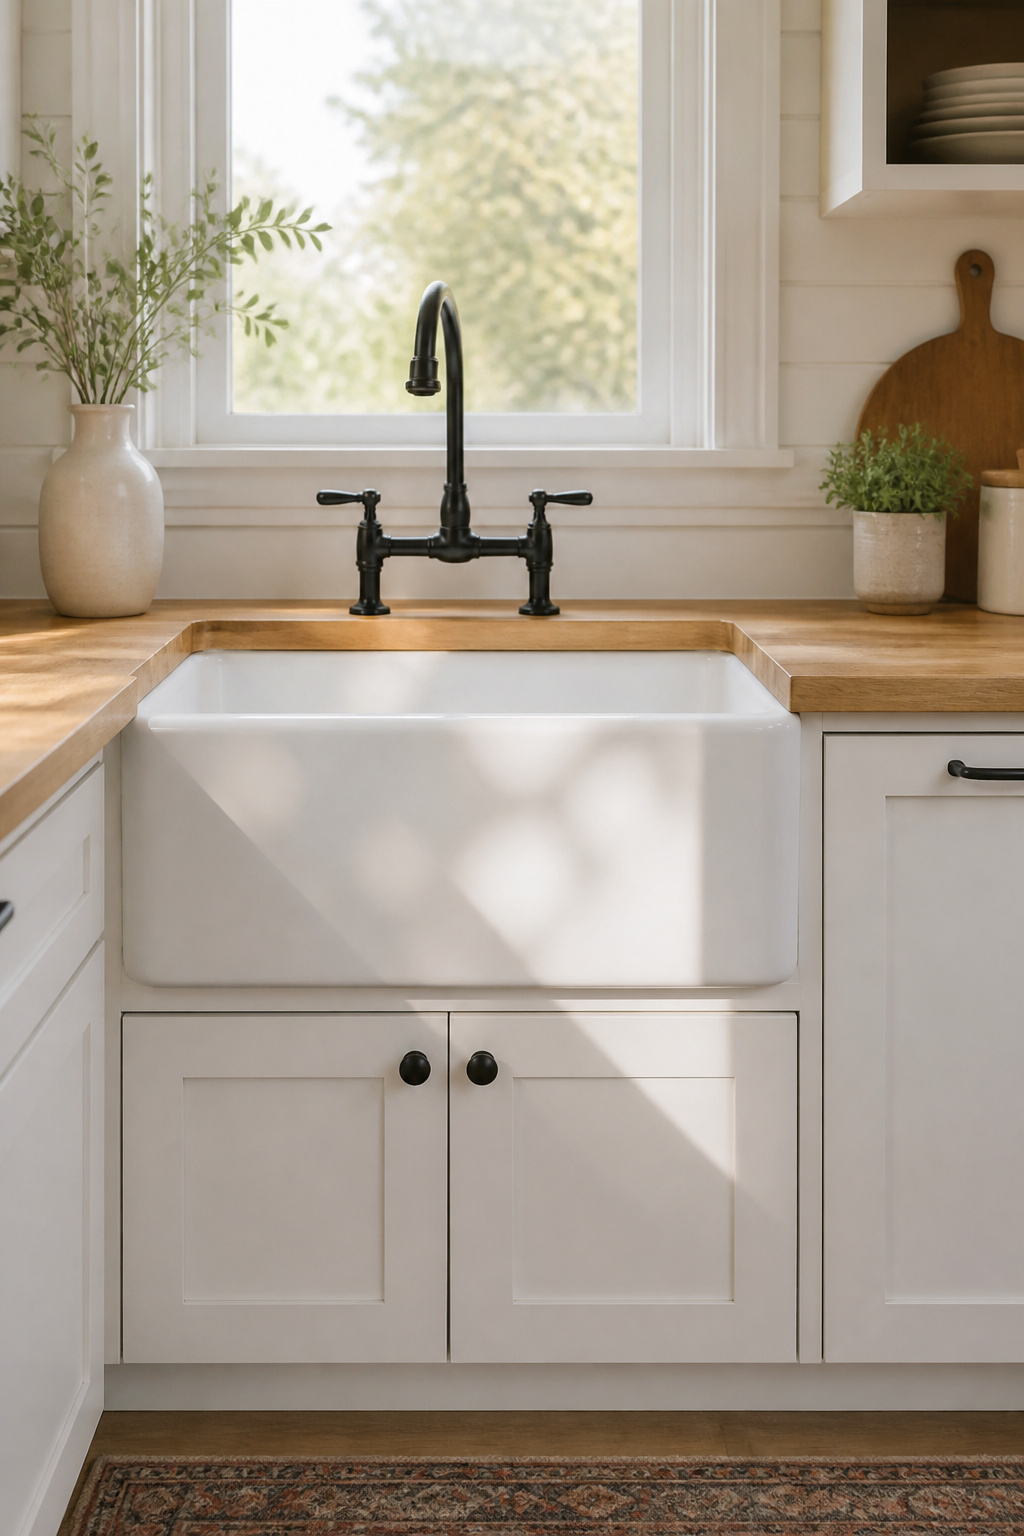
The classic move is white shaker cabinets with a white fireclay sink and a butcher block counter to soften the hardness. Warm wood cabinets balance best against copper or hammered stainless, where the metal meets the timber halfway. Two-tone kitchens lean on a neutral sink to tie contrasting cabinet colors together. Across all three, butcher block is the most popular non-stone counter: it warms ceramic and metal alike.
Hardware choices that complement the apron face
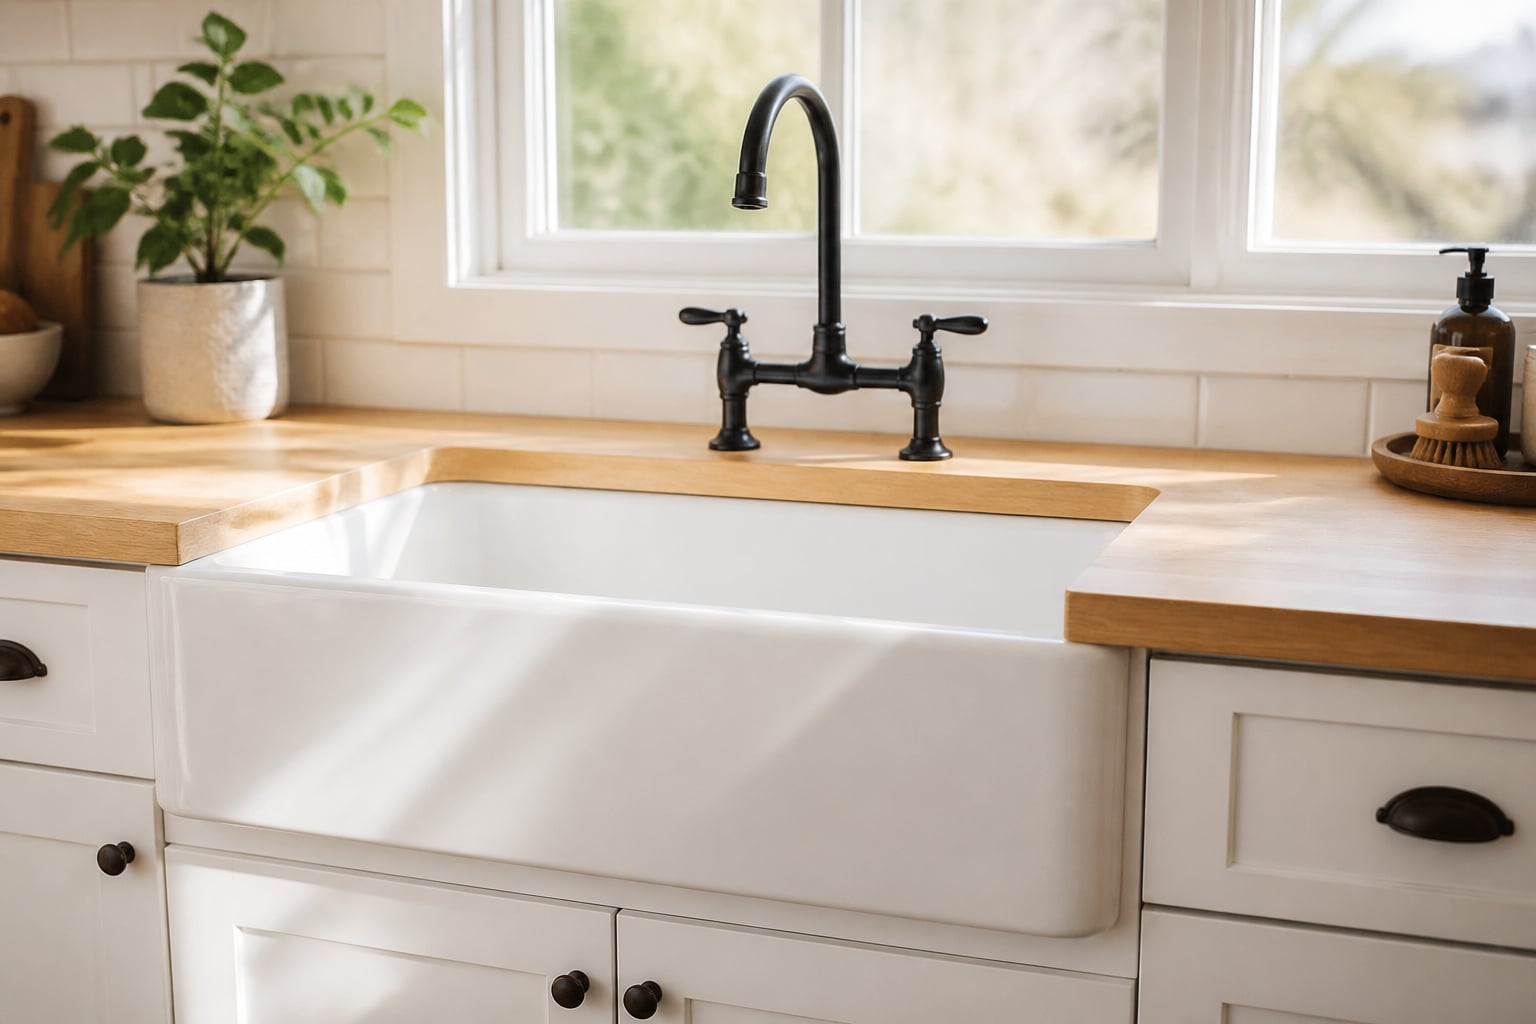
Bridge faucets — two-post, gooseneck-style fixtures — are the canonical pairing for an apron front; they echo the period look and come in polished chrome, brushed nickel, antique brass, and oil-rubbed bronze. A matte black bridge faucet pairs cleanly with both white fireclay and brushed stainless, adding contrast without fighting the sink. For cabinet hardware, cup pulls and bin pulls read more farmhouse than bar handles or knobs, and an aged brass or black iron finish reinforces the register without tipping into full period restoration. One pairing to avoid: high-sheen polished chrome against a matte fireclay sink reads mismatched rather than intentional.
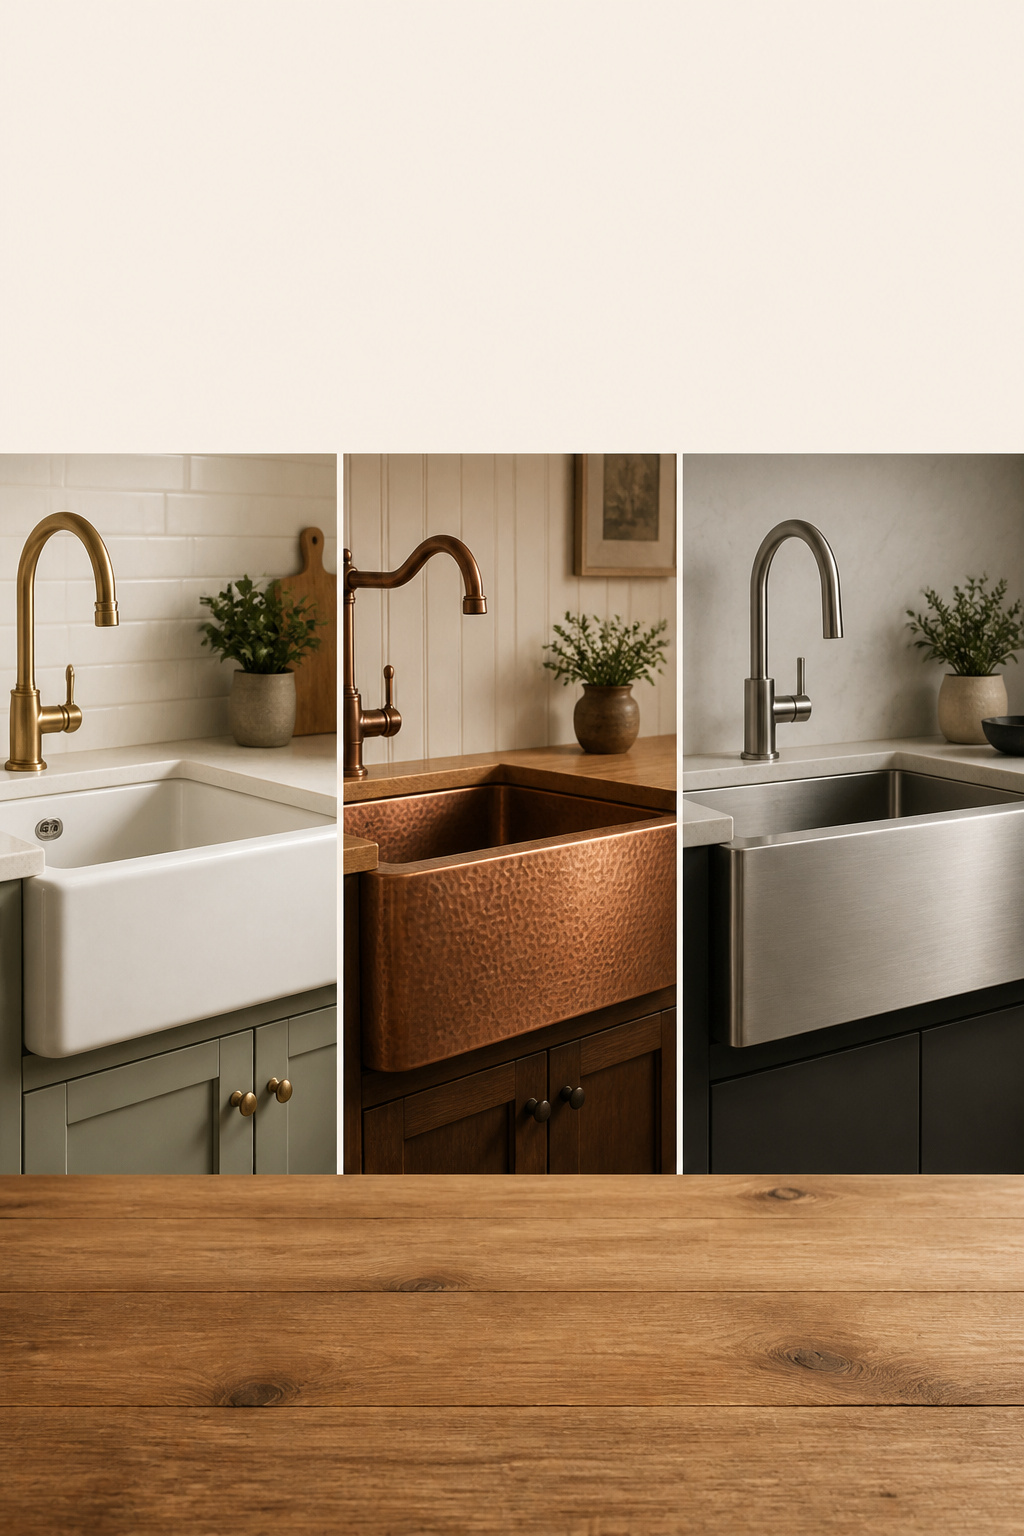
How material affects the look: matte fireclay vs hammered copper vs brushed stainless
Material changes the light in the room. Matte fireclay — the dominant finish — reads soft and chalky, diffusing light rather than bouncing it, which warms even a high-contrast black-and-white scheme. Hammered copper farmhouse sink ideas bring the only textured surface in the category; the faceted finish catches light at every angle and anchors a kitchen’s character more than any other material. Brushed or satin stainless photographs neutral and works in modern-farmhouse and industrial kitchens alike, but it can read cold in a warm palette unless you balance it with wood, warm-metal hardware, or wall color — part of the case for the stainless steel option when the room can carry it.
The Buying Checklist: Five Questions Before You Order
Everything above distills into five questions. Answer them in order, and you’ve cleared the mistakes that send sinks back or leave them sitting in the garage.
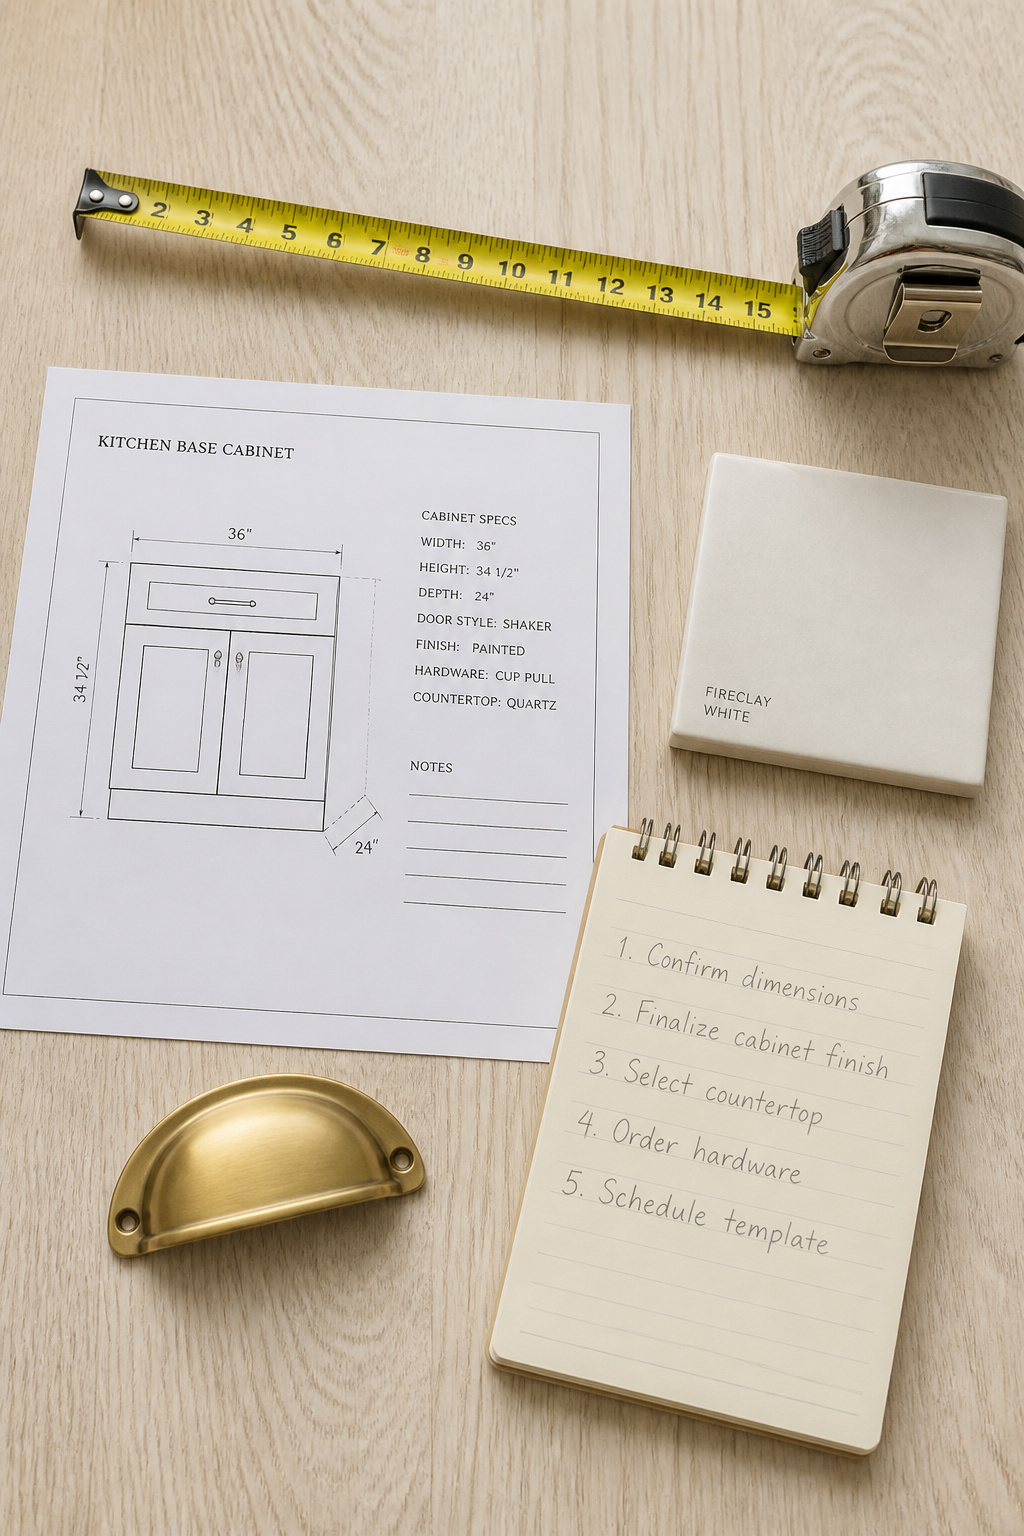
- Do you know your cabinet opening and support capacity? Measure the interior opening (not the exterior label), confirm the sink is 2 to 3 inches narrower, and plan for a 2×4 ledger — for fireclay and cast iron, that reinforcement is non-negotiable.
- Have you chosen material for your actual use, not the catalog photo? Match it to daily life: fireclay for low-maintenance white, cast iron for enamel gloss with rust vigilance, copper for patina-positive households, stainless for durability-first budgets. The sink that photographs best isn’t always the one that survives your kitchen.
- Is your plumber or installer briefed on apron-sink requirements? Confirm they’ve done apron-front work, and tell them the sink’s weight and model ahead of time — some need two people to set, and most plumbers don’t bring a second pair of hands unless you arrange it.
- Have you measured window clearance above the sink? A tall bridge faucet over a deep basin can push the spout 18 to 20 inches above the deck. Around 16 inches of clearance above the counter is a useful rule of thumb — verify it against your faucet’s spec before you order, not after the sink is in.
- What is your realistic maintenance commitment? White sinks want a daily wipe and prompt acid rinsing; copper wants patina-aware care; stainless wants only soap and water but shows spots. Buyers who assess this honestly rate their sinks higher — satisfaction tracks matching material to lifestyle, not to looks.
That’s the whole decision, surveyed end to end. The pattern underneath every question is the same: a farmhouse sink rewards the buyer who plans the cabinet and the upkeep with the same care as the look. Measure the real opening, choose the material for the kitchen you actually cook in, brief whoever installs it, and the apron front you fell for in the showroom becomes the one you’re glad you chose ten years on. Where a question above pointed to a deeper guide, go there next — each carries the full numbers behind the survey here.