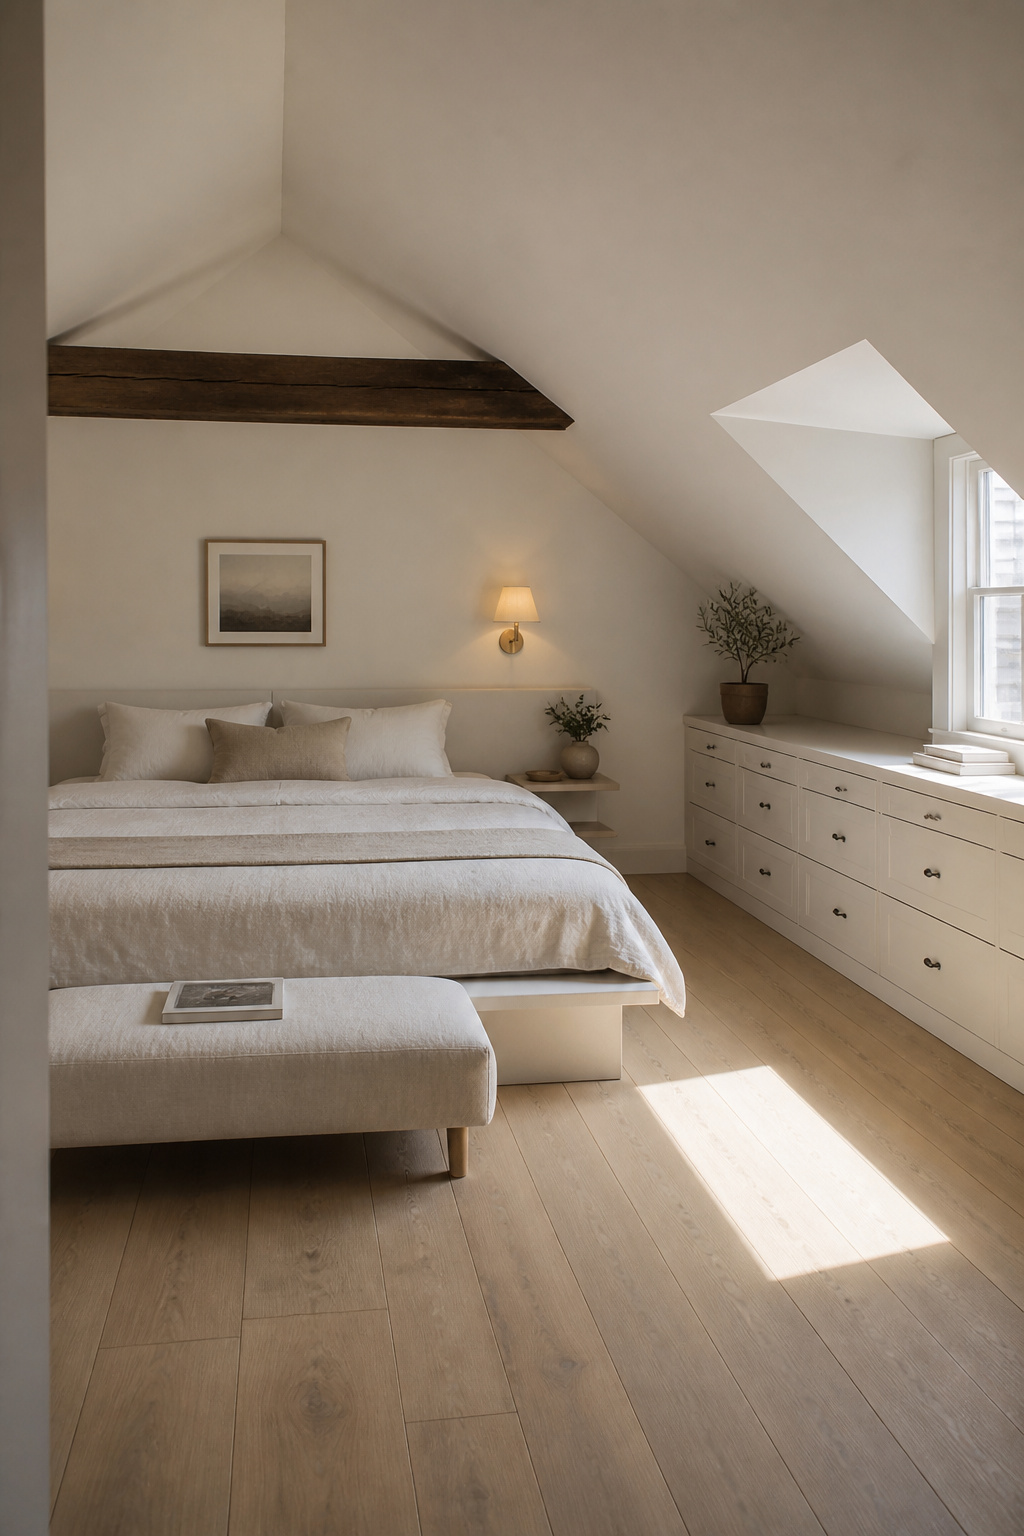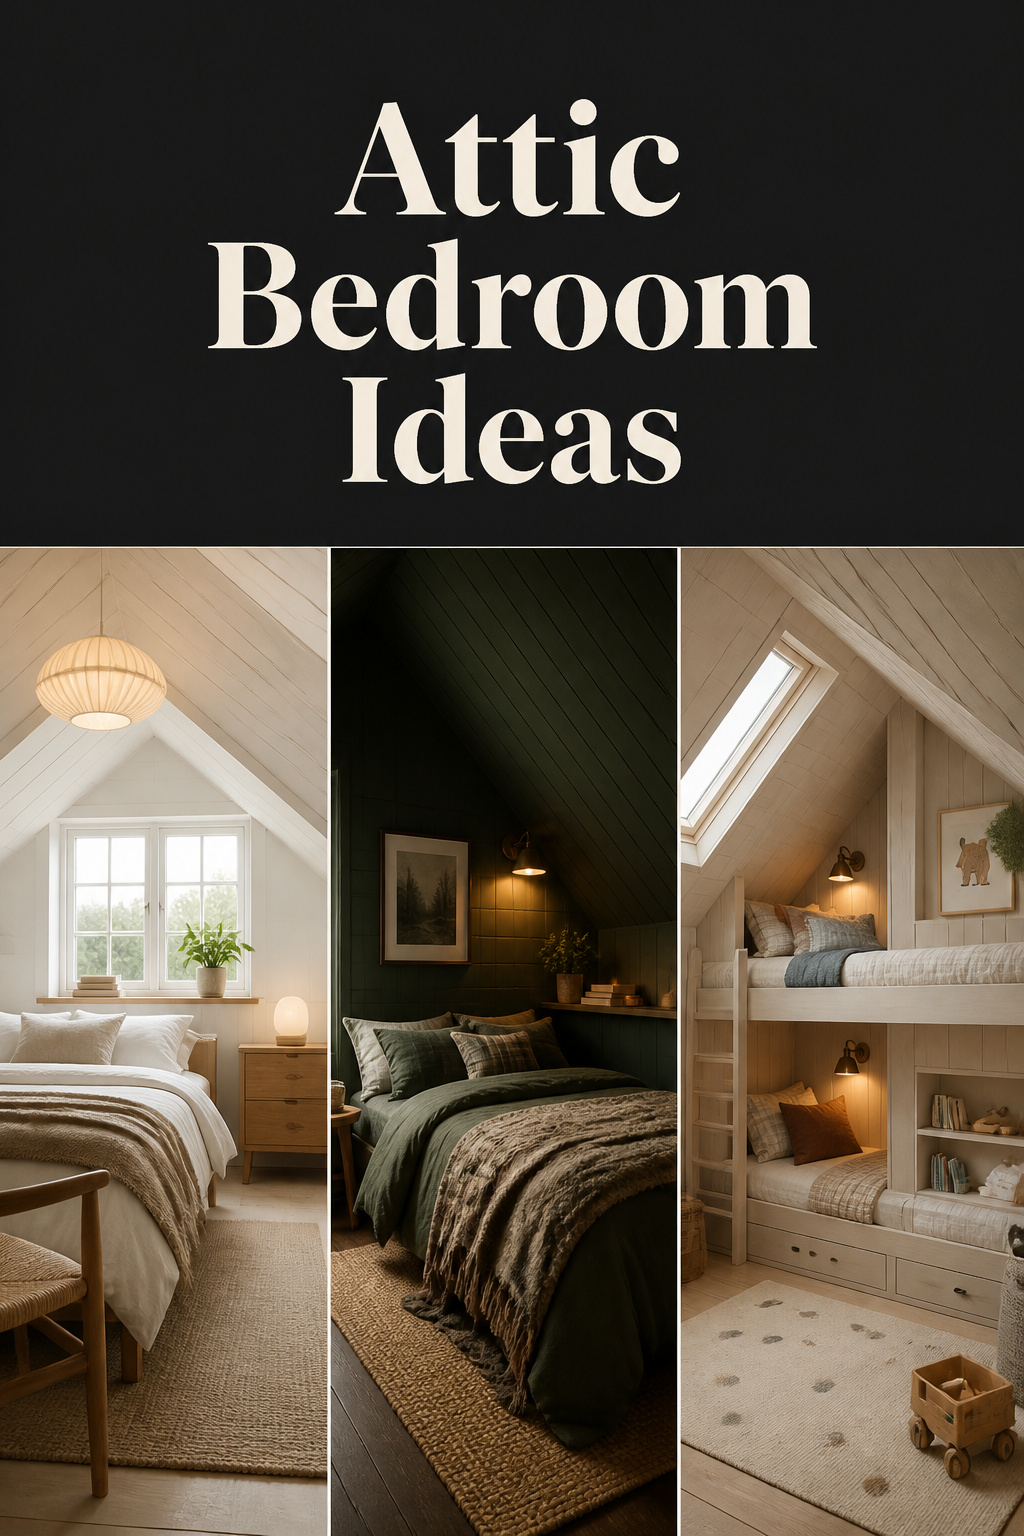

Before you look at a single attic bedroom idea on a screen, ask a quieter question: what do you want this room to be? Most attic projects go wrong because that question gets skipped. The owner starts at the furniture store, falls for a bed, and only discovers months later that it cannot stand upright under the slope. An attic is the one room in the house that refuses to be decorated first. It hands you a fixed geometry — a ridge, two falling planes, a pair of low triangles at the floor — and asks you to think before you buy.
The Scandinavian tradition I work in treats that as good news. A small, awkward, half-lit room is not a worse room; it is a clearer one. Fewer square metres mean fewer decisions and less room to hide a mistake. My grandparents kept a summer cottage on the Stockholm archipelago — unpainted pine, one shelf of crockery, lamps instead of switches — and it remains my reference for enough. An attic bedroom done well has that same quality: the constraints do the editing for you. This guide walks the whole project end to end, then hands each decision to the guide that goes deeper.
What an Attic Bedroom Really Asks of You
An attic bedroom asks three questions before it lets you answer any of the pretty ones. Where does the bed sit under the slope? What happens to the dead space behind the low walls? And how does light get in? Settle those, and colour, textiles and styling fall into place almost on their own. Skip them, and no amount of good taste rescues the room.
Reading the room’s ridge and eaves before buying anything
Two measurements govern everything: the ridge height at the room’s peak, and the angle of the slope falling away from it. Together they decide where you can stand, where tall furniture can live, and where storage has to be built in. Sketch the room with its real angles before you order anything — the single most common attic mistake is buying a piece that cannot stand once it arrives.
Code sets the floor for what counts as habitable. Under the IRC, at least half the room’s required floor area must reach a 7-foot ceiling, and no part of that area may sit below 5 feet. The knee walls — the short vertical walls where the slope meets the floor — typically stand 36 to 42 inches high, and the triangular cavity behind them is the room’s single largest storage opportunity. Assess it before you buy a stick of furniture.
The three decisions that unlock every other choice
The first decision is where the bed goes relative to the ridge — the tallest line in the room, and almost always the bed’s natural home, with everything else arranging itself around that anchor. The second is what to do with the eave storage — built-in drawers, access-door cubbies, or a freestanding unit cut to the slope — which decides how much open floor survives. The third is whether to add overhead glazing at all.
That third one carries real money. A 2-by-4-foot Velux skylight runs roughly $1,320 to $2,400 installed; a 4-by-4 unit, $2,160 to $3,360. Both add light only. A dormer runs $6,000 to $25,000, with most projects landing near $15,000, but it buys headroom, floor space and a vertical window view along with the light. One is a brightness fix; the other changes what the room can be.
Why constraint is clarity: the Nordic view of small-space design
There is a reason Swedish loft apartments keep turning up as attic inspiration. Nordic design treats limitation as a clarifying force, not a hardship. Fewer metres mean you choose more deliberately, own less, and let the architecture carry the storage instead of bolting on freestanding pieces. The toolkit is consistent: light walls to bounce what daylight there is, furniture pared to the necessary, and clutter designed out at the structural stage.
Designer Lyndsay Caleo Karol of the Brooklyn Home Company puts the attic mindset well: “Consider every inch of the space when planning the design of an attic, let no space be wasted. It’s in the tiny nooks that may seem difficult or useless that you can bring in a charming detail that can make the room.” The awkward corner is not waste; it is where the room’s character hides.
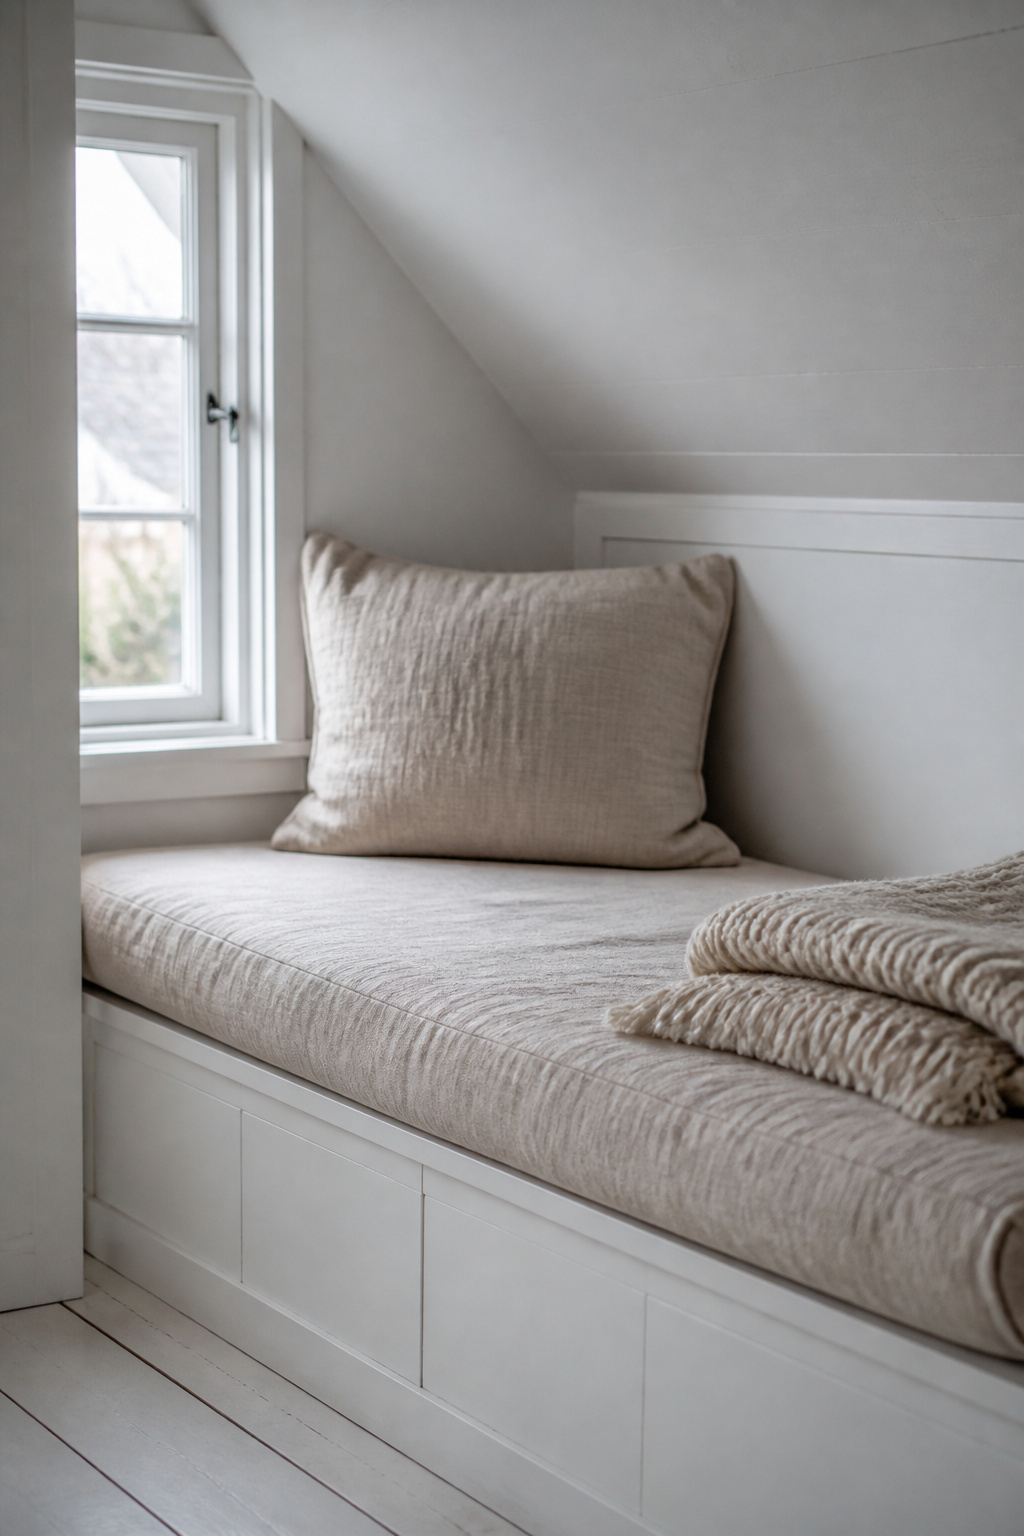
The table below maps each decision to the guide that owns it and to the one thing worth settling first.
| Decision | The guide that owns it | Settle this first |
|---|---|---|
| Bed placement and headroom | Sloped ceiling layout | Ridge height and slope angle |
| Eaves and knee-wall storage | Attic storage solutions | Cavity depth behind the knee wall |
| Natural and artificial light | Skylights and lighting | Skylight, dormer, or fixtures only |
| Mood, warmth and textiles | Cozy attic retreat | Whether the room reads as a refuge |
| Whole-room budget and sequence | Budget makeover | Structure before anything cosmetic |
| A child’s room and safety | Kids’ attic rooms | Headroom at the exact bed location |
| Wall and ceiling colour | Paint for sloped walls | Same hue or contrast |
Working With a Sloped Ceiling: Bed Placement and Headroom
The slope sorts the room into three zones of use. The ridge is where you stand. The upper slope is where you sit. The eave is where you lie down or store things. Read the room that way and most layout questions answer themselves, because each activity wants a different amount of headroom and the ceiling tells you where each one belongs.
Where to position the bed relative to the ridge
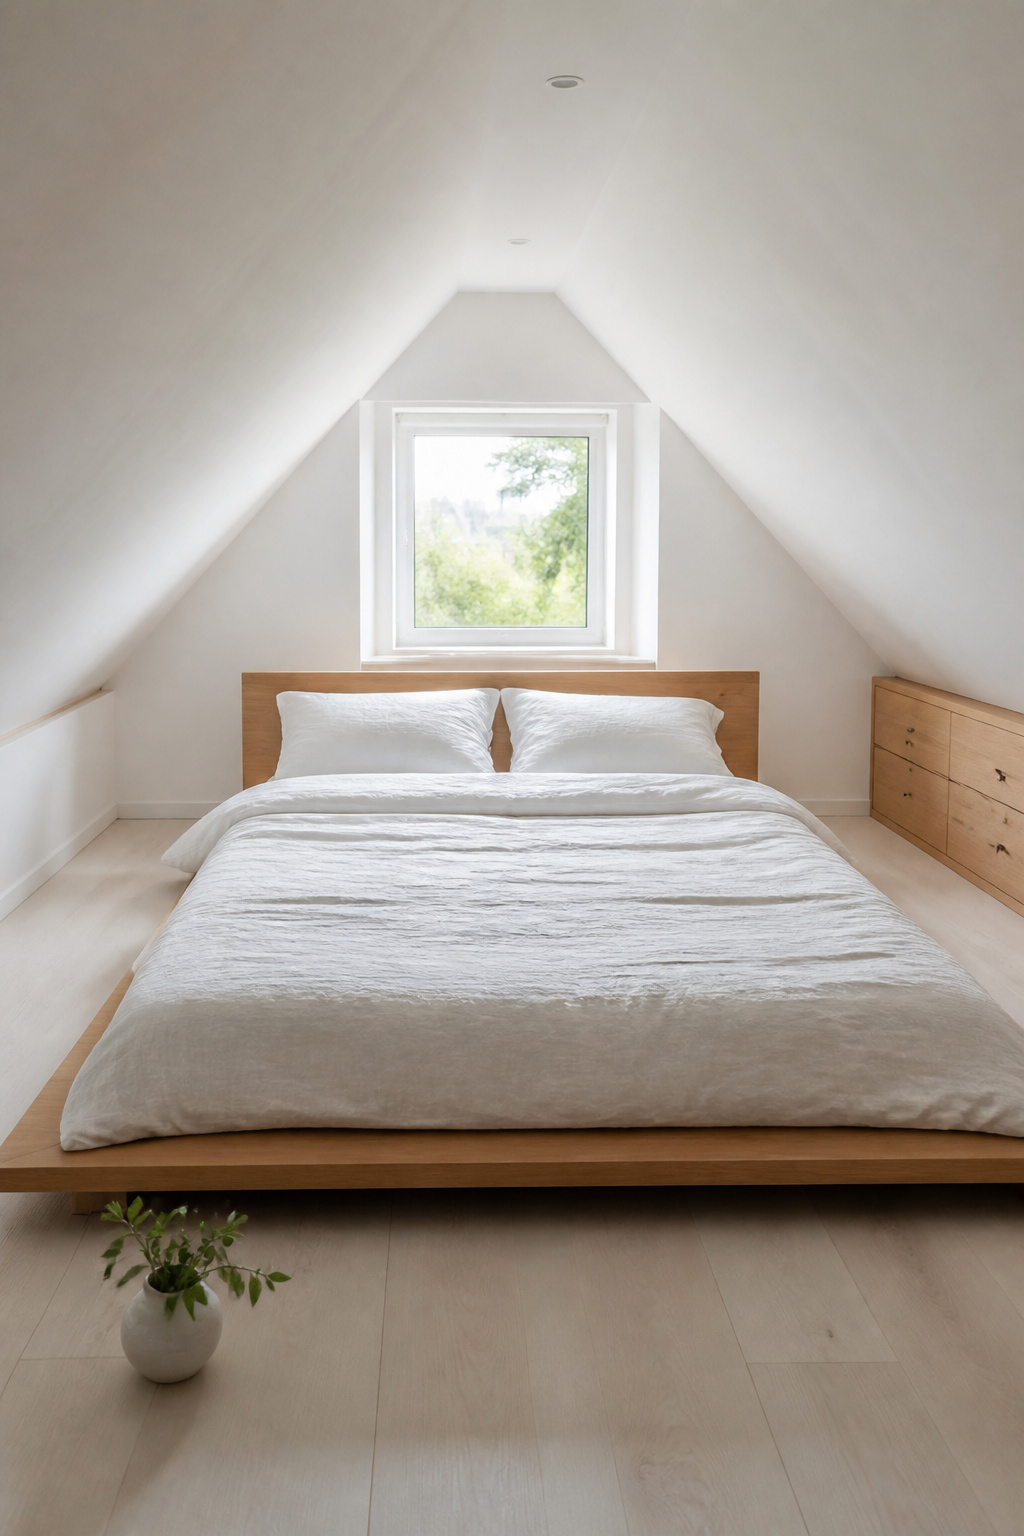
The most space-efficient placement runs the bed’s long axis parallel to the ridge, headboard against the gable end where full height is available, which frees the eave side for storage. If the ridge runs across the room instead, set the bed directly under the peak with the headboard to a knee wall, so the mattress extends into the falling ceiling rather than eating a standing zone. The principle holds either way: the bed claims the lowest-value standing space, because it needs height least of all.
Go low. A platform bed of 12 to 16 inches gains the most clearance under a slope and suits the grounded, unfussy look I favour. The deep treatment of slope geometry — furniture for the low side, decorating the slant without shrinking the room — belongs to the dedicated guide on working with a sloped ceiling.
Headroom math: standing zones vs sleeping zones
Standing and sleeping have very different needs. A standing zone wants the code 7 feet; a sleeping zone needs only enough to sit up comfortably, roughly 4 to 4.5 feet. That gap is the whole trick of an attic bedroom — the bed runs well into the sloped zone, past the point you would ever want to stand, and loses nothing.
Two code requirements are not optional and must be planned before any finishing work. A habitable attic needs a fixed staircase, not a pull-down ladder, as its primary access. It also needs at least one operable egress window — minimum 5.7 square feet of clear opening, at least 24 inches high, with the sill no higher than 44 inches off the floor. Cut it during the structural phase; discovering the requirement after the plaster is up means cutting through a finished wall.
Furniture that suits the low-eave side
The low side rewards horizontal furniture. A short, wide dresser slides under the slope and still holds plenty, where a tall chest will not fit — and the low line is the Nordic preference anyway. Legless wall-mounted bedside tables take zero floor and fix at exactly the right height under the angle. Best of all are built-ins that follow the pitch of the roof; as the interior publication The Nordroom notes, wardrobes and drawers cut to the slope “maximize space without feeling bulky.” Design against the slope, not in spite of it.
Attic Bedroom Storage Solutions in the Dead Triangles
The triangle behind the knee wall is the most underrated square footage in the house. It reads as waste — dead air behind drywall — and it is in fact the room’s best storage, available without surrendering a single foot of usable floor. Claim it, and you can leave the rest of the room nearly empty, which is exactly the point.
Why the eaves and knee walls are the room’s best asset
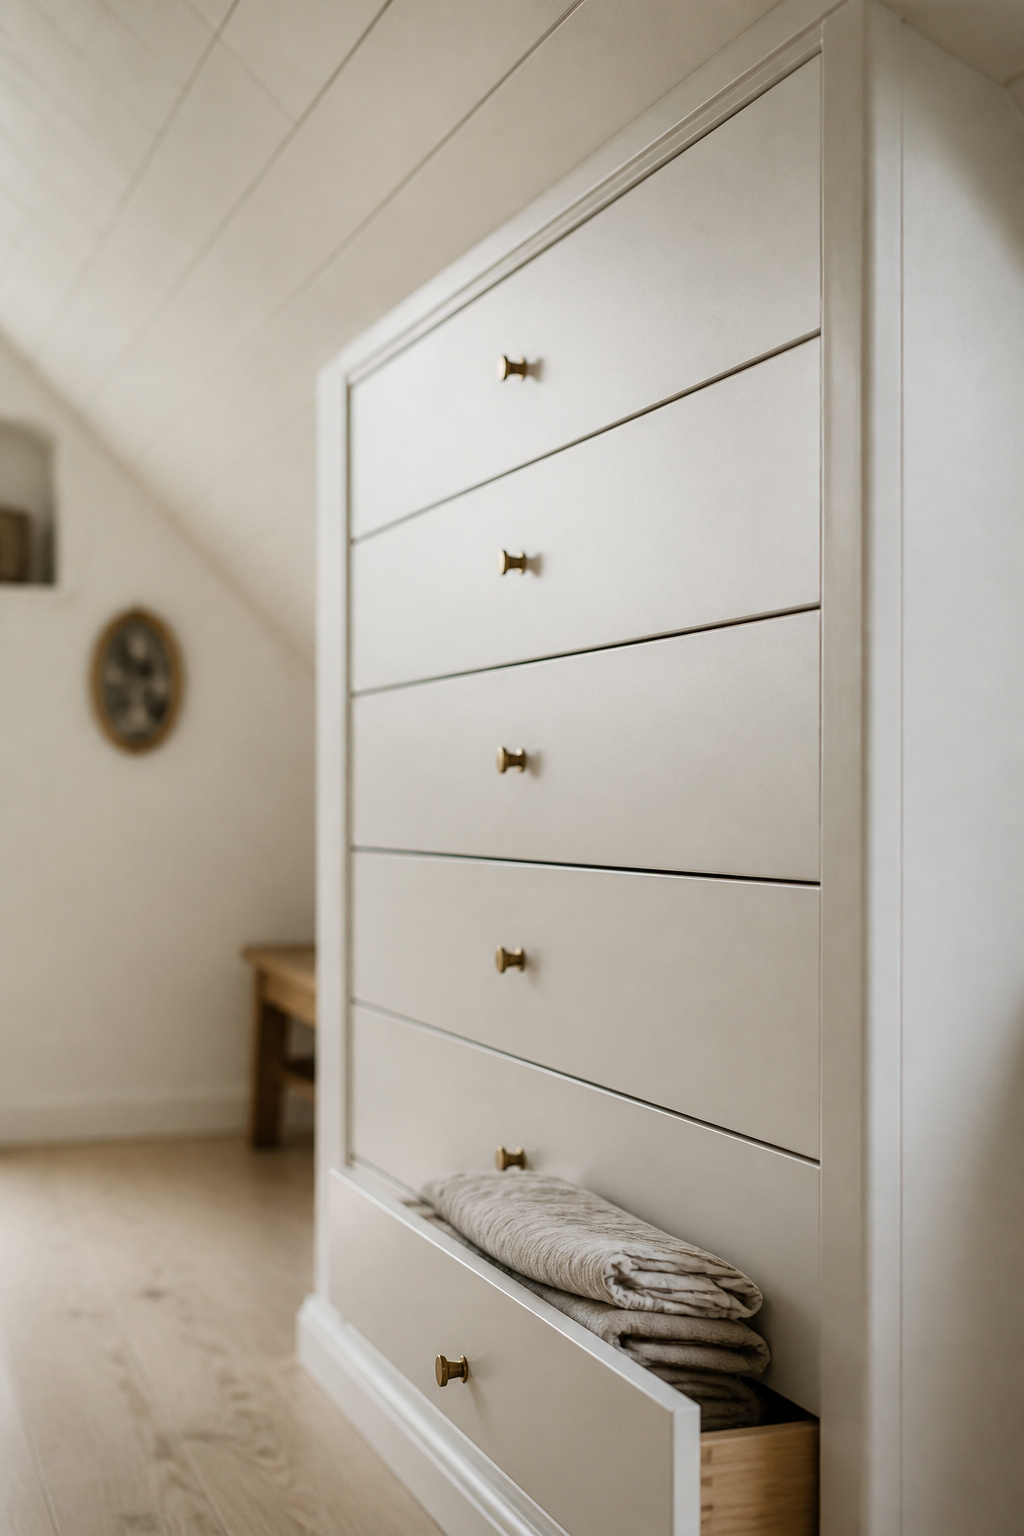
Build drawers into the knee wall and you gain a full chest’s worth of storage where there was nothing but cavity. This Old House makes the case plainly: knee-wall storage delivers “a full-size chest of drawers without sacrificing any floor space.” Opening it is simple — cutting through the knee-wall drywall and framing between the rafters and floor disturbs no load-bearing structure. The hidden nature of it is half the value: storage you cannot see is what lets a small room stay calm.
Built-in vs freestanding storage under the slope
Built-in drawers are the gold standard — flush with the knee wall, they add no visual bulk and run $200 to $800 and up in materials for a full run, depending on depth and how many sections. A popular alternative fits IKEA PAX boxes into the opening for near-built-in results at a fraction of the price. Access-door cubbies — painted doors cut into the drywall, deep shelving behind — are the simplest move and handle seasonal storage with no cabinetry. For renters, a tapered freestanding cabinet built to the slope works, at the cost of some floor.
One rule before you close anything up: insulate the cavity first. An uninsulated eave becomes a heat trap in summer and a cold sink in winter, and it will quietly ruin whatever you store. The full build — dimensions, materials, the cut-and-screw sequence a confident beginner can manage — lives in the guide to attic bedroom storage solutions.
What fits in a 30-inch knee-wall cavity
The numbers are forgiving. A 30-inch-deep cavity, measured from drywall face to rafter, comfortably holds a pull-out drawer unit up to 24 inches deep, or a 21-inch hanging section with a rod and clearance behind. Span a rod more than 48 inches and add a centre support bracket, the same standard a normal closet follows. Measure the cavity once and the whole storage plan falls out of it.
Skylights and Attic Lighting: Solving the Light Problem
Light is the complaint you hear most about attic bedrooms and, happily, one of the most solvable. Two separate problems hide inside it. Daytime is a structural question — how daylight gets into a room with no normal windows. Night-time is a fixture question — how to light a low ceiling without crowding it. They have different answers.
Natural light: skylights, dormers, and what they actually cost
A fixed skylight is the budget-accessible move. A 2-by-4-foot Velux runs roughly $1,320 to $2,400 installed with flashing; a 4-by-4 unit, $2,160 to $3,360. Beyond the brightness, the Velux Group reports well-placed skylights can cut heating needs by up to 18 percent. The trade-off is the angle of the light: it falls straight down, which can glare on a bed or desk directly beneath.
A dormer costs far more — $6,000 to $25,000, averaging near $15,000 — but does more. Its vertical window sweeps daylight across the floor rather than dropping it from overhead, and it adds headroom and usable space in the bargain. Time differs too: a skylight is a one-to-two-day job, a dormer a one-to-two-week structural one. The decision comes down to intent. Need light, choose a skylight; need the room to be bigger, choose a dormer.
A layered fixture plan for a low ceiling
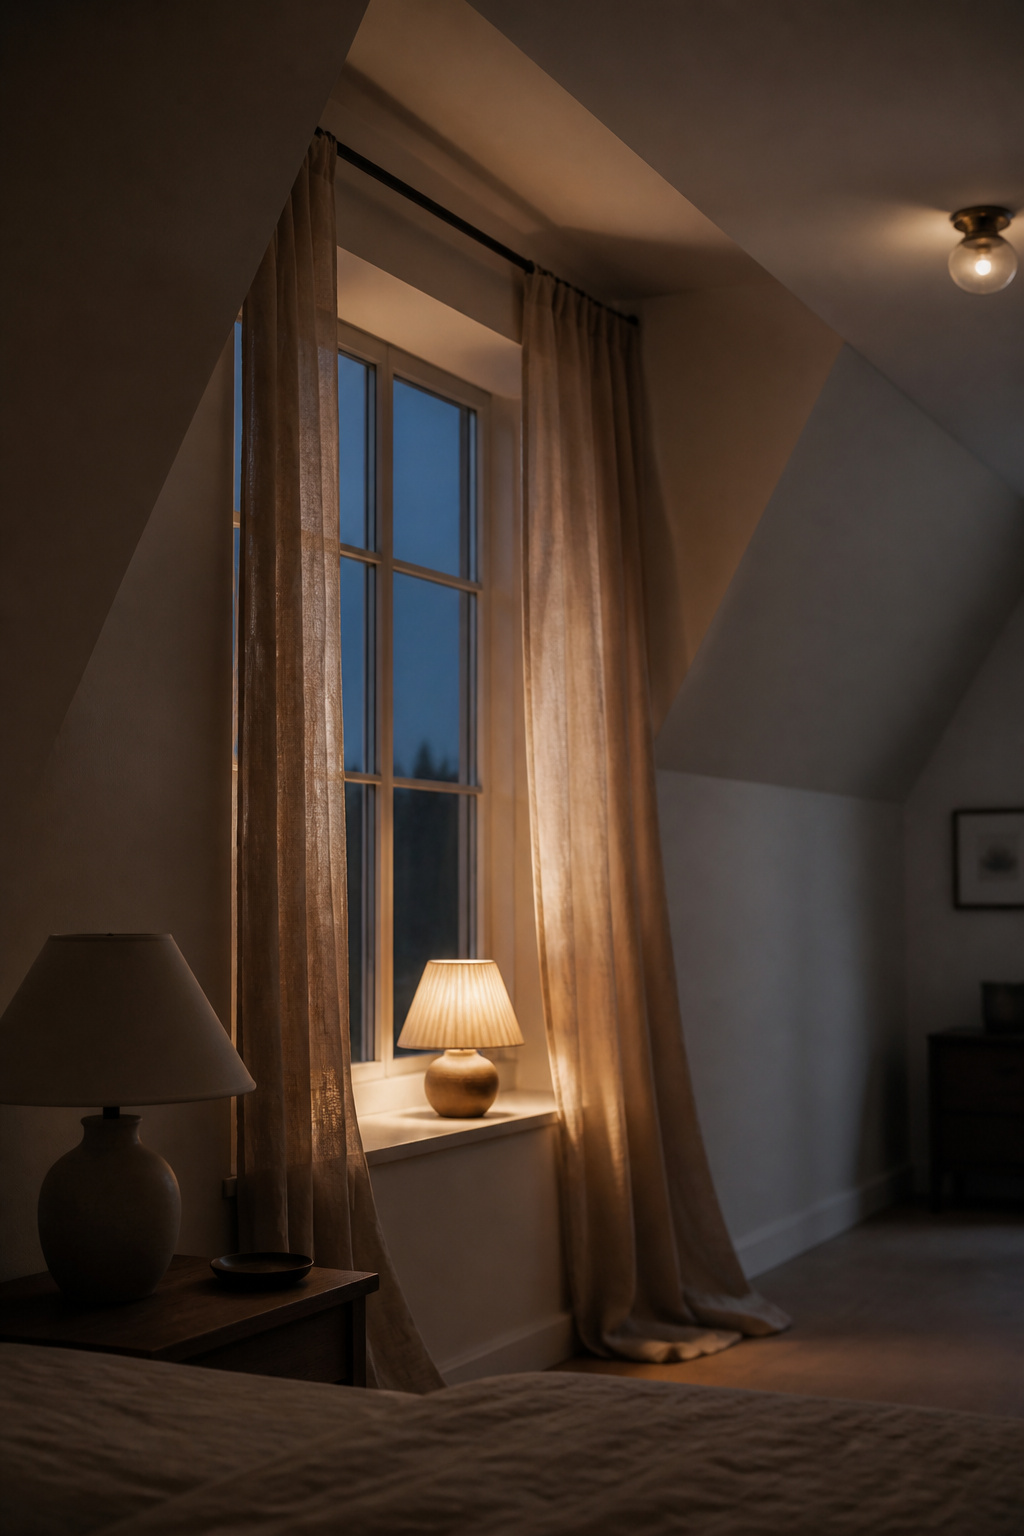
After dark, the rule is layers, not brightness. A low ceiling cannot afford a pendant hanging into headroom, so the ambient layer should be flush mounts or recessed downlights that sit flat to the surface. Add task light at the bed — a wall sconce at eye height, roughly 58 to 65 inches, gives reading light without a bedside lamp and keeps the source low where it serves you. An accent layer, an LED strip along an eave edge, finishes it. Three layers on dimmers beat one bright fixture every time. The full fixture plan and the skylight-versus-dormer decision belong to the guide on skylights and attic lighting.
Window treatments that keep light without heat
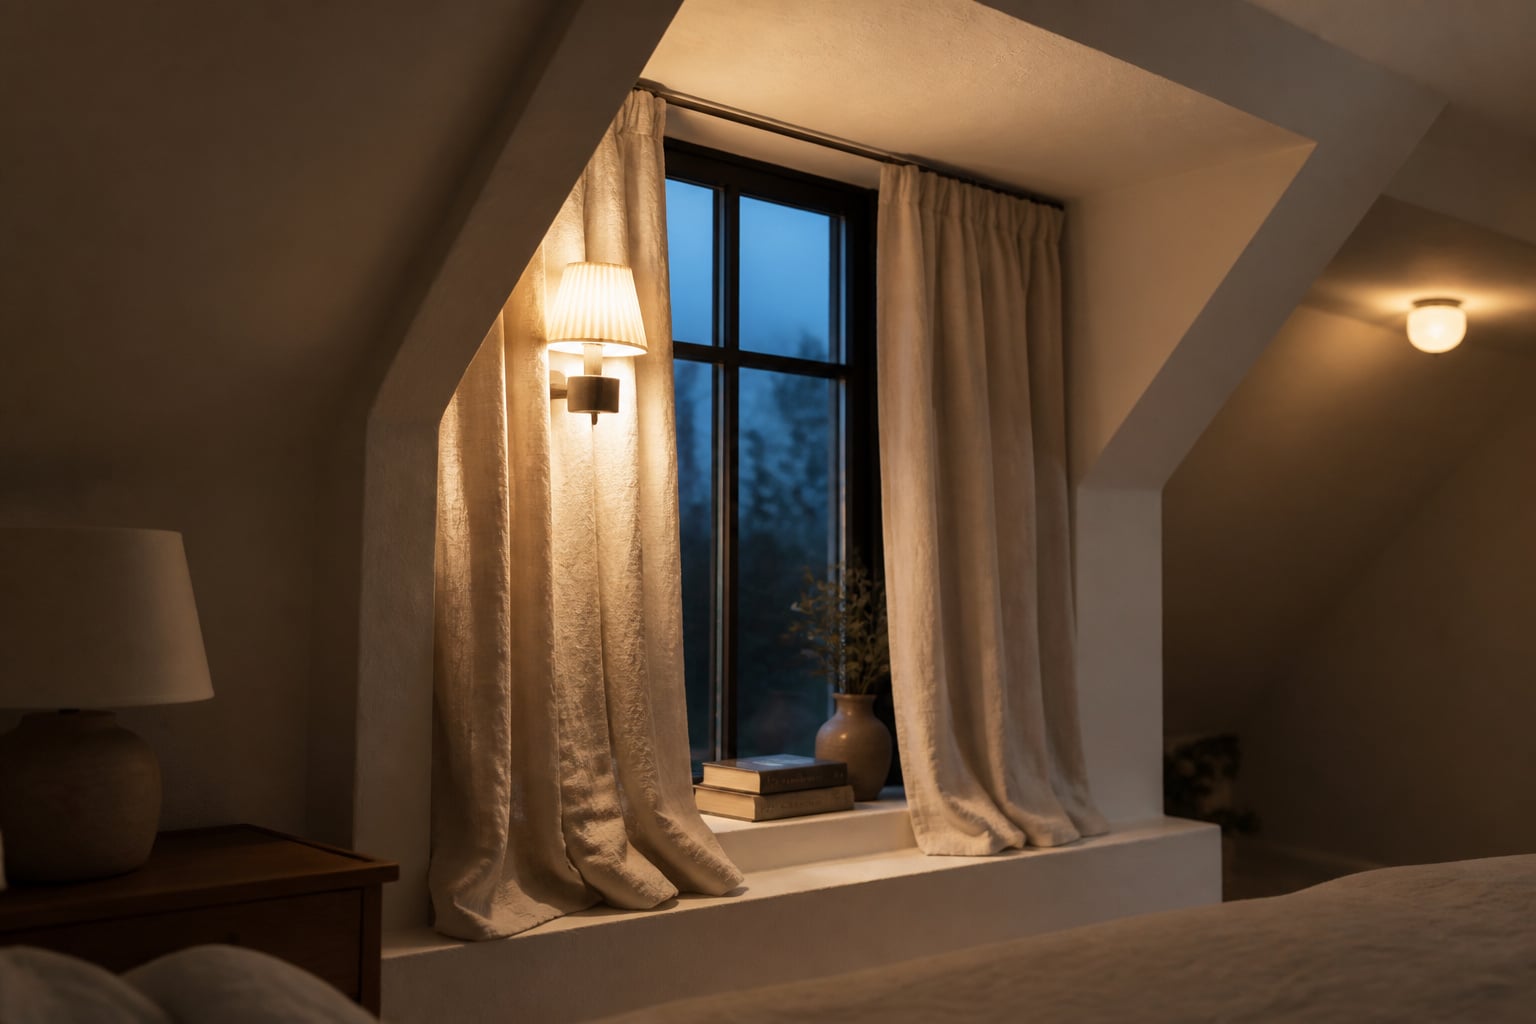
Overhead glazing gathers solar heat far longer than a vertical window, so any skylight over a bed needs a blind — both for sleep and for temperature. Fit it to the skylight frame, not the ceiling: Velux and others make blinds that run inside the frame track, closing the gap where heat and light leak around a surface-mounted shade. For dormers, rod-mounted sheer linen filters daylight without the heat retention of heavy blackout fabric in the day. The one thing to avoid is a bare skylight above the pillow — morning sun on a sleeping face is the fastest way to come to hate an otherwise good room.
Creating a Cozy Attic Retreat: Textiles, Beams, and Warmth
Here the constraint stops being a problem and becomes the whole appeal. The low, enclosed volume a tall room can never offer is precisely what makes an attic feel sheltering. Danes have a word for the feeling — hygge, the art of warmth and contentment — and the attic is the room most ready to deliver it. You do not manufacture cosiness here; you stop fighting it.
Making the low, enclosed feeling an asset instead of a problem
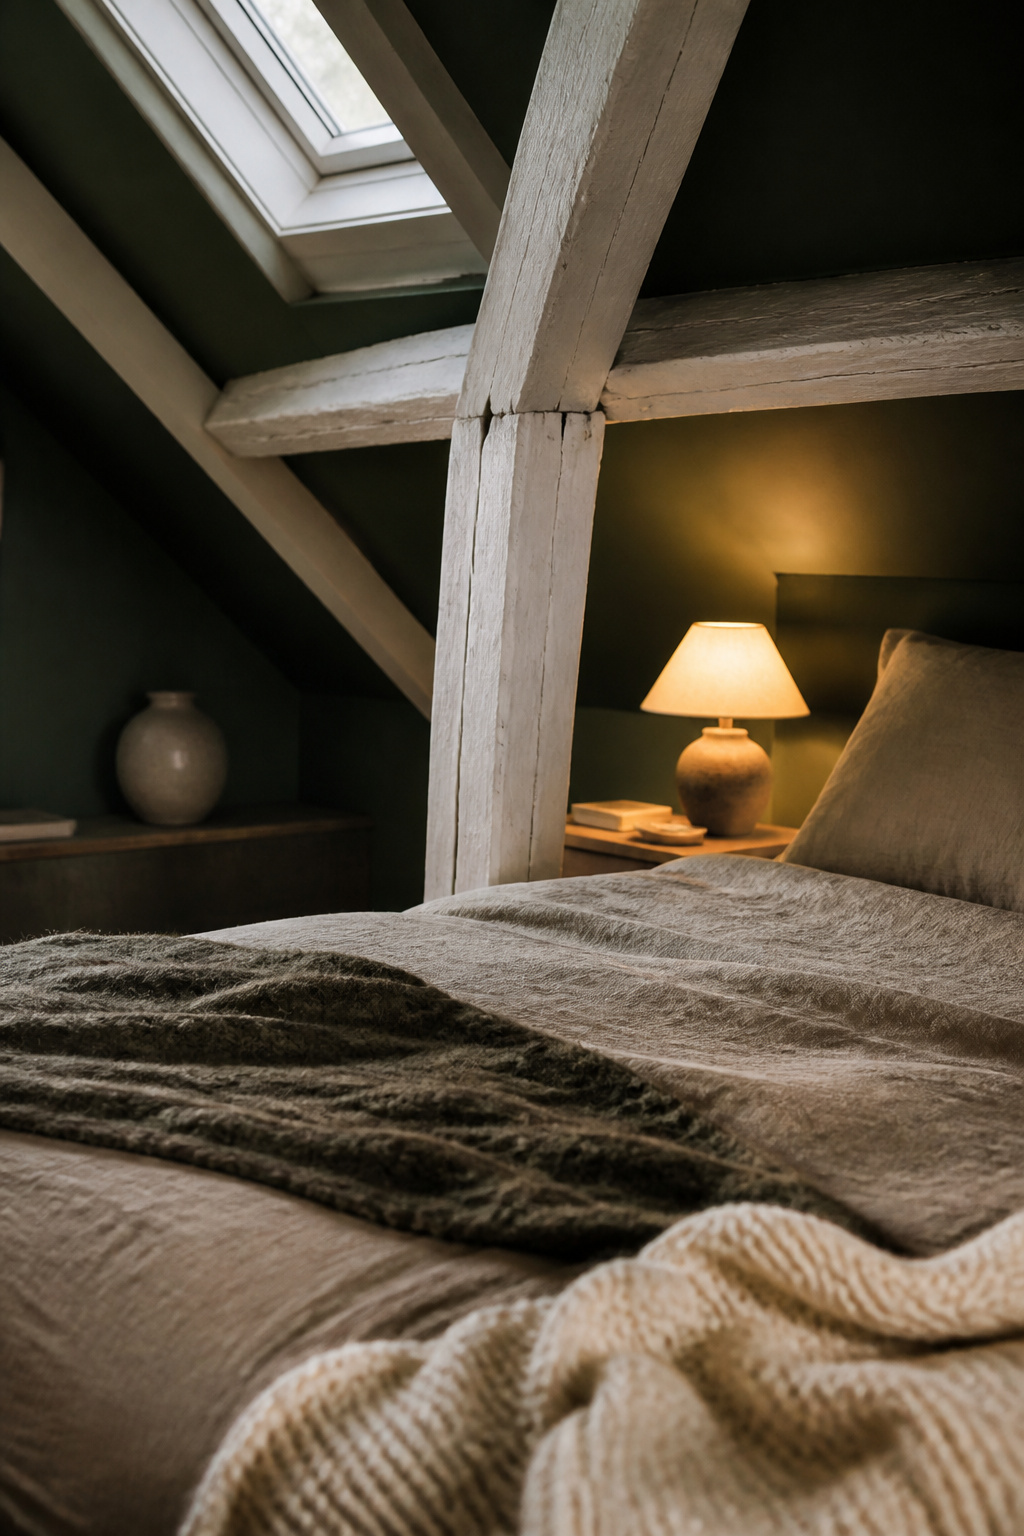
Lean into the enclosure rather than apologising for it. A low ceiling makes candles, dimmed sconces and small pools of warm light feel intimate instead of inadequate, because the room is not trying to read like a bright gallery. Going darker — navy, forest green, charcoal — turns the room intentionally intimate rather than accidentally small. As design writer Coco Lapine observes, “going for an all-over colour, ceiling included” blurs the edges of a room, and “sometimes going darker can have just as much of a space-expanding effect as a lighter scheme.” Dark, used on purpose, reads as depth.
Exposed beams: when to celebrate them, when to paint them out
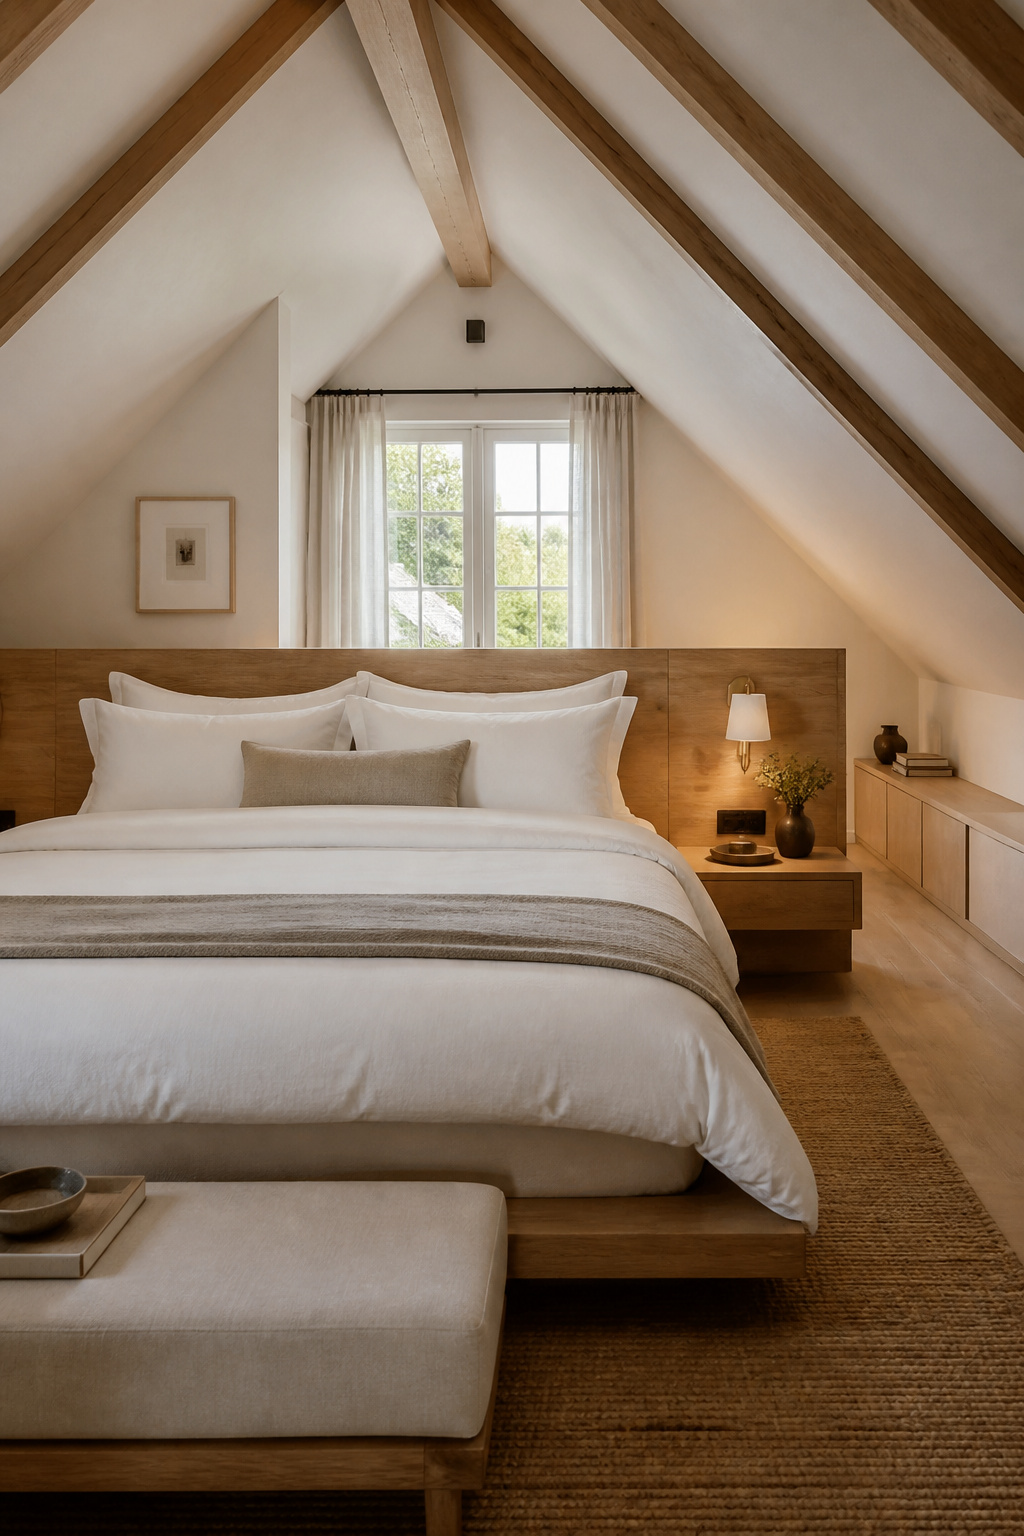
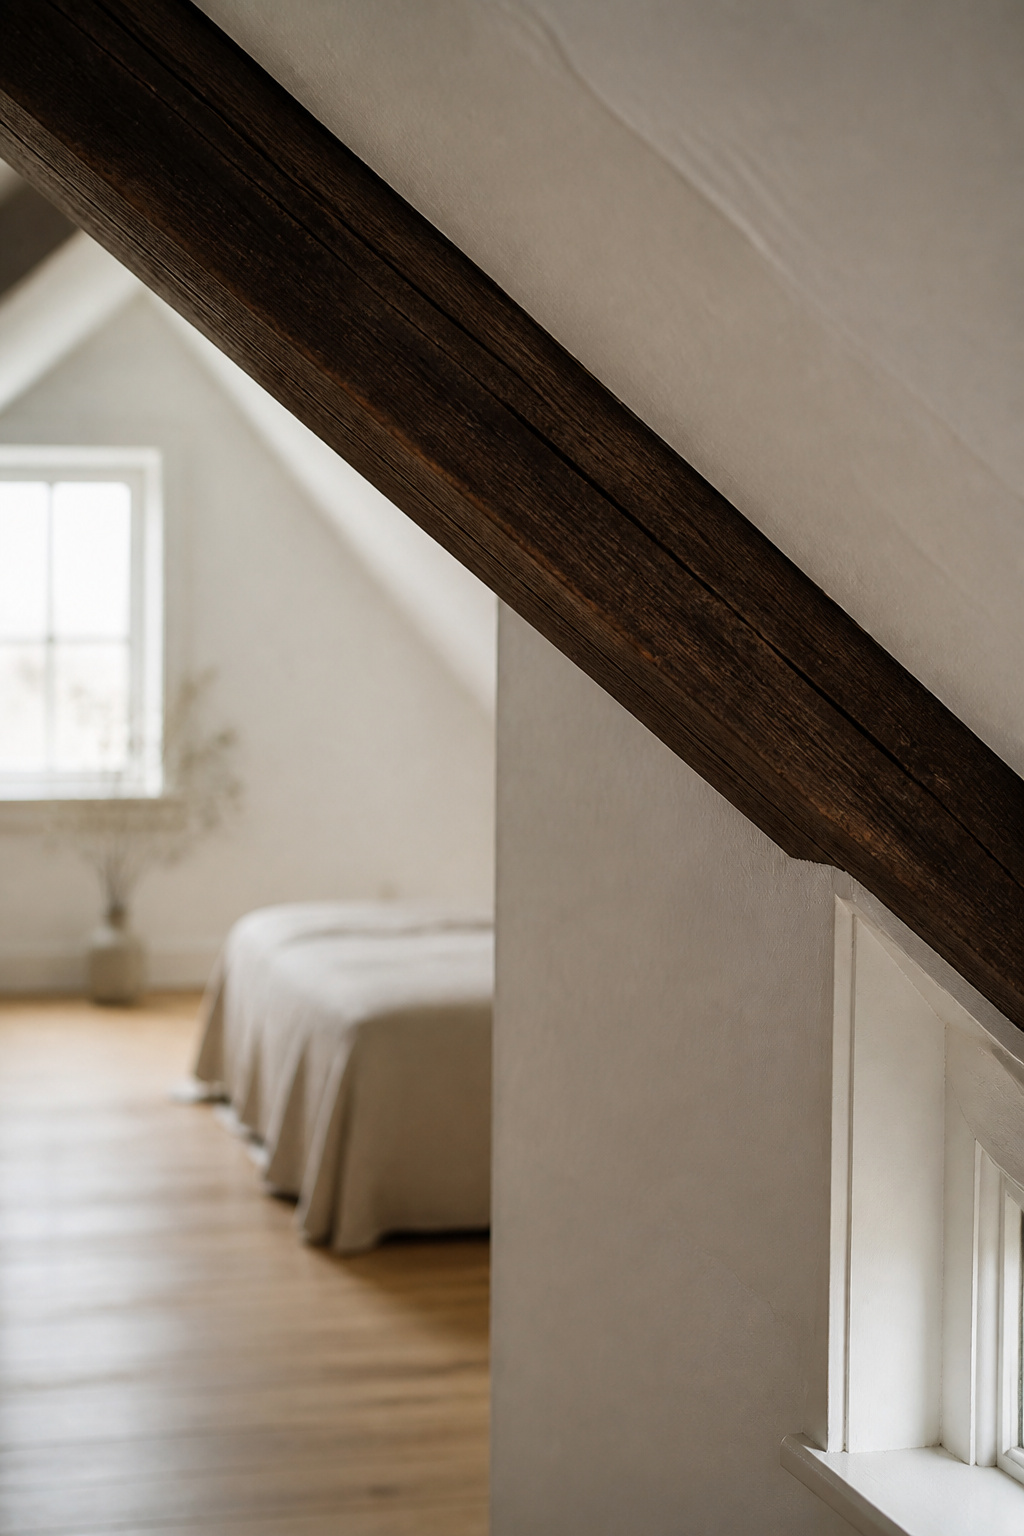
Beams are the attic’s signature, and you have three honest moves. Dark-stained beams against a light ceiling draw the eye up along the slope — a strong architectural statement that wants a restrained palette around it so the beams read as lines, not clutter. Limewashed or white beams soften to a texture difference rather than a colour contrast, which suits a lighter, smaller room. And where beams are too many or too shallow to feature, paint them out to match the ceiling — the Scandinavian default when the structure is busier than it is beautiful. Choose by how many beams you have and how much light is in the room.
Layered textiles for a hygge attic bedroom
Warmth in an attic is built mostly from things you touch. Layer them in order: a smoothly fitted linen or cotton base, a natural-fibre duvet, a wool or chunky-knit throw dropped asymmetrically at the foot, and two to four textured cushions. A low-pile wool rug under the bed — large enough that both feet land on it when you rise — adds warmth without touching the structural floorboards. Keep the palette quiet: whites, greys and soft earth tones, lifted by a single warm accent like rust or terracotta. The full styling treatment — the cocoon palette, the cushion-by-cushion build, soft light at candle level — is the work of the guide to creating a cozy attic retreat.
Attic Bedroom Makeover on a Budget: Order of Operations
An attic conversion is a building project wearing a decorating project’s clothes. The money and the risk live in the parts the camera never sees, and the single most expensive mistake is doing things in the wrong order — paint before the questions that paint cannot answer. Get the sequence right and a modest budget goes a long way; get it backwards and no budget is enough.
What to spend on first in a rough attic conversion
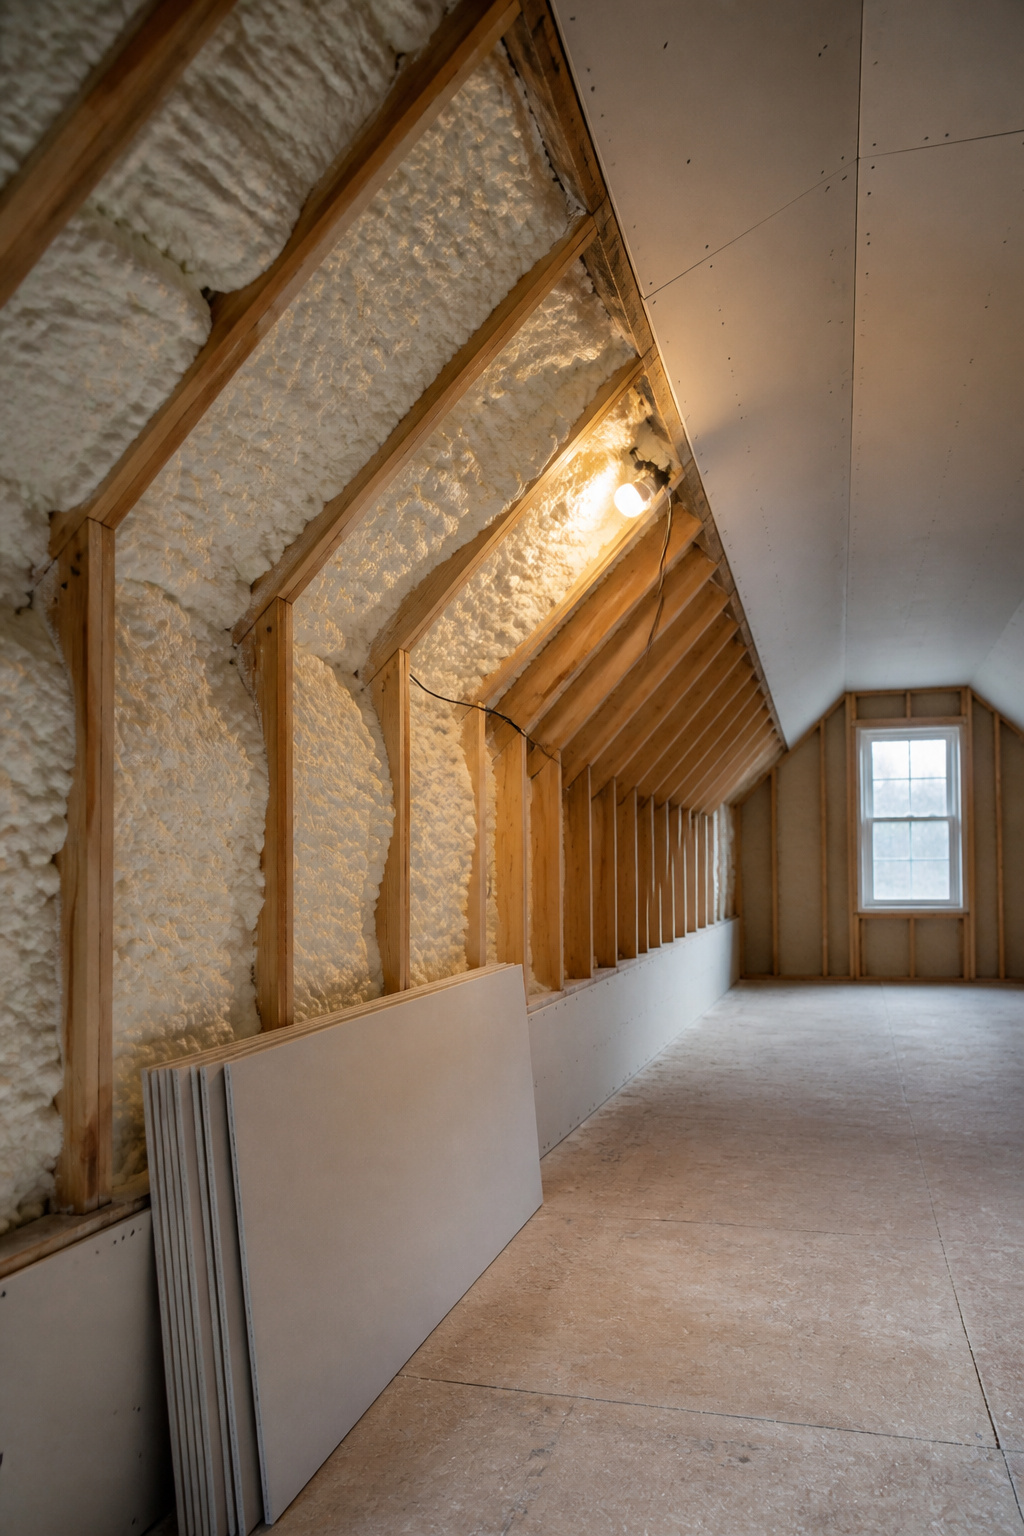
The professional sequence is fixed. First, a structural assessment by a licensed engineer — at $300 to $700, the most important early spend, because most older homes’ ceiling joists are undersized for live occupancy and need sistering before anything else proceeds. Then mechanical rough-in: electrical, the egress window, and heating and cooling, where a ductless mini-split ($2,000 to $6,000 installed) is the usual answer since it needs no ductwork through the floor. Then insulation — spray foam between rafters is the common choice in shallow rafter depth, though the right R-value varies by your US climate zone, so check local code rather than copying a number off the internet. Drywall next. Finish work — flooring, trim, paint — comes dead last.
The DIY jobs vs the pro jobs: where the line actually sits
The line is mostly about safety and permits. Hand the load-bearing and the wired work to professionals; keep the labour-heavy finishing for yourself. The table below sorts the common jobs, and that split is where a $10,000 DIY conversion and a $30,000 contractor one part ways.
| Hire a professional | DIY-viable with basic skills |
|---|---|
| Structural assessment and joist sistering | Insulation batts between joists and rafters |
| Electrical panel connections and subpanel | Drywall hanging (with a second pair of hands) |
| HVAC / mini-split installation | Priming and painting |
| Cutting the egress window | Flooring installation |
| Pulling the building permit | Built-in storage construction |
One non-negotiable hides in that left column: the permit. A habitable conversion without one cannot legally be marketed as a bedroom, which surfaces at resale whether or not you ever notice it day to day.
Real numbers: a realistic budget range by scope
Scope drives the number more than finish does. A basic finish — adequate joists, an egress window already present, no new HVAC — runs $5,000 to $15,000 for insulation, drywall, flooring, paint and lighting. A standard conversion with a new egress window, a mini-split, full insulation and drywall lands around $20,000 to $35,000 in most US markets. A full suite with an ensuite and a dormer reaches $50,000 to $80,000 and beyond, with the bathroom plumbing and dormer structure as the cost drivers. The honest sequence, the real line items and the trips back to the hardware store are laid out in the attic bedroom makeover on a budget guide.
Kids’ Attic Rooms: Bunk Beds, Safety, and Growing Room
Children read an attic differently than adults do. The low, enclosed character that makes some grown-ups feel boxed in lands on a child as a den — a sized-to-them space they will choose over a larger room downstairs. The design job is to keep that delight while satisfying two layers of safety code: the room, and the furniture in it.
Headroom and guardrail requirements for children sleeping under the slope
The room rules match any bedroom — the 7-foot-over-half-the-floor minimum, the egress window — no matter how small the occupant. The furniture adds its own. Federal standard 16 CFR § 1213.3 requires any bunk with the upper foundation more than 30 inches off the floor to carry at least two guardrails, one per side, with one continuous between the end structures. Paediatric safety guidance also keeps children under six out of the top bunk regardless of rails.
The slope sharpens one rule: measure headroom at the exact bed location, not the room centre. The mattress, the guardrail and a comfortable 30-odd inches of sitting space above the pillow all have to fit at that specific point on the falling ceiling — a child who cannot sit up in bed has the wrong bed in the wrong place.
Bunk and built-in beds that work with low ceilings
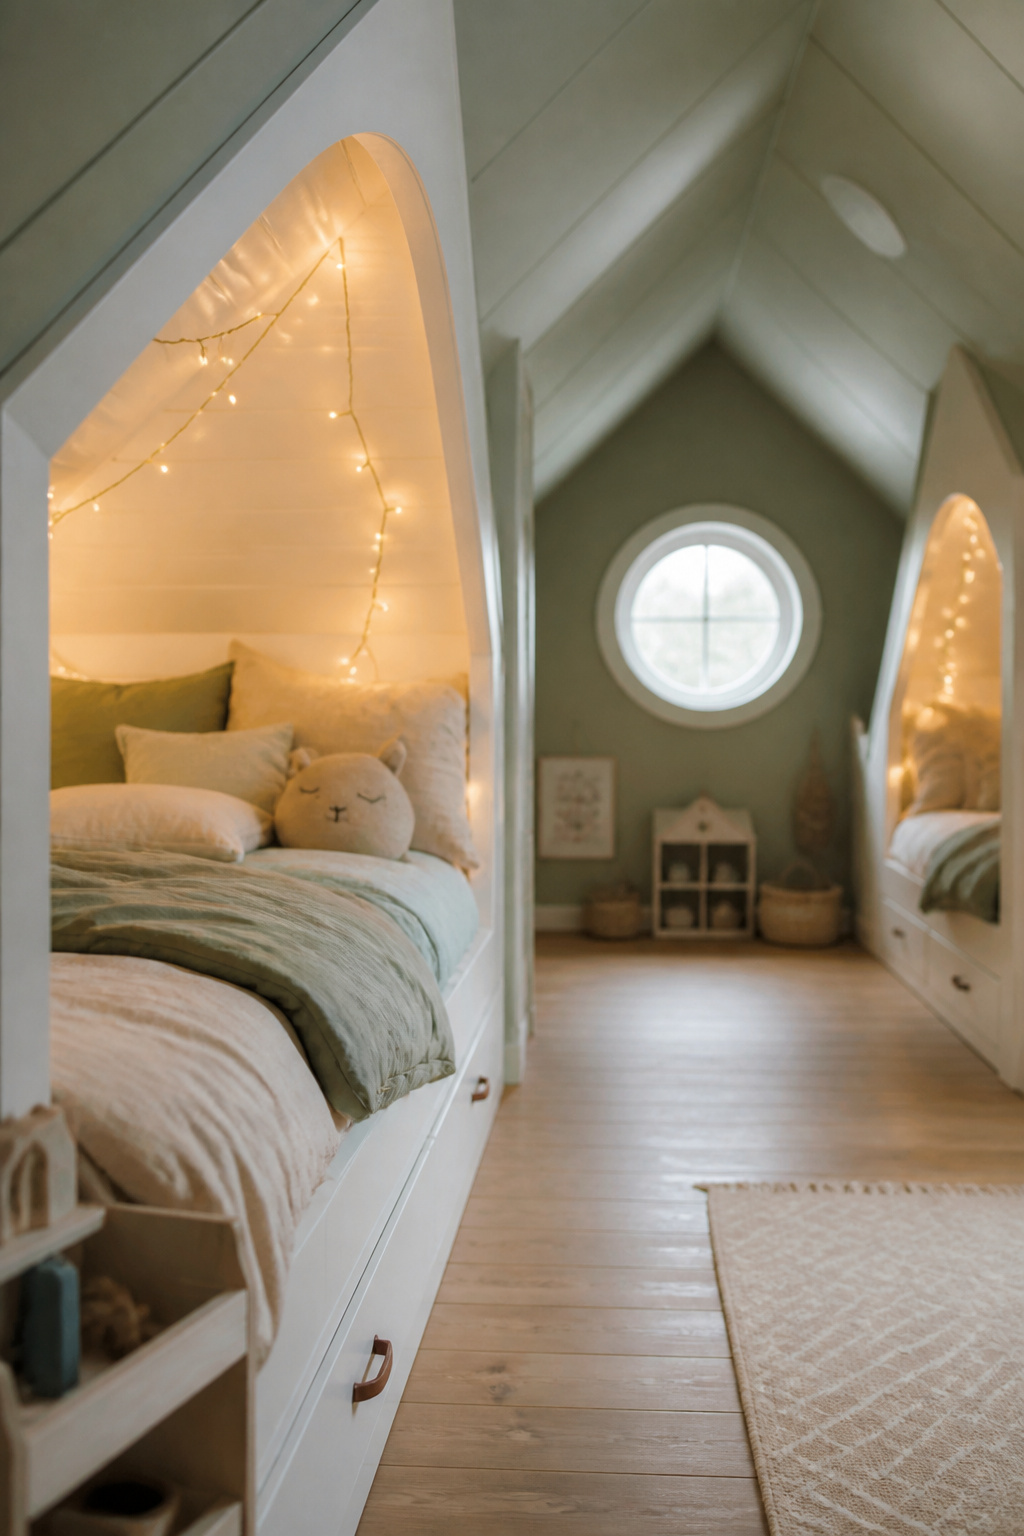
Two solutions fit a low room. Low bunk beds, built for 7-to-8-foot ceilings, cut total stack height from a typical 70 inches to 60 or less without giving up guardrail safety. Better still in a real attic are built-in alcove beds, set into the eave at floor level — a standard in Scandinavian and alpine children’s rooms. They put the sleeping surface under the lowest ceiling, where headroom matters least, and free the standing zone for everything else. Tuck storage into the knee wall below and you recover two zones at once.
Stage-adaptive layouts that grow with the child
Think in stages, because furniture that fits only this year is the most expensive furniture you will buy. As a working principle, the structural built-ins stay put while the sleeping setup changes — an alcove bed for the youngest years, a loft bed with a desk beneath through the school years, a standard bed and knee-wall wardrobe later. A play zone under the ridge and sleep alcoves under the eaves is the most efficient split, and keeping play away from the bed helps sleep too. The full child-development treatment — the age stages, the shared-room logic, the safety detail — is the work of the guide to kids’ attic rooms.
Paint Colors for Sloped Walls: The Wall-and-Ceiling Decision
One paint question confuses attic decorators more than any other: do the walls and the ceiling get the same colour, or different ones? It matters more here than in a square room, because the slope means wall and ceiling are no longer cleanly separate planes. The answer shapes whether the room reads as one calm volume or a set of competing angles.
When to paint walls and ceiling the same hue — and when not to
Paint everything one colour and the eye stops reading the ceiling as a separate surface; the room feels unified, larger and more deliberate. That is the standard advice for irregular sloped ceilings, and it works light or dark. The error to avoid is light walls under a contrasting dark ceiling in a small attic — the high contrast emphasises every line of the slope and the room reads as choppy. Colour specialist Kylie M. Interiors gives the cleanest rule of thumb: “The lower your angled or slanted area starts, the better it looks painted the same colour as the walls.” Reserve a contrasting ceiling for rooms where a vertical wall climbs a good 7 feet before the slope begins.
Light-airy vs dark-cocoon strategies for the slope
Two strategies, chosen by how much daylight the room has. The light-airy route — warm cream, pale grey, soft white across walls and ceiling — maximises reflection and suits a room short on light, though avoid a cool bright white in a dim attic, where it reads grey and dingy without sun to lift it. A warm mid-grey is the professional’s middle choice. The dark-cocoon route — forest green, deep navy, charcoal — wants at least one skylight or dormer to keep it from feeling oppressive by day, and it pairs beautifully with warm light and natural wood. The full palette and application detail are in the guide to paint colors for sloped walls.
How beam color interacts with the palette
Beams take their cue from the wall decision. Dark beams against a light ceiling make a confident statement for a room with a high ridge and good light. White or limewashed beams blend into a light ceiling, adding texture without contrast — the right call for a small attic where dark beams would close in. And where walls and beams share one dark colour, the beam reads as texture, not line, reinforcing the cocoon. Houzz editors offer the restraint: dark features “must be limited to avoid overwhelming the space,” which in practice means beams covering no more than 20 to 25 percent of the ceiling surface.
The Attic Bedroom Principles That Hold Across Every Style
Strip away the styles and the same few principles survive. They hold whether the room ends up bright Nordic white or deep-green cocoon, a child’s bunk den or a quiet adult retreat. An attic bedroom rewards the person who treats it as a building first and a decorating project second. Also check out our lighting ideas for a vintage bedroom.
Start with geometry, end with layer
Every attic bedroom that works begins with a measured floor plan — ridge height, slope angles, eave heights, knee-wall positions — drawn before anything is bought. From there the order is one-directional, each layer resting on the one below: geometry, then code and structure, then light, then built-in storage, then colour, and only last the textiles. Start at the top with paint or bedding and you get a room that photographs well in one frame and fails in daily use. As My Scandinavian Home’s Niki Brantmark observes, Scandinavian designers solve the geometry first, and then “solutions can be found for every shape and size.” The geometry is never the obstacle. Decorating before solving it is.
The three things worth spending money on in an attic room
If the budget is tight, spend it on the things the camera cannot see. Insulation comes first — an under-insulated attic is brutally hot in summer and cold in winter, undermining every other investment. Natural light comes second; a well-placed skylight or dormer transforms the room more than any single furniture choice could. Built-in eave storage comes third, because in a small room every foot of floor it frees has outsized impact. These three return more than anything you can buy and place.
What to decide in what order: a sequenced checklist
The whole project compresses to one ordered list. Work down it and the room will not surprise you.
- Measure the room: ridge height, slope angle, eave height, knee-wall positions.
- Confirm code compliance: 7-foot height over half the floor, an egress window, a fixed staircase.
- Decide on light: skylight, dormer, or fixtures only.
- Plan built-in storage in the eave cavities.
- Choose an insulation strategy, sized to your climate zone.
- Set the bed position, then the remaining furniture.
- Choose the colour strategy: same hue or contrast.
- Add textiles and accessories last.
Structural and mechanical choices are irreversible or expensive to undo; colour and textiles are cheap to change. Sequence accordingly, and the constraints that first looked like obstacles turn out to be the thing that made the room clear. That was always the Nordic bargain: less to work with, and a better room for it.