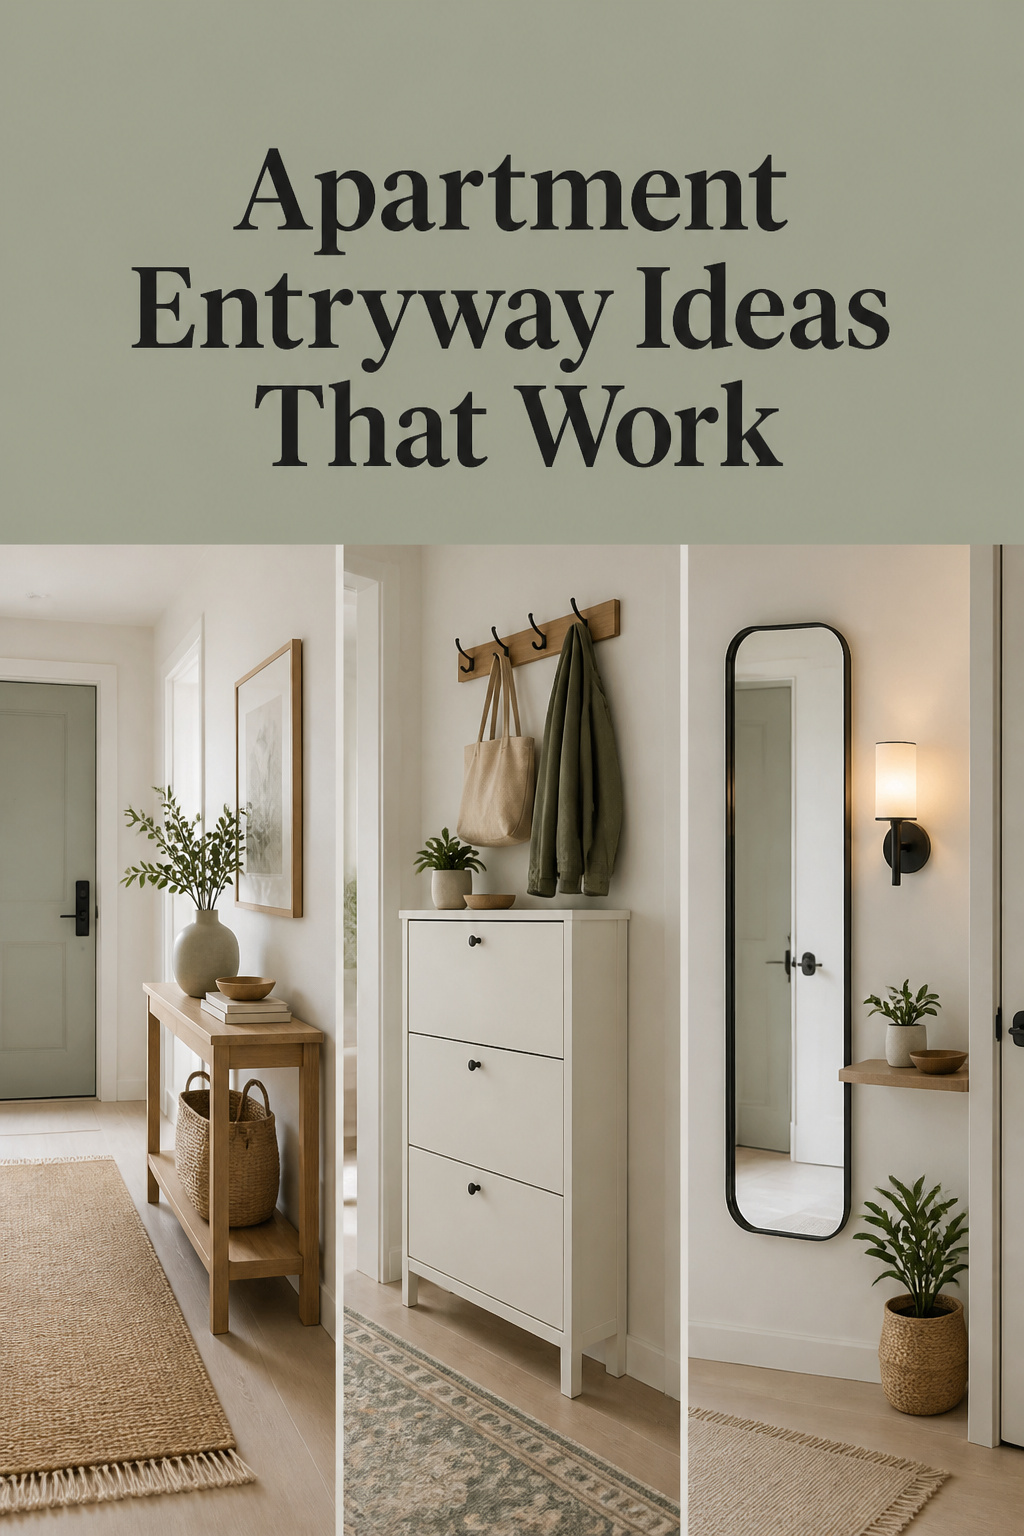
Scroll far enough into apartment entryway ideas and you start seeing rooms from somebody else’s building. A built-in bench under a window. A mudroom with its own door. A hook rail screwed straight into plaster nobody had to ask permission about. Each one assumes two things a lease never hands you: spare square footage, and the right to make holes.
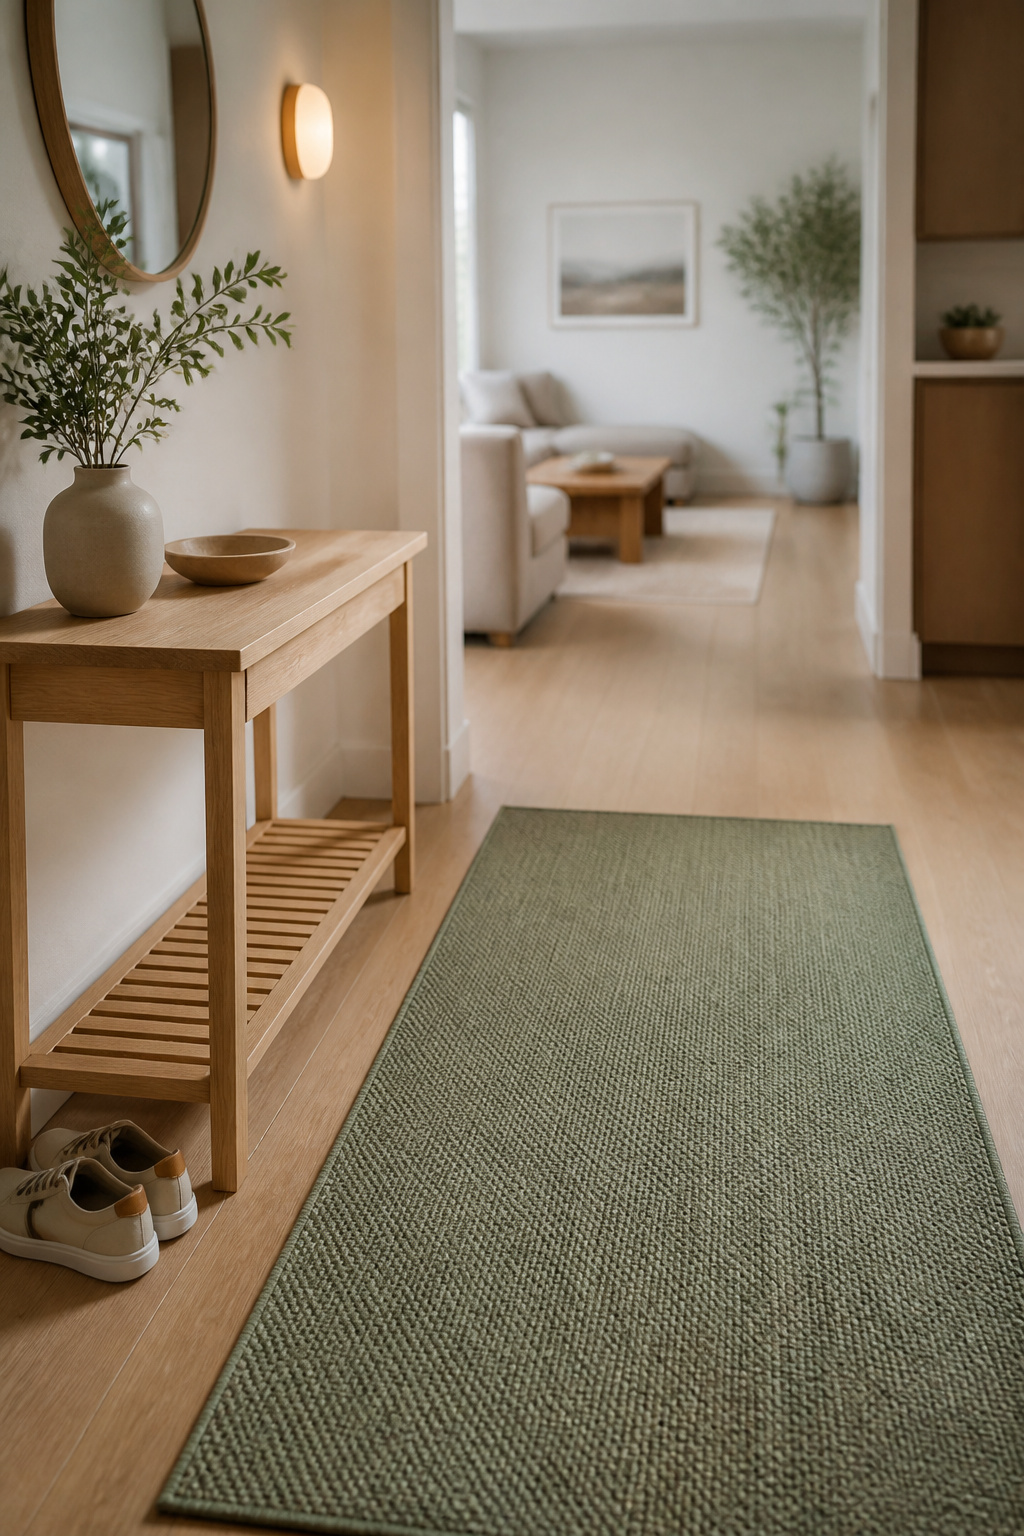
So I ran the whole field through one filter. Every idea below has to fit an entry between 60 and 120cm wide, and it has to come back off the wall and move out with you. What survives is still a gallery, not a rulebook: nine ideas worth browsing, each with a full guide behind it, plus a closing rule for picking the two or three that suit your floor plan.
What makes an entry feel like an entry in a rental
An entry isn’t a room. It’s a signal, and most apartments already own the raw material for one. Every place I’ve helped set up has the same faint arc worn into the floor where the door swings, grit tracked in and feet pivoting over the same half square metre for years. That arc is the entry. The only question is whether anything else in the apartment agrees with it.
The rental entry problem in one sentence
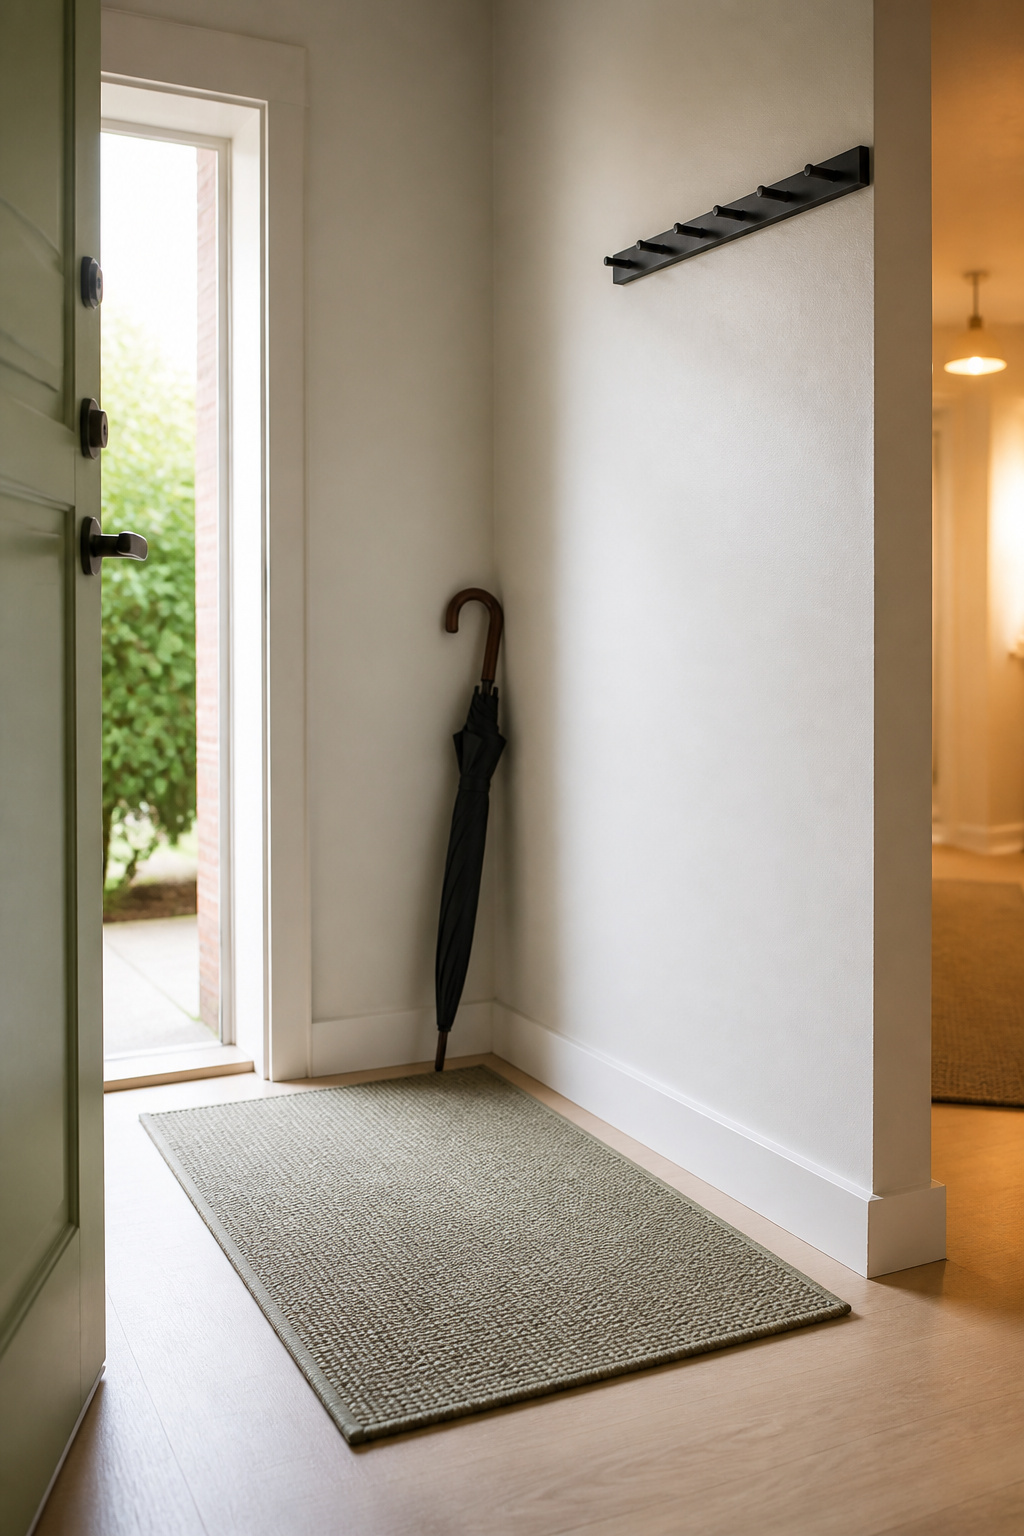
Renters make up 35.0% of US households: 44.6 million homes, averaging 2.34 residents on a median household income of $51,393. Those numbers set the constraints here: modest budget, shared space, no equity in the walls. The layout complaint is just as consistent. The front door opening straight into the living room is common enough to have grown its own genre, with Domino, Houzz, Livingetc and Apartment Therapy each running a standalone explainer on faking an entry that doesn’t exist.
What “works” means here: renter-safe, small, still yours to take with you
Three conditions, and the third does the most work. Renter-safe means nothing that outlives your tenancy: HUD guidelines treat nail and pin holes as normal wear a landlord can’t deduct for, while larger screw holes and drywall damage cross into deductible territory at roughly $50 to $200 a repair. Small means honest: 60 to 120cm of usable width, not the foyers that fill owner-occupied entryway content. Portable means everything here is furniture, textile, or something rated in pounds. Command picture-hanging strips are sold by pair rating: 1 lb small, 3 lb medium, 4 lb large, 5 lb XL, with 3M’s heavyweight mirror strips topping out at 20 lb for mirrors up to 24 by 36 inches. 3M is equally plain that none of it is designed to hold up a load-bearing shelf.
Browse by idea, then go deep
Each section takes one problem (zoning, dividers, damage-free technique, shoes, coats, light, rugs) at gallery depth, then hands you to the full guide behind it. Browse in any order; they don’t build on each other. Read the last section either way, because that’s where the gallery turns into a decision about your apartment specifically.
Create an entryway where none exists
The door swings open and the first thing it meets is the end of the sofa. No hall, no wall, no pause: you’re standing in the living room with your keys still in your hand. The fix usually costs nothing, because it’s made of furniture already in the room.
Reading your floor plan for a hidden threshold
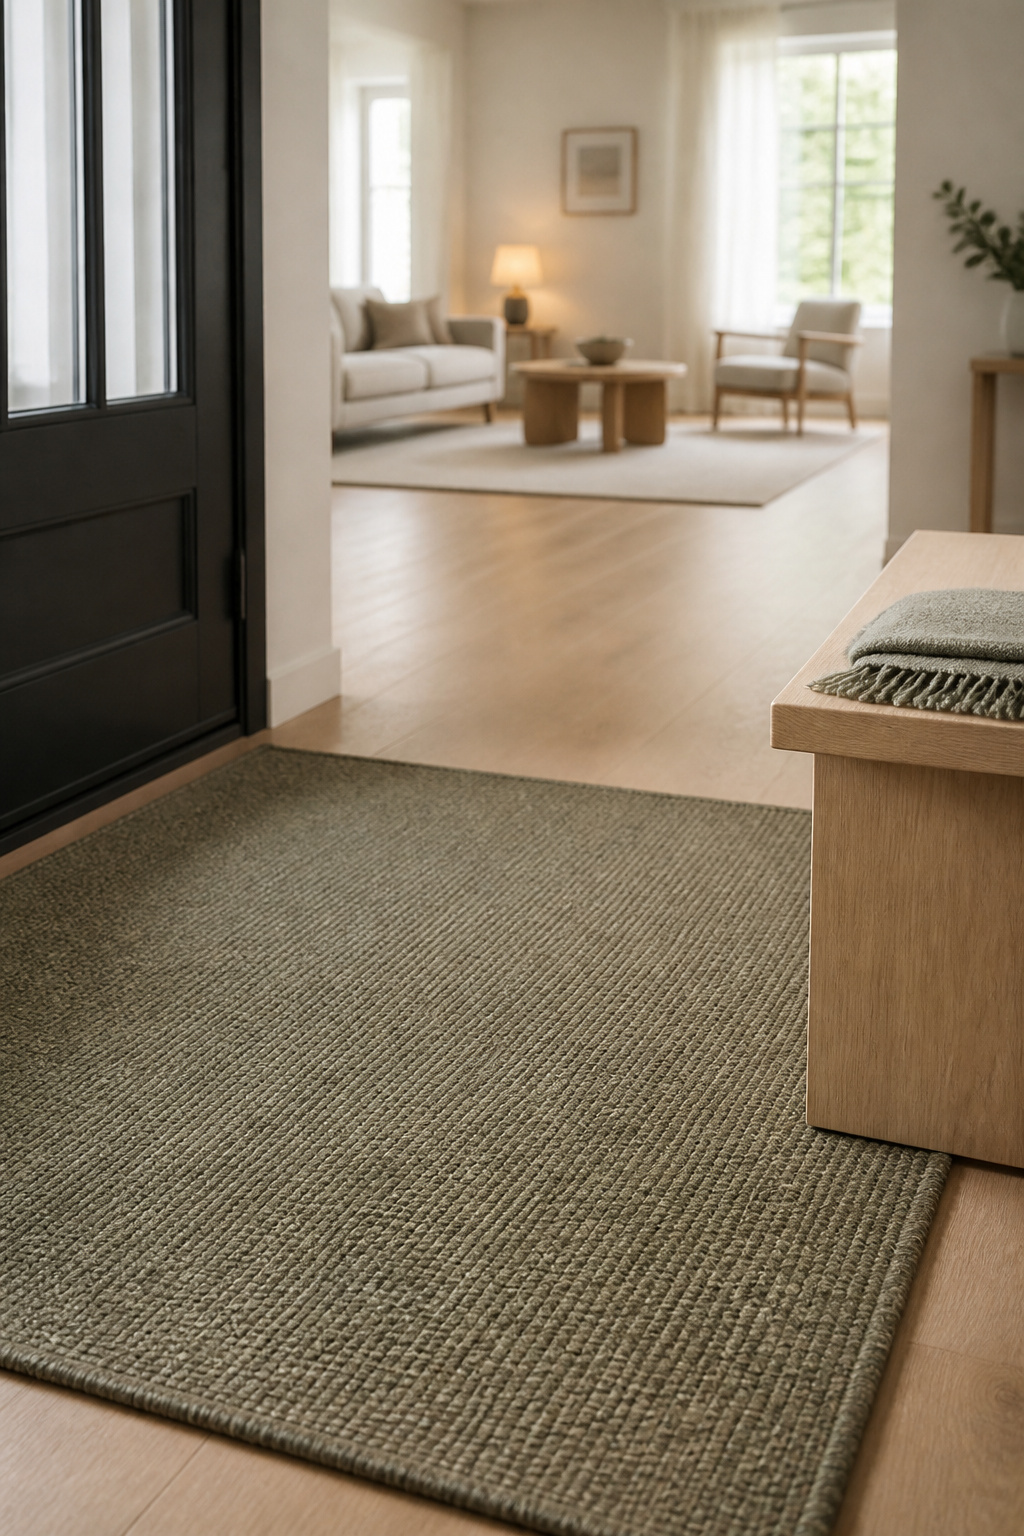
Turn a sofa’s back to the door and pull it a few feet off the wall, and you’ve drawn a boundary with a piece you already own. Slide a slim console behind that sofa back and it gains a landing spot for keys and mail. Angling a chair, or setting a sofa perpendicular to establish a walkway, is the cheapest version of the idea. A contrast underfoot finishes it: a rug or flooring change inside the door-swing arc registers as a landing pad and keeps grit out of the living room. Aisha Patel’s guide to how to create an entryway where none exists starts one step earlier: she closes the door behind her and stands still, on the principle that if nothing in the room asks you to pause, the problem was never the furniture.
Rugs, boundary lines and furniture angles at a glance
Marking a zone has proportions, and they’re forgiving. A runner should leave 4 to 8 inches of hard floor visible along each side and about 6 inches at each end, with a 3 to 6 inch gap of bare floor at the threshold so grit drops instead of tracking under the backing. Furniture has a budget too. A console in a narrow entry stays 12 to 15 inches deep, and 12 is the ceiling once the hall drops under 48 inches wide. Beyond that you’ve eaten the 36 inches of clear walkway everything in this guide is sized around.
When you need more than marking
Half walls and glass enclosures genuinely divide a doorless floor plan. Both need construction, which makes them an owner’s fix. The renter’s version is a shallow bookcase standing as an open divider: real separation, minimal floor footprint. The signal that you’ve reached that point is a measurement, not a feeling. If clear space at the door already falls under 36 inches with a rug and a console in place, stop layering zone-markers and look at a physical piece.
Give a studio a real entrance with a divider
The cheapest way to close off a studio entry with something you can actually pull shut is a curtain track: IKEA’s single VIDGA runs $35 and is rated to 11 lbs, the two-track version $70 and 22 lbs. The catch sits in the fittings. Both mount to the ceiling, which means drilling overhead.
Shelving, screens and panels at a glance
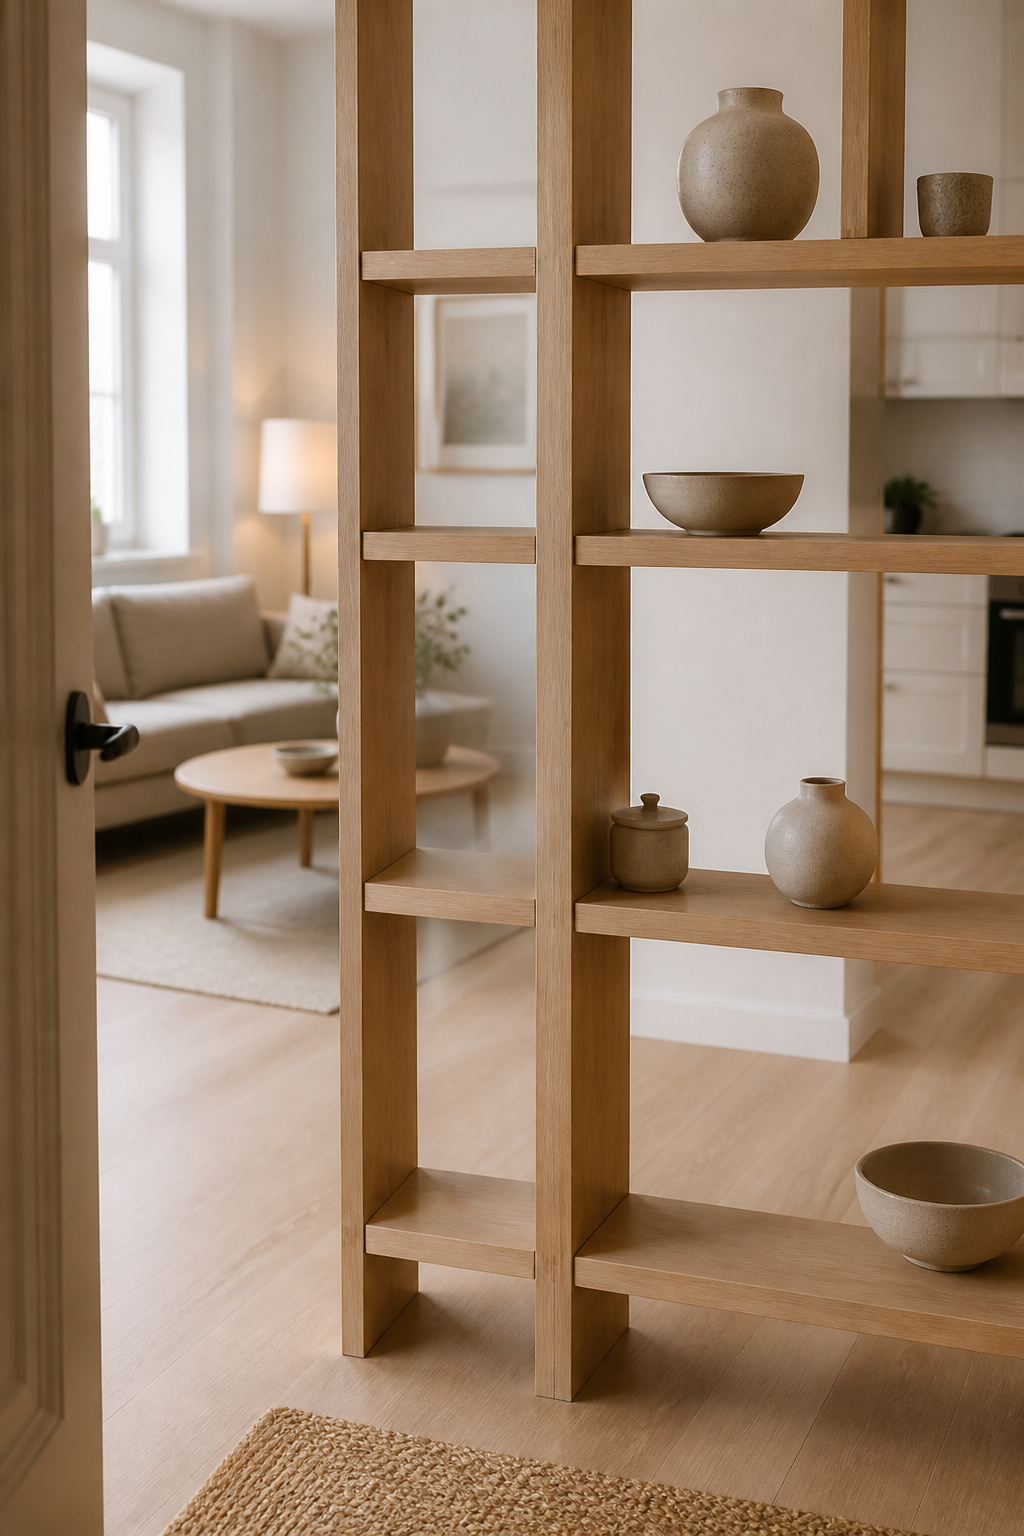
Dividers fall into three families, each with a trade-off. Open shelving separates and stores in one footprint, which is why it’s the default studio answer, though freestanding it needs securing to a wall or ceiling, since an open unit loaded at height is a genuine tip hazard. A folding screen is the most flexible piece in the category: it collapses when you want the floor back and repositions in seconds, which no fixed track will ever do. A ceiling track with a fabric panel closes the entry off completely, then pulls back to reopen the sightline.
What a divider needs to clear (sightlines and lease terms)
Whatever goes in still has to leave 36 inches of walkway behind it, or you’ve traded one problem for a worse one. If drilling overhead is out, heavy-duty no-drill tension rods are rated to 26 pounds across spans up to 10 feet: enough for a light fabric panel, nowhere near enough for shelving. Either way, clear ceiling fixings with a landlord first. A hole in a ceiling is a different conversation than a hole in a wall, and leases vary on it.
Choosing a look that matches the rest of the apartment
Glass and etched-glass partitions keep a divider visually open, passing daylight while still breaking the sightline, but they’re fixed installations, better suited to a home you own. For everything else, matching the divider’s material to the room’s palette keeps it looking like furniture rather than a partition: pale oak shelving or a matte black track instead of a mismatched dark screen parked mid-floor. Henrik Larsson’s divider ideas that give a studio a real entrance push one step further: he’d keep a divider low rather than floor-to-ceiling, on the grounds that light is the first material a small apartment owns and a boundary is a poor thing to spend it on.
Decorate without losing your deposit
Renter-safe hardware holds more than its reputation suggests. Most of the failures people blame on the product are really about timing. The first adhesive hook a renter puts up usually falls down, and the reason sits on the calendar rather than the packet. 3M asks for a minimum of 7 days after a wall is painted before a strip touches it, with full cure at 28 days. If your apartment was repainted for your move-in, and plenty are, that clock hadn’t started when you unpacked.
What adhesive and tension systems actually hold
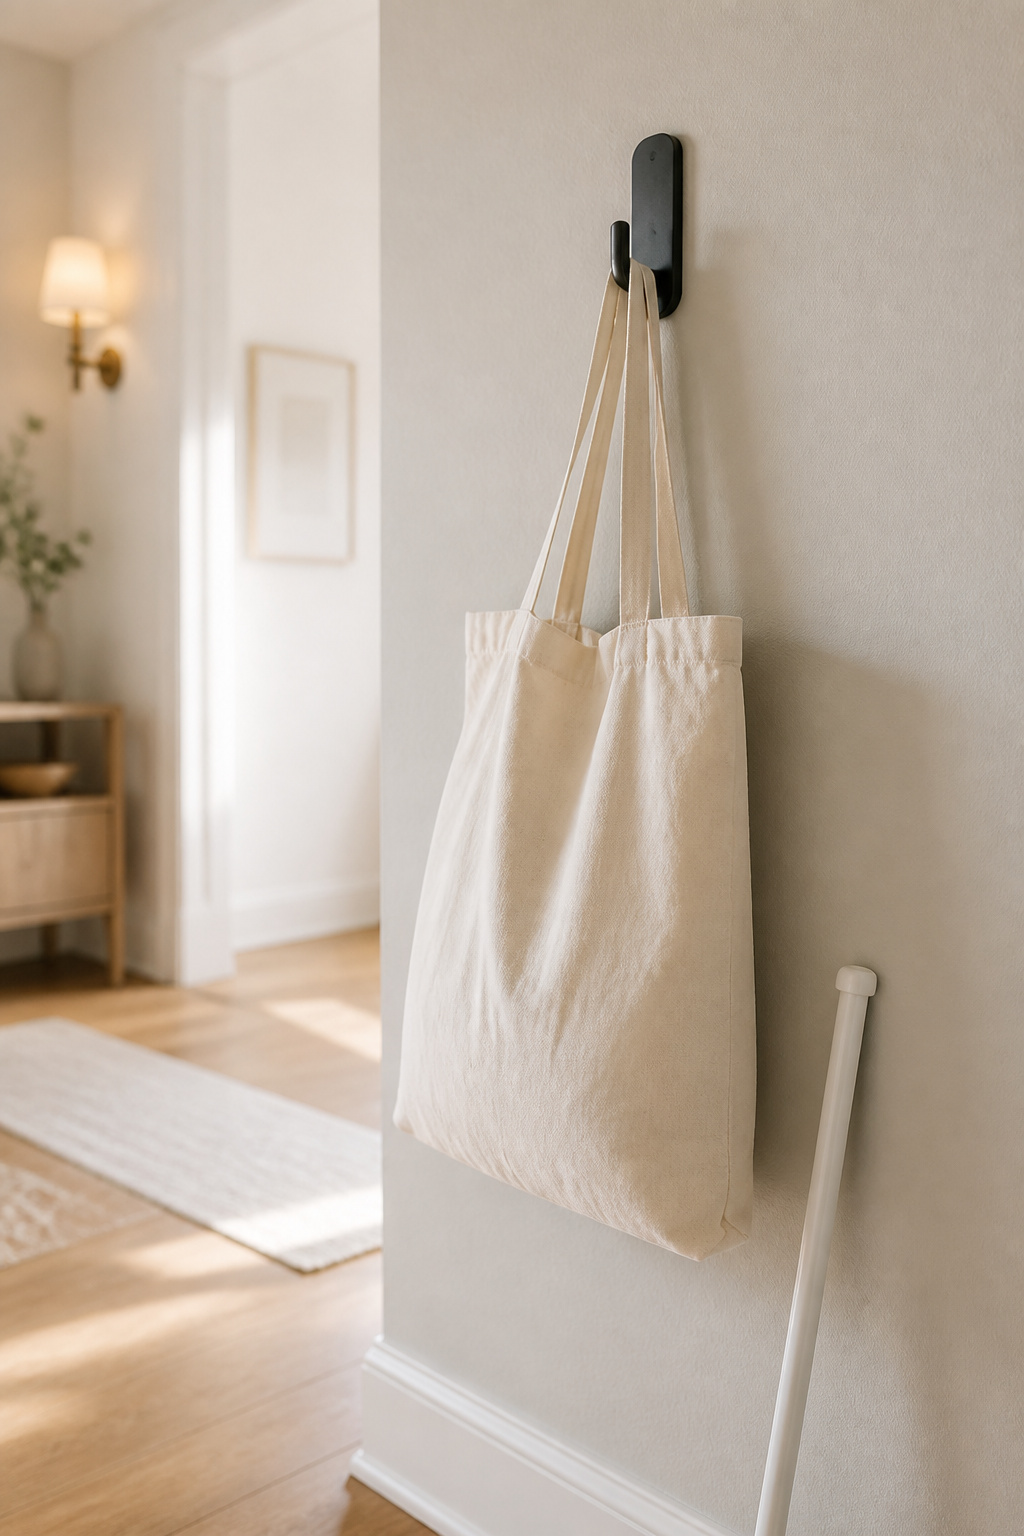
Damage-free hardware has published numbers, and they’re lower than the marketing implies. Warm, humid conditions or matte paint knock a further 25 to 50% off a lab rating. Suction cups are their own species: fine on glazed tile, glass, mirror and acrylic, useless on painted drywall, texture or across a grout line. The range below compares adhesive against drilled, since the gap between the two halves of the table decides whether a project needs a landlord’s yes.
| Fixing | Rated hold | What it’s for |
|---|---|---|
| Command strips, per pair | 1 lb small to 5 lb XL | Frames, light decor |
| Command hooks | 3 lb medium, 7.5 lb jumbo | Single-point loads, bags |
| Heavyweight mirror strips | 20 lb, mirrors to 24 x 36 in | Mirrors only; size is part of the rating |
| No-drill tension rod | Up to 26 lb, spans to 10 ft | Light fabric, evenly spread |
| Plastic expansion anchor | 5-20 lb | Drilled; small shelves |
| Zinc self-drilling anchor | 25-50 lb | Drilled; loaded hooks and rails |
| Toggle bolt | Up to 50 lb in ½-in drywall | Drilled; the heavy end |
Products worth trying vs. skipping
Peel-and-stick wallpaper is the category most oversold to renters. It wants a smooth wall primed with premium eggshell, satin or semi-gloss and cured 30 days or more; it fails on texture, and on the scrubbable paints manufacturers exclude by name. Meet those conditions and the same panels come off, go back on and reposition dozens of times across several years. Miss them, or hang them in a humid entry, and the edges peel and curl. Tension rods sit in the same bracket: buy one for 26 pounds of light fabric, skip it for anything you’d call a shelf.
The move-out test
One question settles it in the aisle: would this come off with a fingernail and a dab of spackle, or does it need a drywall patch? Anything in the second category belongs on the drilled-and-cleared list. HUD’s standard backs you up on the first, treating pin and nail holes as normal wear while paint and drywall damage becomes a $50 to $200 deduction. The full technique layer (surfaces, cure windows, removal direction, what survives an inspection) lives in renter-friendly, no-drill entryway upgrades, and the rest of this gallery depends on it.
Shoe storage that fits an actual apartment wall
How much wall does a pair of shoes need? More than the wall has, most of the time. That mismatch is why so much entry shoe storage gets returned.
How much wall you really have to work with
Start from the shoe and work outward. Shelf depth runs:
- 12 to 15 inches for regular shoes
- 14 inches and up once anyone in the household wears a size 9 or larger
- 16 to 18 inches, with 8+ inches of clear height, for boots
Now set that against the wall. A console in a narrow entry already claims 12 to 15 inches of the same budget, and the entry itself runs 60 to 120cm wide in most rentals. Everything is competing for one number, so measure it before you shop, not after the box arrives.
Slim cabinets vs. racks vs. over-door systems
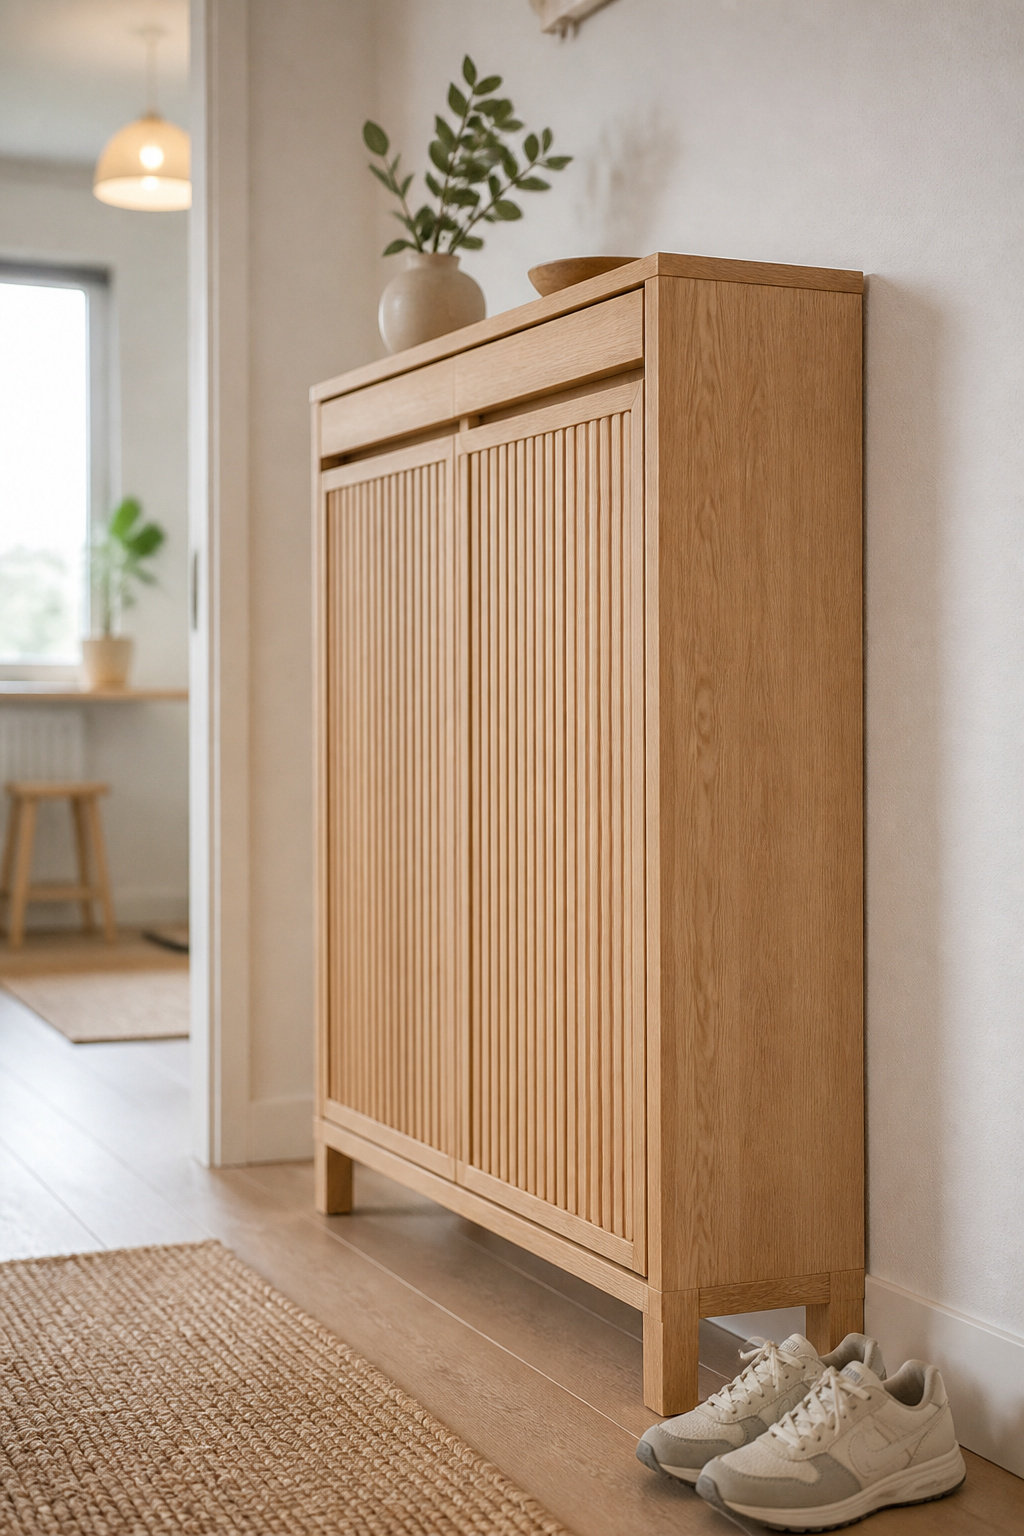
Genuinely shallow storage exists and it’s stocked. IKEA’s STÄLL cabinet runs 37¾ inches wide by just under 7 deep by 35⅜ tall, with four compartments holding 8 to 12 pairs at $149.99. Slim and functional can share a footprint; the trade-off is compartment count, not capacity. Cubby-style storage sits deeper, at 12 to 15 inches for sneakers, flats and sandals up to about a men’s size 12, while ankle and tall boots want 16 to 18 inches or an upright slot. Doors are the free real estate: tested over-door organizers run from 6 pairs on a compact rack to 27+ across 25 cubbies. Style matters there, though. Rigid hook racks caused real problems in testing, including a door that wouldn’t shut and a dented frame, while pocket-and-pouch designs fit hollow interior doors more reliably. Standard US interior doors are 1⅜ inches thick, solid-core and fire doors up to 1¾.
Realistic pair counts
Size the storage to the rotation, not the collection. Occupants times three is the working formula for daily pairs at the door, which puts a solo renter at three and a couple at six; the rest is seasonal and can live anywhere. Where floor space allows, one tested 5-tier freestanding rack (30 by 11 by 71 inches, around $70) held 15 pairs plus five coat hooks in a single footprint. For honest depths, pair counts and prices across the category, slim shoe storage for tight entries does the measuring.
Coats, bags and keys without a closet
A rack or a wall rail can carry a household’s coats without a closet. The trick is trusting two numbers instead of a shopping description: the base under a freestanding rack, and the rating behind a wall hook. Almost nothing in this size bracket comes with an entry closet, so coats end up on whatever stands nearest the door regardless.
Freestanding racks that won’t tip
Material sets the ceiling: solid wood racks hold 40 to 60 lbs, metal tube 15 to 25, over-door hooks 10 to 15, plastic just 5 to 10. Geometry decides whether they stay upright. A tripod base needs to span at least 60% of the rack’s height to resist a one-sided load; a circular base needs 40%. Those two ratios predict more than any price tag. Where the floor can spare it, the tested 5-tier rack above carried 15 pairs of shoes and five coats at once: a whole small household on one footprint.
Wall systems within adhesive weight limits
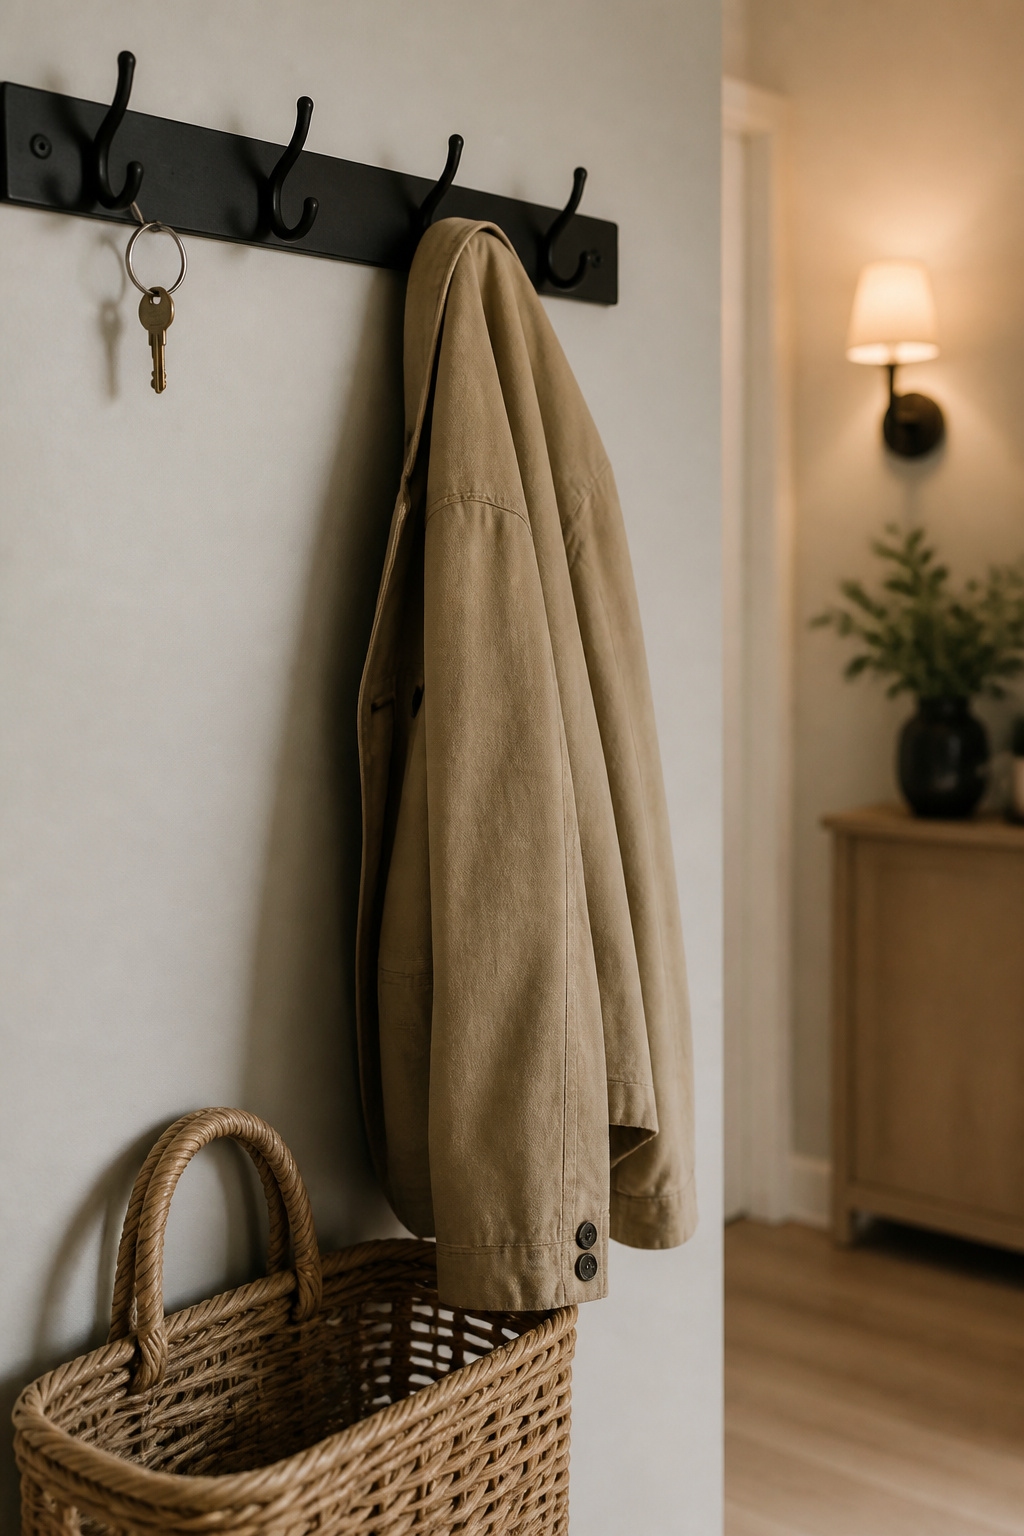
Hook heights are settled numbers. Adult coat hooks mount 60 to 66 inches from the finished floor, or 40 to 42 inches above a bench seat, with child hooks at 36 to 42. Keys get their own line at a 48 to 52 inch adult centreline. Spacing is where most rails go wrong: 10 to 12 inches centre to centre for winter coats, and 6 inches only for lightweight accessories, since a coat’s hang radius runs 7 to 9 inches and anything tighter just overlaps. Then check what the wall gives you: a hook in drywall alone holds roughly 15 to 30 lbs, against 50 to 80 into a stud. Designer Beth Diana Smith adds the part hardware can’t: stackable rattan baskets under the rail, absorbing shoes, packages and umbrellas without another fixing in the wall.
Rotating for the season
Since a metal-tube or plastic rack tops out between 5 and 25 lbs, the simplest way to keep it inside its rating is to stop asking it to hold February and June at once. Move off-season coats to under-bed or closet storage and the entry rack never approaches its limit. Spacing stays honest too, because a rail set for 10 to 12 inch winter coats overloads fast when everything stays hung. The racks, rails and rotation systems that survive a full year are covered in coat storage when there’s no closet.
Fixing a dark or windowless entry
Stand in a windowless hall at six on a February evening and notice that every scrap of light in it arrived from somewhere else. The hall is unlit, not merely underlit. That is good news, because borrowed light is free, and three of the ways to borrow more never touch a circuit.
Mirror placement that multiplies light
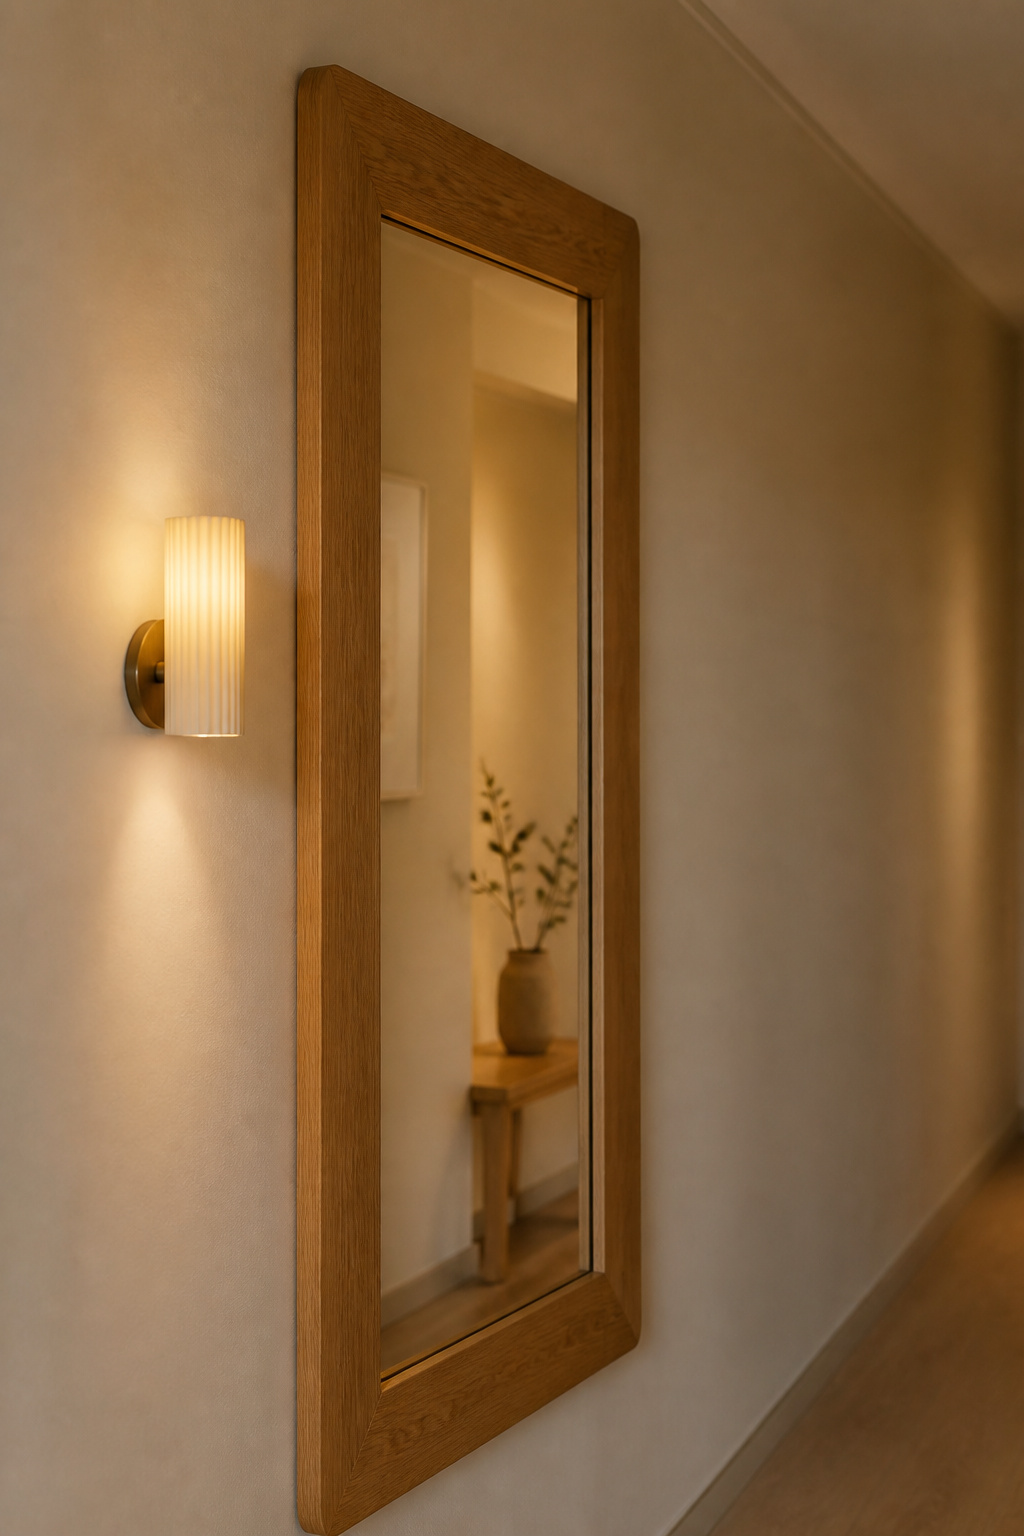
A mirror is the only light fix that costs nothing to run. Size it to two-thirds or three-quarters of the wall width: in halls under 59 inches wide, that’s 20 to 28 inches across by 35 to 47 tall, centred 57 to 60 inches from the floor. Placement earns the rest. A large mirror (48 by 36 inches or bigger) set opposite a window or the room’s main light source can deliver a perceived depth gain of 25 to 35%, and up to two full visual stops of perceived brightness in a dark room. Designer Abbe Fenimore of Studio Ten 25 leans a large floor mirror behind a console for exactly that reason: the placement is functional, bouncing light around a small space rather than decorating a wall.
Plug-in and battery fixtures worth buying
No rewiring, no electrician. A plug-in lamp dimmer such as the Lutron Caseta model sits between the outlet and the lamp cord and gives you dimmable entry light on compatible LED bulbs. Battery and adhesive sconces mount with 3M tape or magnets, need no tools, and release under a hairdryer’s heat when the tape comes off. A widely sold Westek 2-pack puts out 160 lumens per fixture with a 4-hour auto shutoff, a published spec in a category where most aren’t. Aim the whole scheme at 2700 to 3000K and 20 to 30 lumens per square foot of ambient light. Skip 5000K and above; in a small entry it reads clinical.
Paint and surface choices that bounce light
Finish moves the needle more than people expect. Eggshell or satin is the professional standard for high-traffic entry walls, with semi-gloss trim, because flat and matte absorb light, mark under coat sleeves and won’t scrub clean. Colour compounds it: pale oak, soft white and greige return far more ambient light than a deep heritage palette, so sheen and shade get chosen together. Henrik Larsson’s guide to how to brighten a dark hallway without rewiring carries one correction worth having before you hang anything: put the mirror on a side wall facing a real light source, never the end wall, where it only deepens the tunnel.
The rug that pulls the whole entry together
A rug is the fastest way to make a bare threshold look chosen rather than accidental, and the right one for a small entry is smaller than almost anyone expects. Retail rug sizes run from 2×3 feet all the way to 10×14. A 60 to 120cm entry zone is served by the very bottom of that range: smaller than nearly anyone buys, and smaller than the photograph that sold them the idea.
Sizes that actually fit a small entry
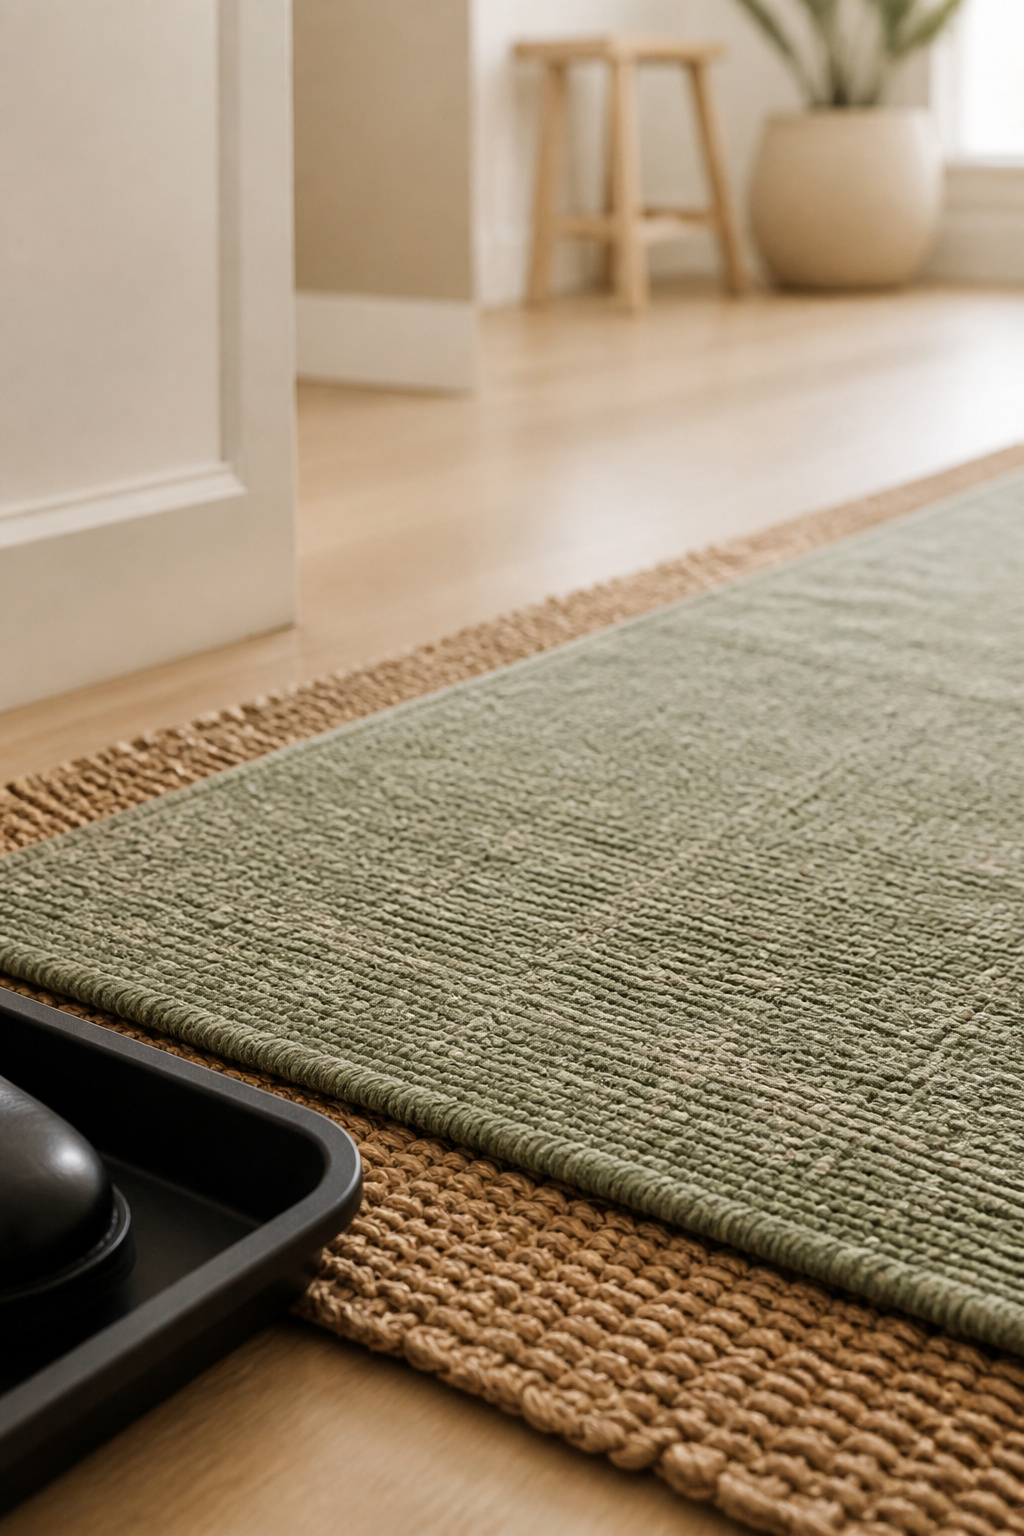
Layering is what makes a small rug look deliberate rather than apologetic. For a standard 36-inch single door, an 18 by 30-inch coir top mat over a 2×3-foot (24 by 36-inch) outdoor rug is the pairing that reads as a designed zone. Wider entries scale the same idea up: a 24 by 36-inch coir mat over a 3×5-foot rug. The stack does two jobs at once, since the coir scrapes grit off before it reaches the softer layer.
Materials that survive grit and wet shoes
Fibre choice is really a moisture decision. Polypropylene and other synthetics are built for heavy indoor-outdoor traffic and resist staining, which makes them the practical pick for the square metre that takes wet shoes. Genuine jute is the opposite: moisture-sensitive, liable to warp and bleed colour when wet, so it belongs in a drier spot nearby. For a rain-heavy entry, bi-level scraper mats absorb up to a gallon of water per square yard and carry NFSI slip-traction certification. And if washing matters, machine-washable rugs up to about 4×6 feet fit a standard residential washer; anything larger needs a commercial machine.
Layering over a rental floor you can’t stand
Layering over flooring you didn’t choose is the cheapest cosmetic fix here, provided the rug lies flat. A flatweave or low-pile construction covers ground without the trip hazard a shag or high-pile natural fibre introduces. Anchor it with a gripper or non-slip pad rather than tape, so nothing leaves residue on a floor you’ll be inspected on. The same deposit logic governs the wall hardware earlier. Henrik Larsson’s guide to choosing an entryway rug that lasts goes deeper on fibre, including a verdict he reaches by trusting the trade source arguing against its own product.
Putting it together: which apartment entryway ideas fit your floor plan
The most expensive mistake in this guide costs about $149 and arrives in a box that doesn’t fit. Somebody sees a slim cabinet, orders it, and finds the hall gives up 12 inches of depth where the cabinet wanted 15. That isn’t a taste failure. It’s a sequencing failure, and it’s avoidable.
Start from your floor plan, not a shopping list
Measure the clear floor width at your door before choosing anything above. Thirty-six inches of walkway is the constraint every idea here works around, and it’s decisive, not advisory: under 36 inches rules out console tables and benches outright, leaving wall-mounted storage and rug-based zoning as the only categories that fit. Above it, the field opens. Since rental entries run 60 to 120cm wide, that one number also tells you which of the nine sections above are about your apartment.
A simple order of operations: threshold, storage, light
Then sequence it, because each step sizes the next one.
- Mark the threshold first. A rug and a furniture angle are the cheapest moves here, and the foundation everything else zones around.
- Add storage second, sized to the wall depth you measured. A shoe or coat piece bought before the zone exists risks not fitting it afterwards.
- Fix the light third. A mirror and a battery sconce finish a settled footprint rather than lighting a layout that might still move.
Cure timing sets part of that runway too: anything mounted on Command strips wants 7 days clear of fresh paint and 28 days to full cure, so plan the sticking before the shopping.
Mistakes that waste a renter’s budget
Four ways this goes wrong, all cheap to avoid:
- Buying storage before measuring wall depth: a 15-inch cubby doesn’t fit where a 12-inch console was the plan.
- Mounting adhesive hardware inside the 7-day post-paint window, which buys an early failure and a second trip to the store.
- Treating repeated failed adhesive experiments as free. HUD’s standard forgives pin holes; paint and drywall damage is deductible, and that’s what skipping the ratings and cure times costs.
- Chasing every idea in the gallery instead of the two or three that fit the floor plan you measured.
Pick two or three. A threshold move, one storage piece sized to a real measurement, and a light fix, done in that order in an entry whose numbers you already checked, is what separates the rentals that look finished from the ones that look shopped. The renters whose entries work didn’t do more than anyone else. They did fewer things, in sequence, and each one fit. You now know which ideas your floor plan can hold, which order protects the budget, and which guide to open for the one you’re starting with.